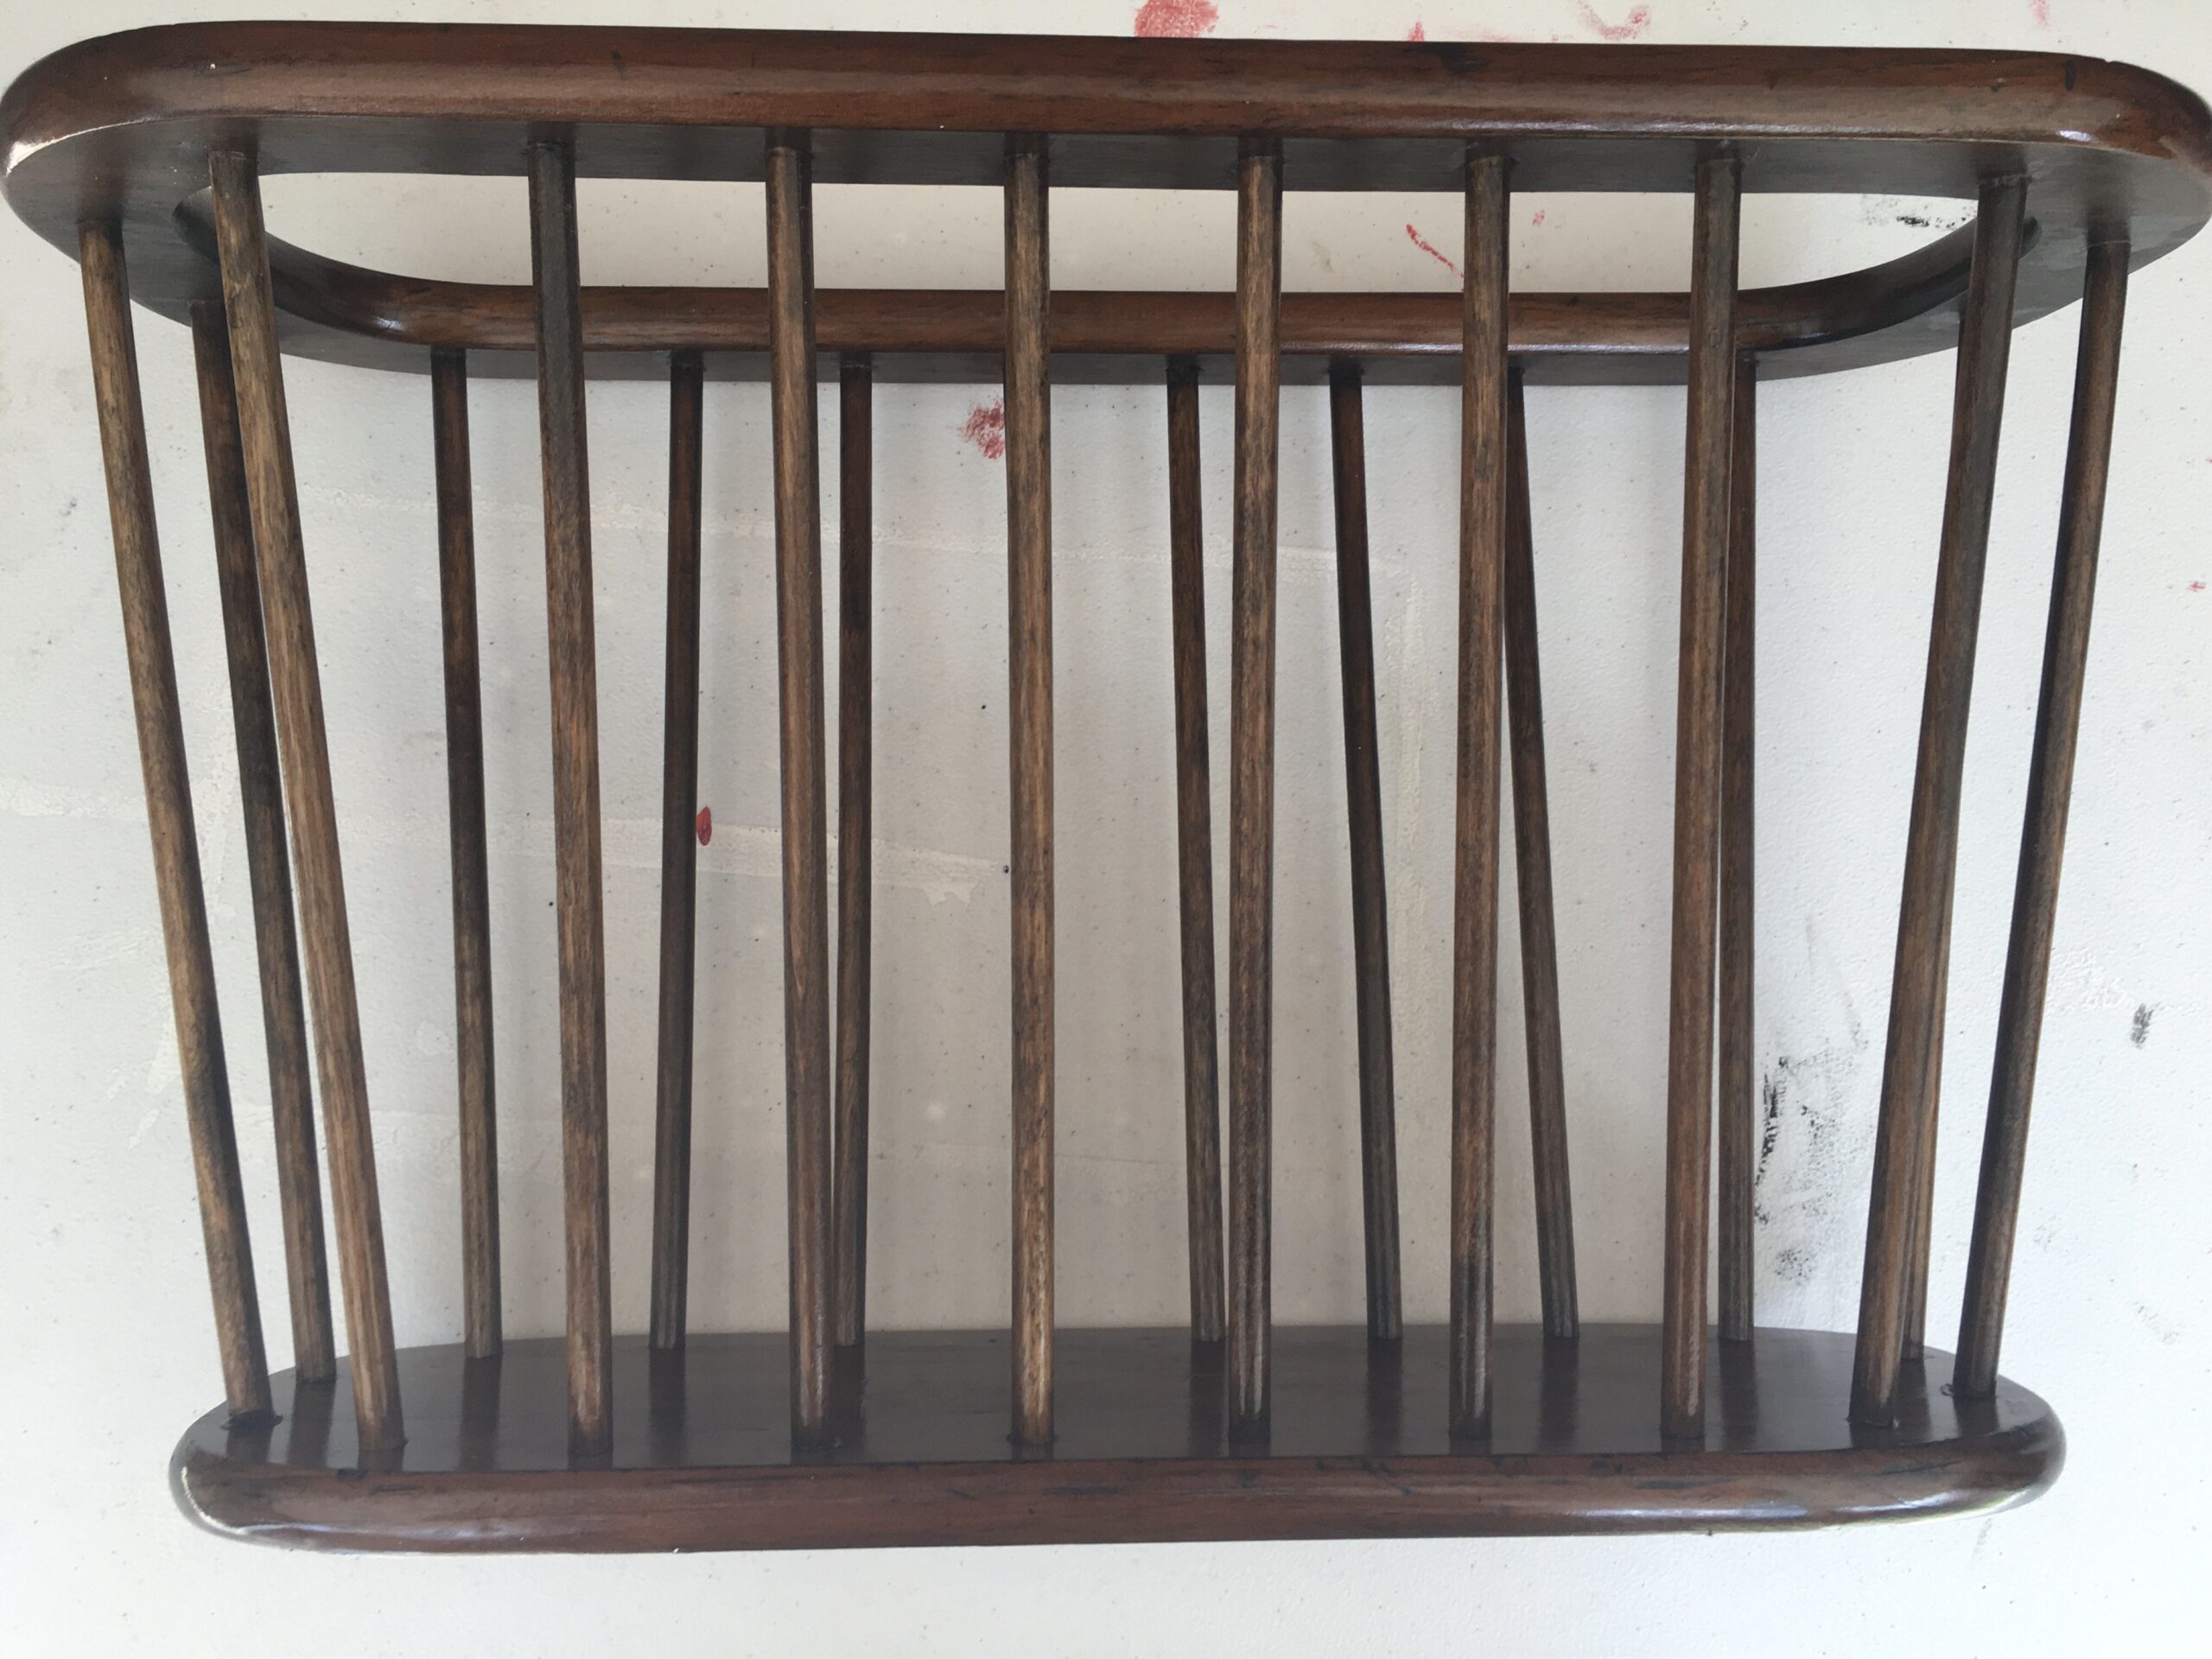
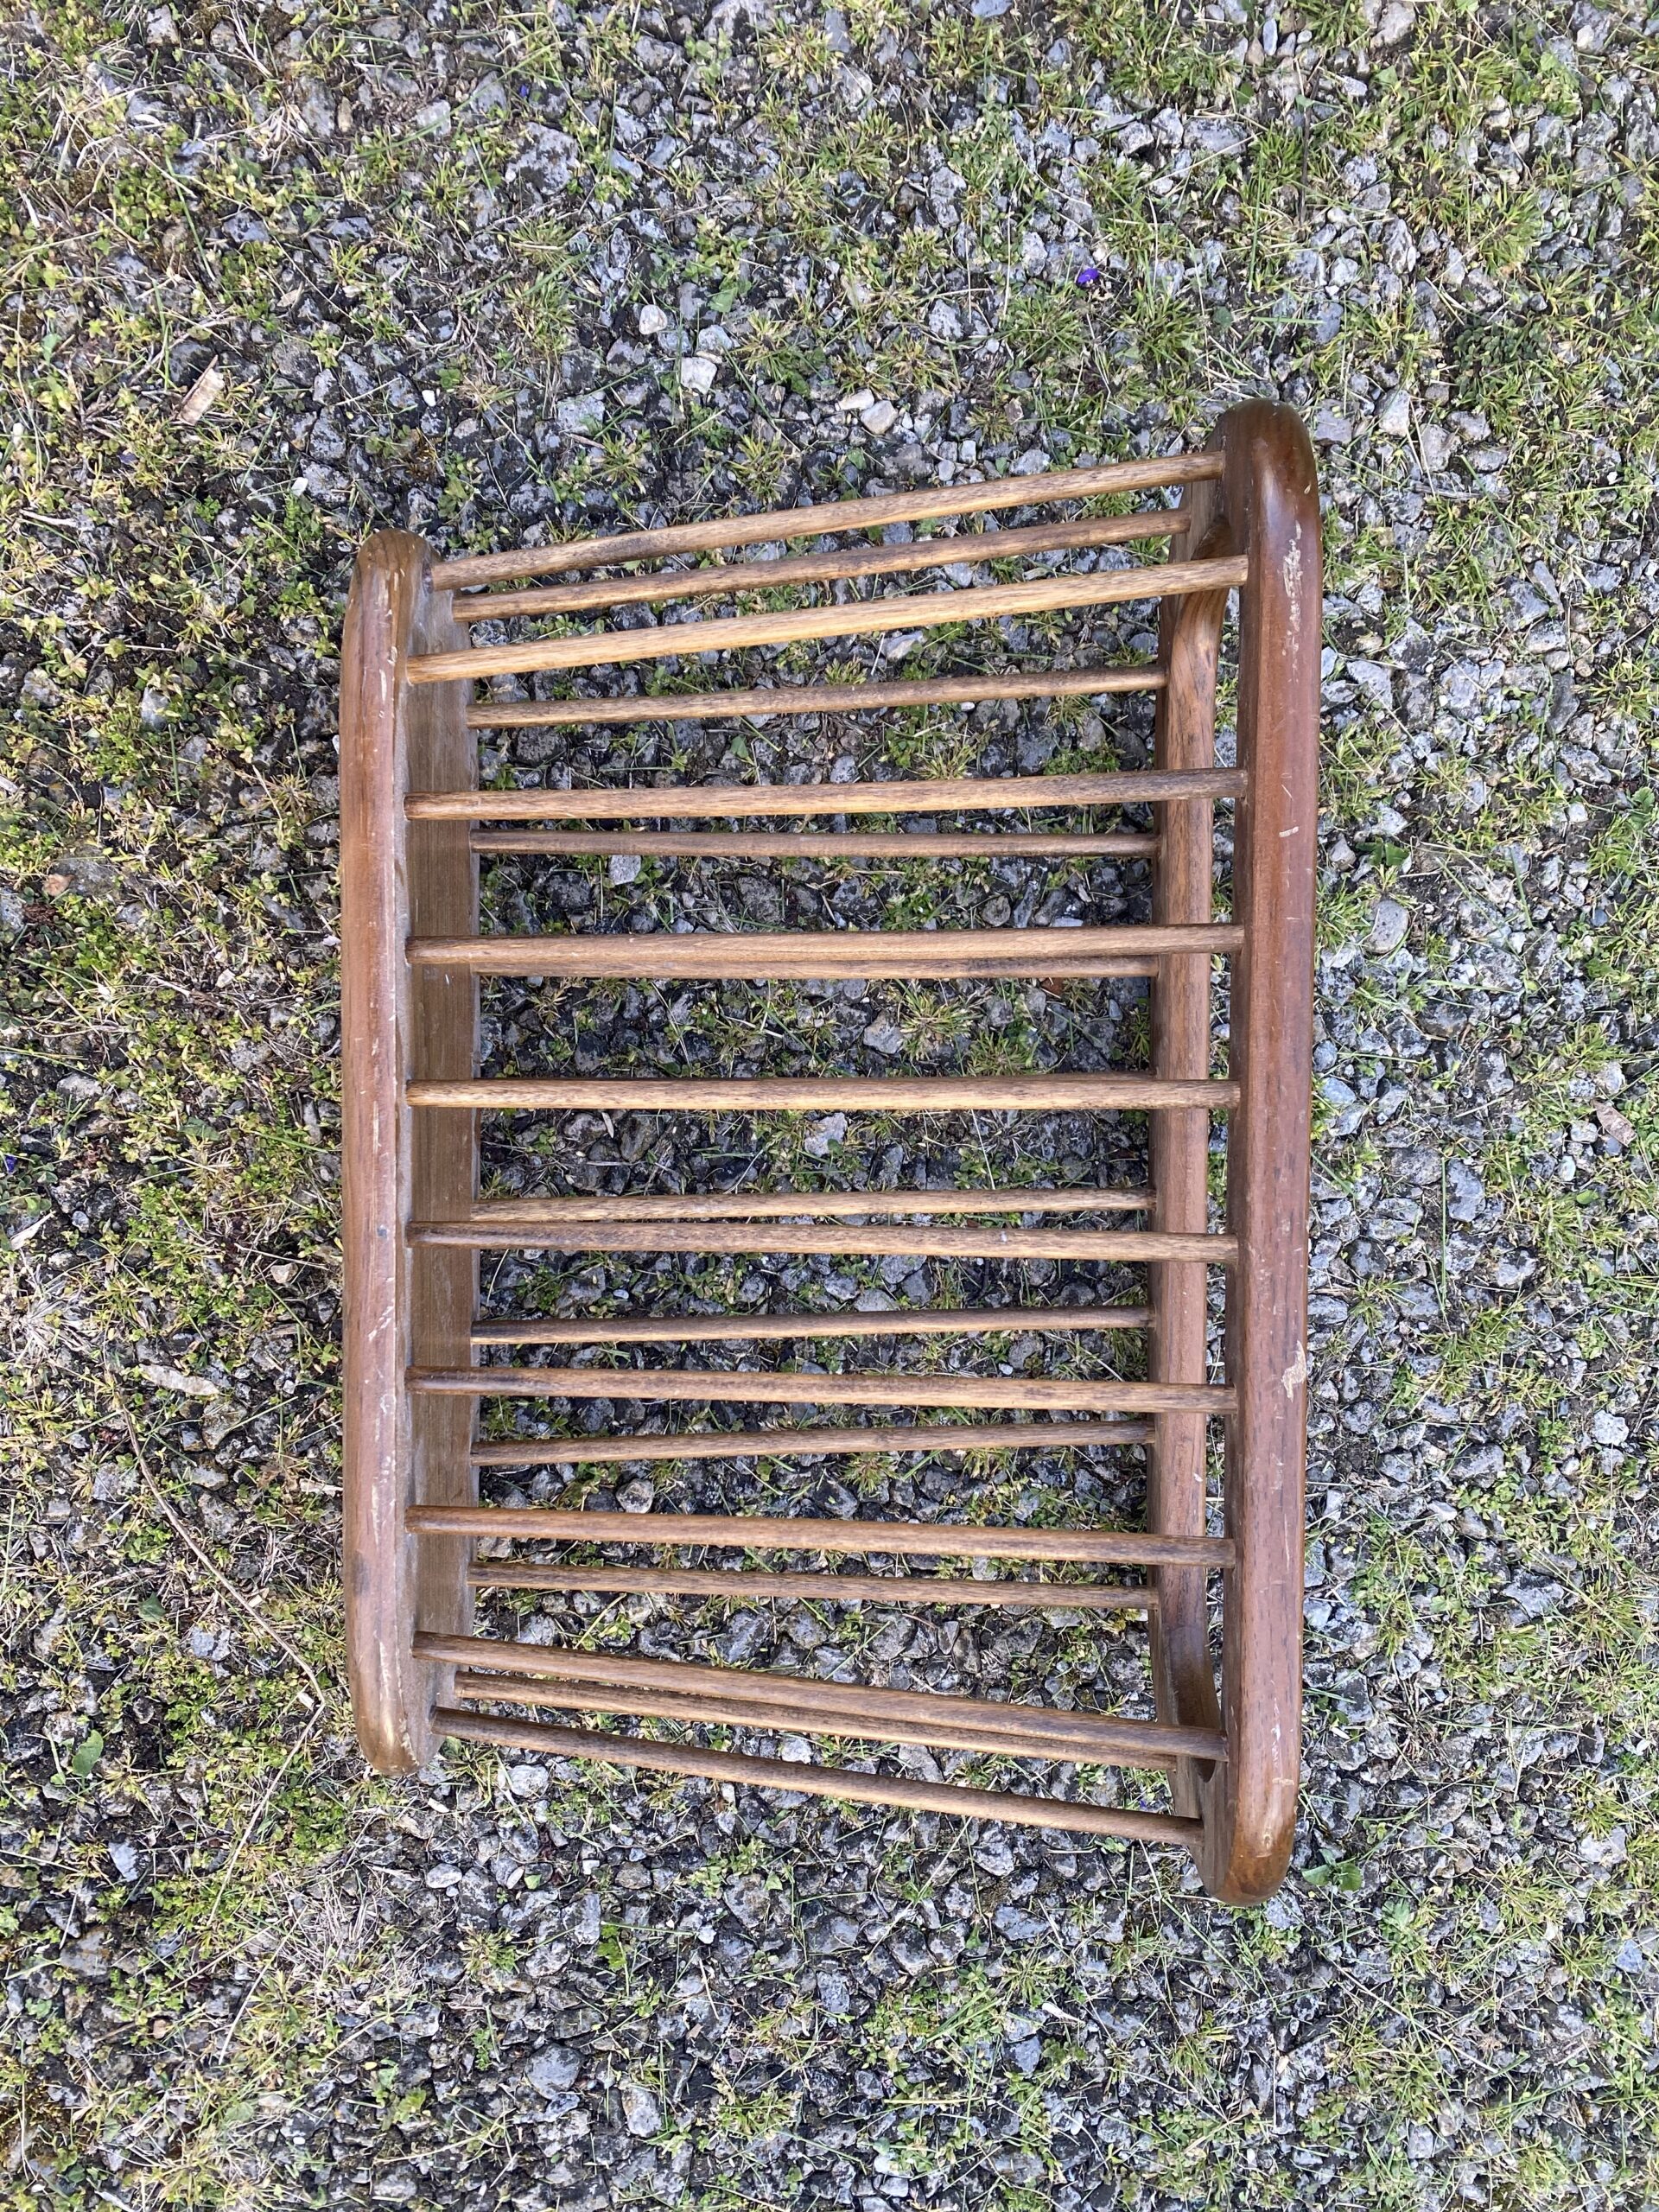
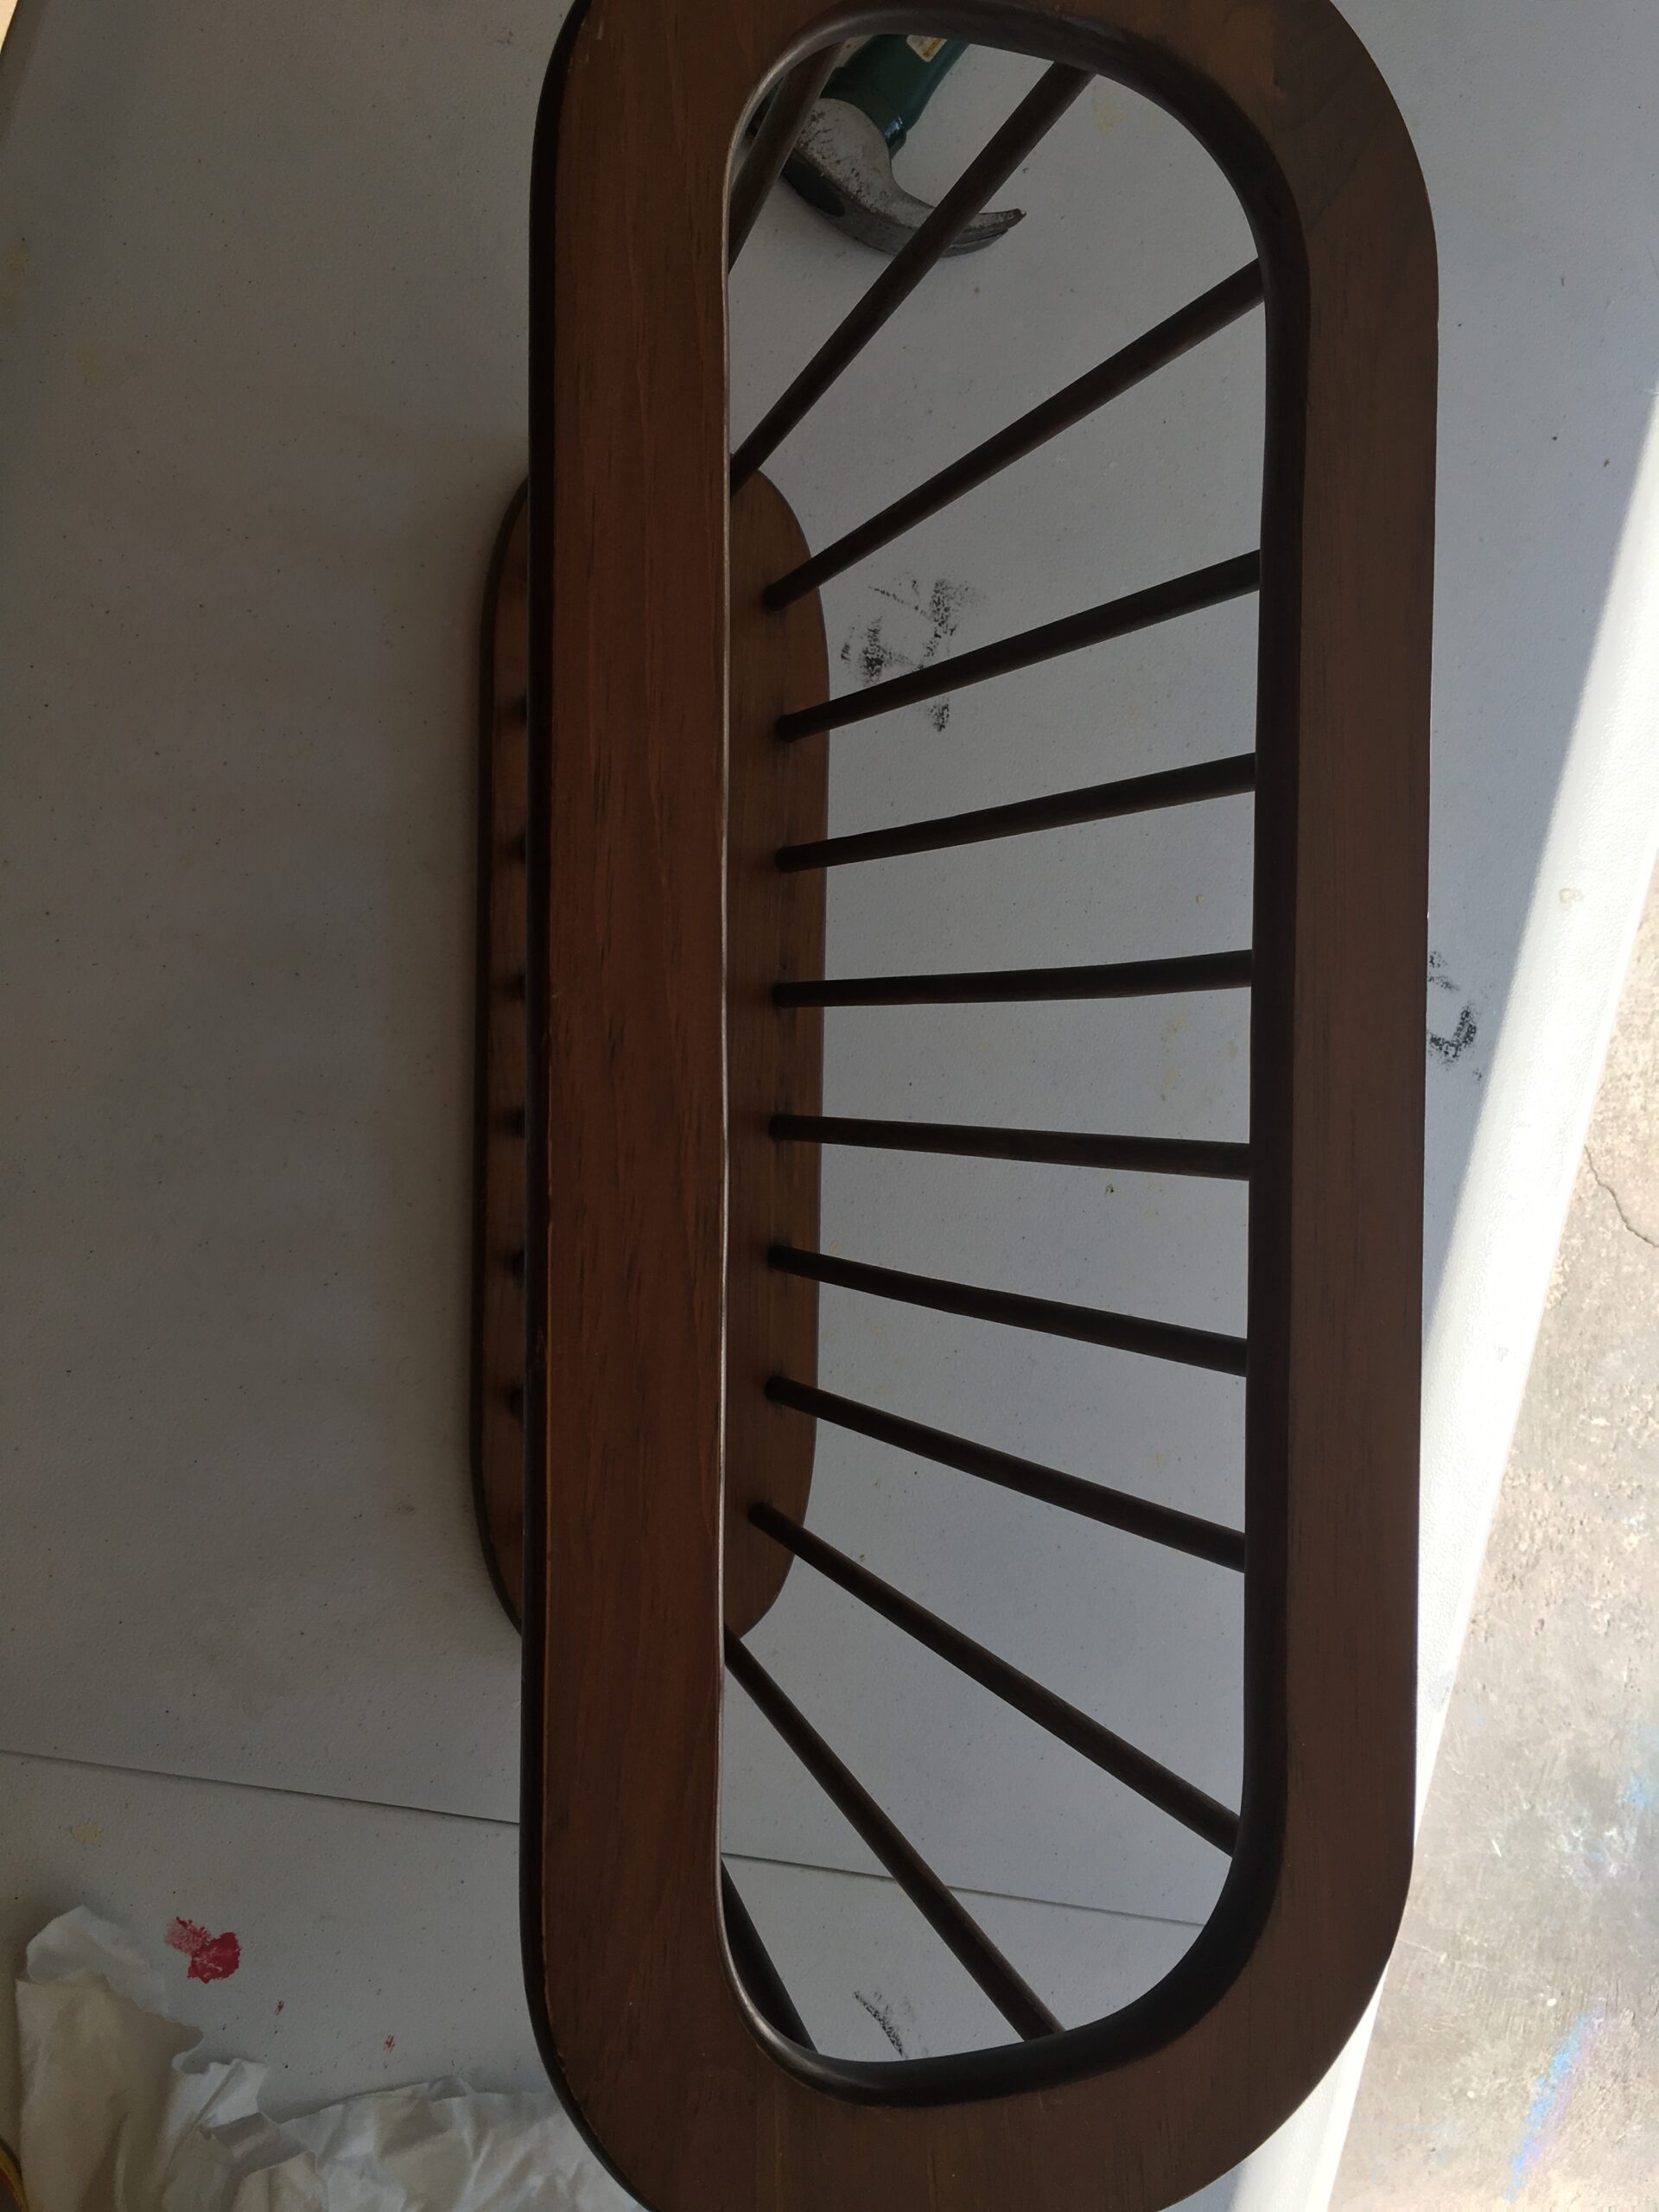
My wife Casey is the crafty one while I am not that crafty but am learning more as we continue to do more work. Casey is much more of a painter than I am. I want to be able to help in the projects as much as possible but I knew any project that involved painting would turn into Casey doing the majority of the work with the paint. So instead of painting I thought I could start staining wood projects and between the two of us, we would be able to work with a lot of different items. Since I had never done any staining before, I was a complete novice. So I was looking for something on the smaller side that would not take as much work as something larger like a dresser or coffee table. This magazine rack I found on an online auction and was able to buy it for a very cheap price. This was going to be my project item to get into wood staining. Here was my journey the process. The above pictures was taken after getting home from picking it up after the auction ended.
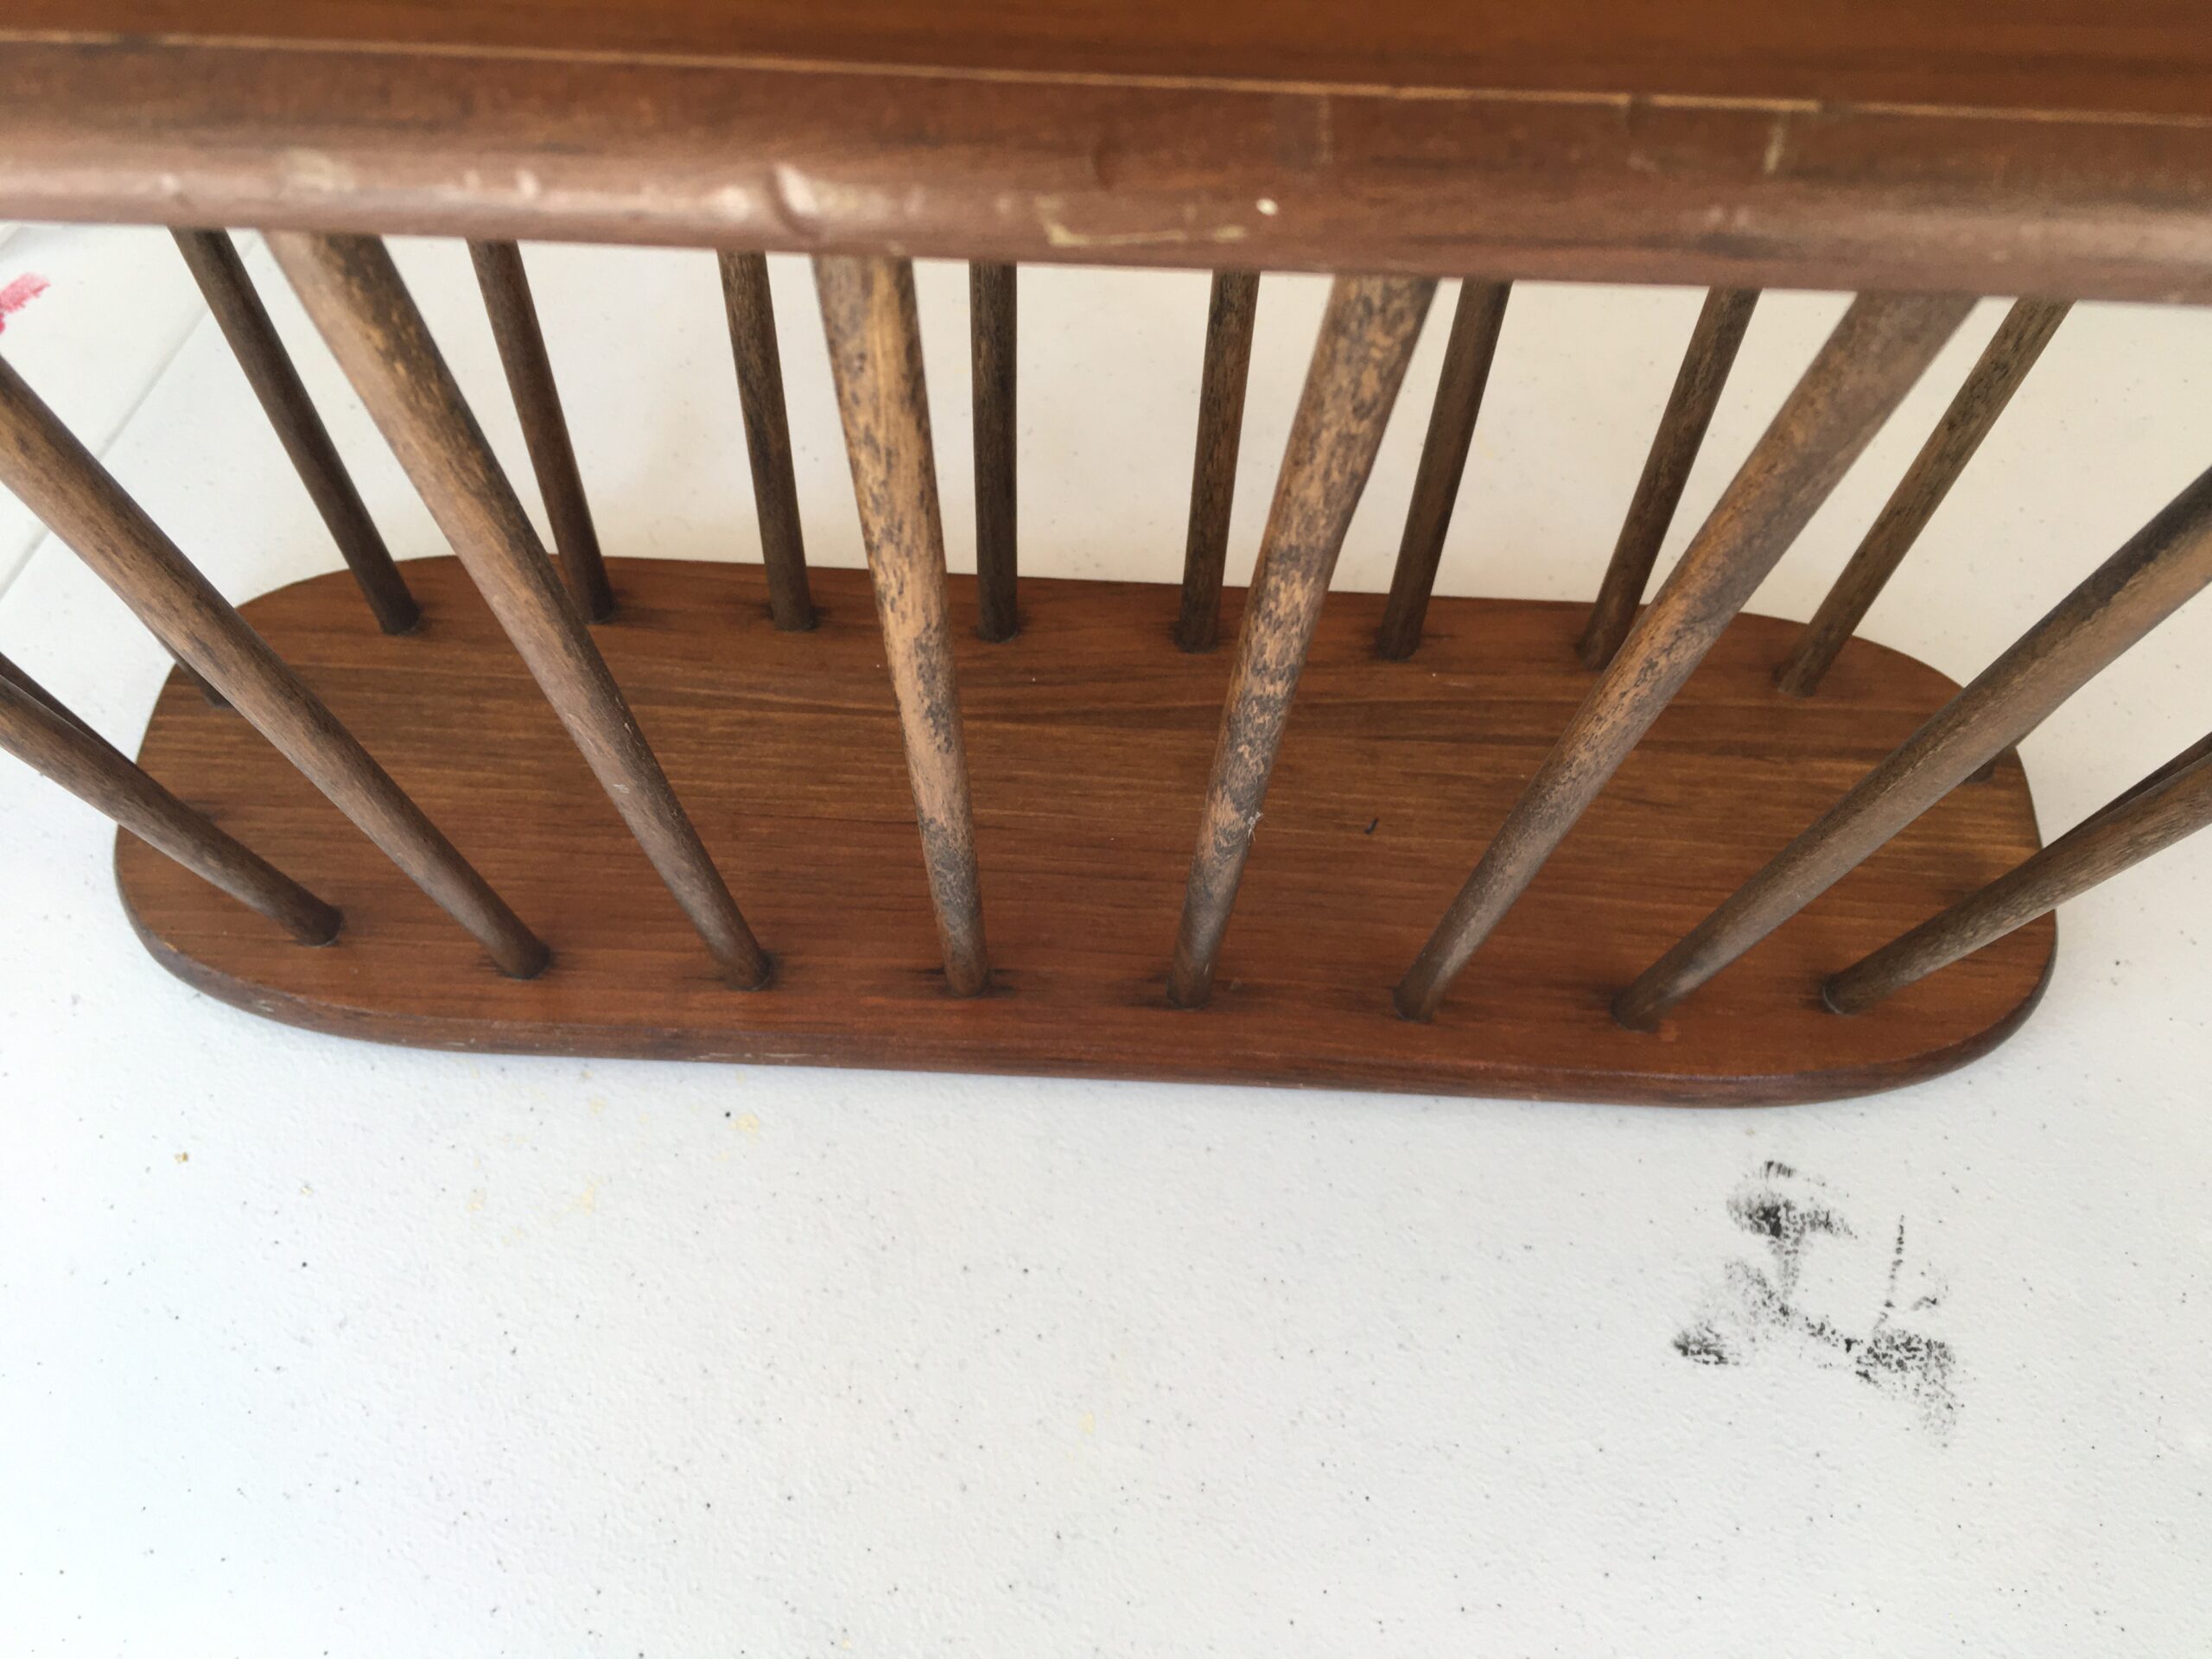
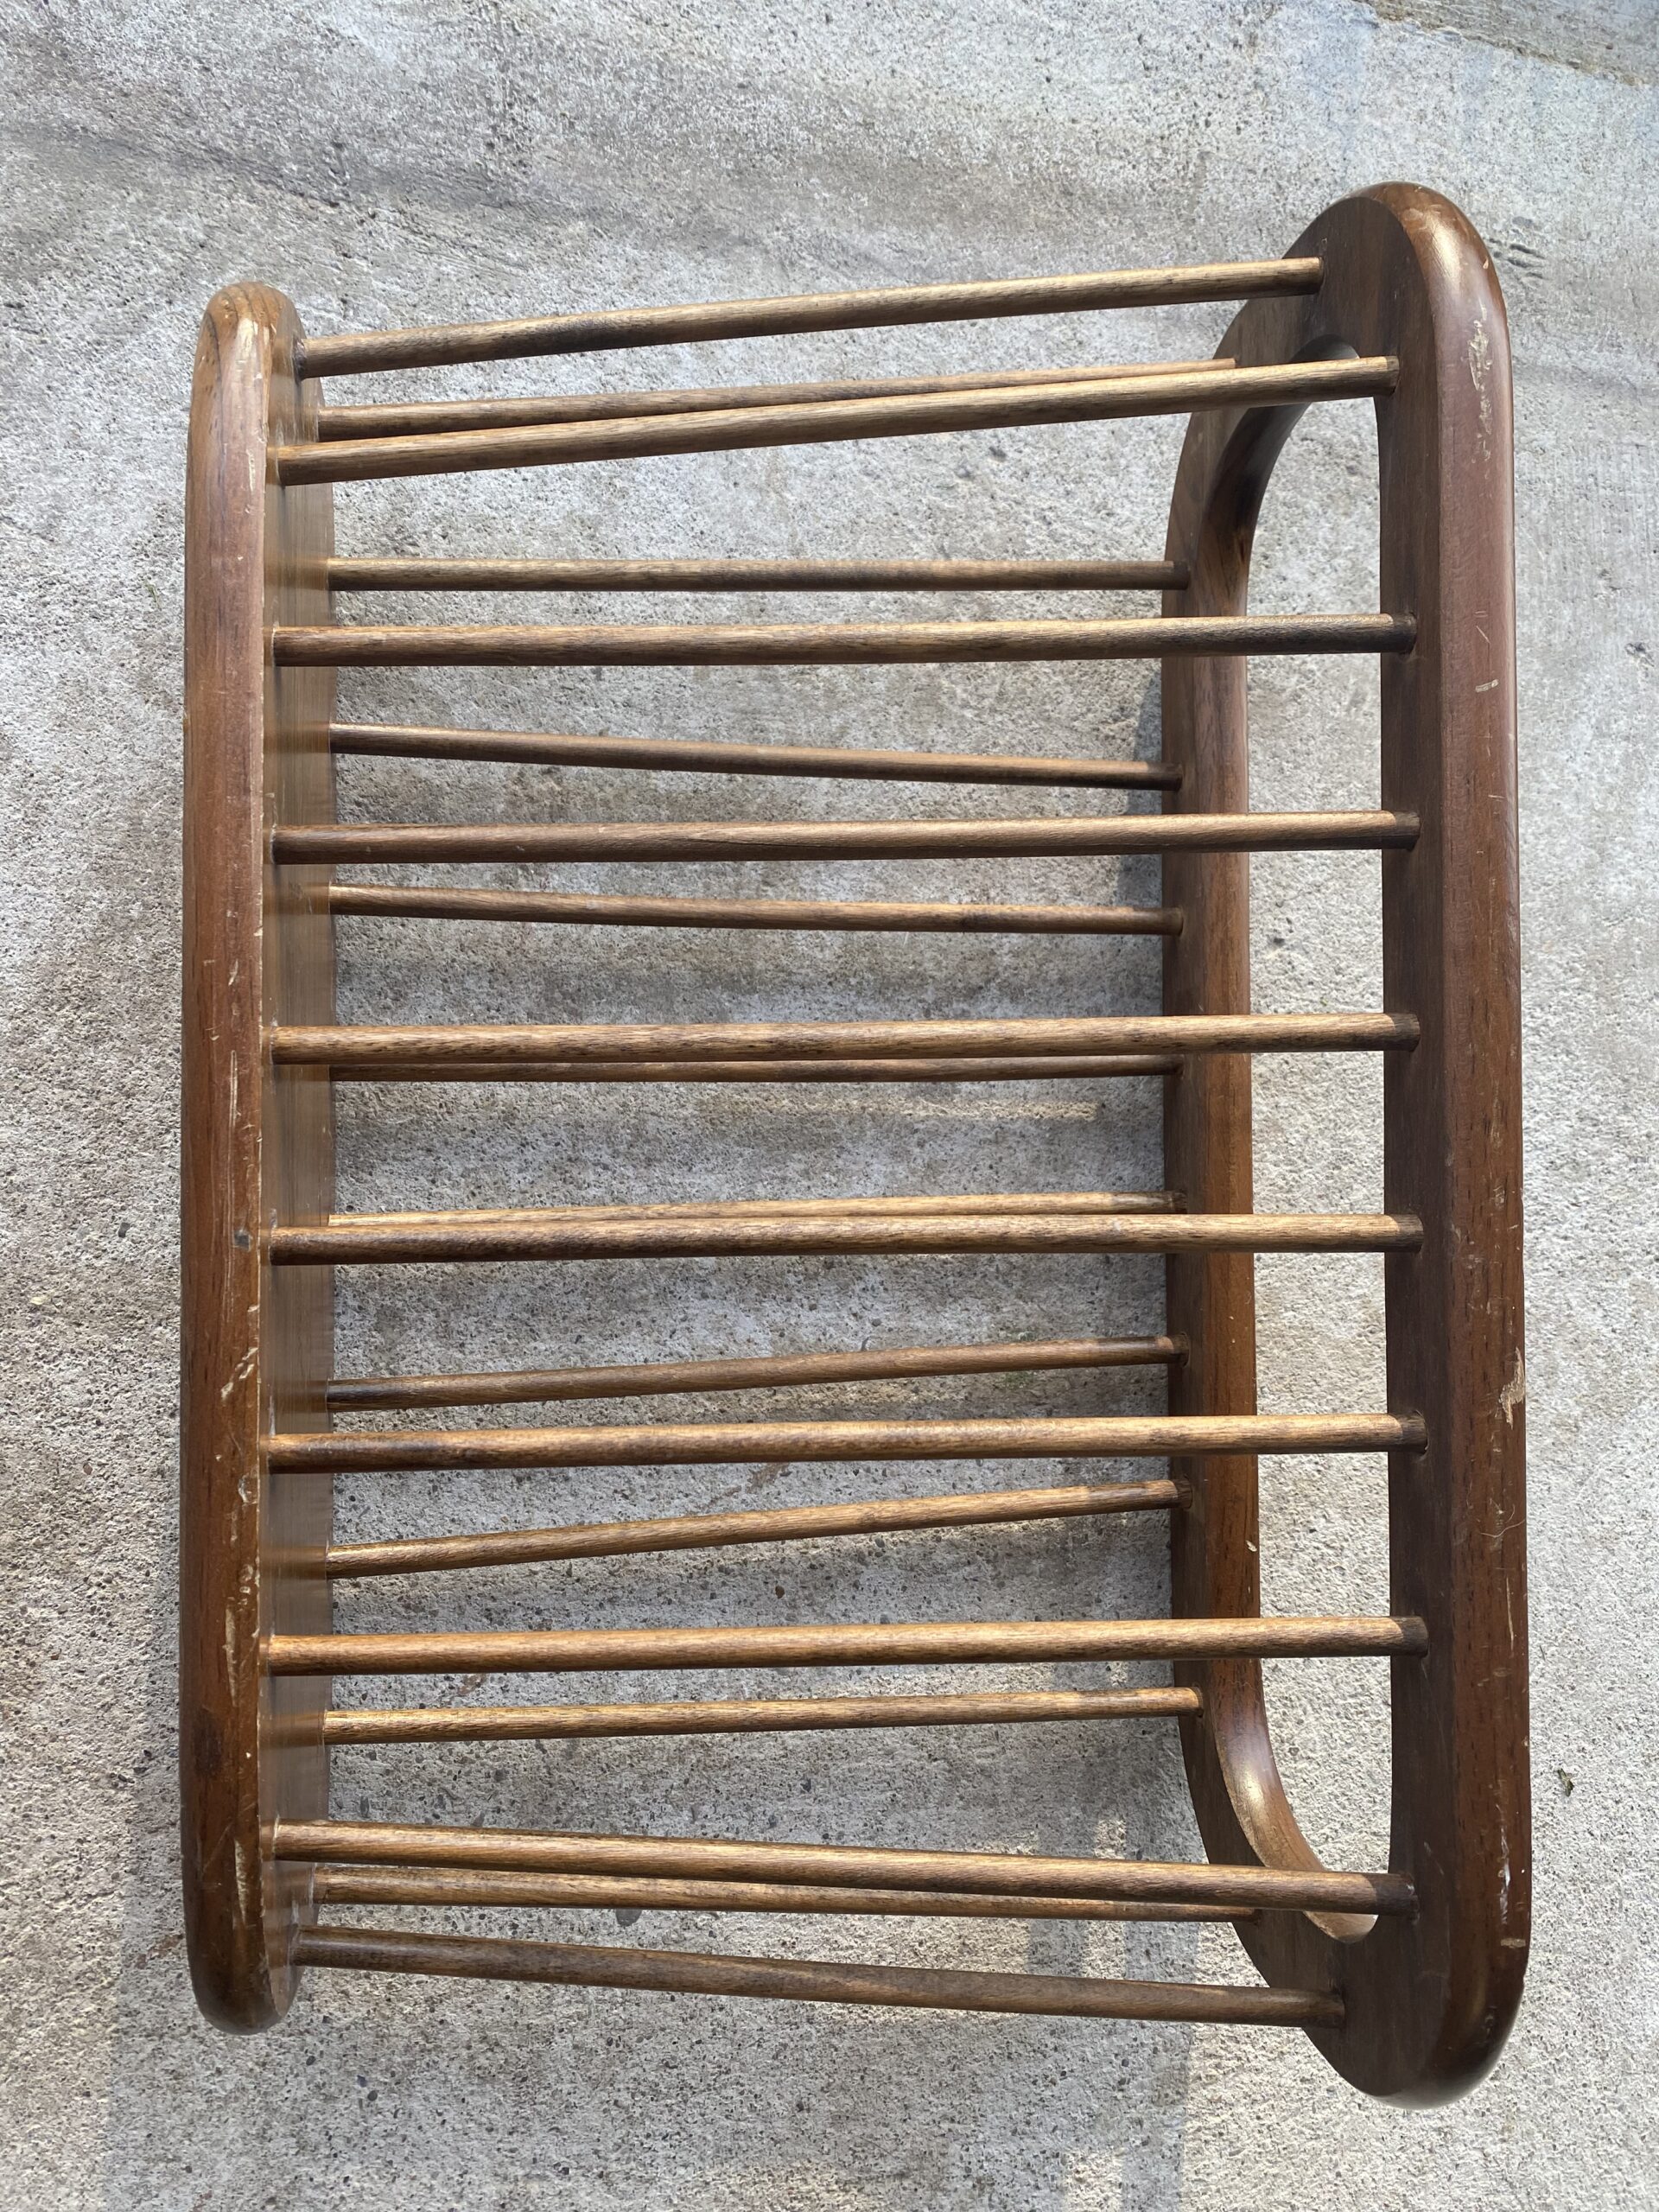
After getting the rack home, I wiped it cleaned using a mix of water with just a little bit of cleaning vinegar. This mixture helps to clear all the dust off of it. The mixture does also seem to bring it up to a little shine and make it appear not so old. After cleaning it and letting it dry I then sanded the rack using three different coarse hand sander blocks. The first sand block is 120 grit sandpaper. The second one is 150 grit. The last one is 180 grit sandpaper. I go over every place on the rack first with the 120, then the 150 and finally the 180. The 120 grit sandpaper seems to take off the most and makes the entire surface of the rack smooth. Any points or major nicks get smoothed over. The 150 grit sandpaper then goes second. It continues what the 120 grit started in making a nice smooth surface. Any rough edges are now being taken out. Once going over the rack with the 150 grit paper, the 180 grit is then used on the rack. This last sandpaper takes out all the little minor nicks that are on the magazine rack. It helps to leave the surface of the rack ready to be either painted or stained. We are eventually going to get a power sanded but early in this process of learning how to refurbish furniture, we have decided to just use hand sanders. After sanding the rack, it is again dusty with the bits and pieces of what we taken off the magazine rack. So I wiped down the rack using the mix of water and cleaning vinegar. From the above pictures, the rack is still showing its age. The surface is clean but there is little color changes throughout the rack. So it is now finally time to apply the stain.
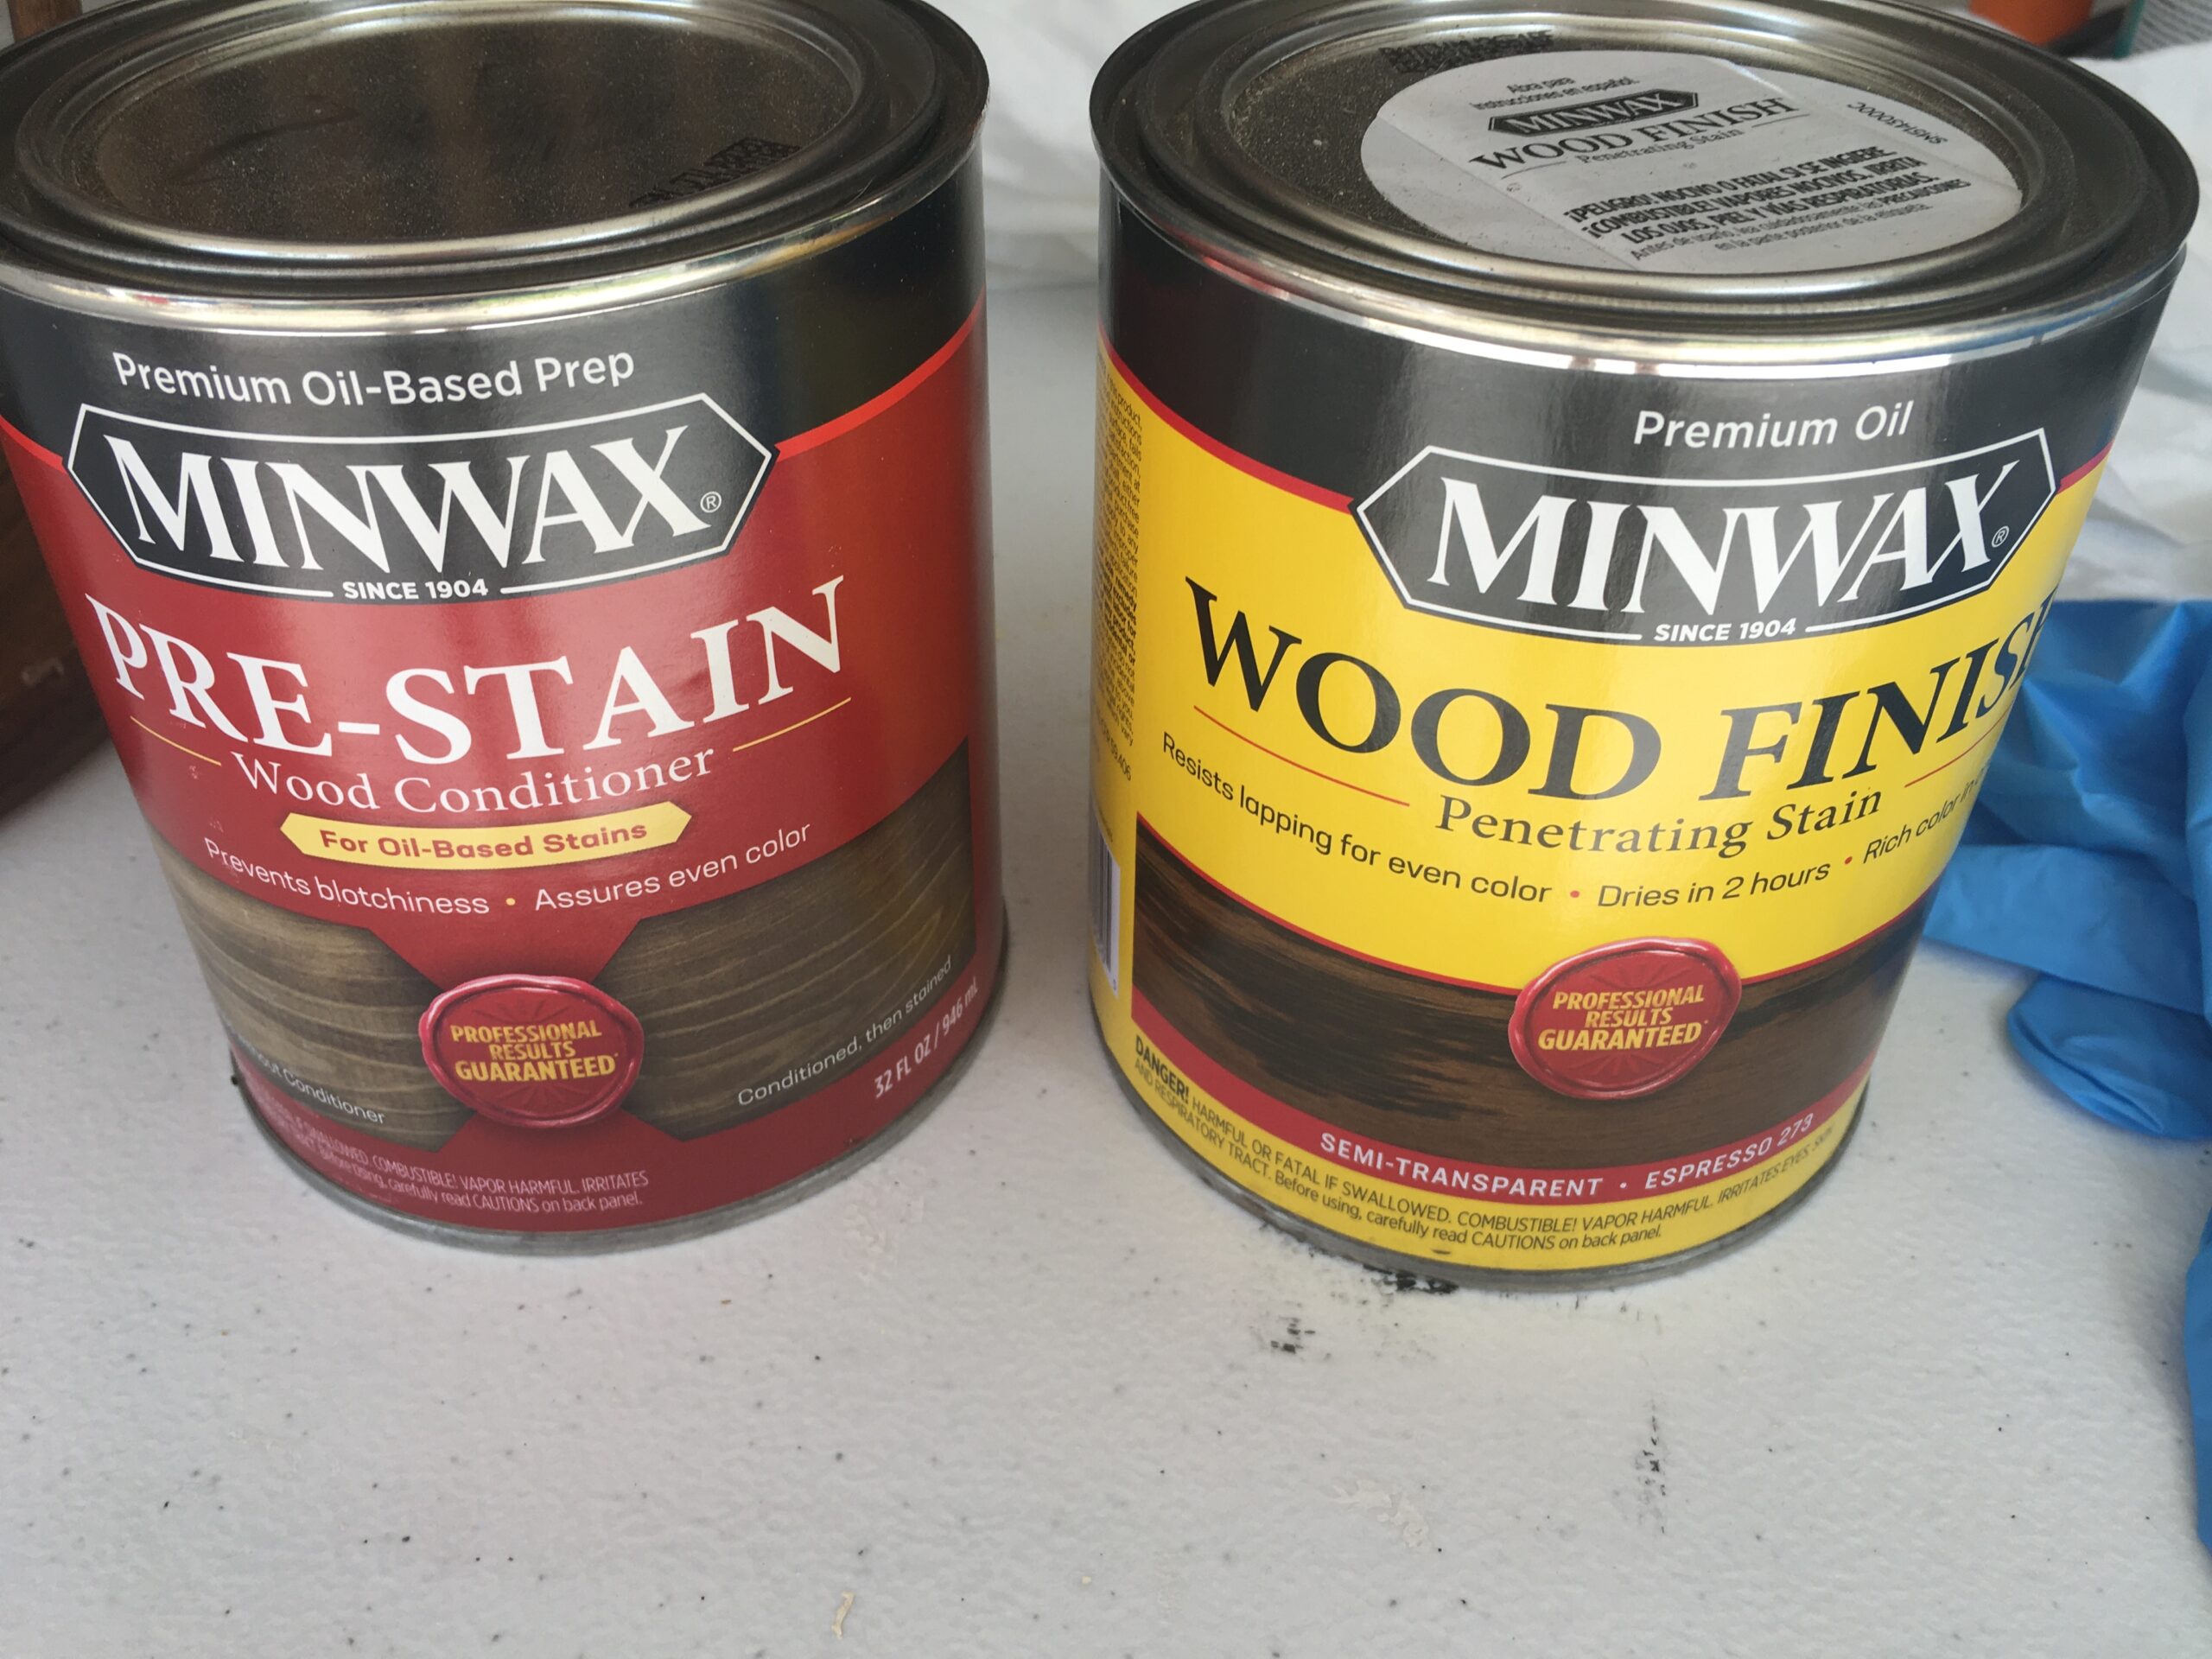
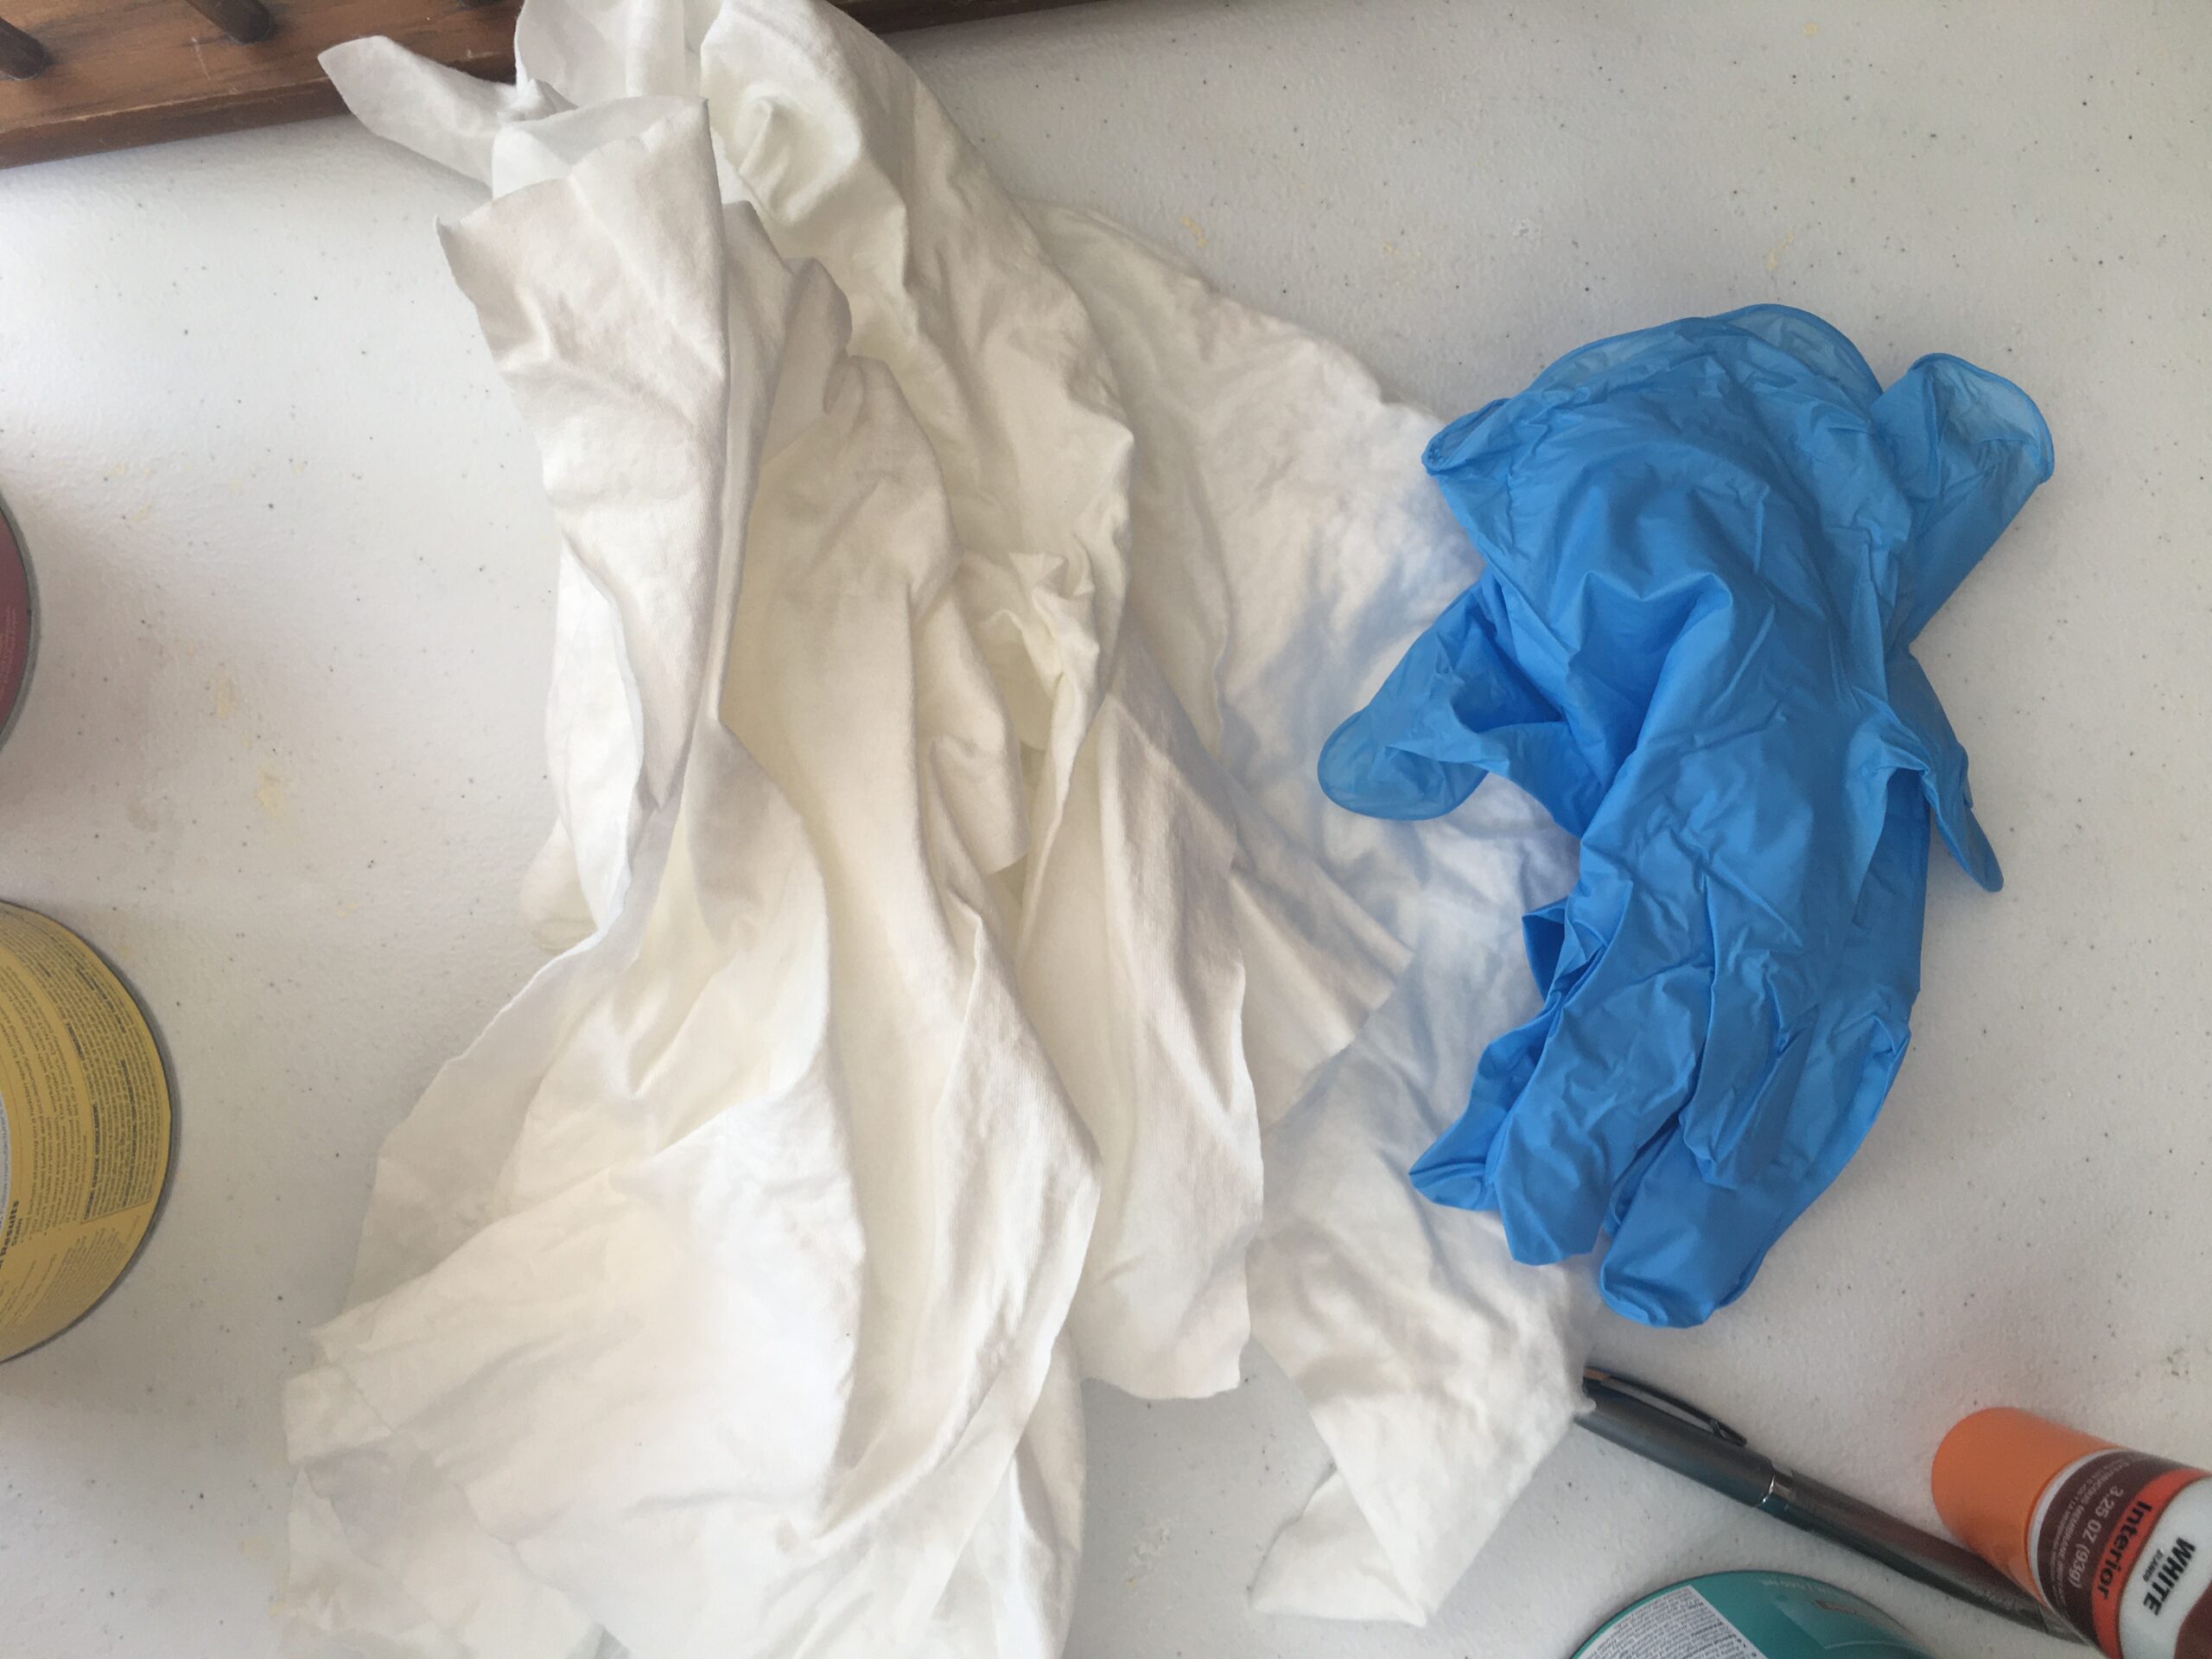
I did read some things online about staining and just a generally process of how to do it. The first thing is to wear disposable gloves. The stain will stain anything it touches including your hands so wear gloves. I got a big box of gloves off of amazon for a small price. I did not want to have stained hands so that was a must buy. The second item in the picture is staining or painting rags. They are natural fiber and lint free. The lint free is what you are looking for if you are doing your own staining. I have read that staining rags as well as foam paint brushes can be used for staining and I have now tried both. Foam brushes can be bought at Lowe’s for about a dollar a brush. Casey uses foam brushes for a lot of her painting. The staining rags here are about $13 for a 50 pack. In my opinion the rags work so much better then the brushes. It is much easier to cover the entire area of the item using rags then it is using a brush. The rag is able to get into tight corners better then a brush. Also on this magazine rack the circular spools were easy to stain using the rag whereas I think I would have had difficulty using a brush. I will be using the staining rags going forward on my staining projects. As I got all the wood conditioner and wood stain and gloves and rags and was going to start my first stain on this rack, I was looking over the wood stain safety items I had to stop the project. The rags with the wood stain could combust after use. I was not interested in something catching fire while I was working on the rack. After reading about proper disposable and how to prevent the rags from combusting, I saw the solution that was the most time efficient for me. However, I had to wait for a little while before I could start the staining project again. My solution was to get an empty paint can and fill it up a little over halfway with water. After using a rag with the conditioner or stain, I submerge the rag into the water filled paint can and let it soak in that water. It is a quick and easy solution. However, I still take the precaution of sitting the paint can outside just in case it would combust even under the water. After letting the rags soak for a day, I can take them out of the paint can and sit them out to dry.
I AM A NOVICE. I AM NOT AN EXPECT. EVERYTHING YOU READ IS DETAILING WHAT I AM DOING AND IS NOT ADVICE. YOU TAKE ON ALL RESPONABILITY IF YOU FOLLOWING ANYTHING I AM ATTEMPING. IF YOU ARE WORKING ON SIMILAR SITUATIONS, PLEASE BE SAFE AND SECURE IN ALL OF YOUR DECISIONS.
Here is the process I follow when staining any object including this rack. The gloves stay on the entire time. I use four rags through the entire process. After I wipe off the the rack and make sure I have cleared all the dust off, I start and once the staining process starts it does not stop until it is done. First I take the wood conditioner and using rag 1, I apply the conditioner onto the entire rack. I make sure I get the entire surface with the conditioner. I do this by separating the rack into little sections and apply the conditioner into an entire section before starting the next section. Once I have applied the conditioner completely, I wait about 10 minutes. During this break, I get the wood conditioner canned and put back away. After the 10 minutes, I take rag 2 and wipe off any access conditioner that did not set into the wood. So I go back over each section and wipe away the surface. If too much conditioner was used then this will clear that off. I then wait 15 minutes. This gives the conditioner time to get into the wood and prepare it for the stain. Once the 15 minutes is up, I then repeat the process but this time using the wood stain. I dip rag 3 into the wood stain and wipe it onto the rack. The stain is easier to see where you have and have not applied compared to the wood conditioner. It does not take much stain to cover the entire rack. After the entire rack was stained, I waited another 10 minutes. After the 10 minutes, I took rag 4 and wiped away any excess stain that did not settle into the wood. After each round of wiping whether to apply or remove the excess the rag was put into the water can. After wiping the excess stain, I put the magazine rack off to the side and let it sit and dry for a day.
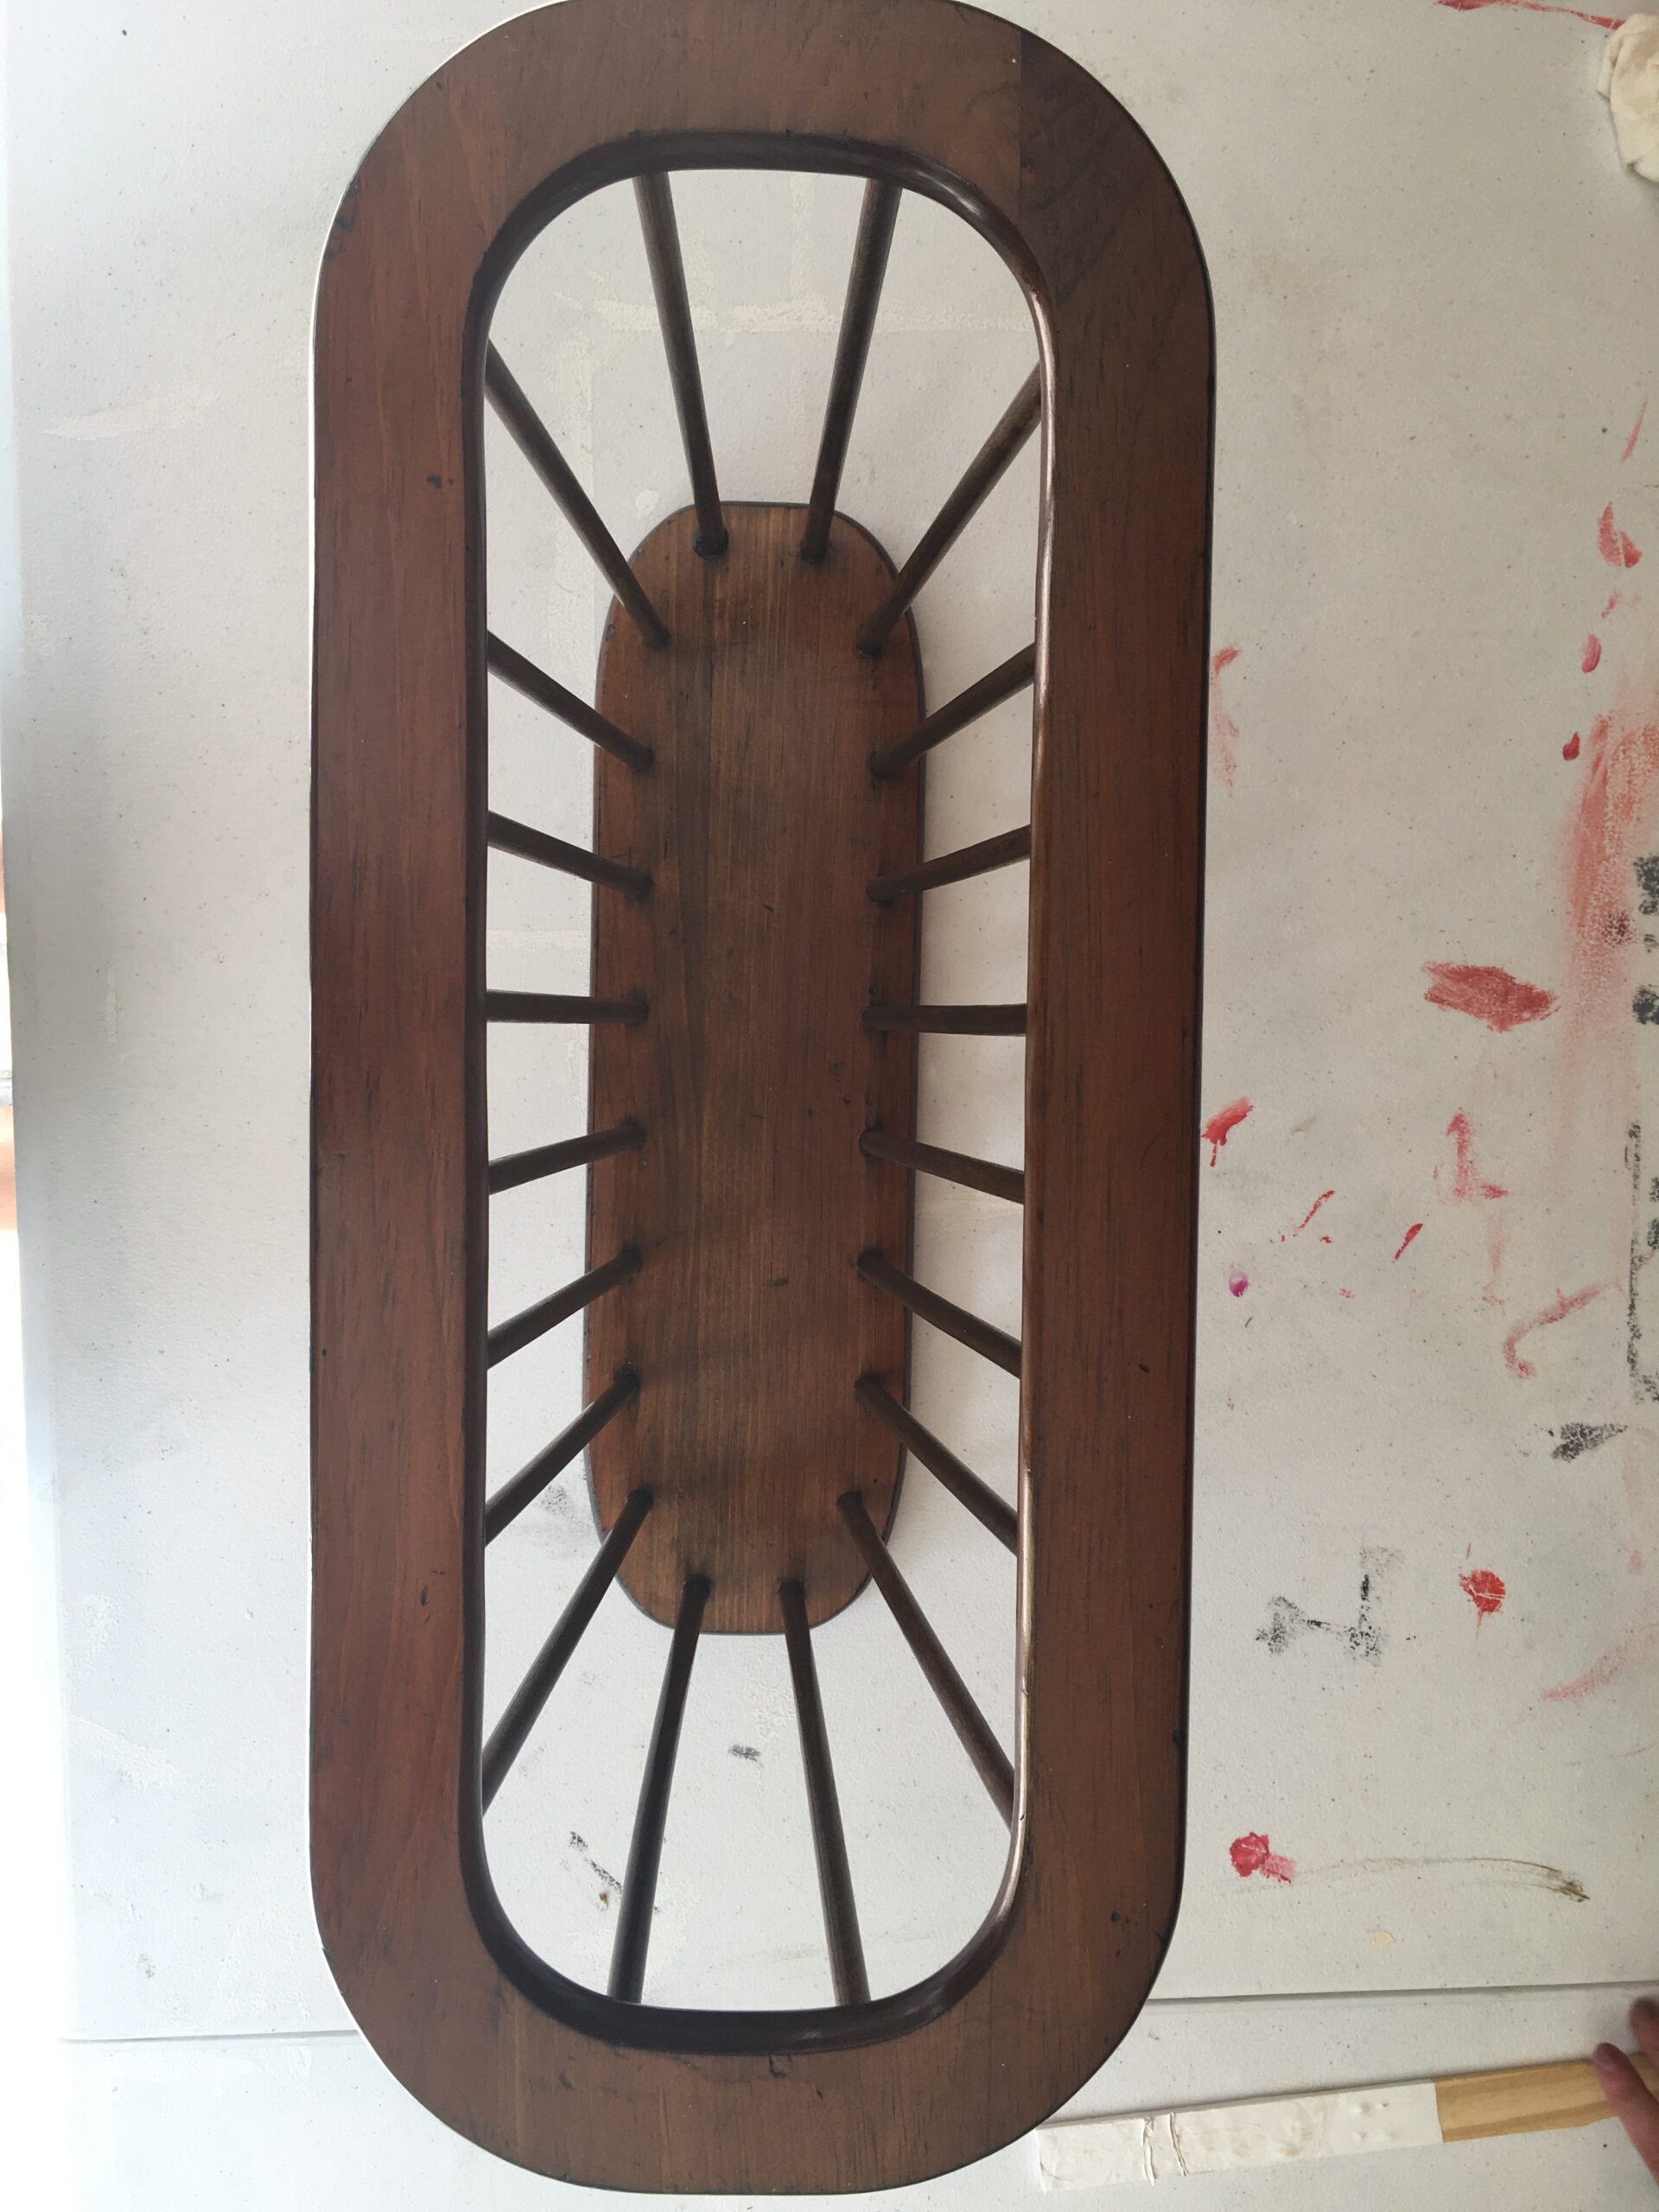
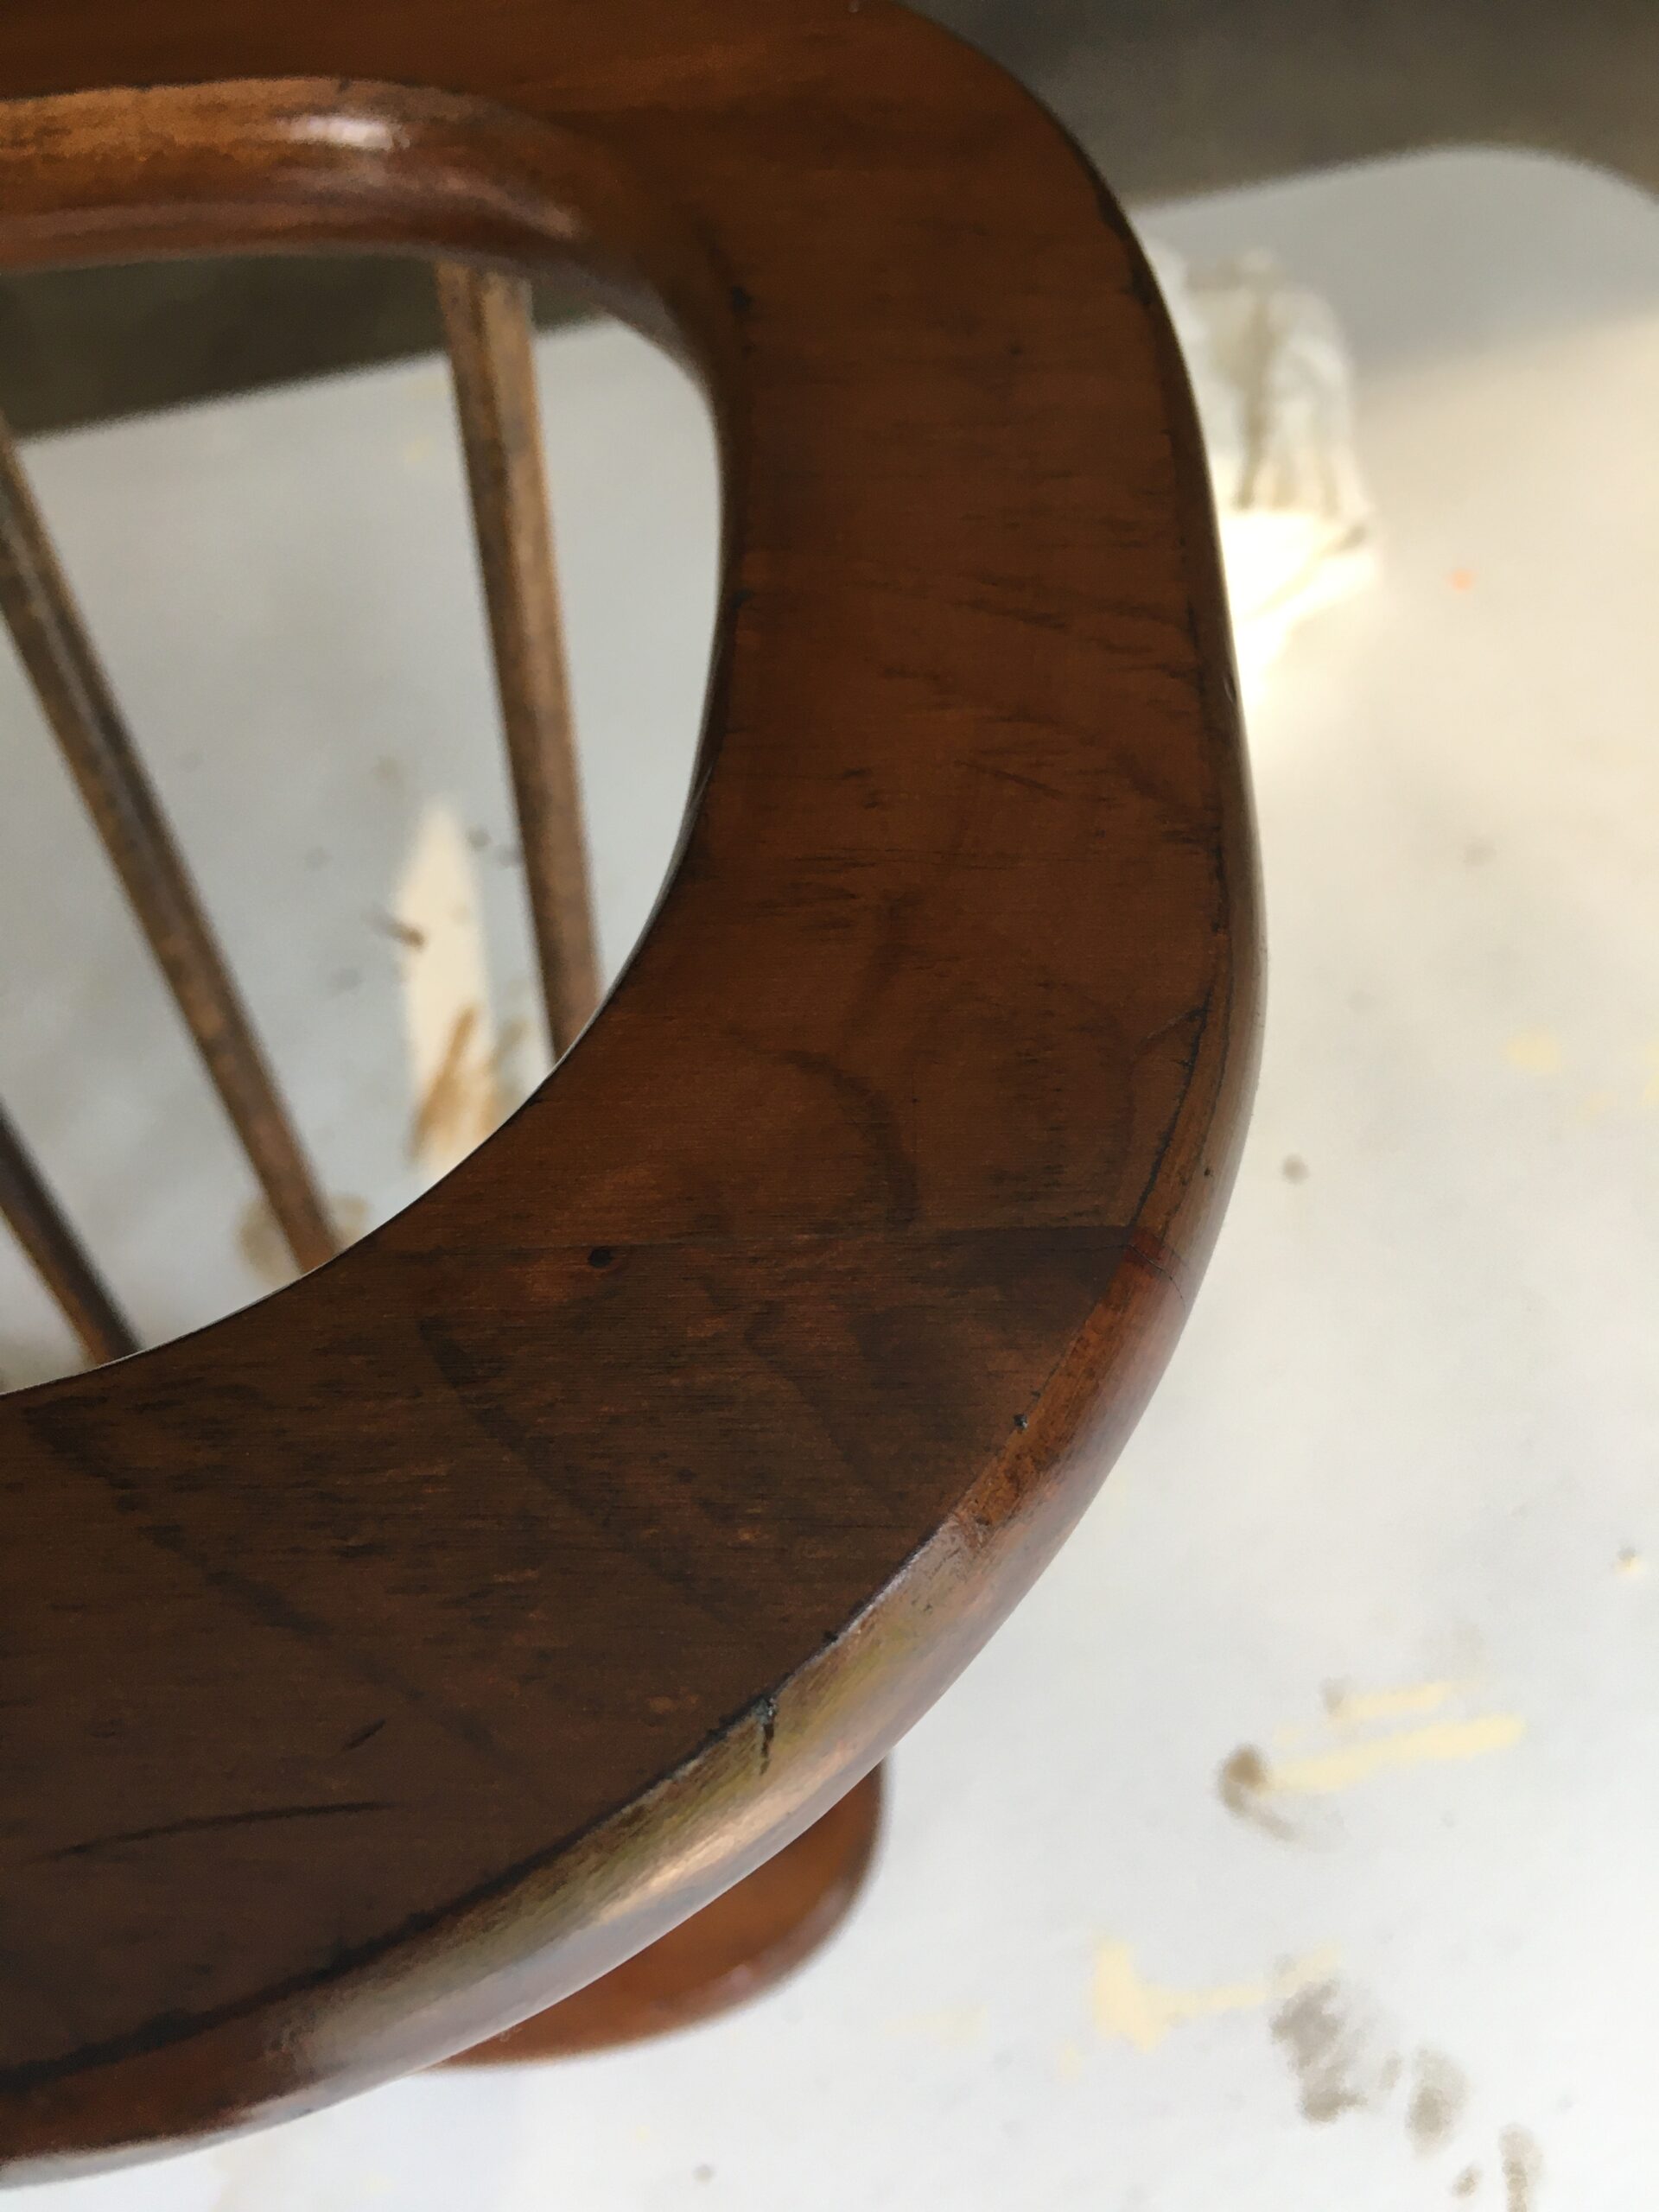
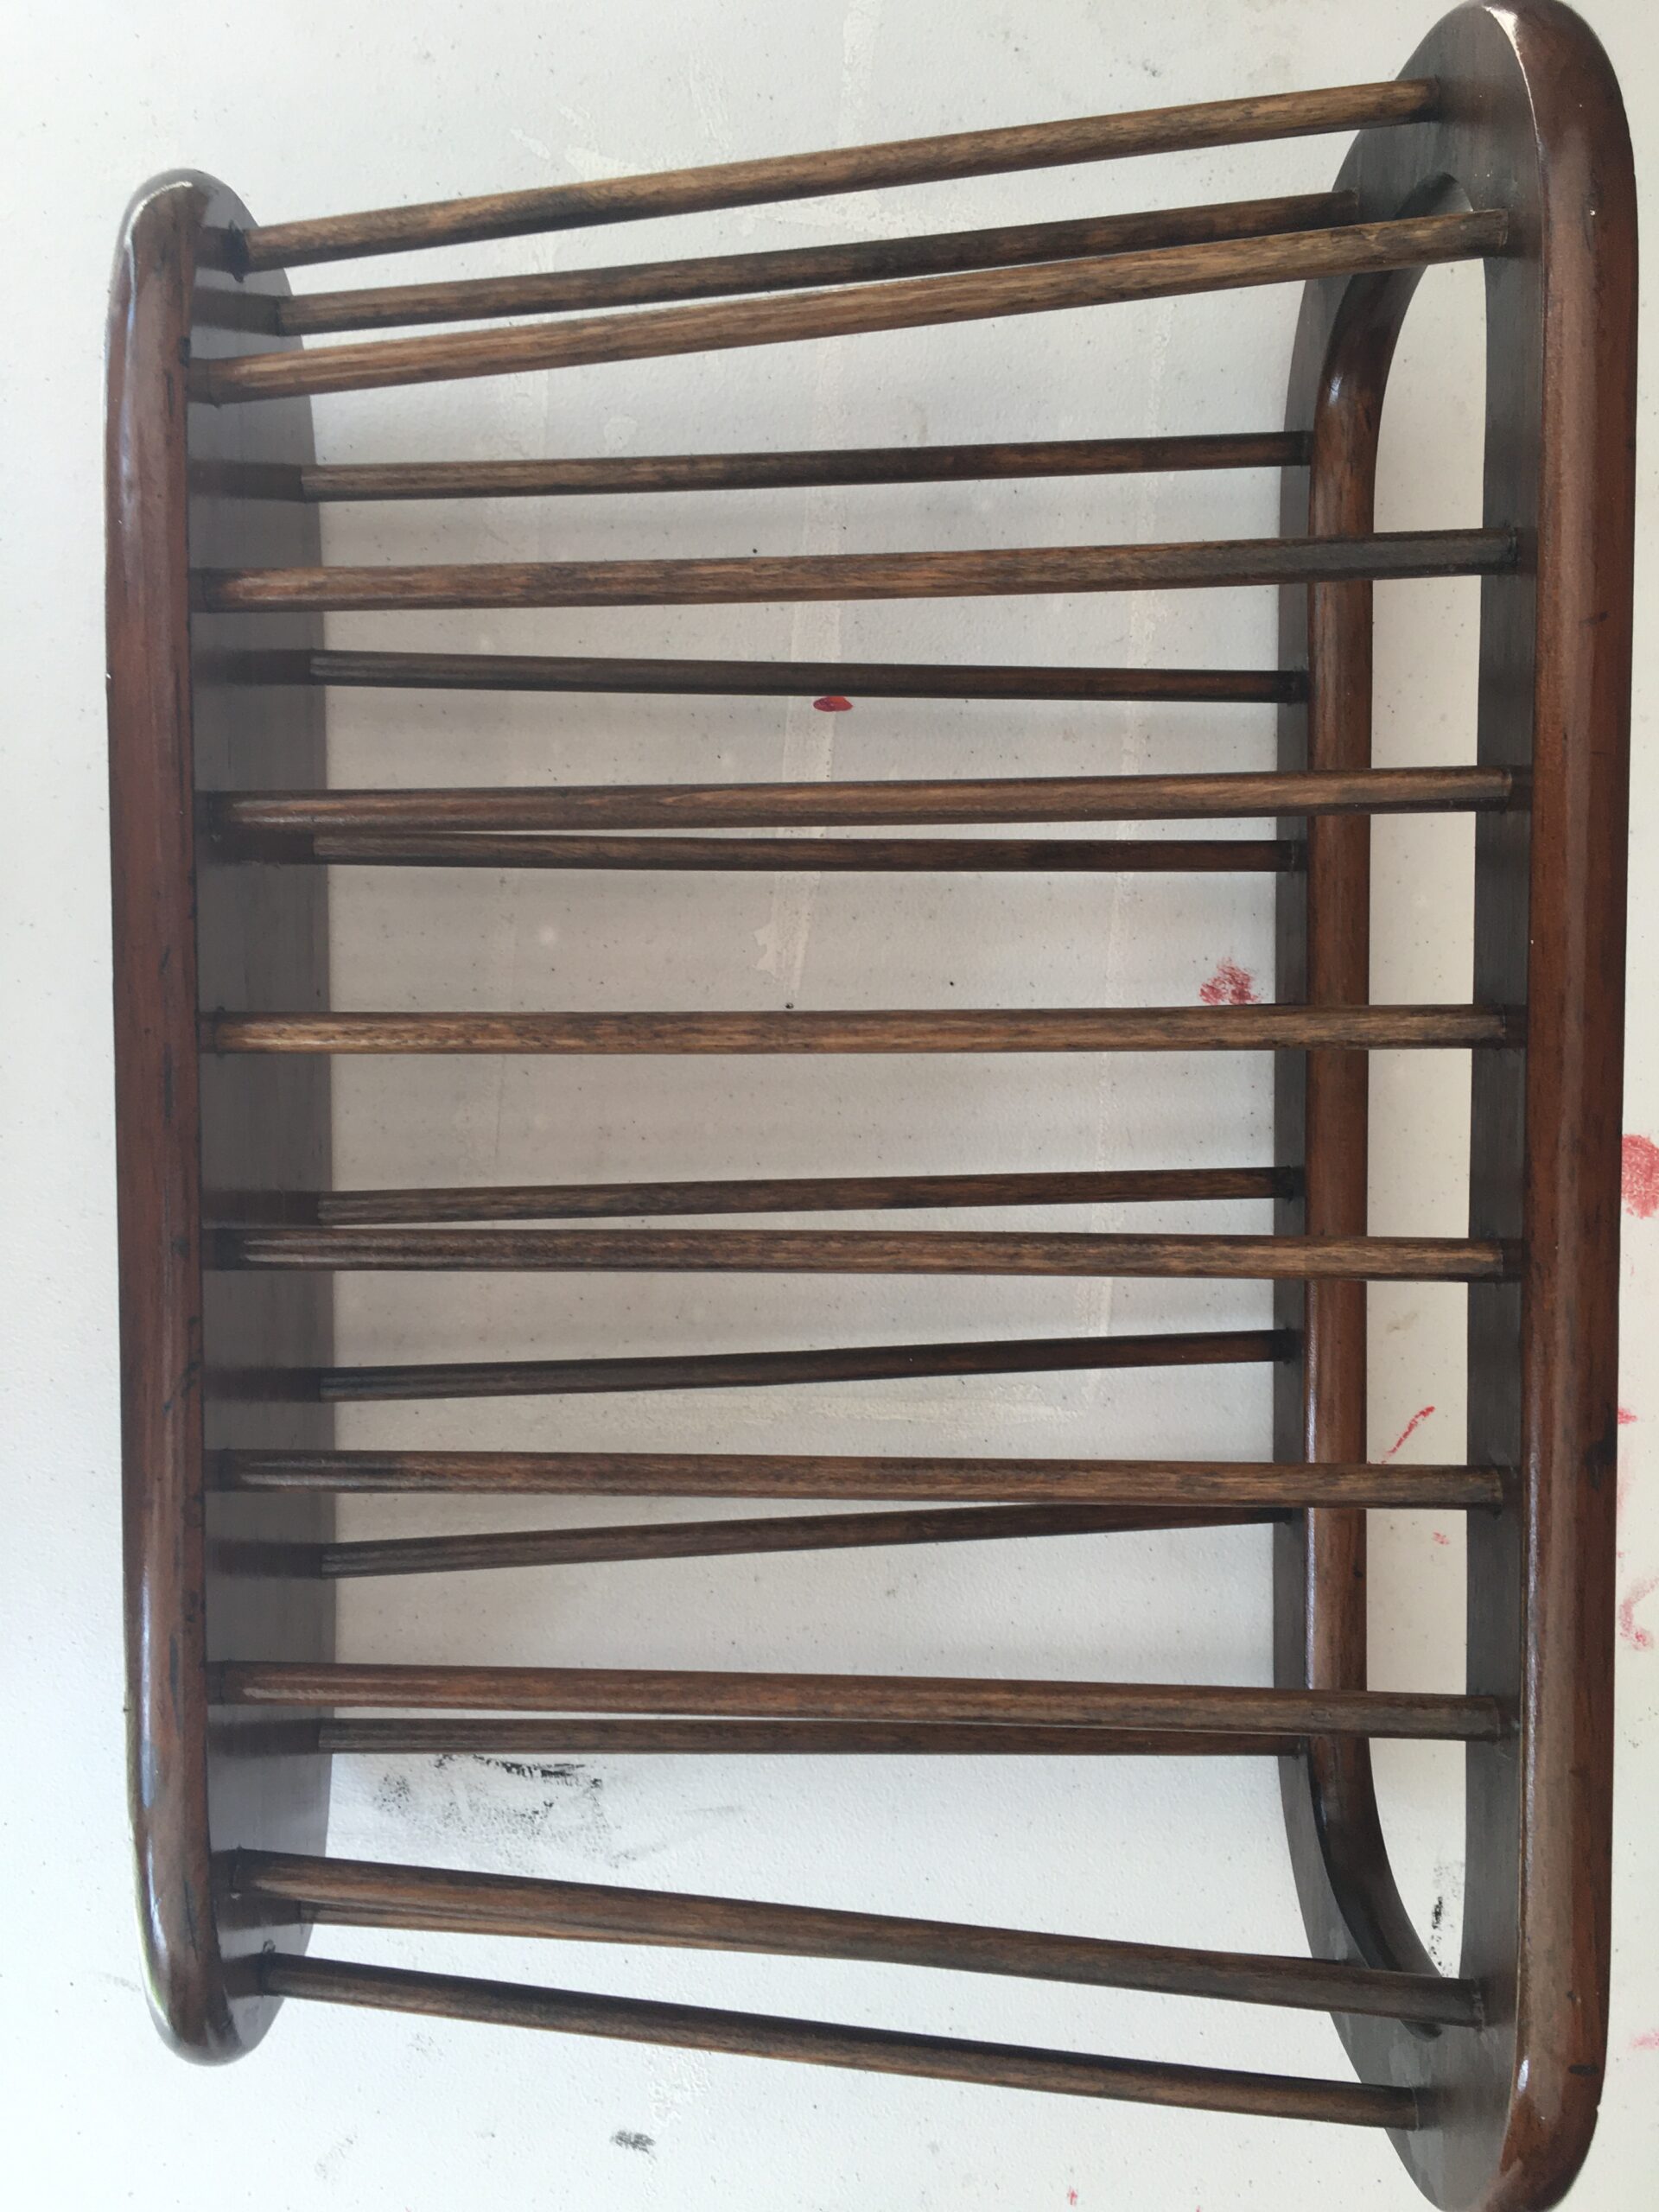
After letting it dry for a day or two, I applied a clear coat to add a layer of protection to the stain. The dull look of the wood before the stain is gone. The rack looks almost like new. The color and shine the stain has applied to wood brings a brand new look to the magazine rack. The rack is now completely one color and does not have a bunch of little discolorations like it had at the beginning when we first got it. Overall I enjoyed staining this rack and was proud to give some new life and look to an older magazine rack.

