In a auction bundle we bought, we had a seemingly throw away piece of a little tiny shelf. Since it was an online auction, we could only look at the shelf through the pictures. The pictures were set up in a way that made the shelf look good.
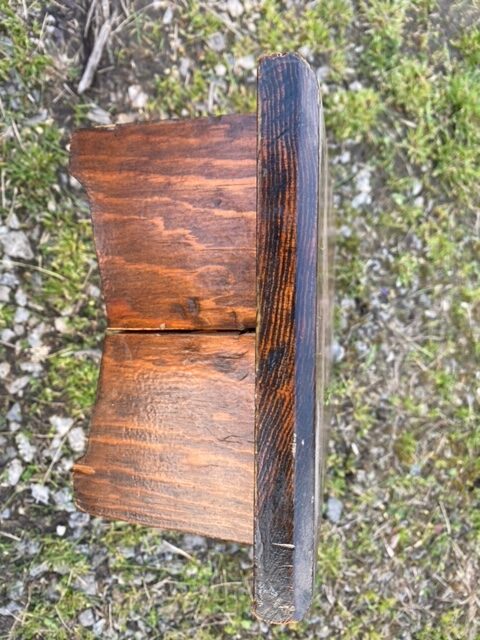
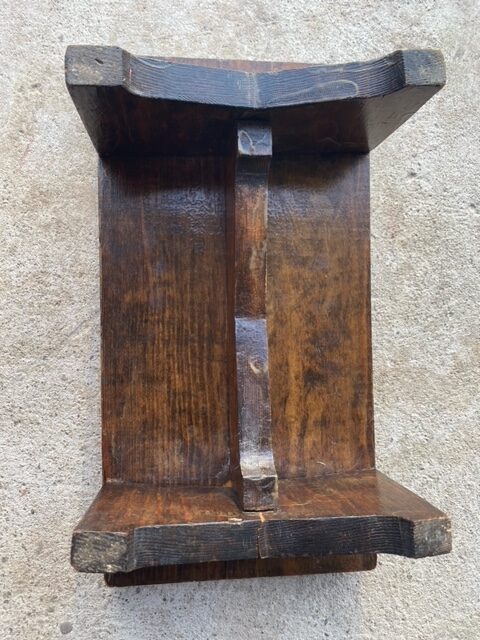
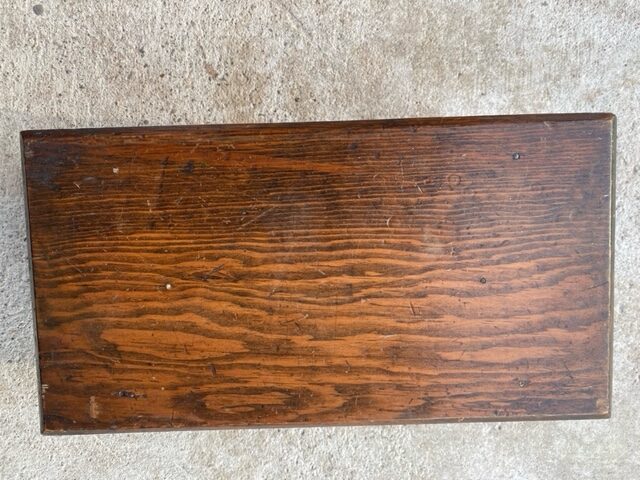
As you can see from the picture on the left, the brace piece was split clean in two. The online auction pictures were shot in a way that the split wood was never shown. However, this shelf was not the reason for the buy but just an added bonus item basically. We went ahead and cleaned the shelf. The wood was in good condition. The wood was never going to be a shelf again in its current condition so we needed to figure out what to refurbish the shelf into a new item. The process was a slow one as we thought about what exactly to do with the shelf. The first thing we could do was to get rid of the broken piece of wood.
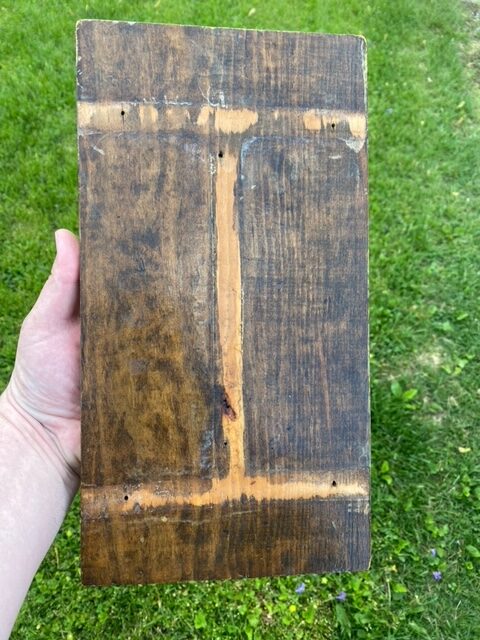
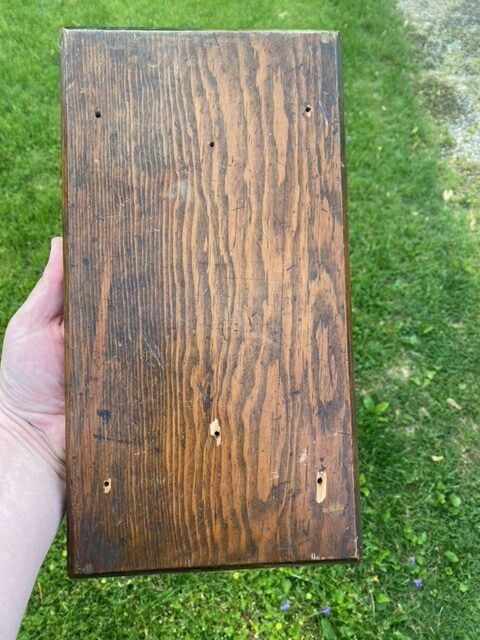
I took off all the broken piece of wood and with it everything that was attached to it. That meant removing all of the braces on the bottom of the wood. The nails were driven through the top to secure the braces so the nails had to come out as well. That whole process left us with a decent piece of flat wood. Again we were not sure what to do with it. So we just continued to do what we could until we knew what the end goal of the piece was going to be. So we had to fill in the holes left by the nails.
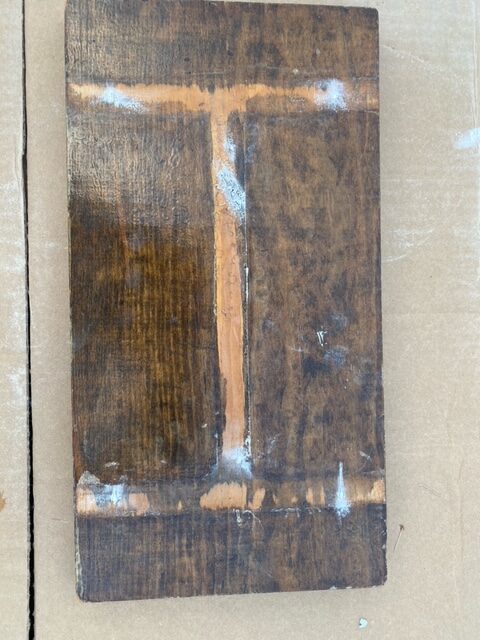
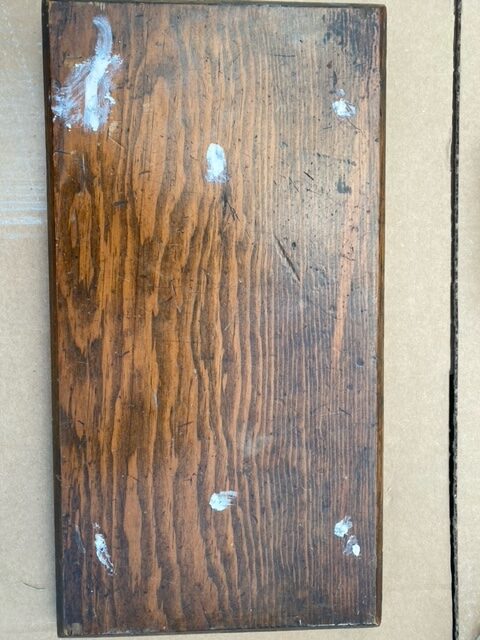
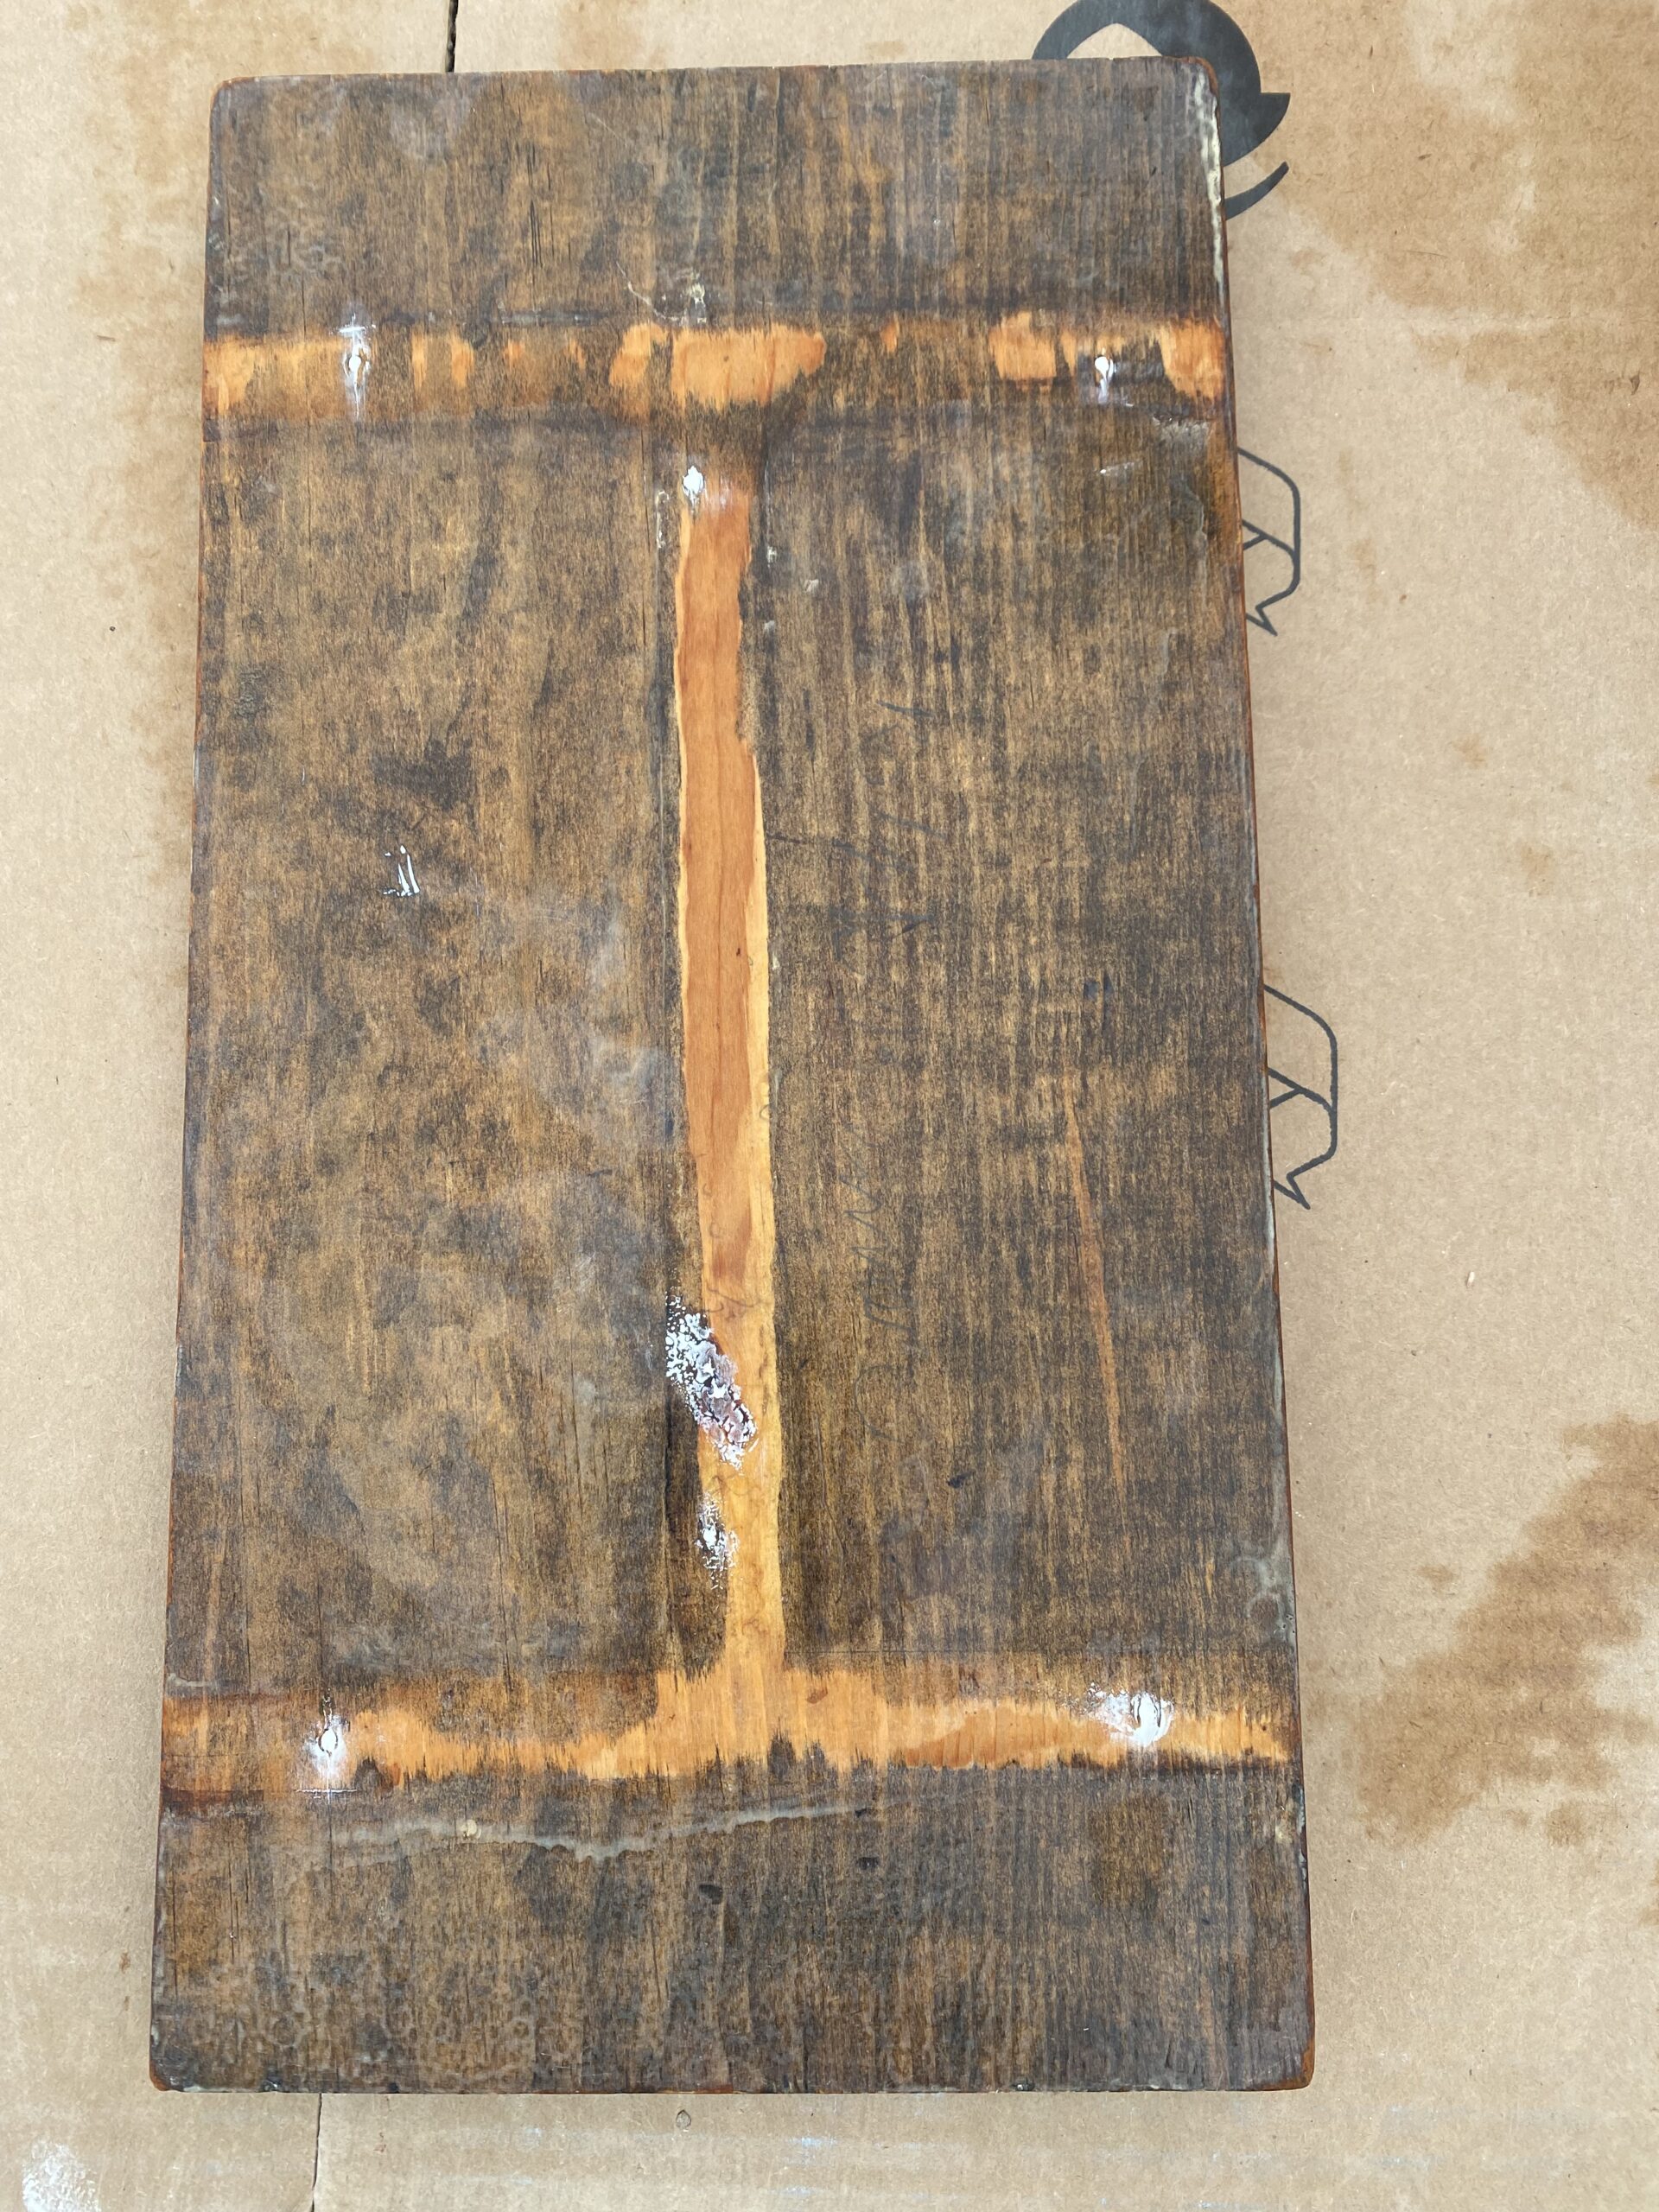
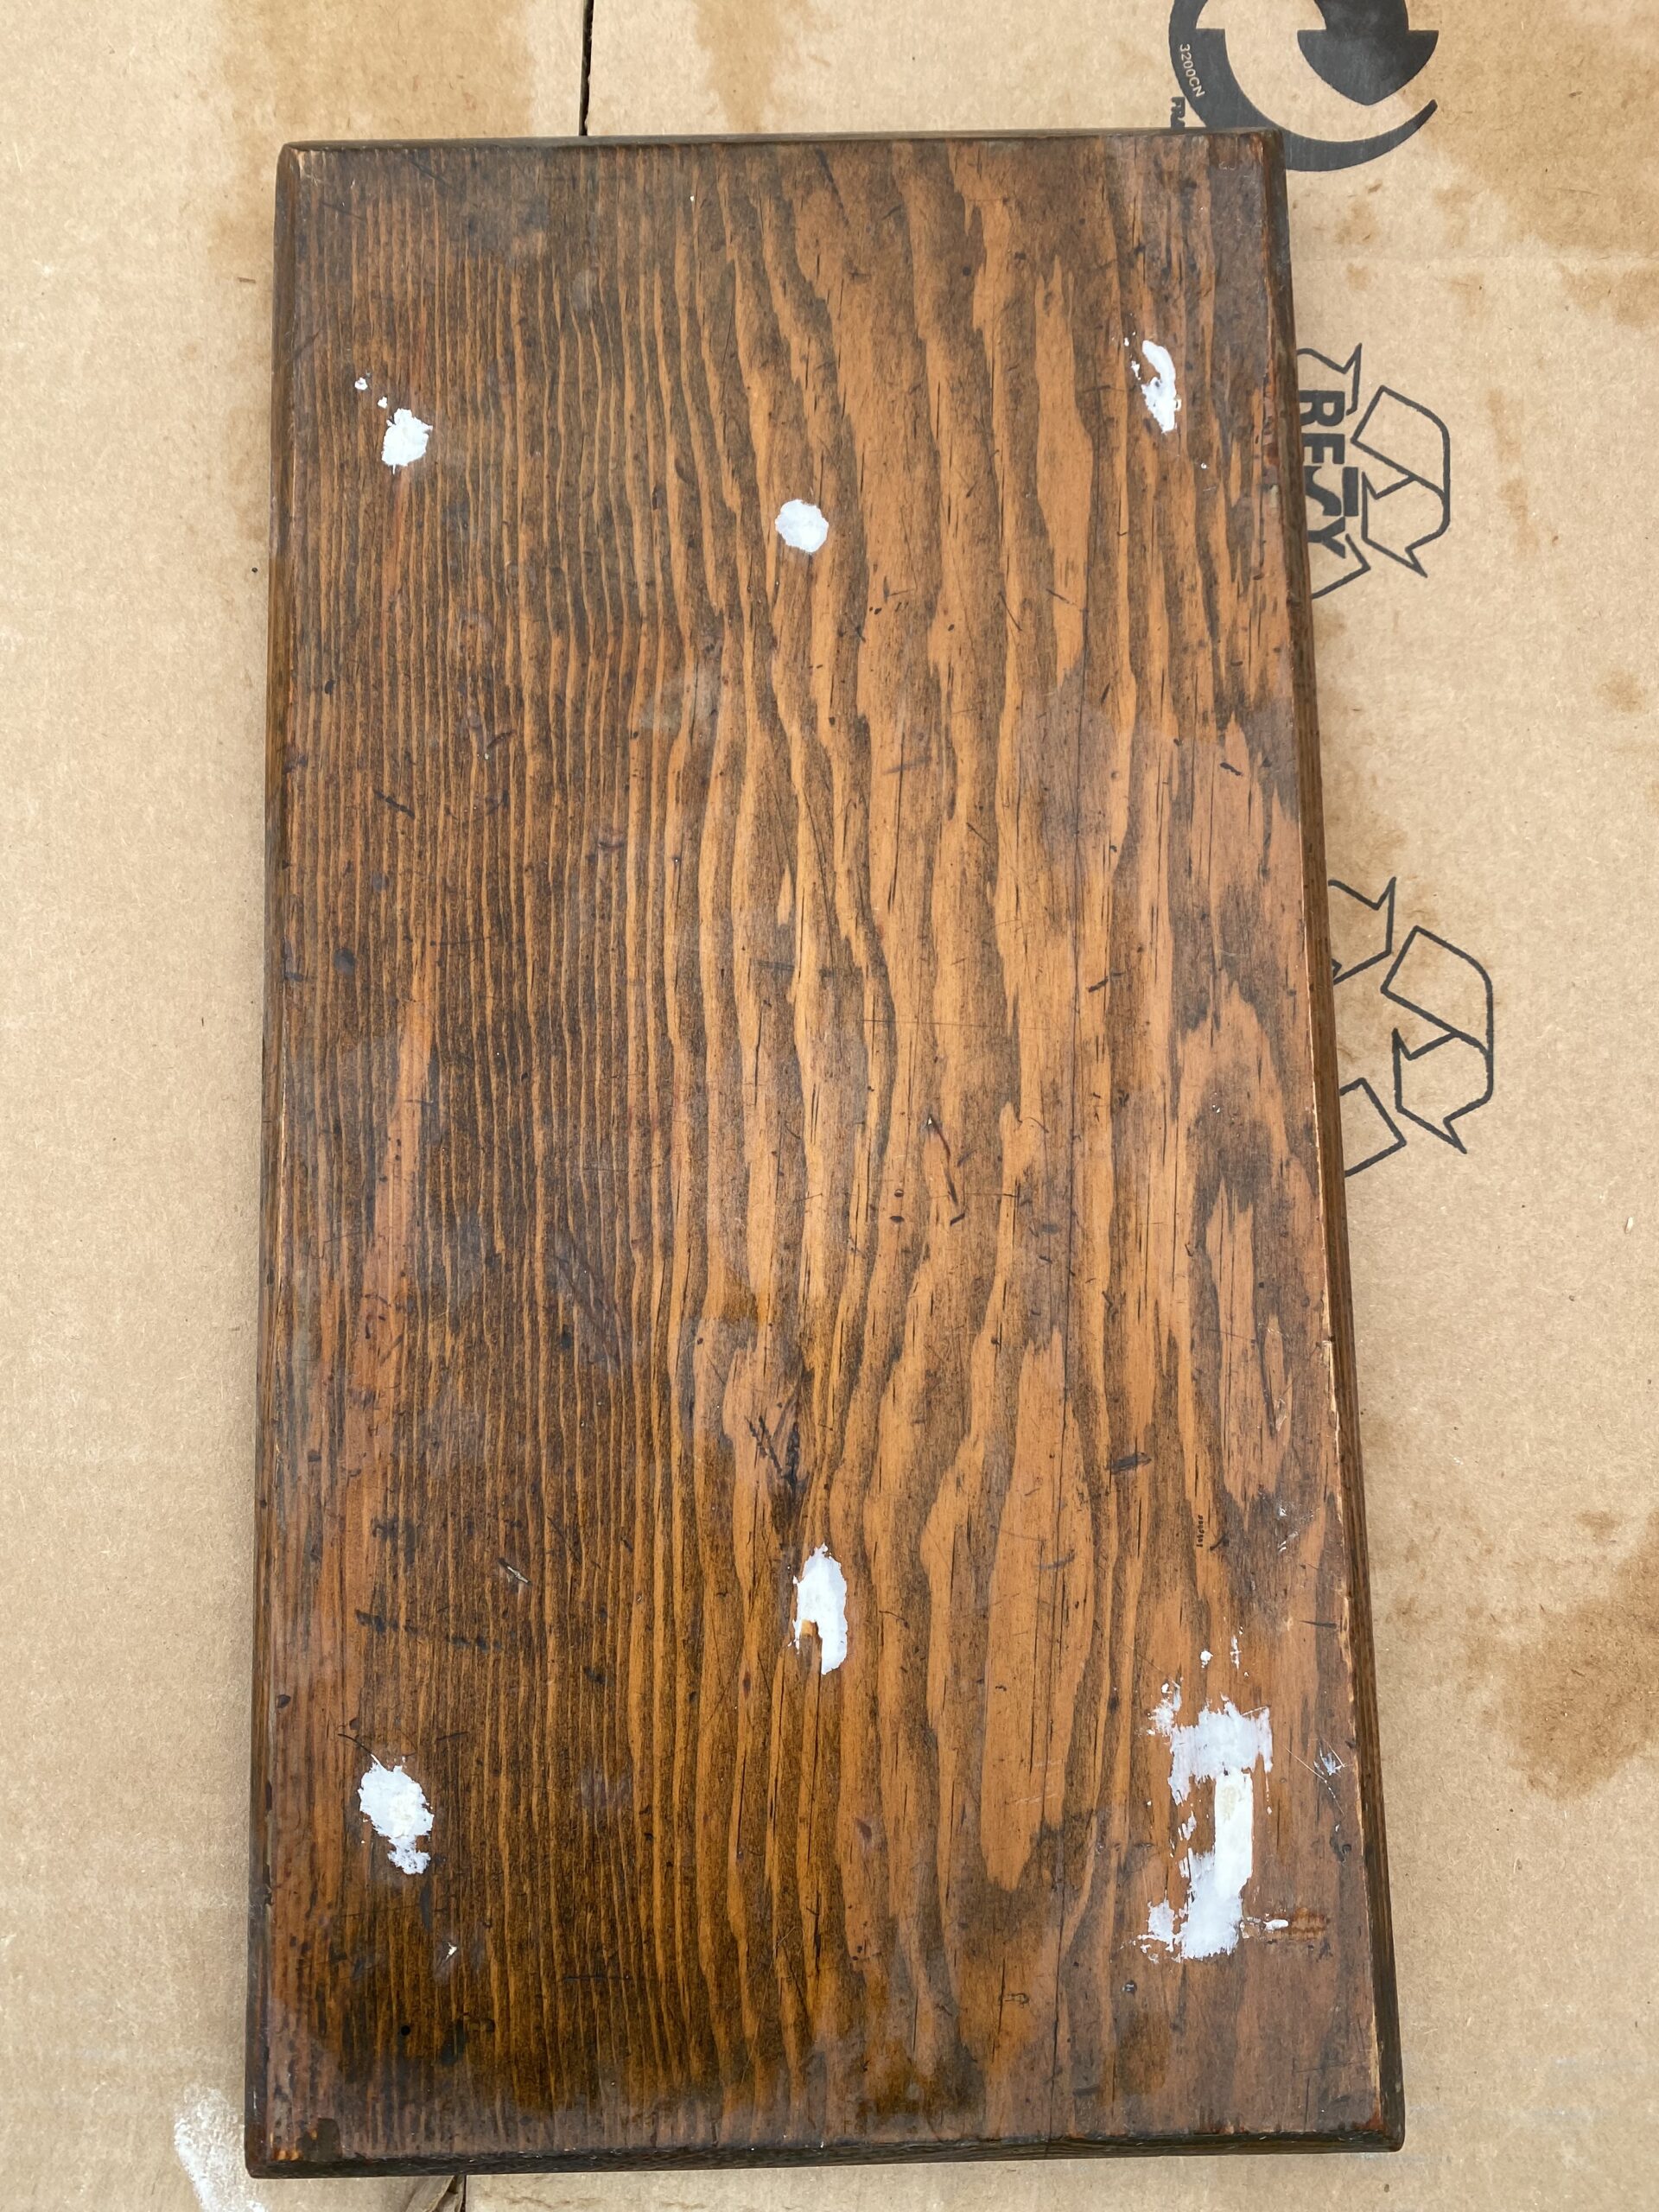
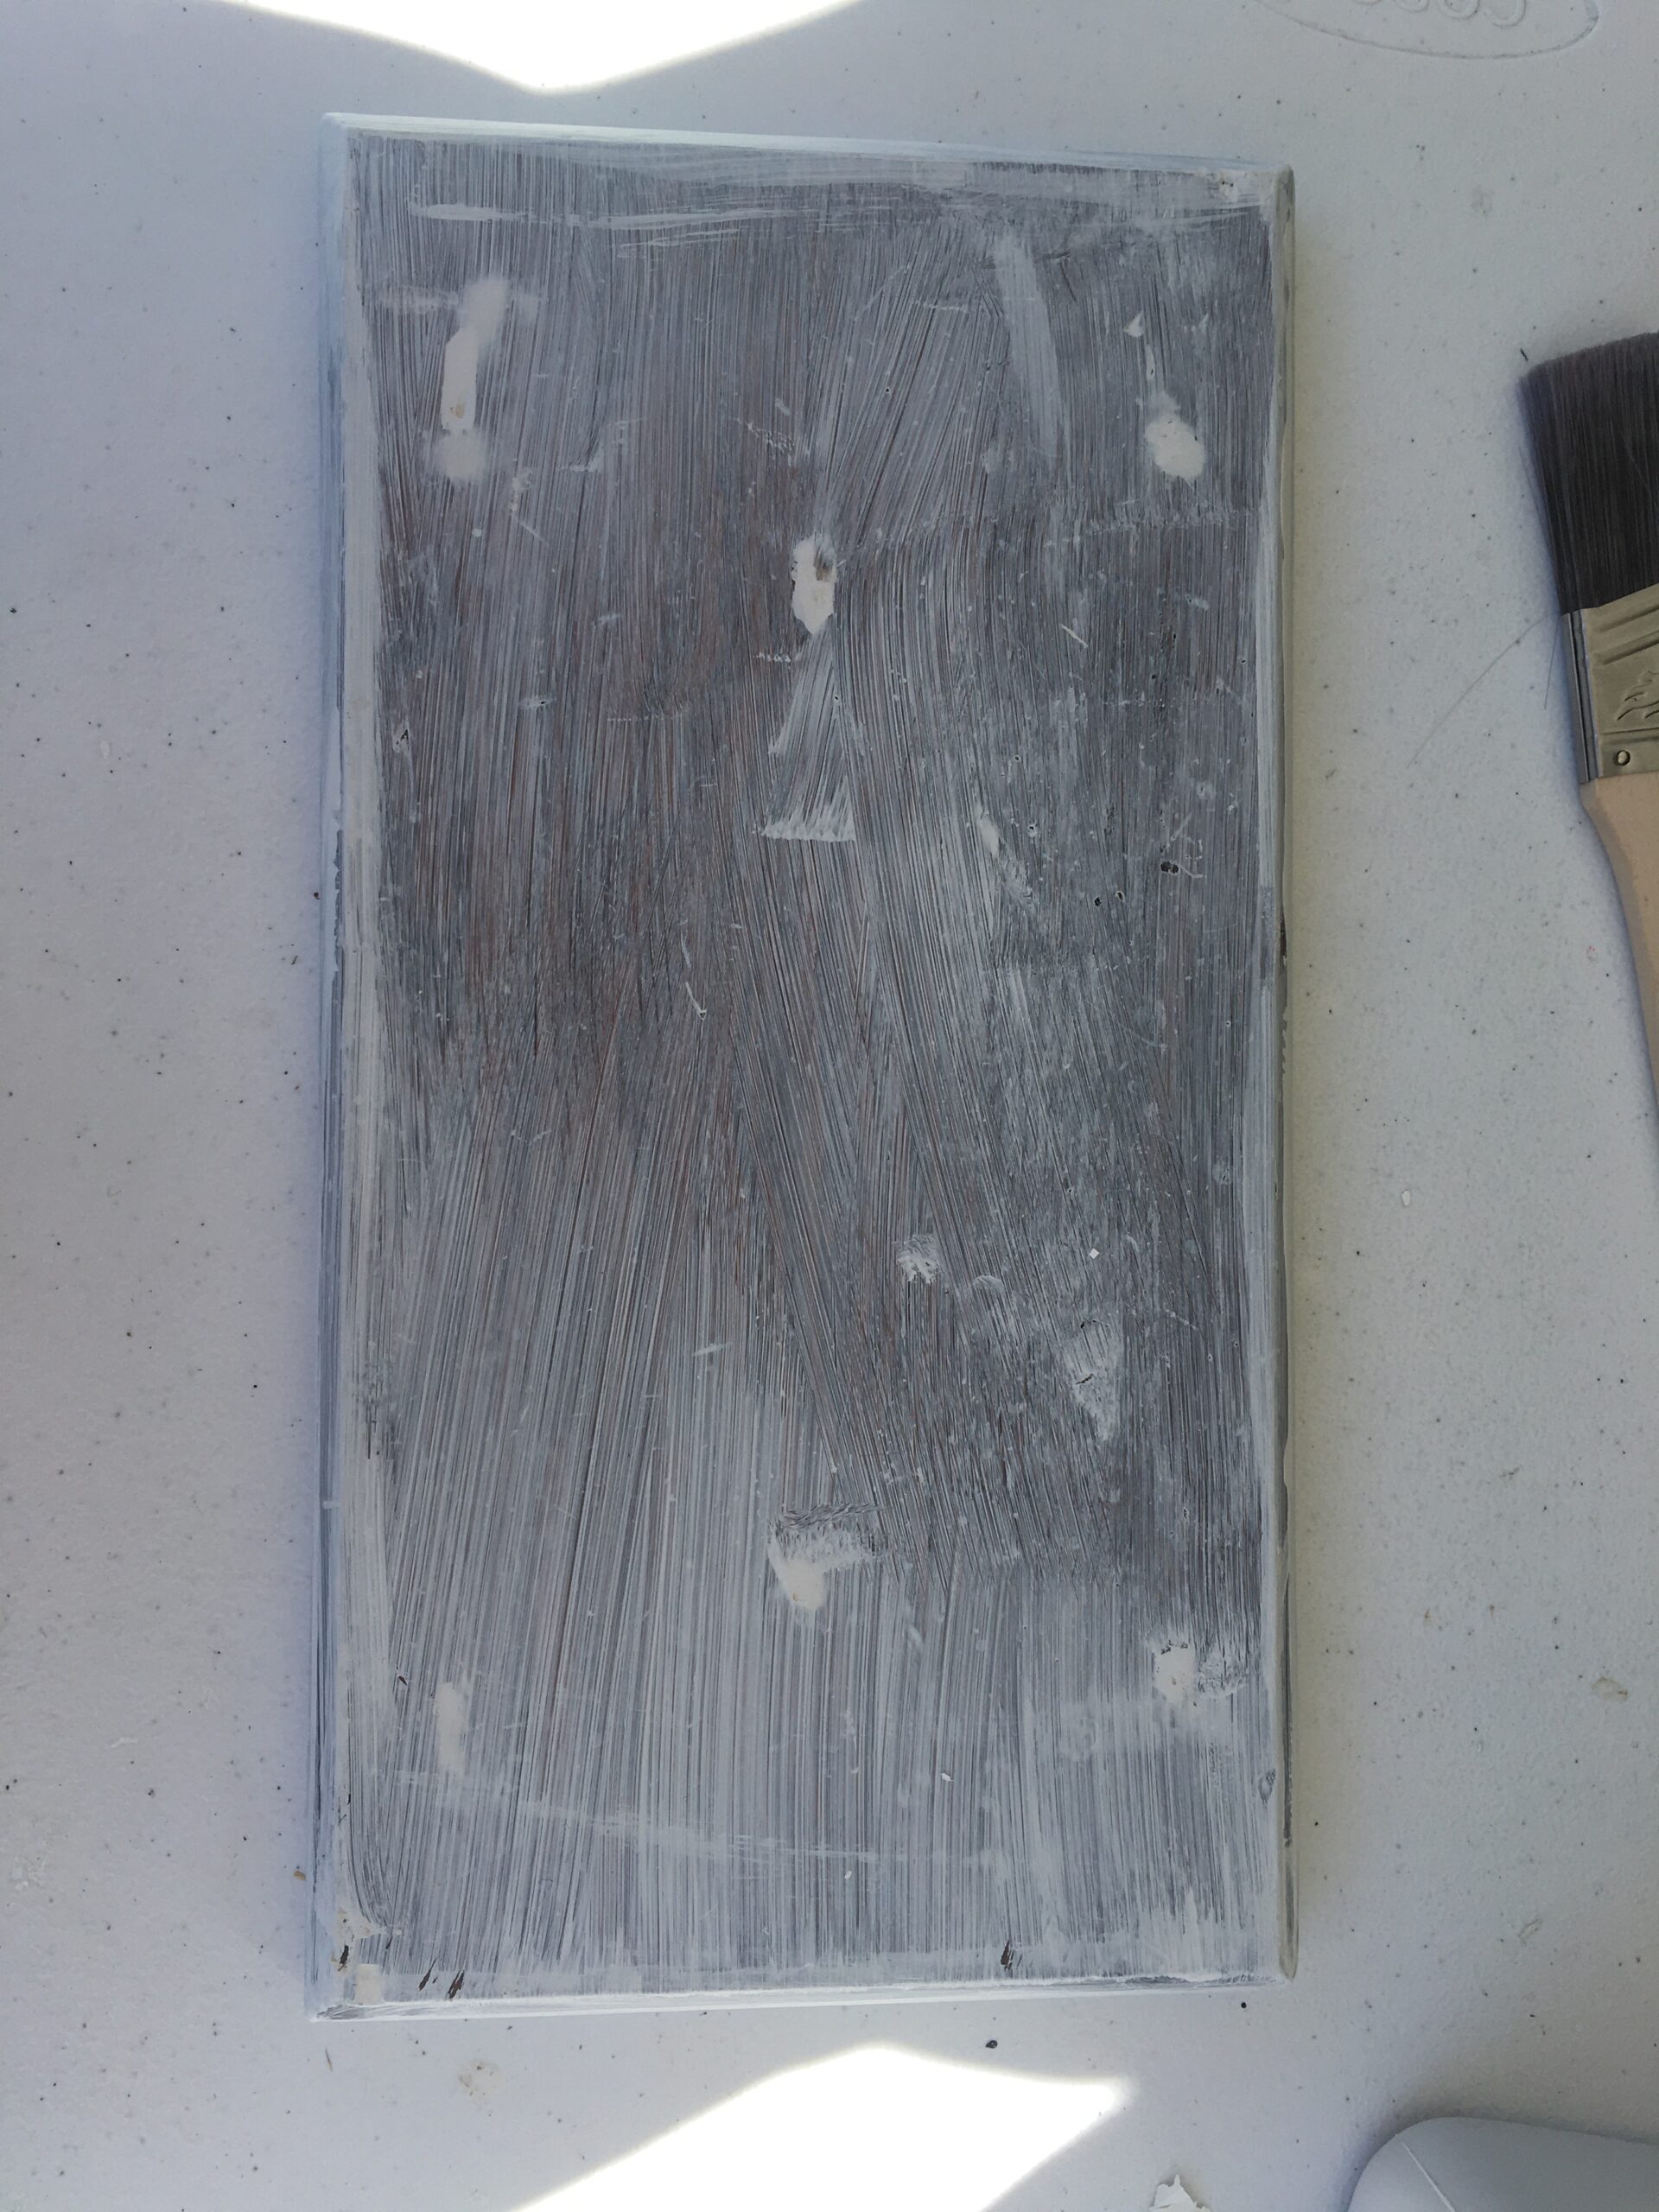
In the top two pictures above, I went ahead and filled the five nail holes with wood filler. After putting in wood filler, I went ahead and sanded the block of wood down to try and make it as clean as nice as I could. After the wood filler being used and sanded down, it gave us a clean surface and look as to what we could do with the piece. We still were unsure what to do but it was nice to have a look at exactly what we had to work with. With the wood filler being used we knew we had to paint the piece to hide the white wood filler. Again we were unsure how to finish the piece but we knew our next step.
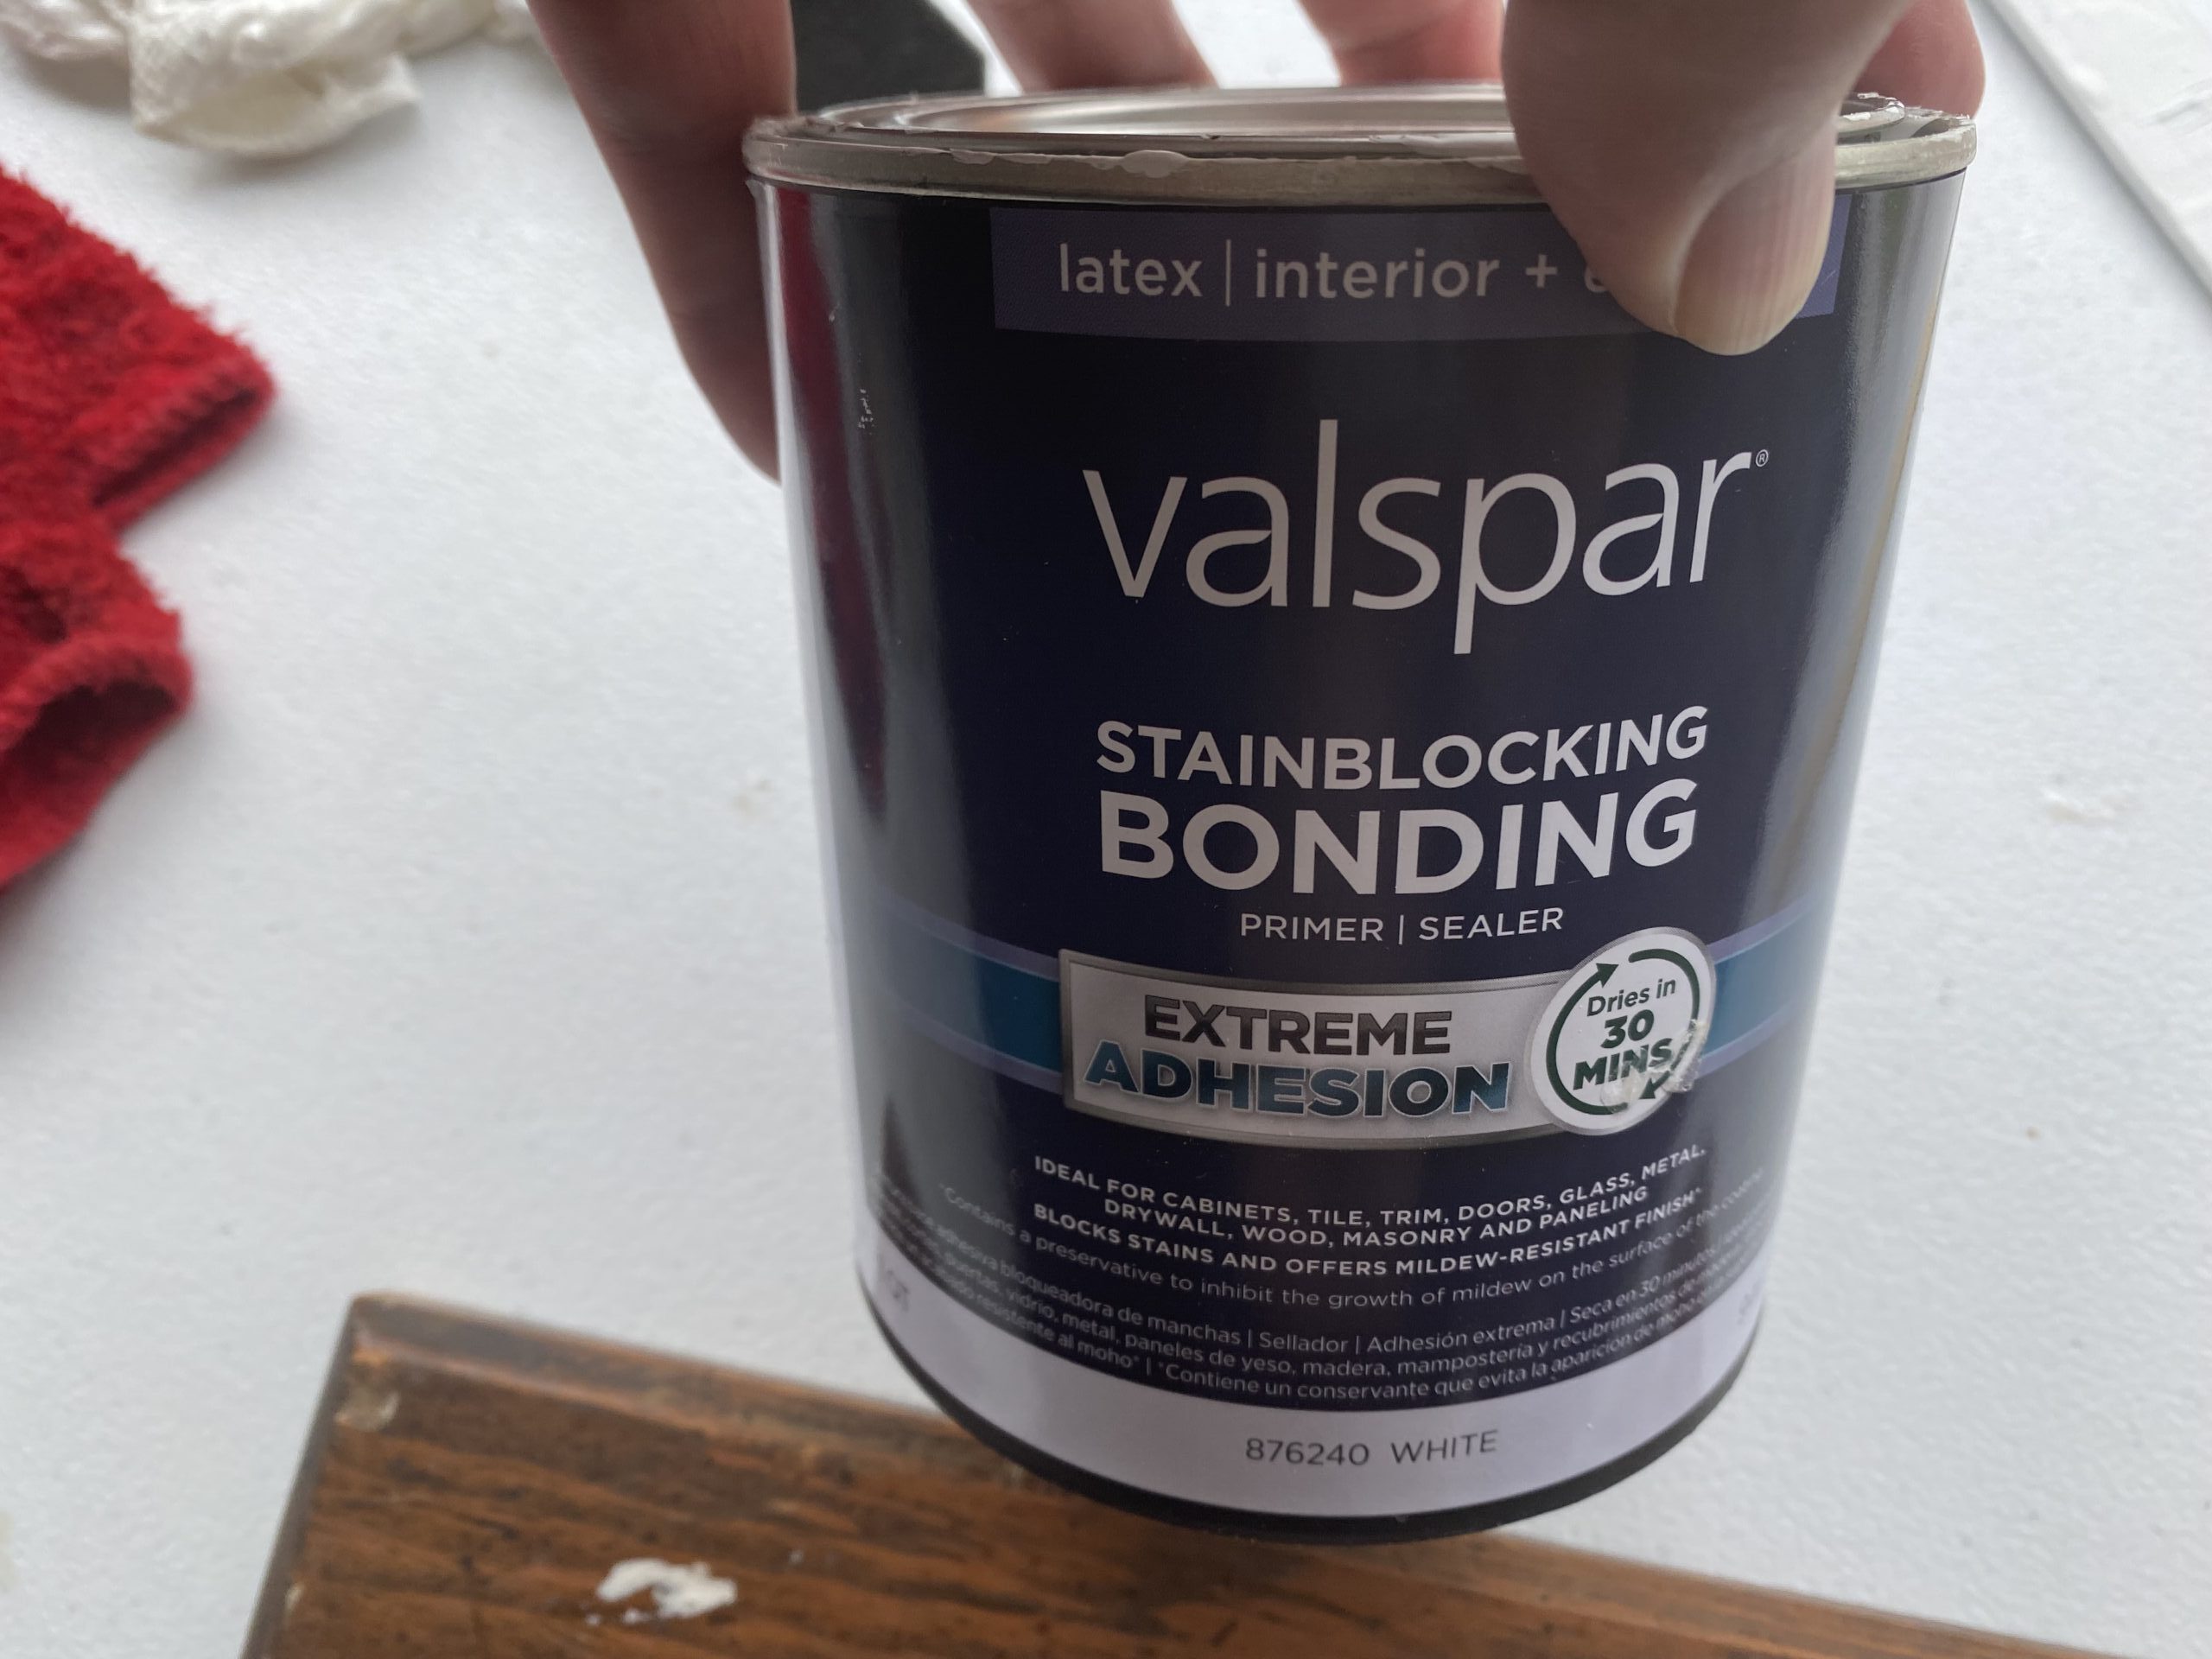
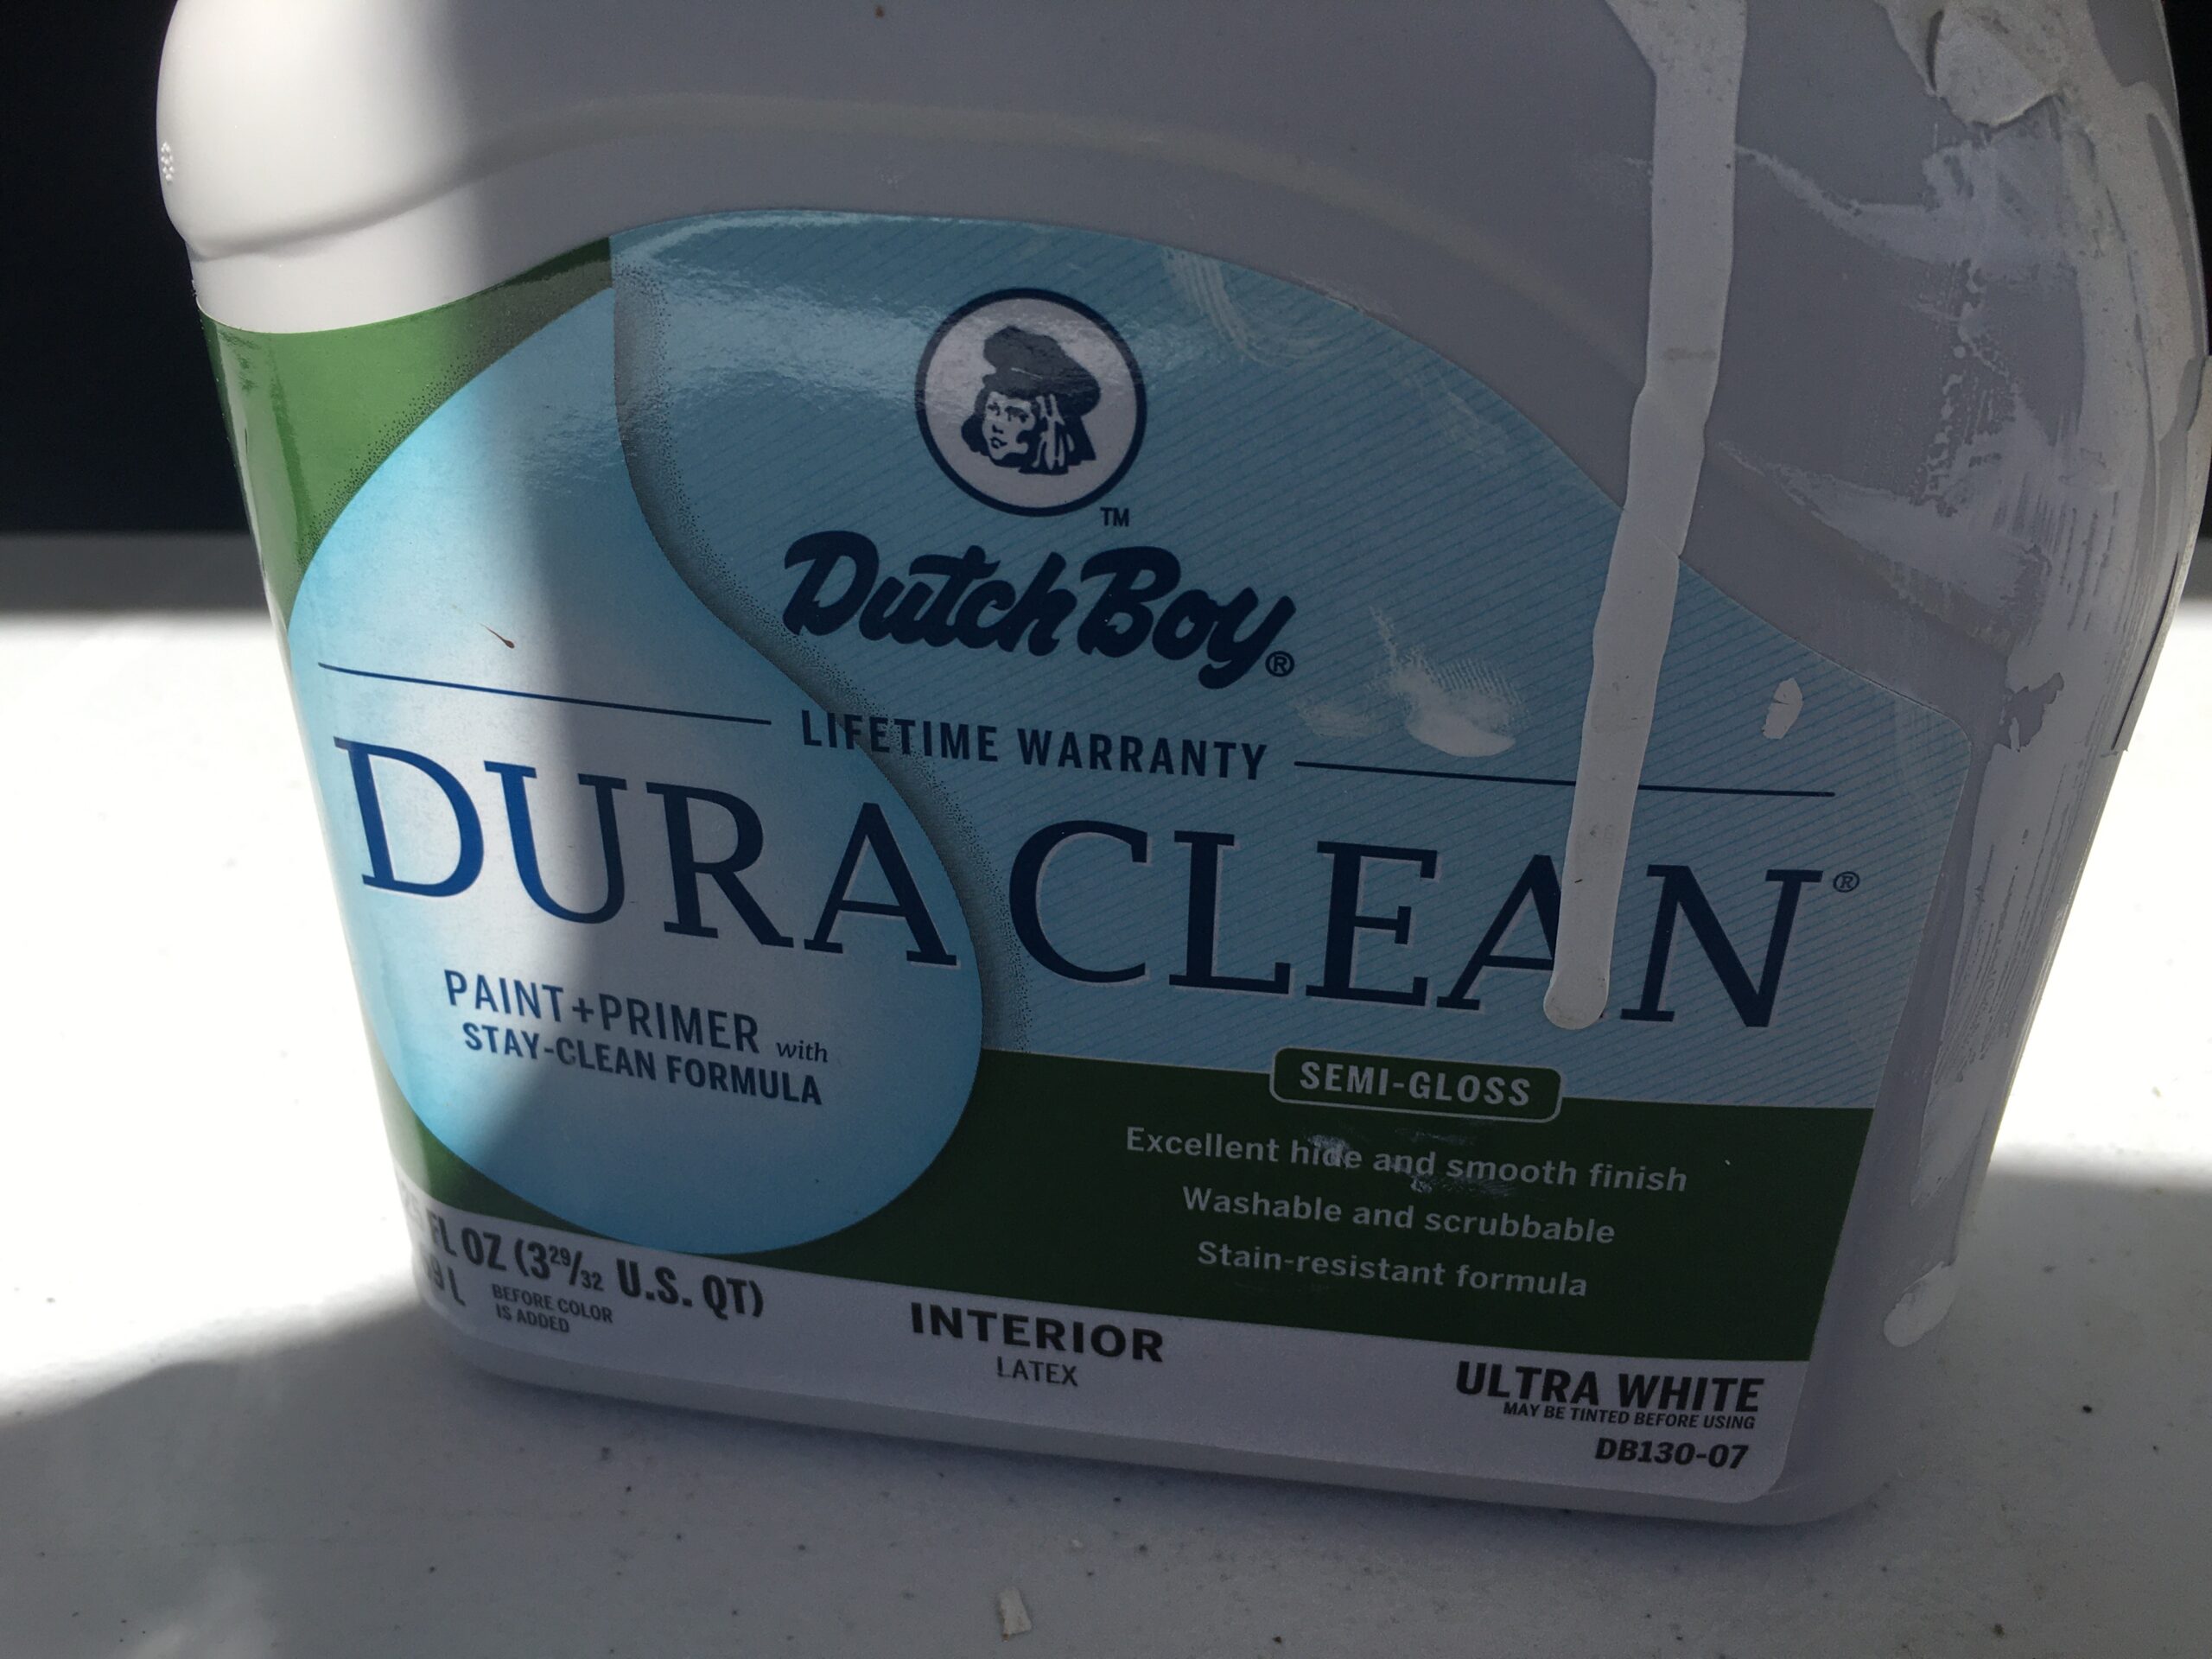
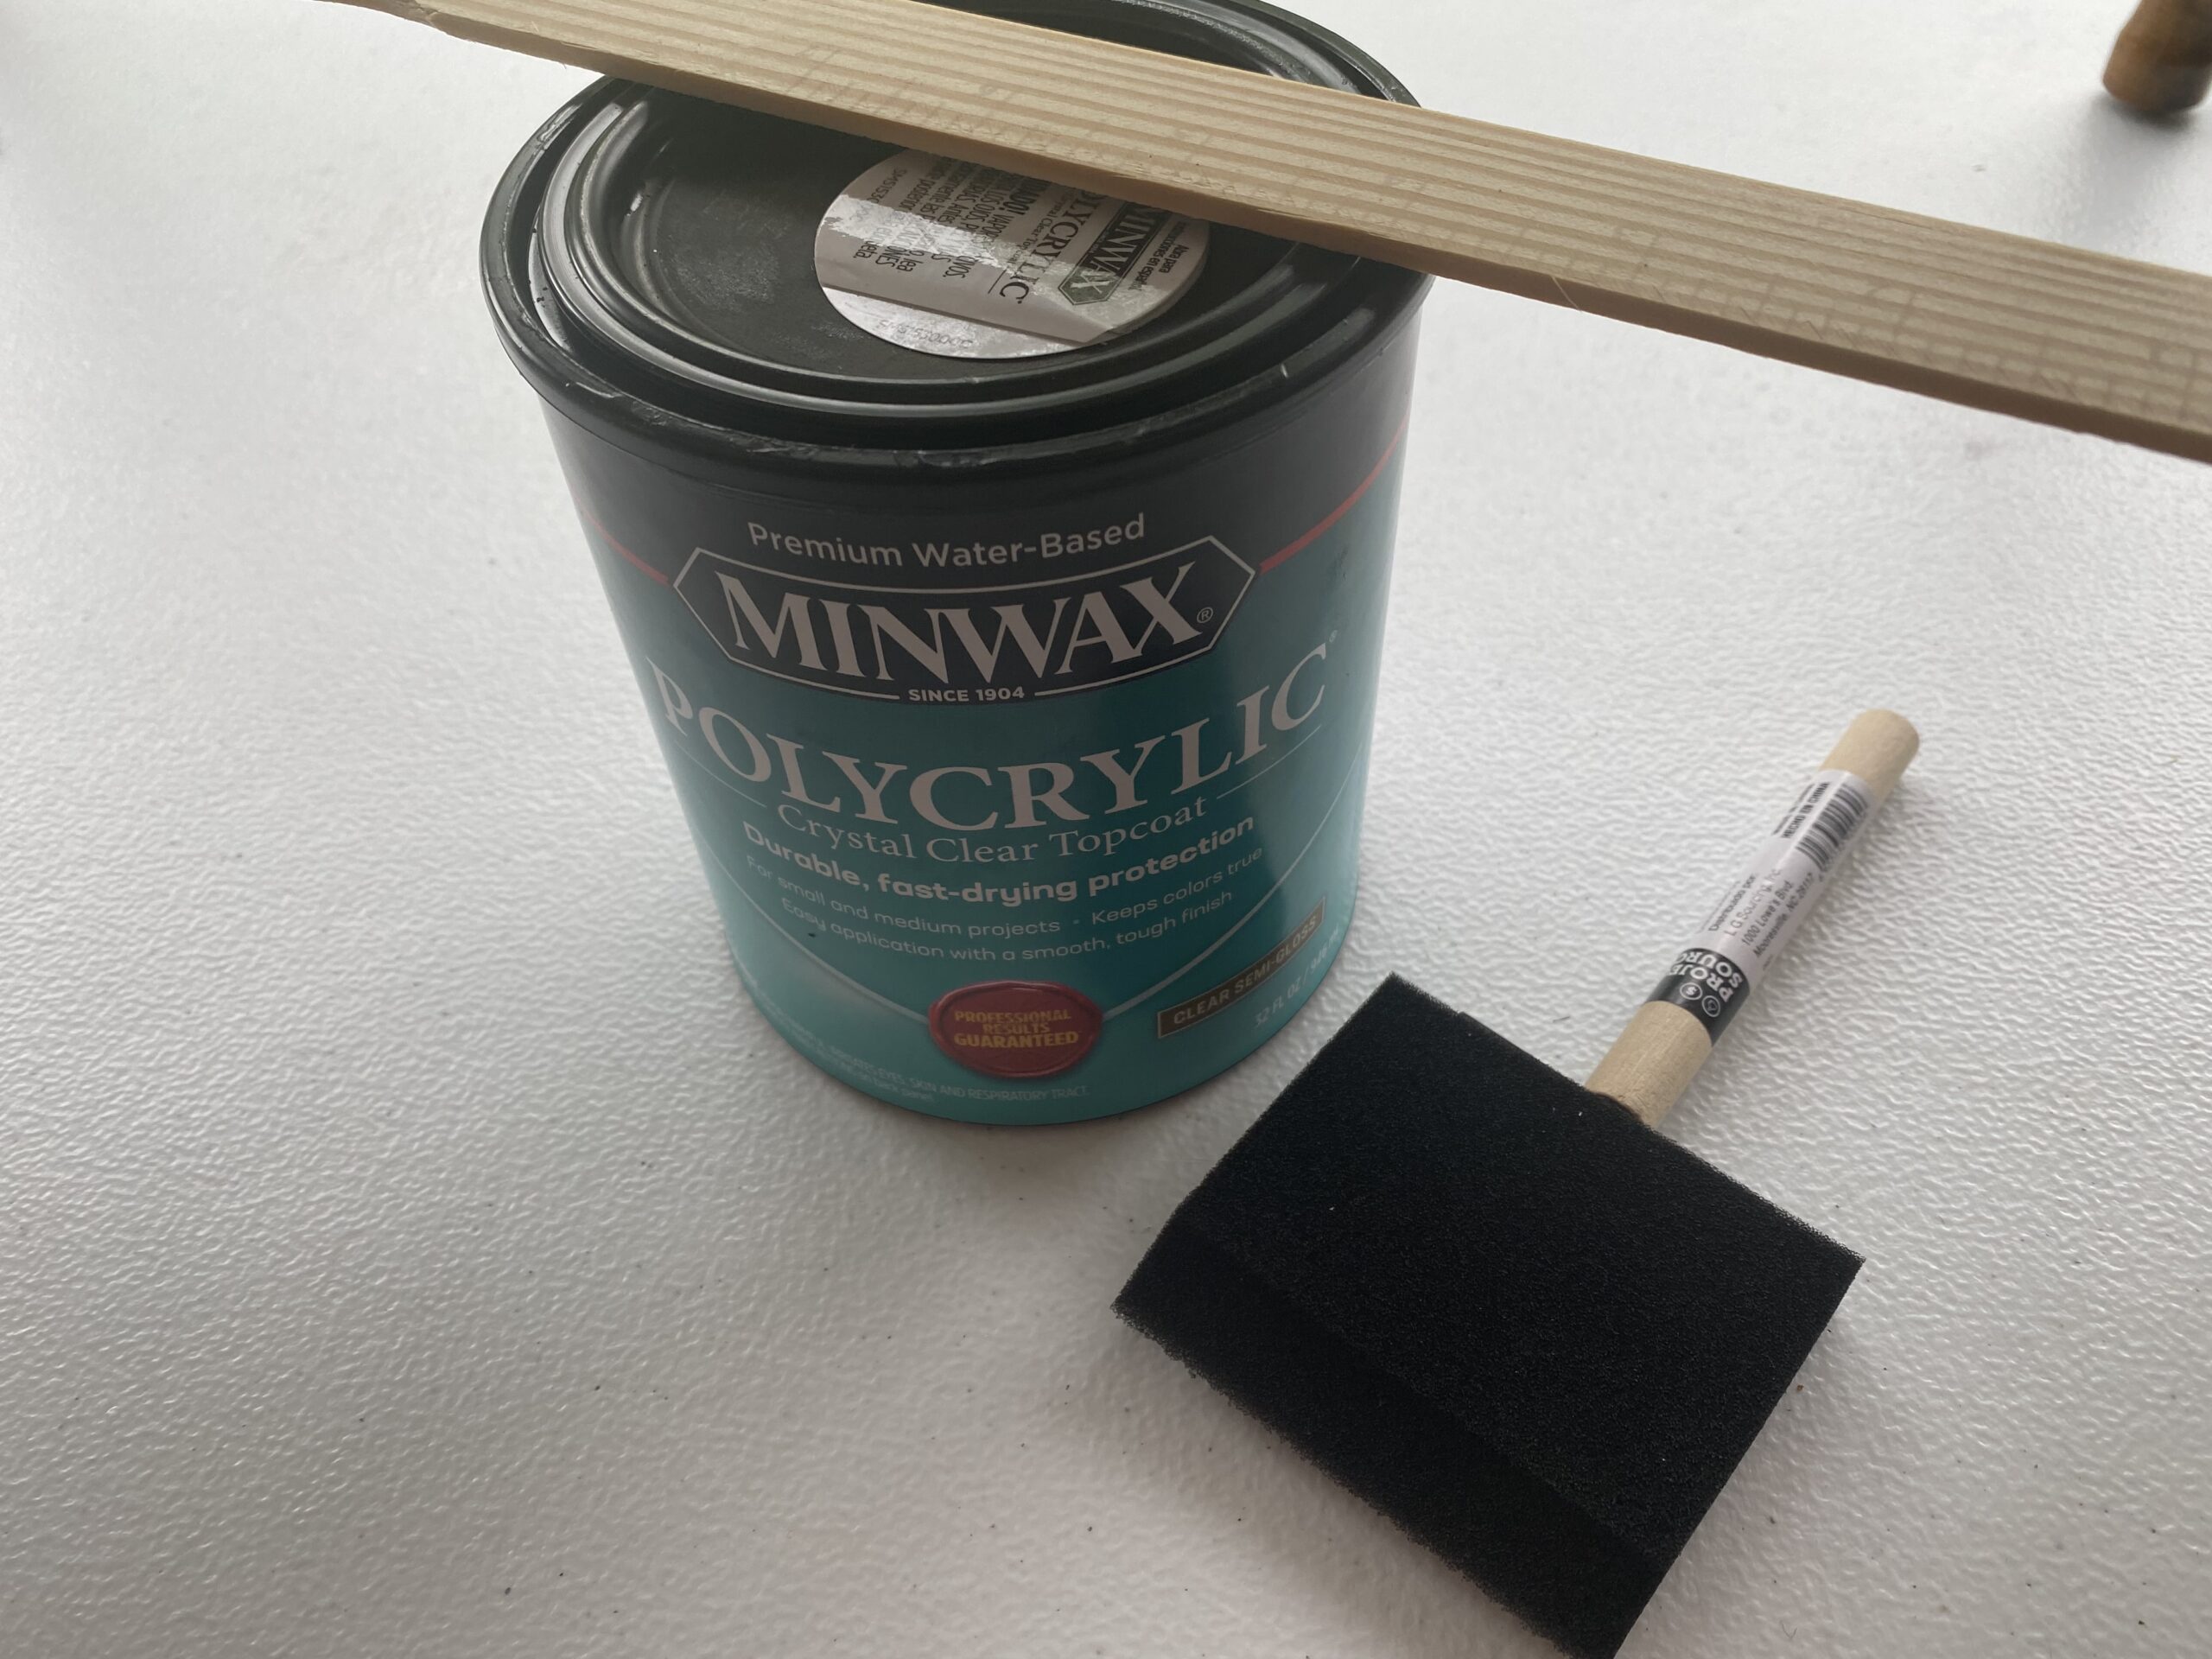
We wiped down the block of wood and then put a coat of primer on followed by the white paint. After a couple coats of white paint, we did a coat of clearcoat to seal it up since we did not know what the end piece was still going to be. If the piece turned into something that may come into contact with water then we wanted to be prepared.
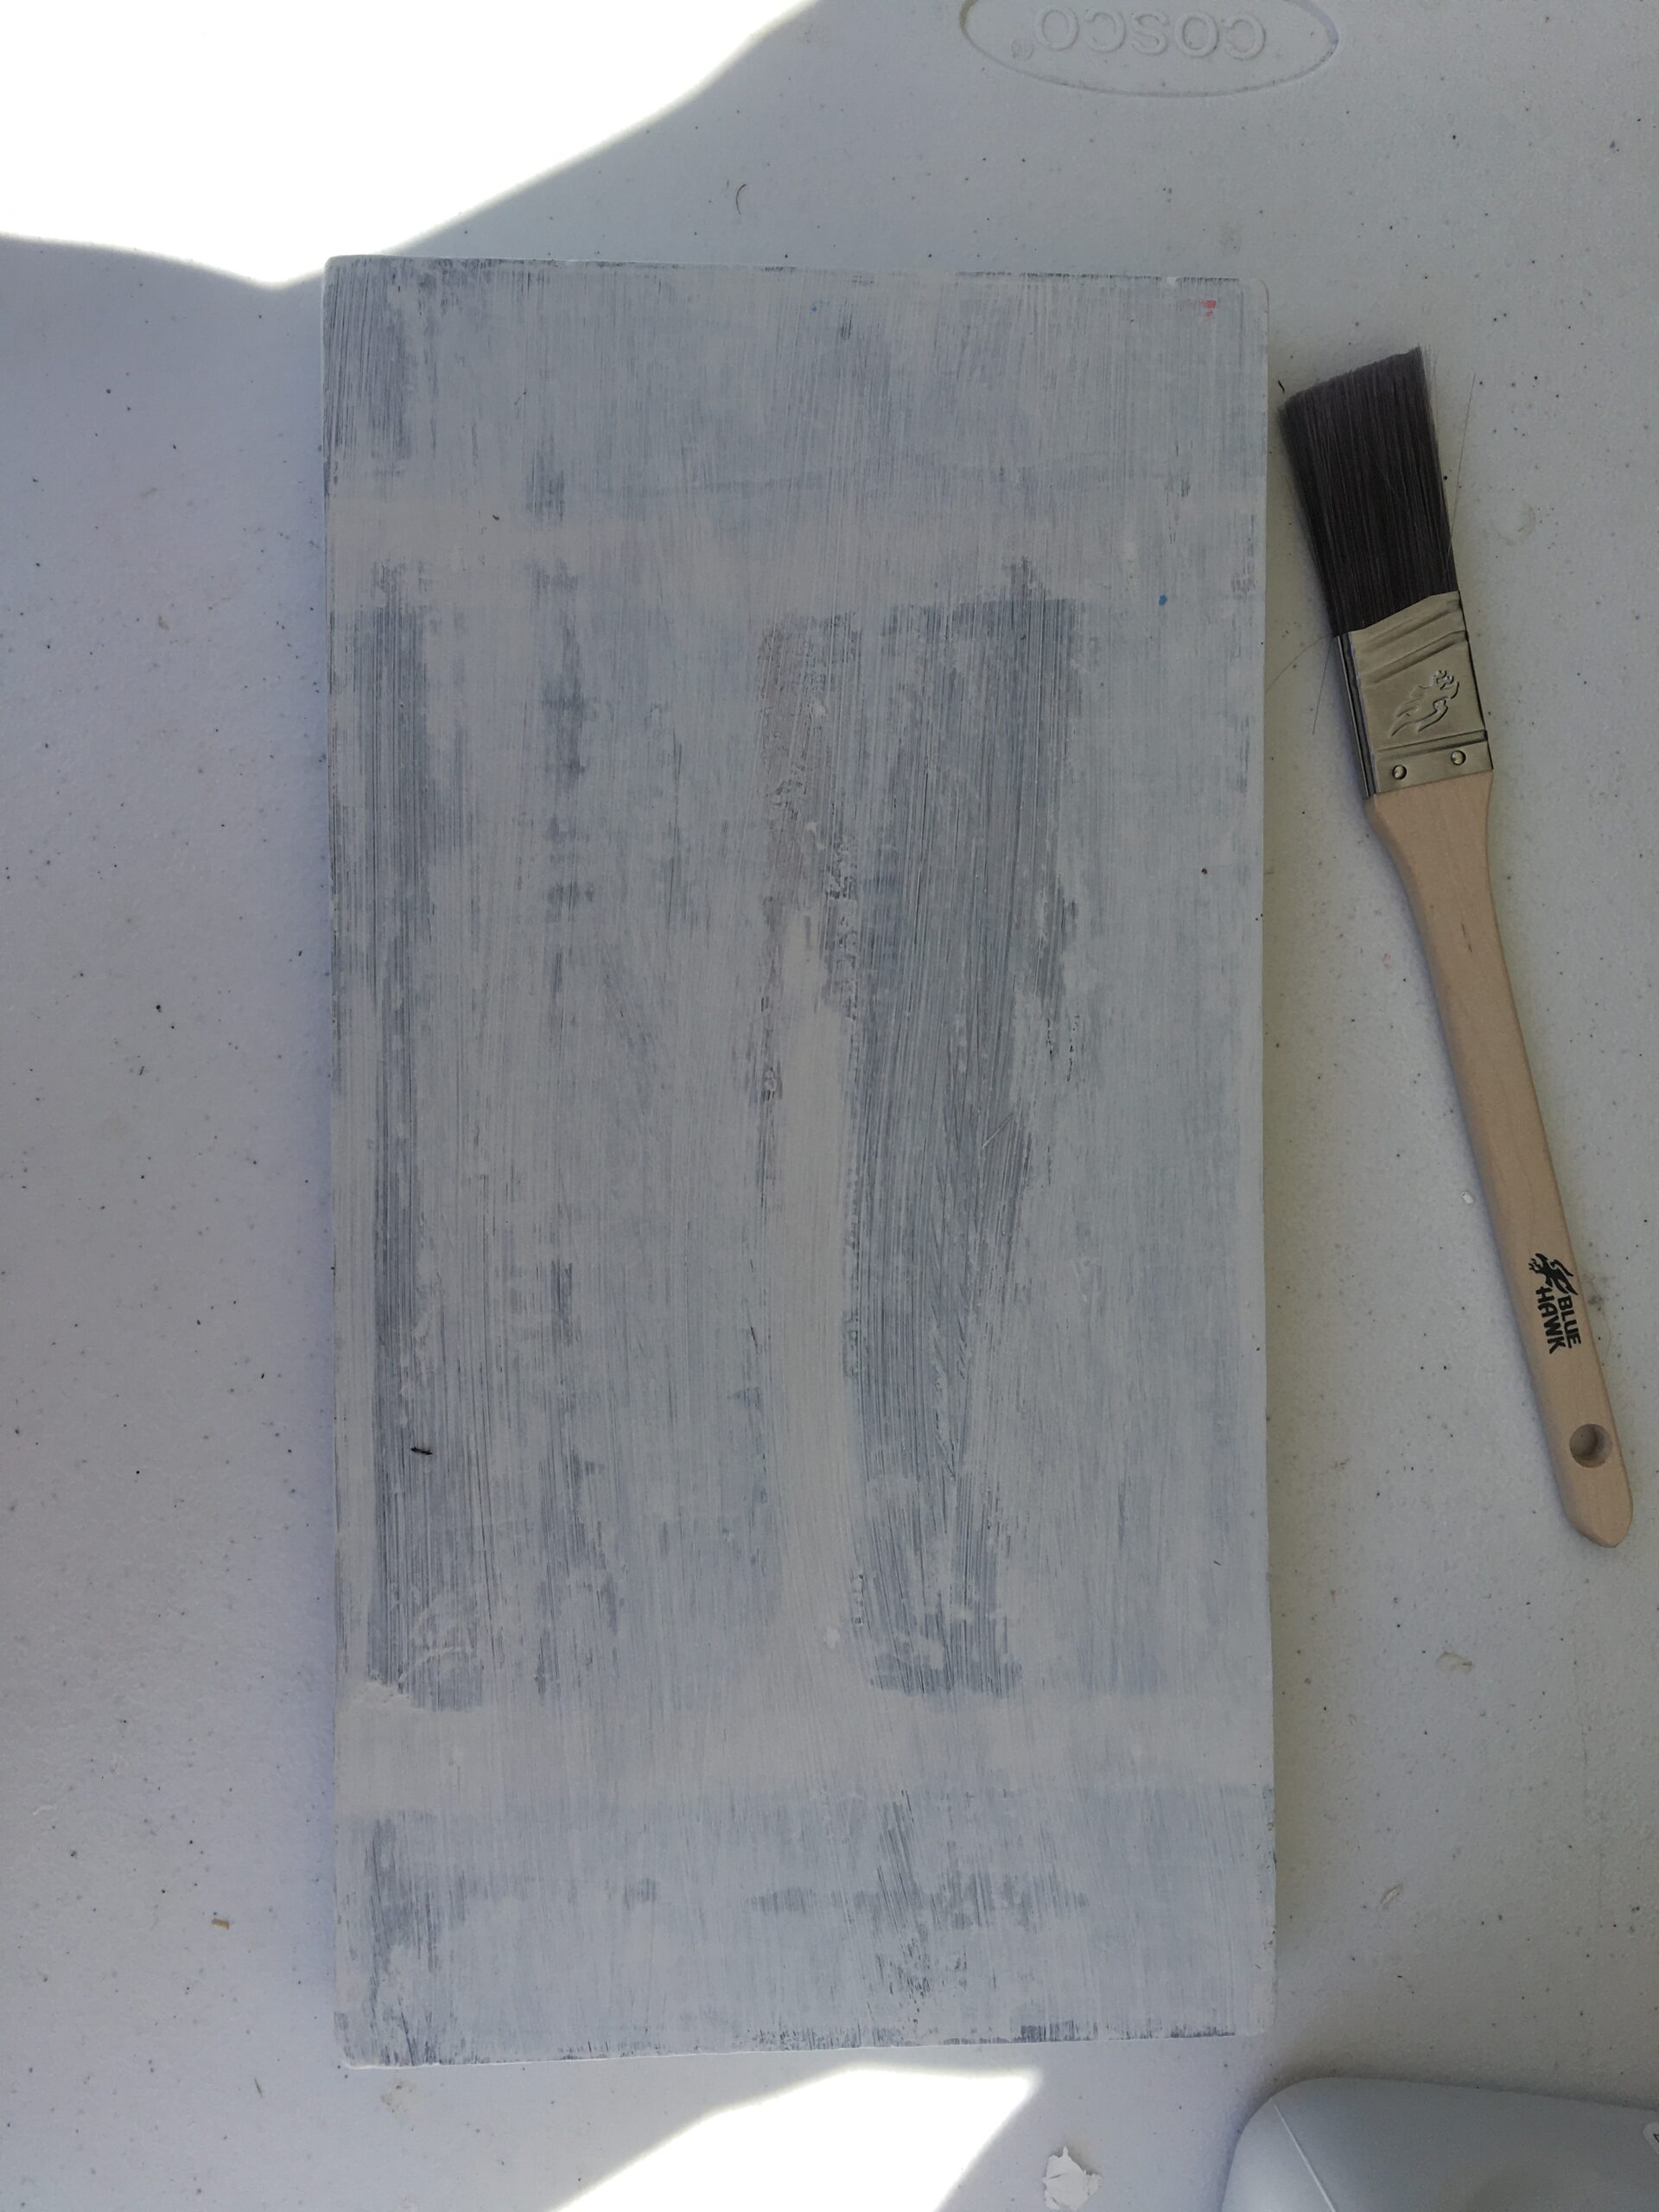
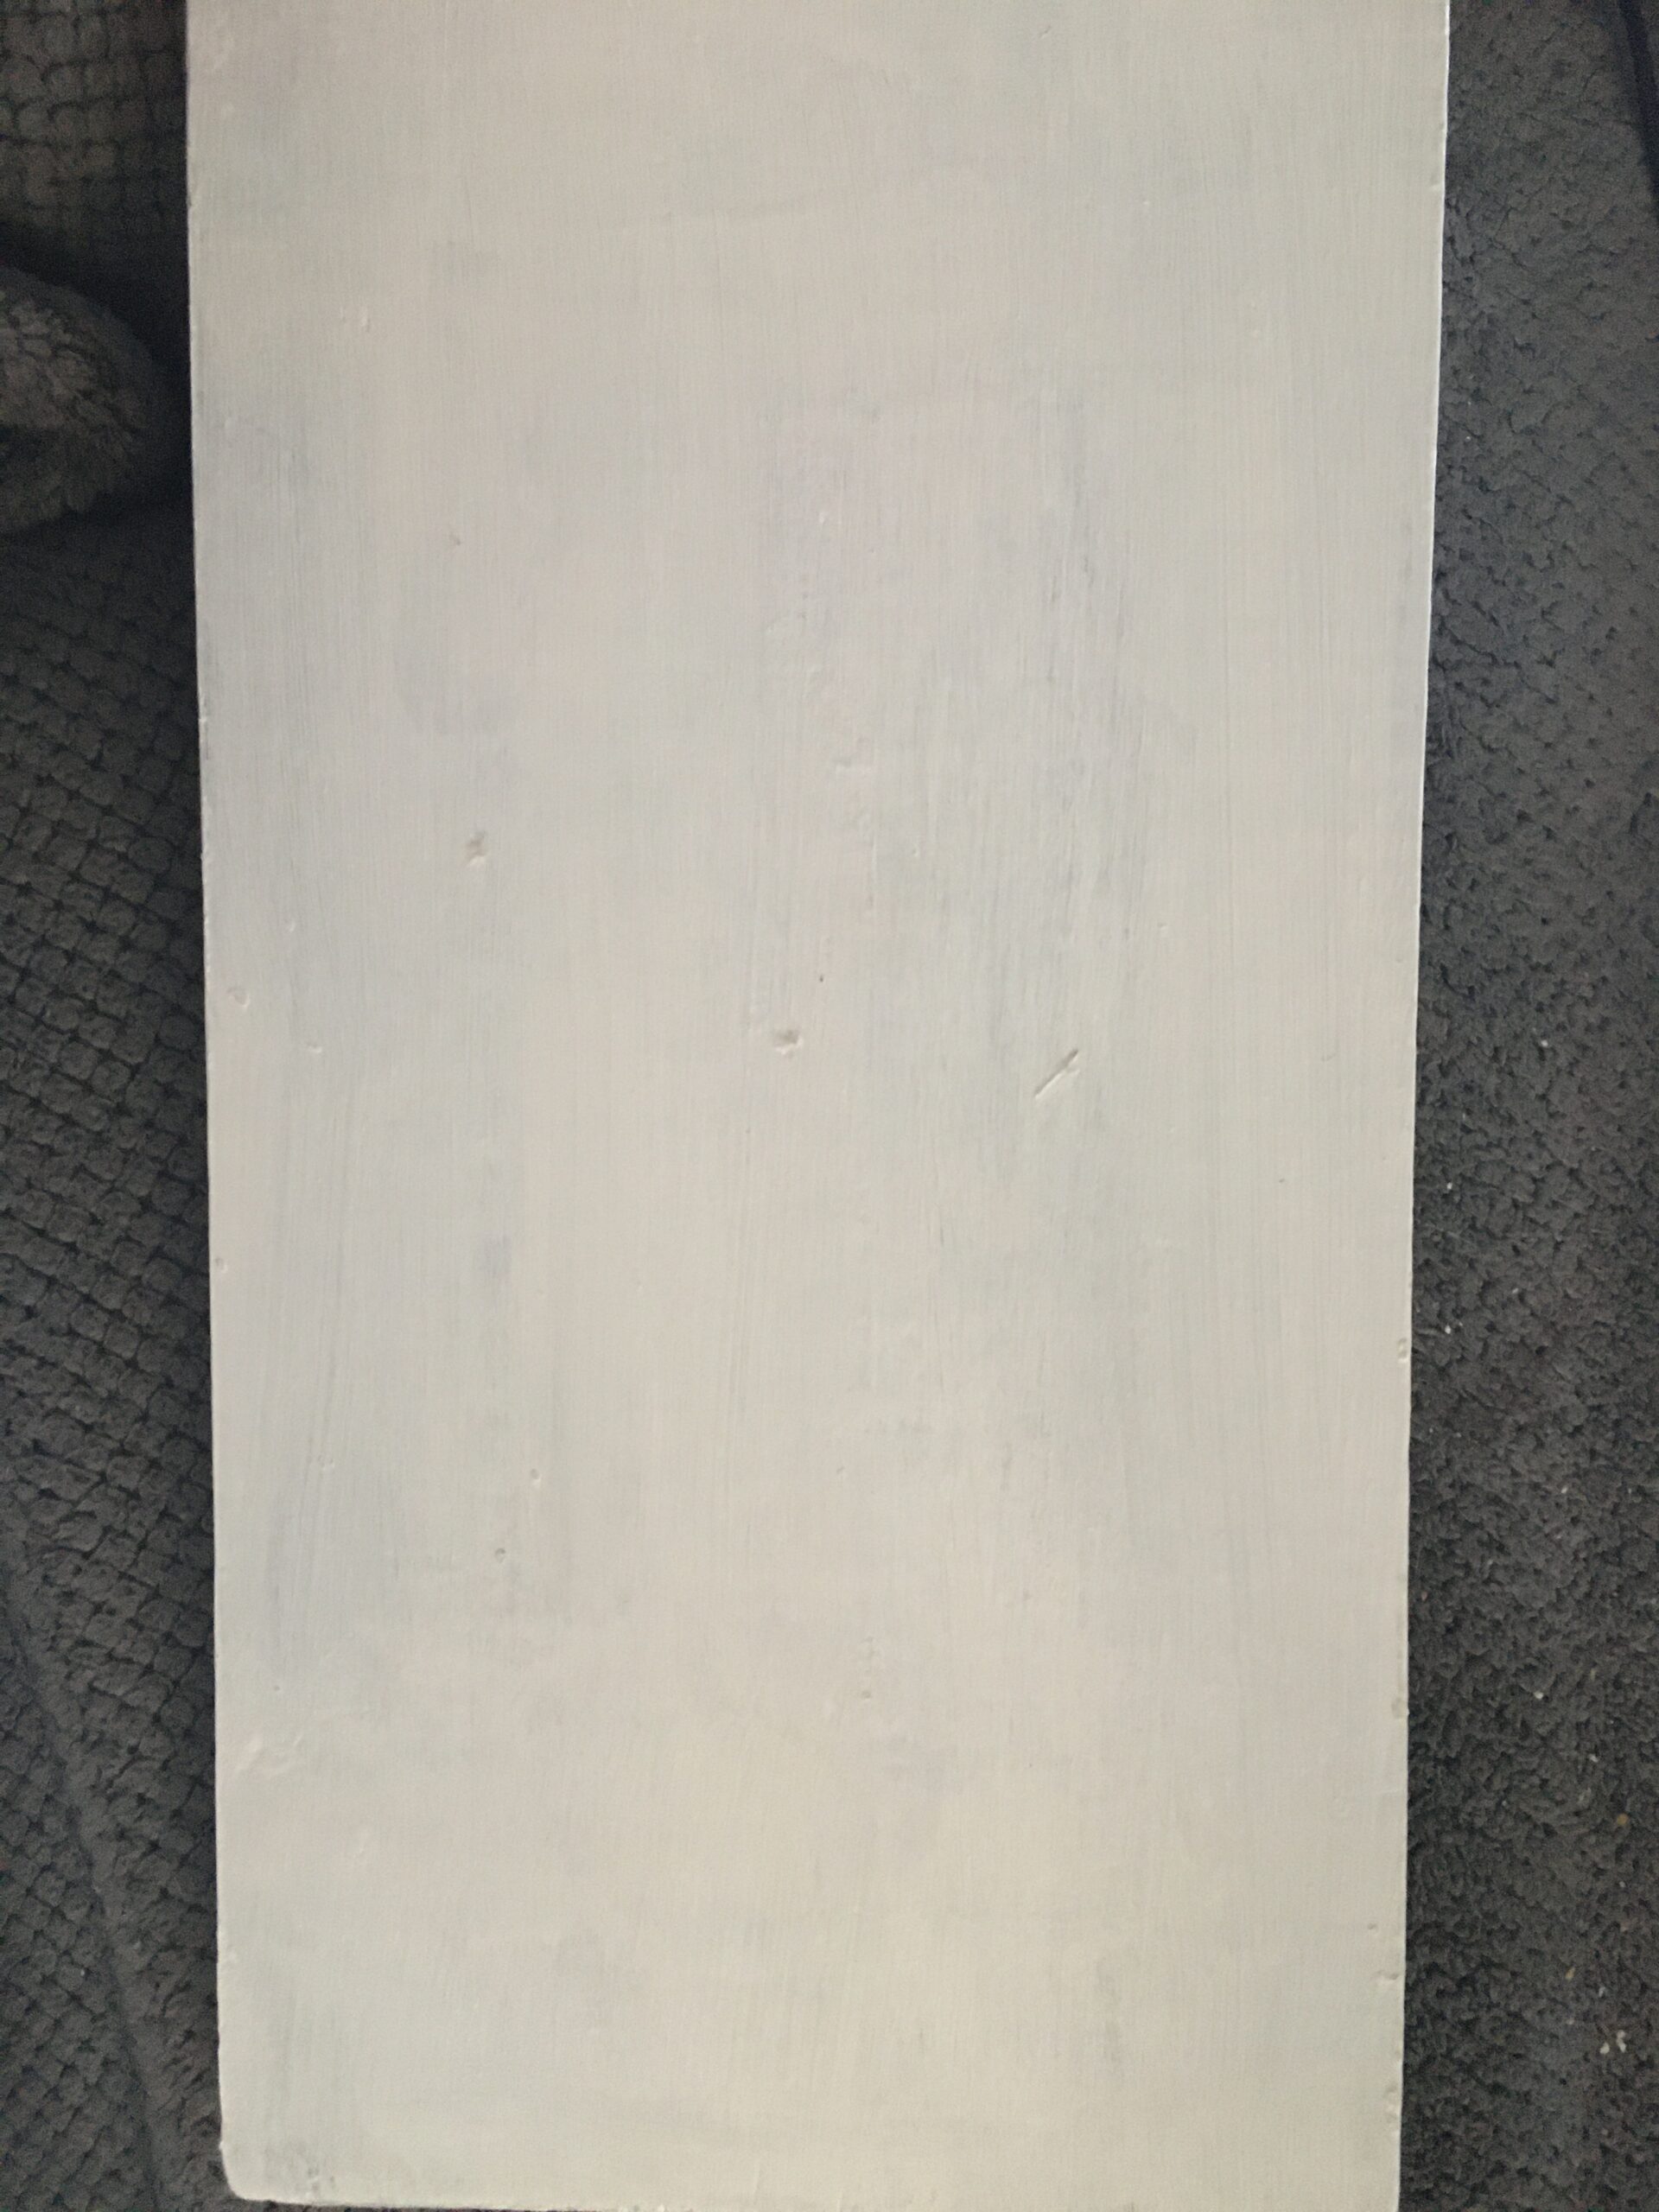
We primed the wood. The primer starts to turn the wood into a white color but helps the actual paint stick to the wood. Then we finished up painting the wood with the white paint. The wood now was a block of white. We went ahead and put a clearcoat on it just in case. Now we needed to figure out what to do. We were limited because the block of wood is only about a foot and half long by a half foot wide. There is not a whole lot of room to convert it into something major. As I was looking at another online auction weeks later there was a key ring and coat holder furniture piece and the final transformation was discovered. We were going to turn this white painted block of wood into a key ring holder. Now we needed the stuff to make the transformation.
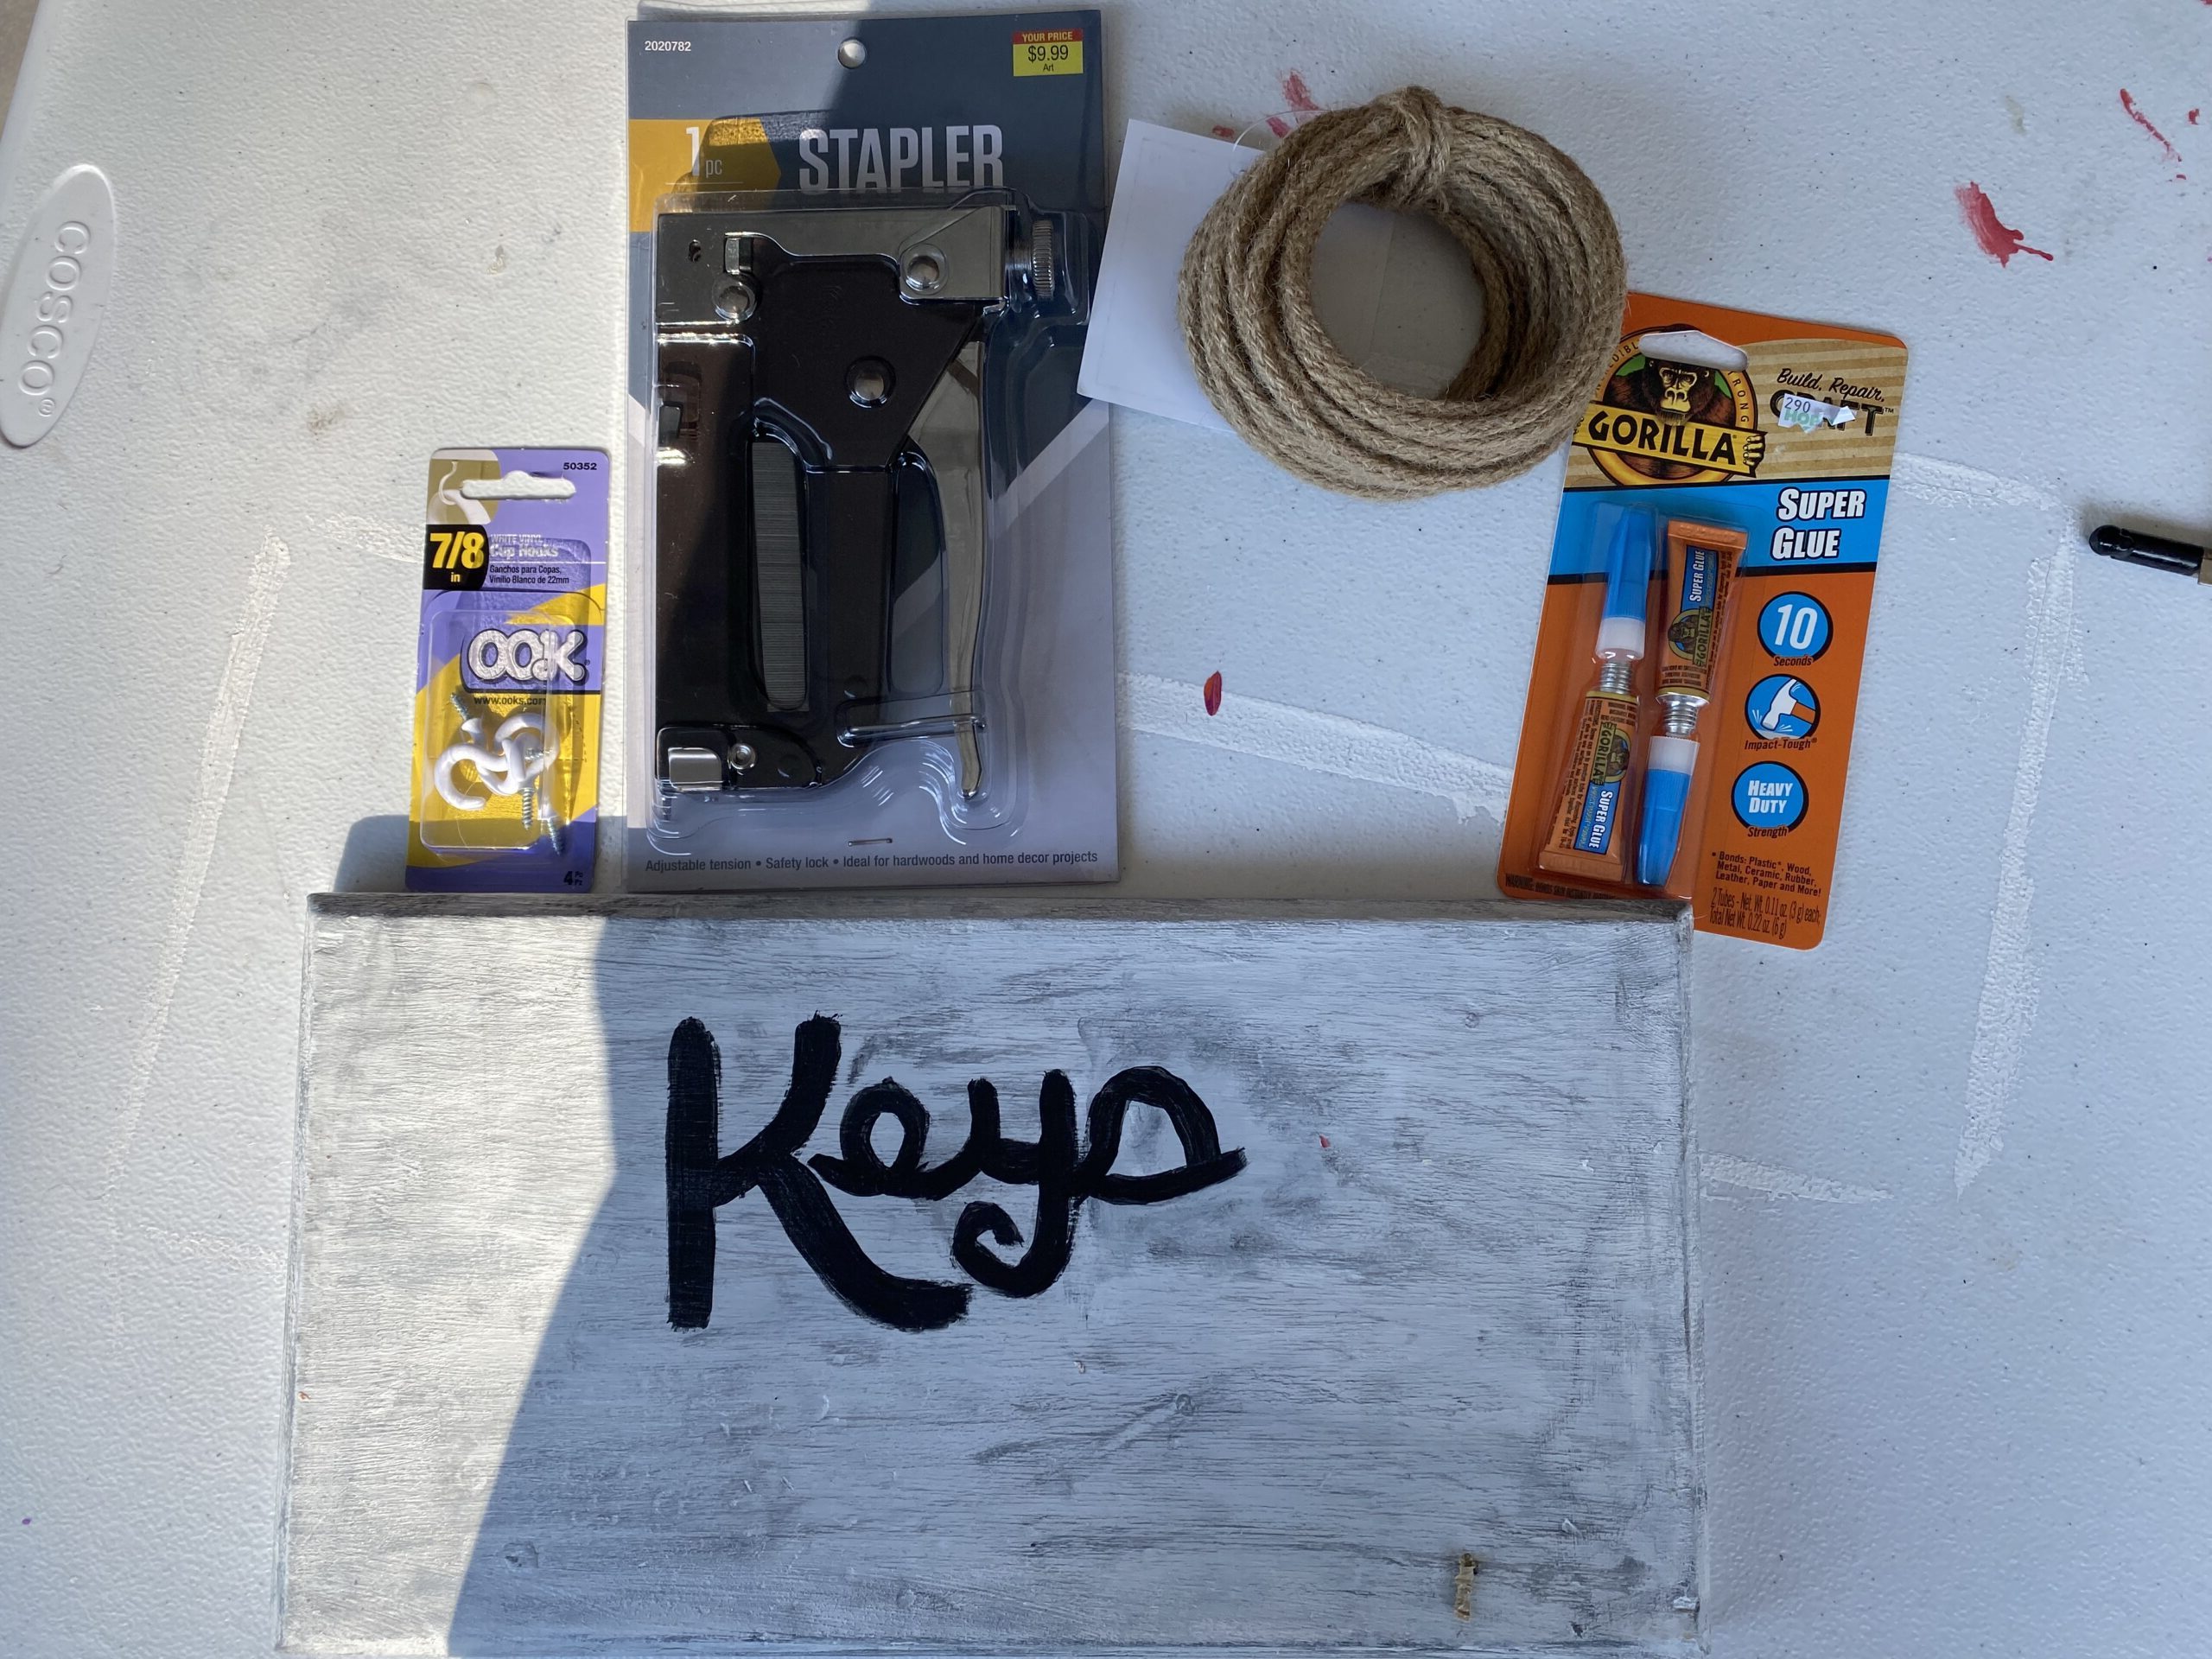
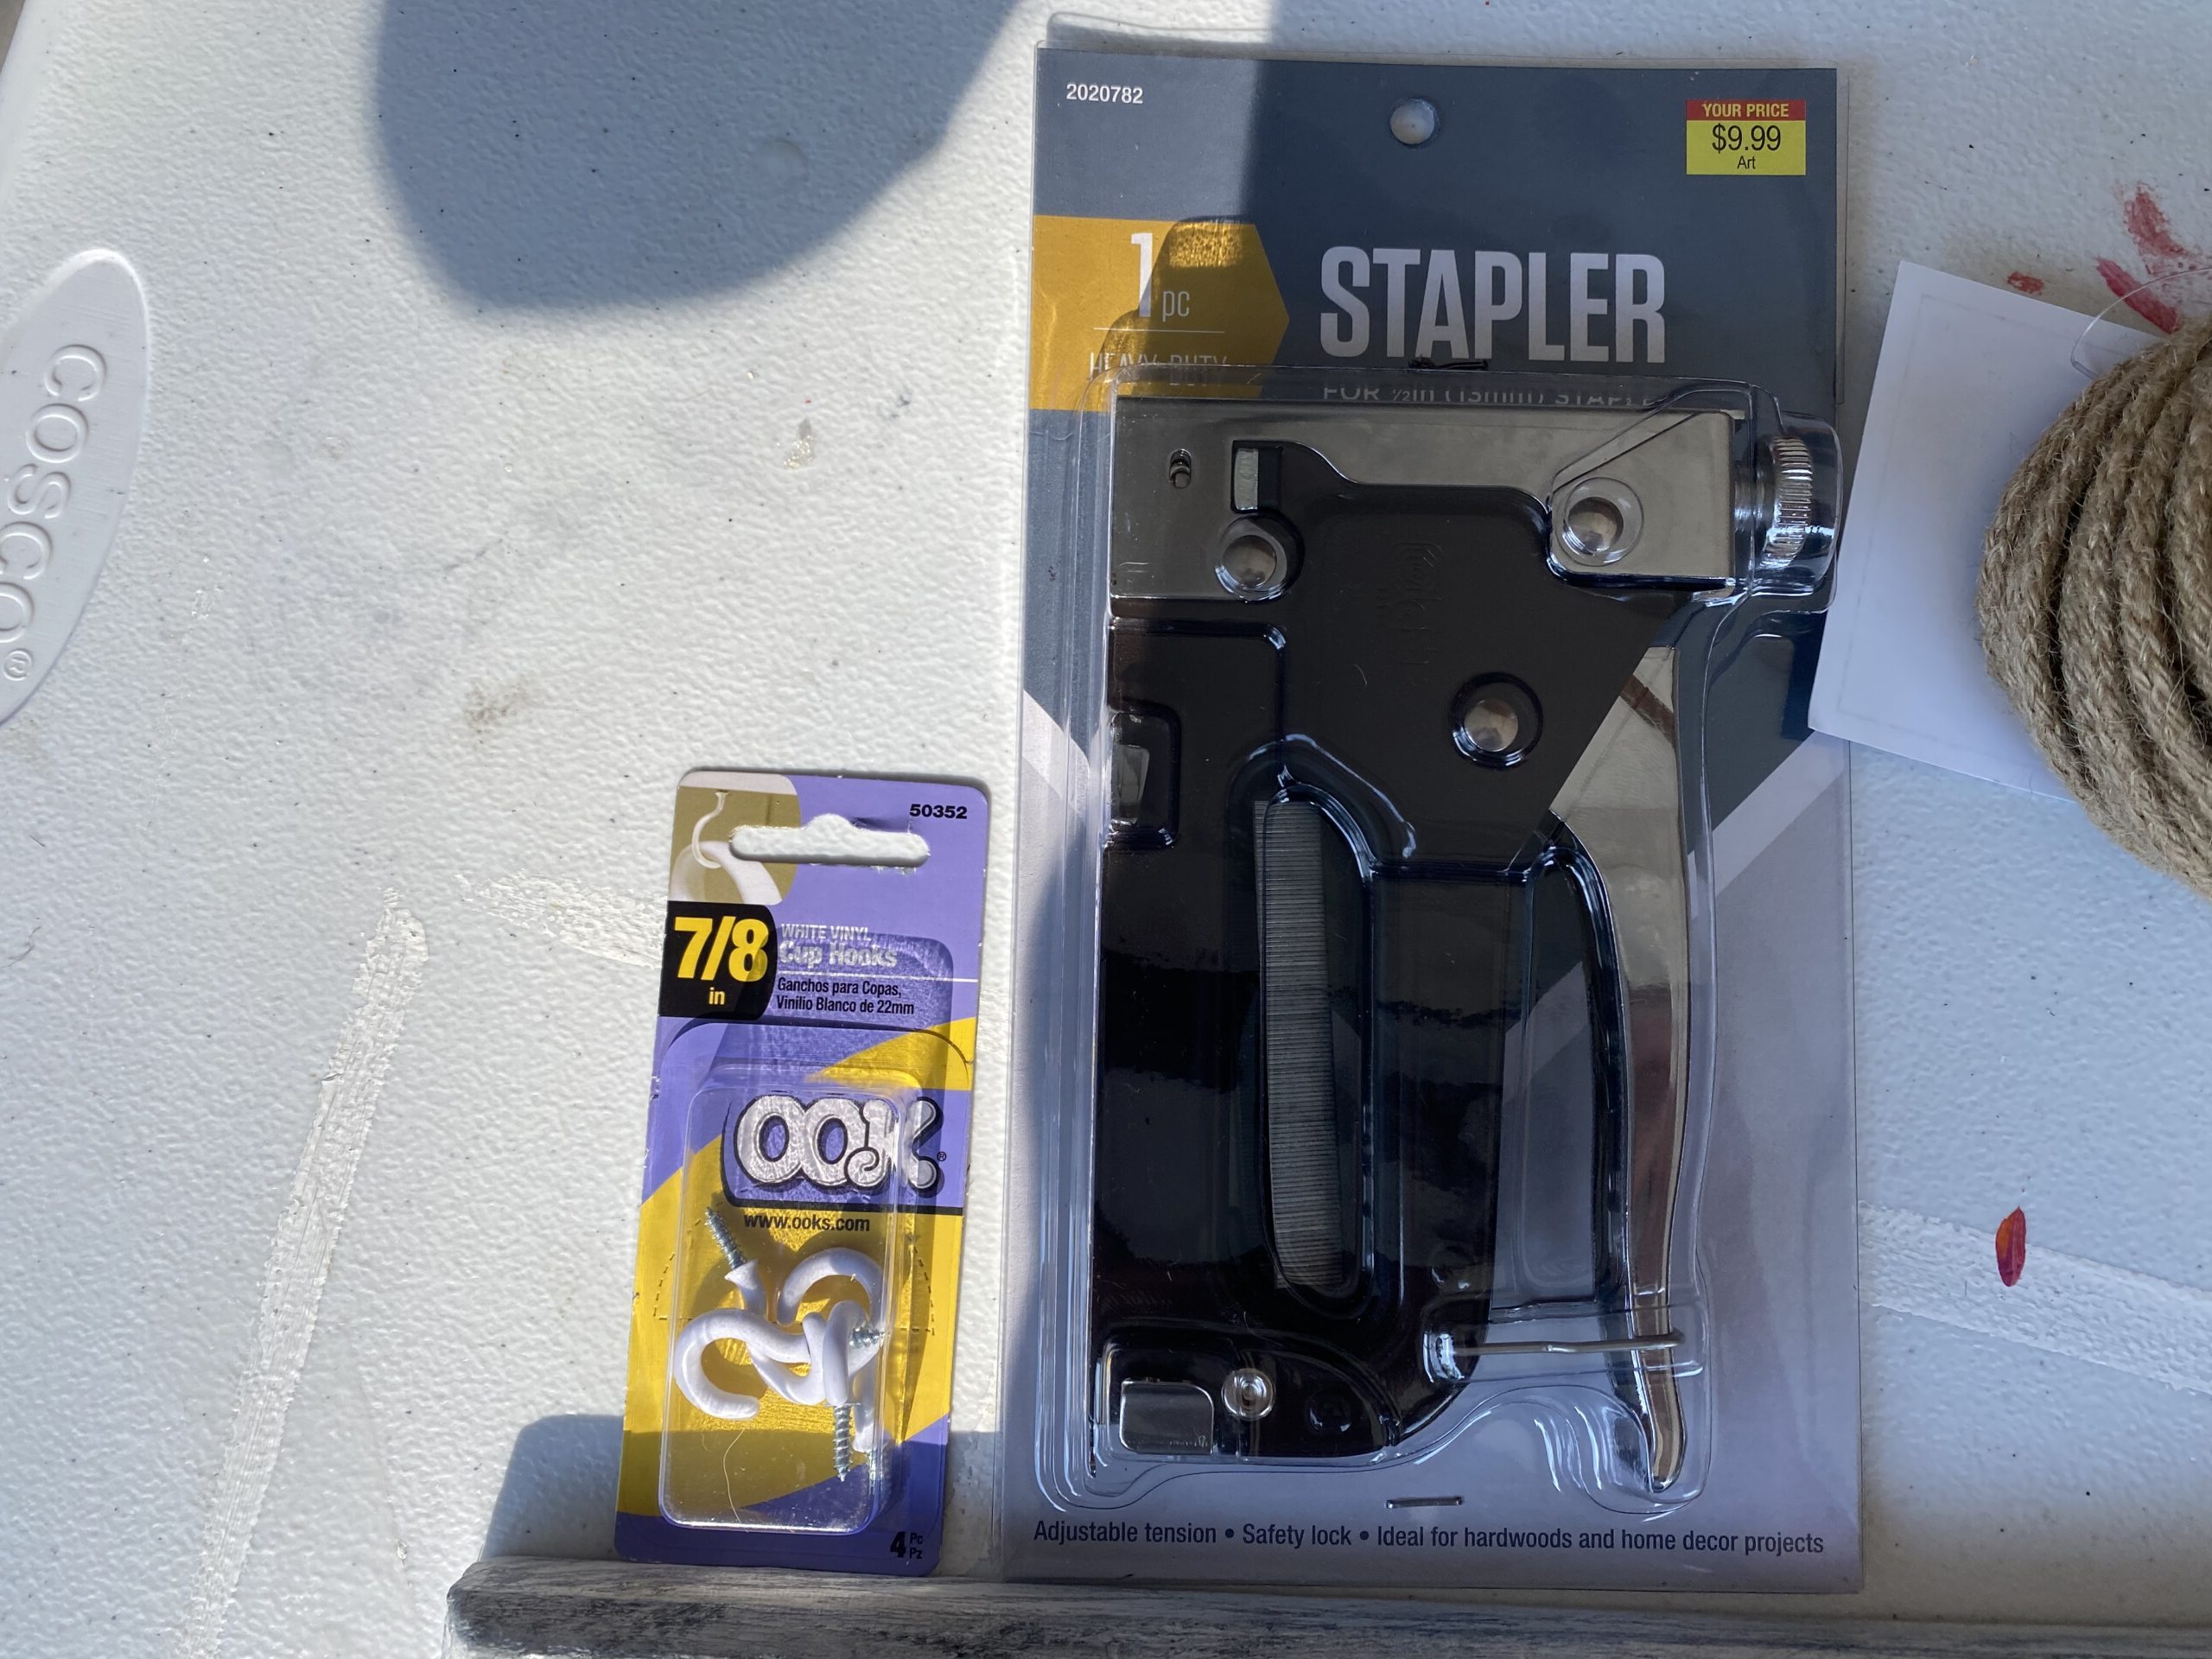
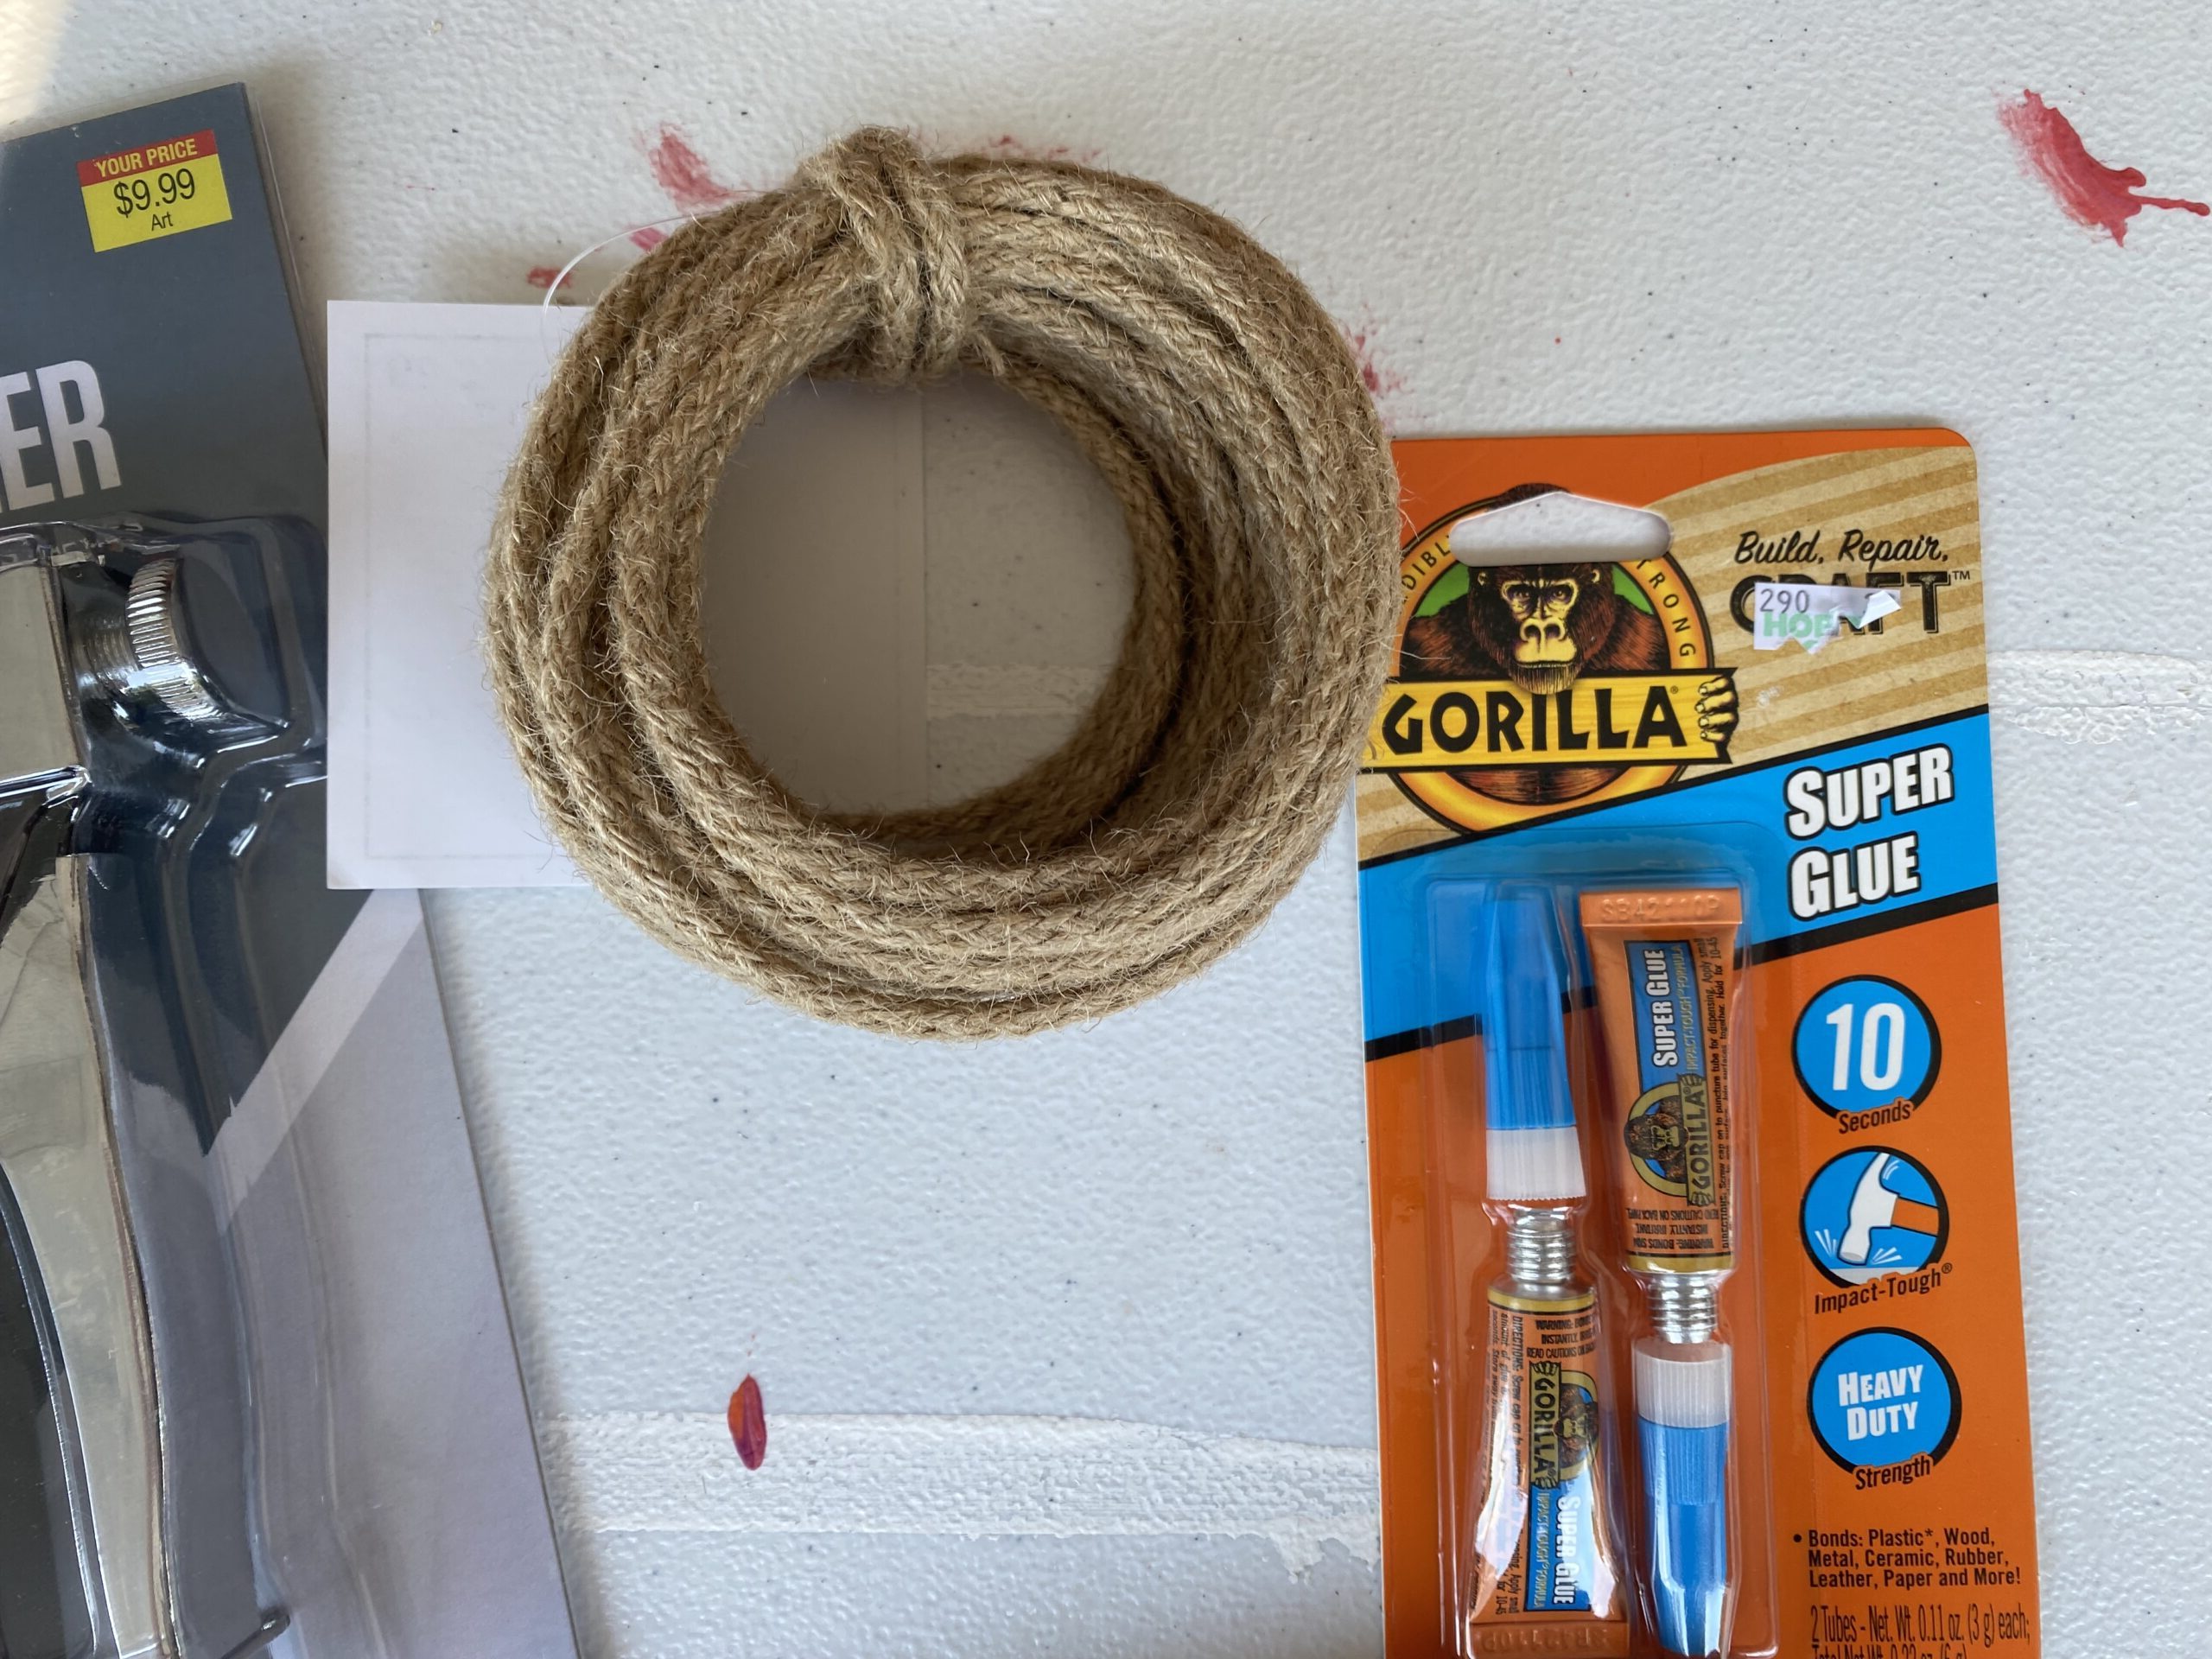
We went and bought everything to change the block of wood into our key holder. We got screw hooks for the keys to be placed on the wood. We bought twine to use as our wall hanging. To secure the twine to the wood we are going to staple the twine to the back of the wood as well use the super glue to secure the twine. This would help ensure the wood would be able to hang on a wall without falling apart.
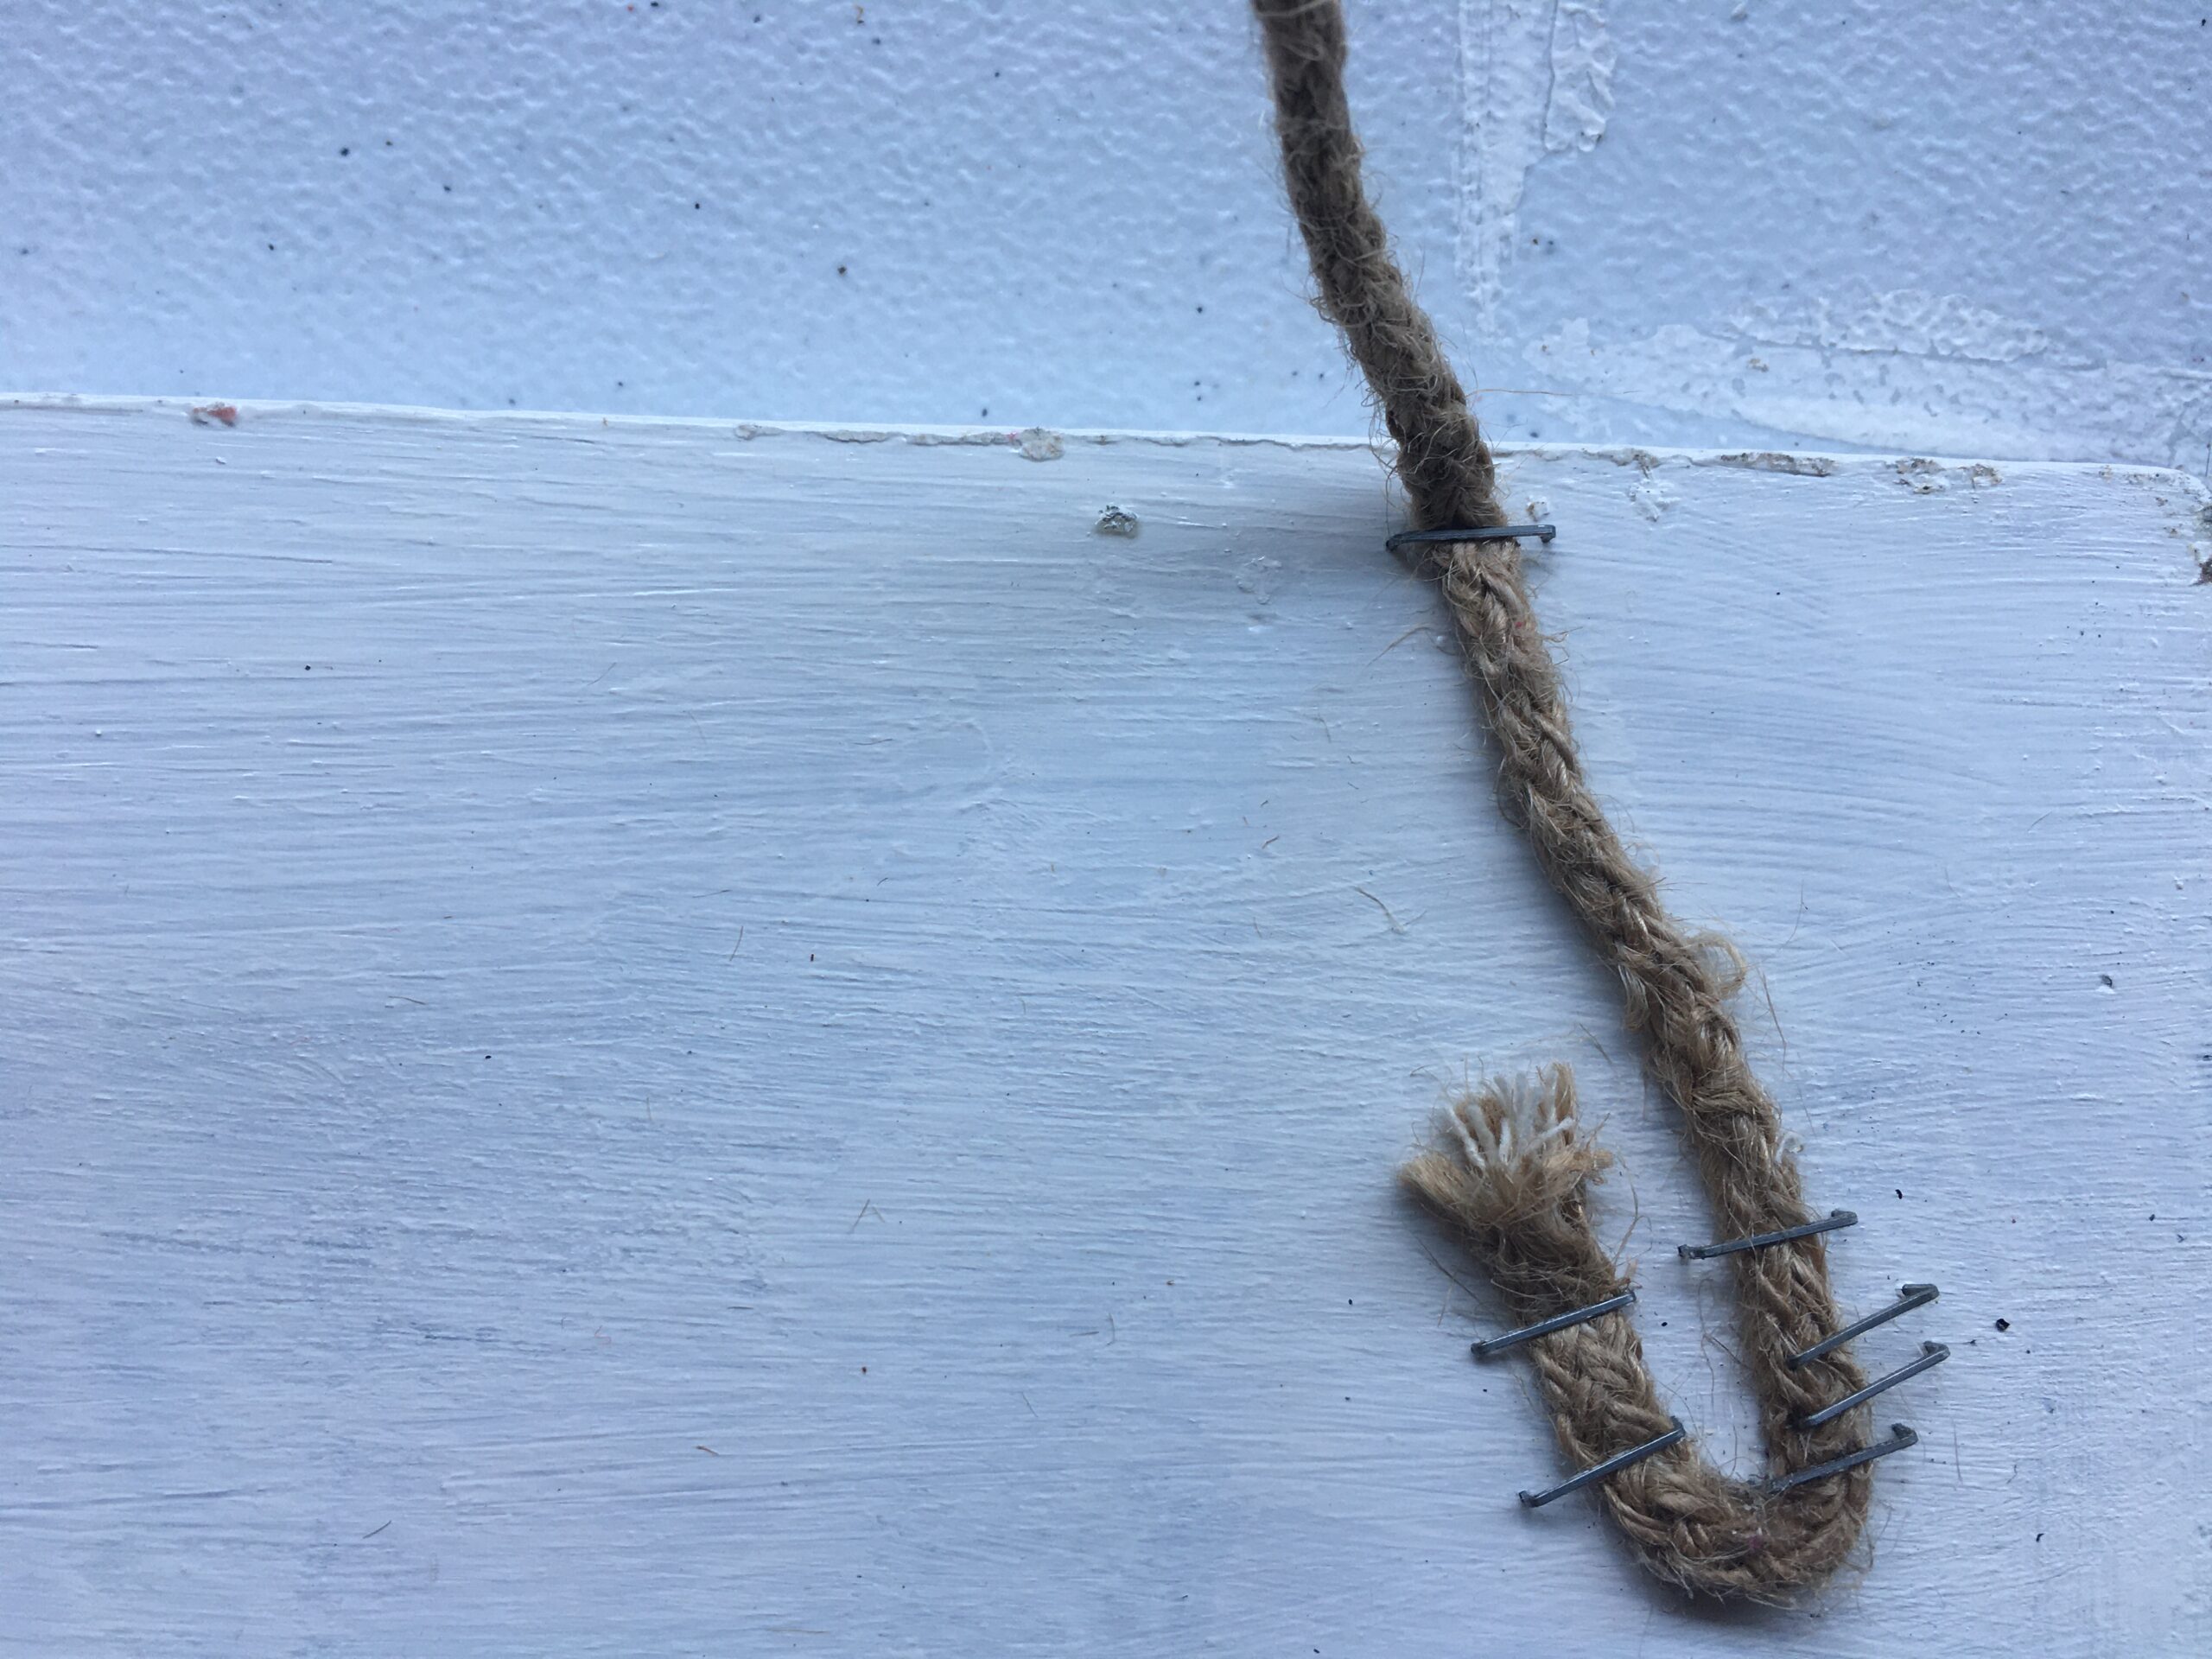
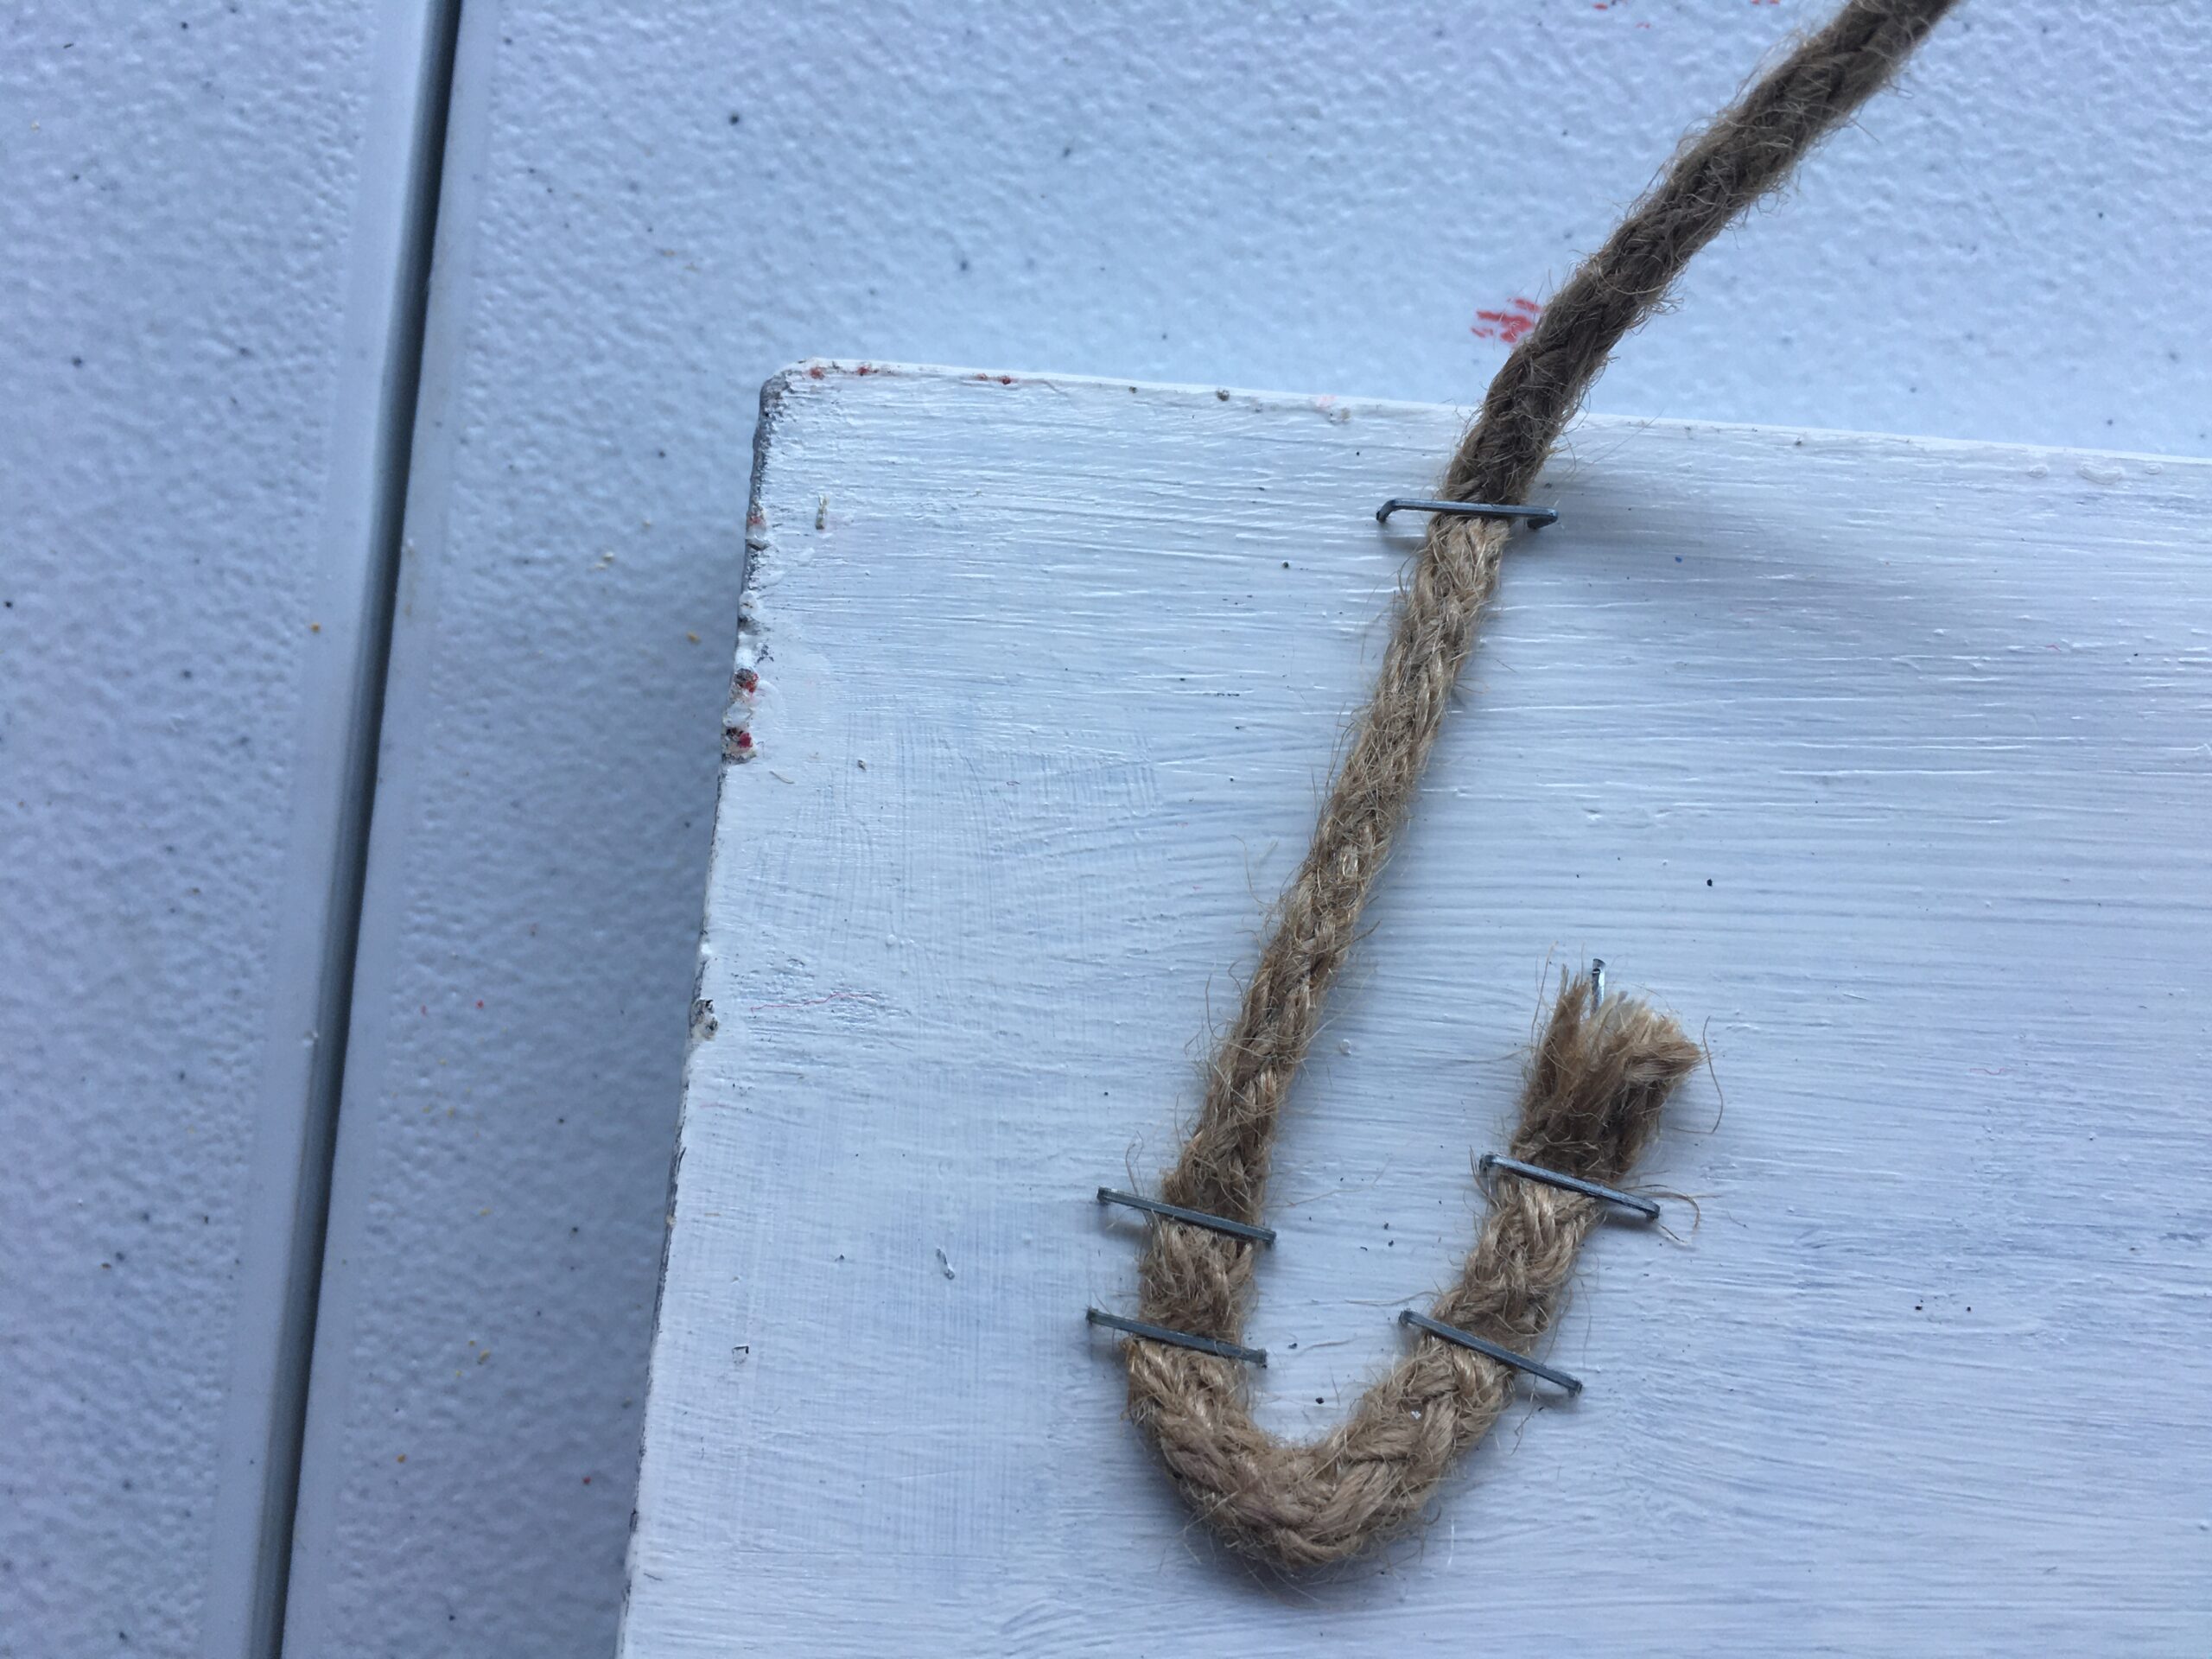
We figured out how long of a piece of twine we needed and cut it. We did this by figuring out how much of a hang we wanted the key holder to have. We then attached the twine to the back of the wood with the staple gun as you can see above. I then used the glue under the twine and held it until it secured to the wood. Since it is going to be a key ring holder it has to be able to carry some weight so it needs to be extra secure in its attachment. Using both the stapler and the super glue should give it the ability to be used for a long time. Now that it can be attached to the wall we need to finish the front.
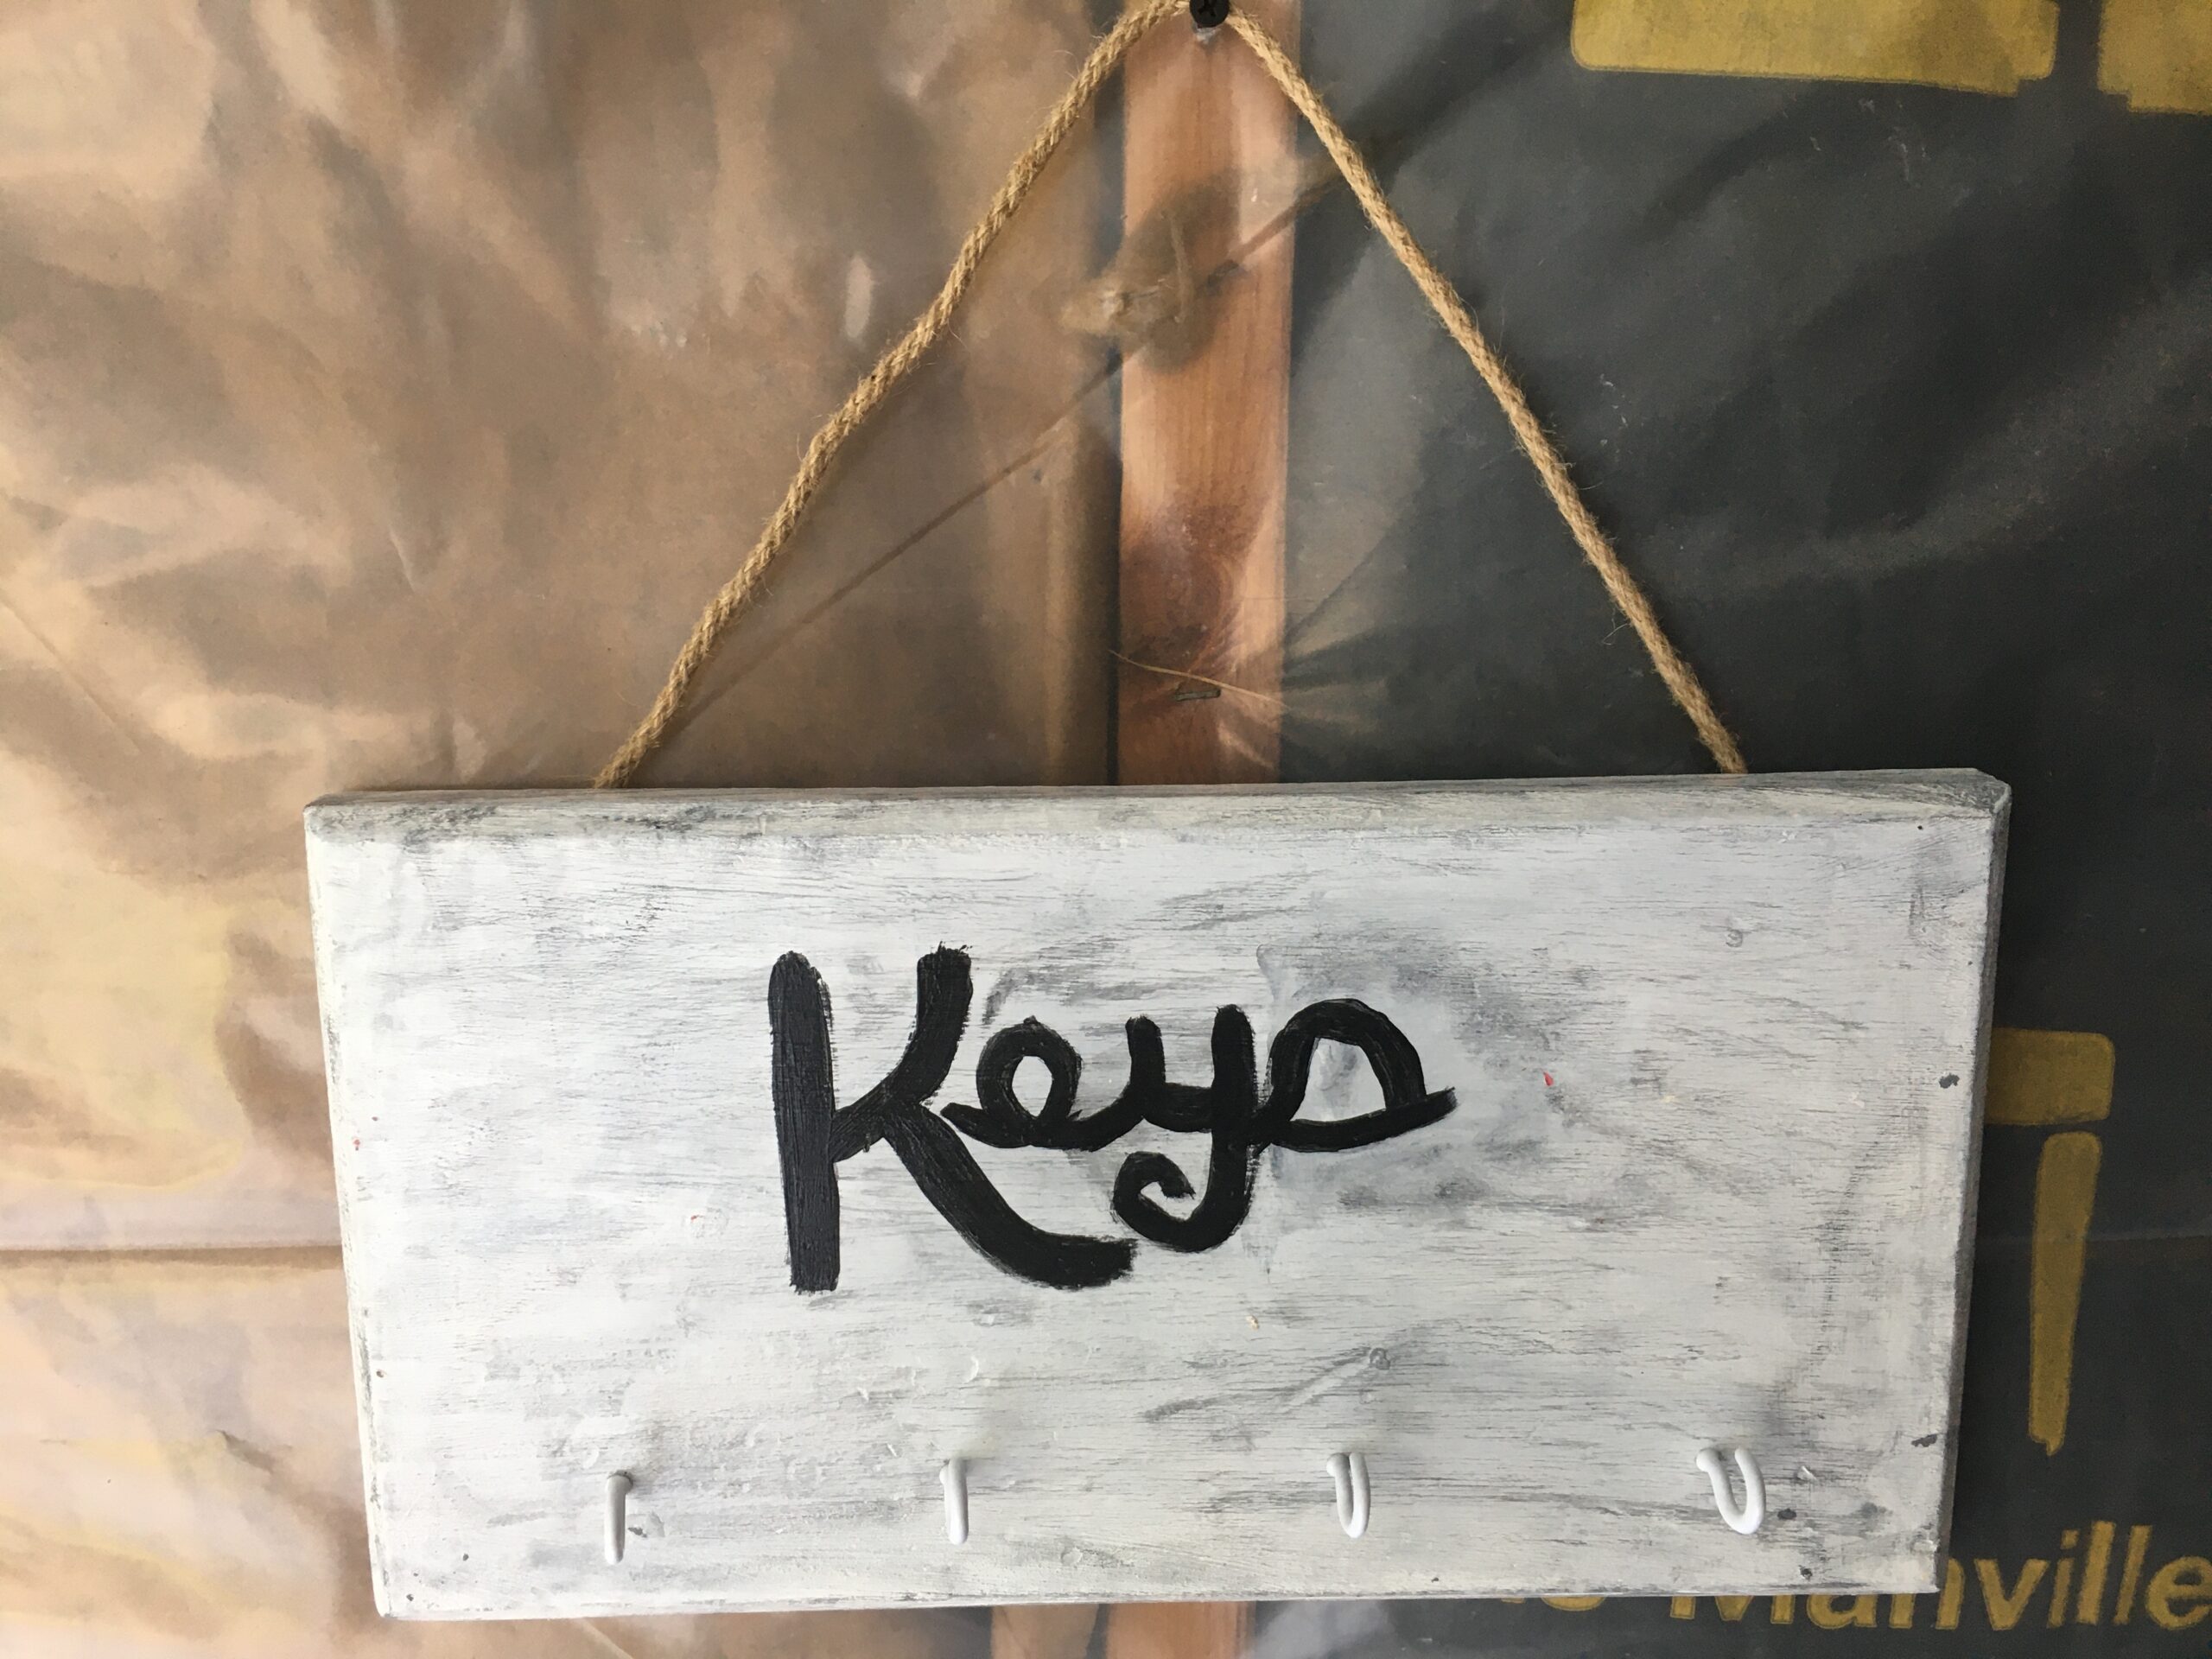
I attached the white hook screws to the front for the keys. We added the Keys writing freehand. We are not artist but we both thought we needed something to break the single white piece look. The keys writing gives it some color and contrast. From the broken wood of the small shelf to the key ring holder was a major overhaul. We did not know what to do with the wood for quite some time but we were able to figure it out as we went along. We are still very much learning what we are doing piece by piece. This was the first piece we really completed changed the look of the item. The small shelf turned in a good learning piece as well as a confidence booster. This showed us we can change an item and have it turn into a brand new piece.
