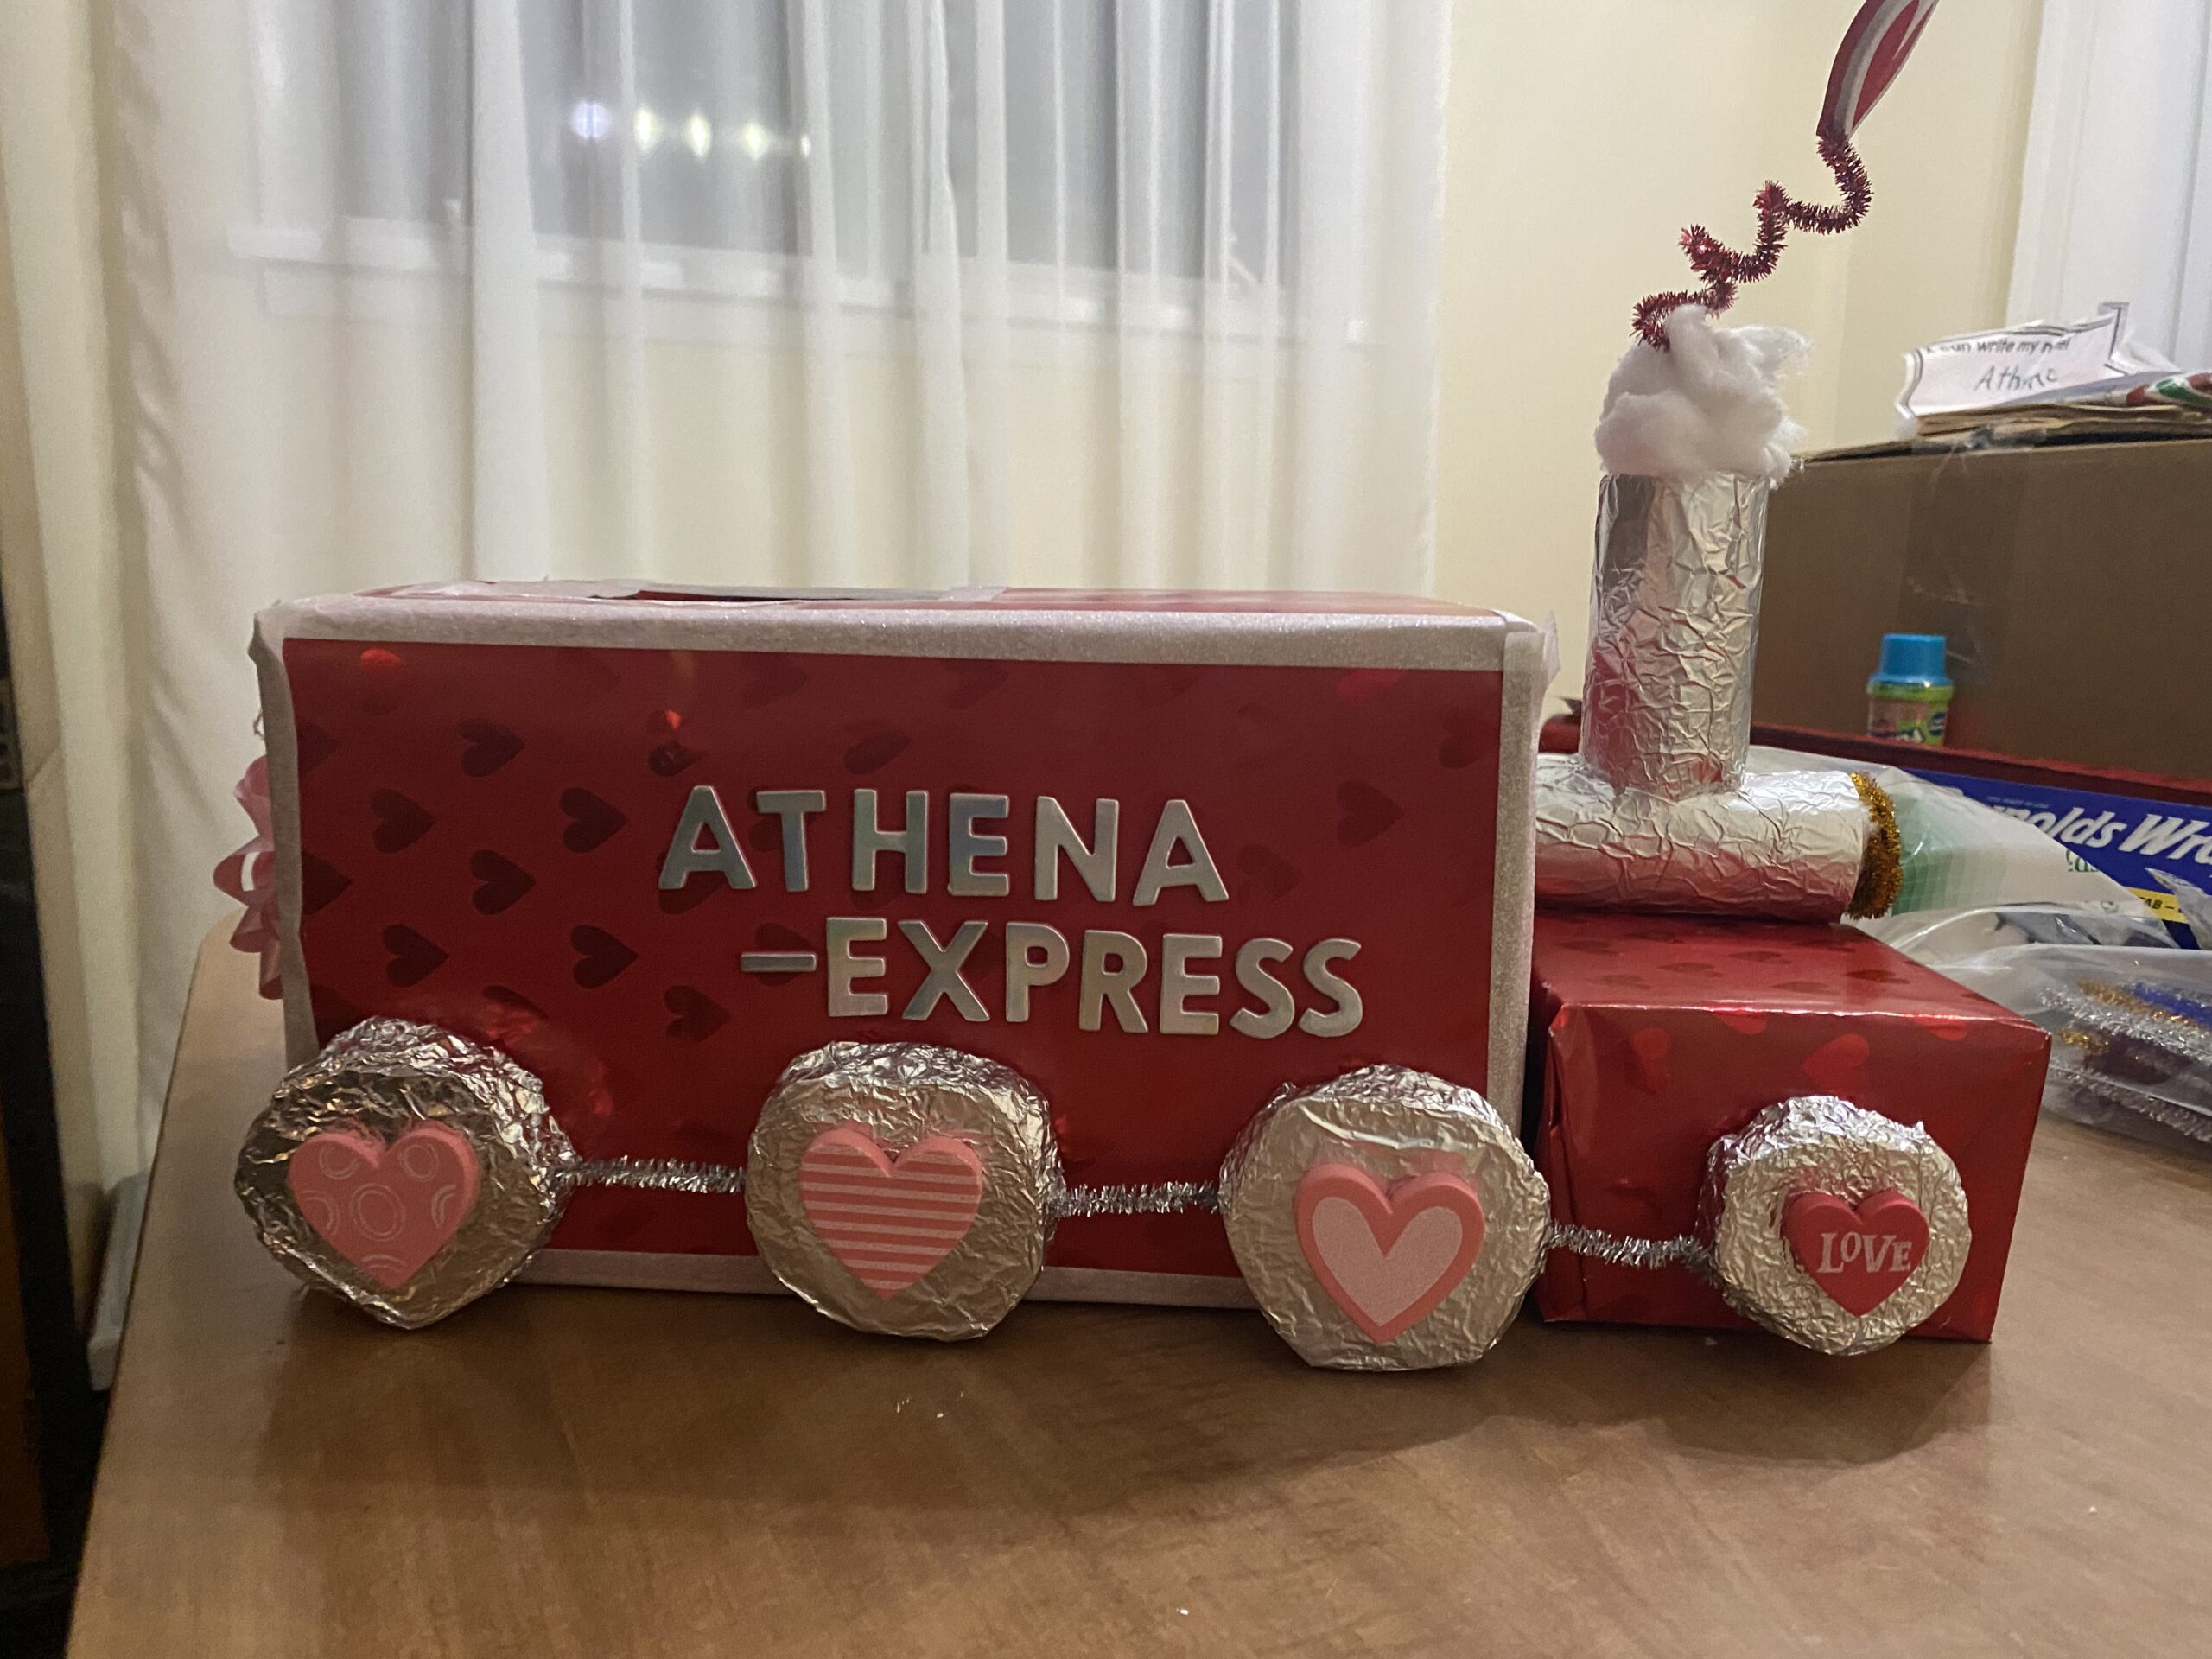
As with every February, Valentine’s Day comes up. And with Valentine’s Day, comes Valentine’s Day parties at school. This means card exchanges between the kids and the need for a Valentine’s Day box for Athena. Casey being who she is, we decided to craft the box for Athena rather than buy one. The great thing about this box, is that you can do it for your kid as well. It is not too difficult to do. And we are going to give you the instructions on how to do so follow along and next Valentine’s Day, you can be the parent and child to make the best looking box in the class.
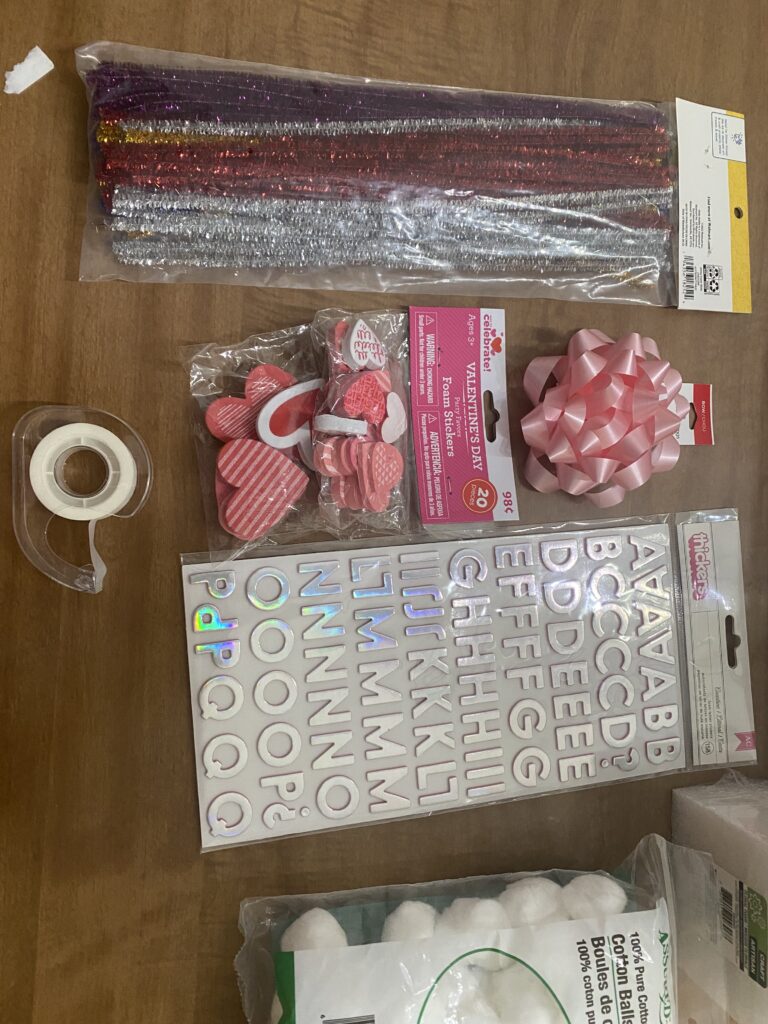
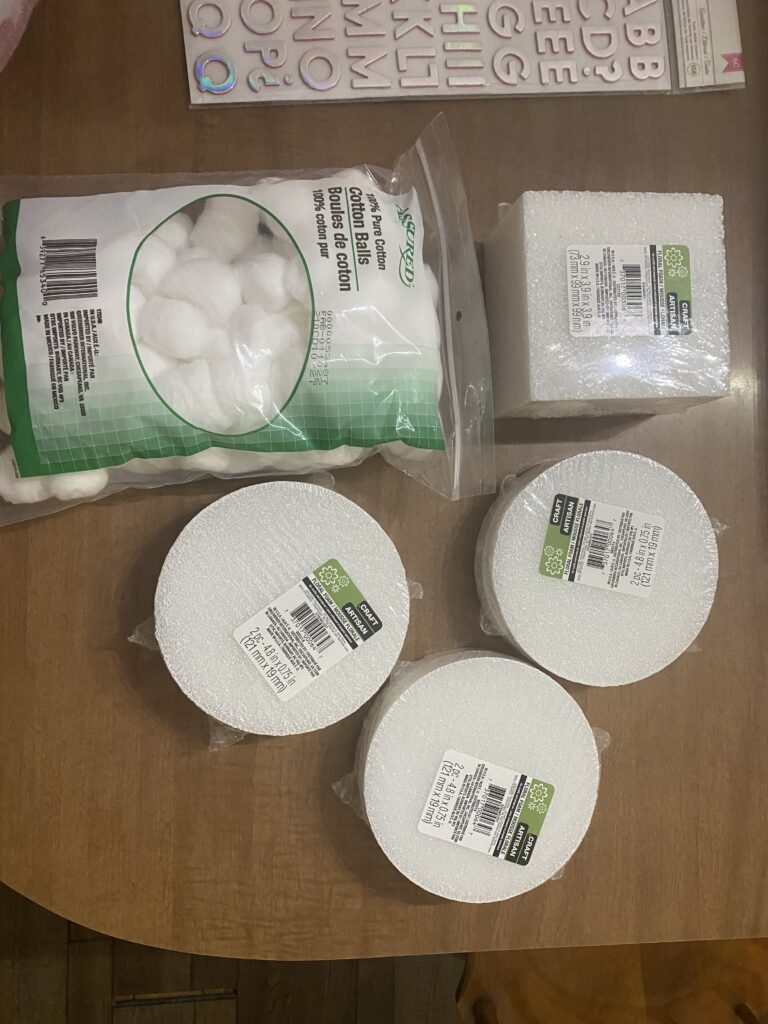
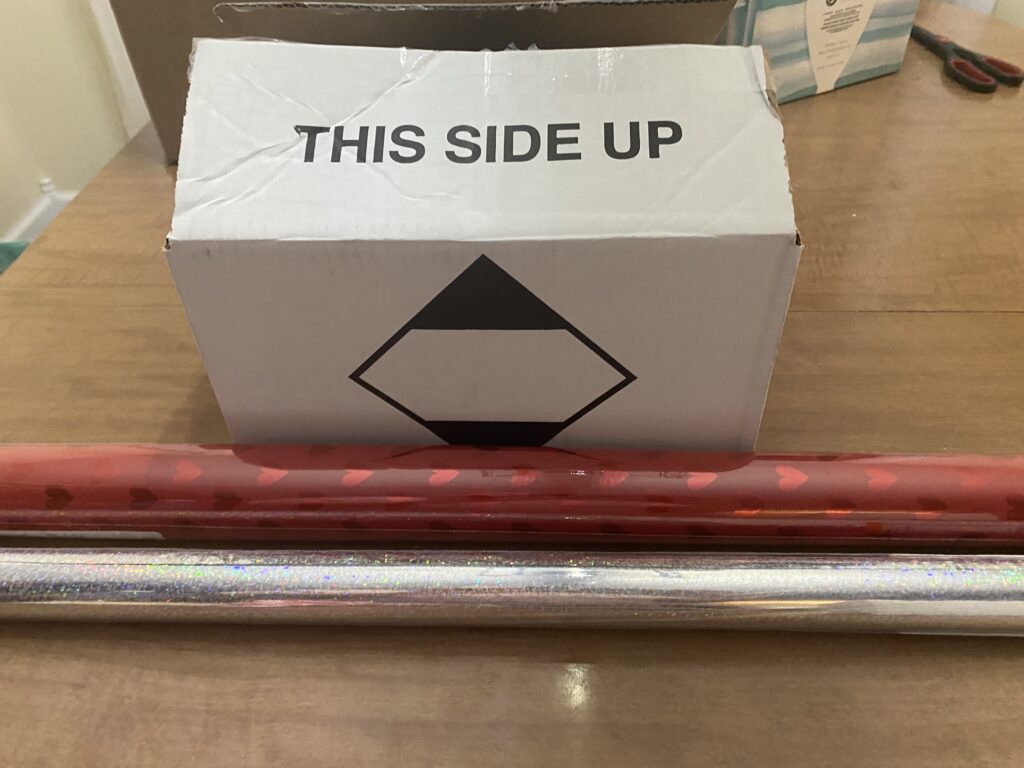
For the materials we used:
1st Picture
- Pipe Cleaner
- Tape
- Foam Sticker Hearts
- Bow
- Sticker Letters
2nd Picture
- Cotton Balls
- Styrofoam Circles
- Styrofoam Squares
3rd Picture
- Wrapping Paper-We used the red wrapping paper but we used tin foil instead of the silver wrapping paper.
- Box-We found a box laying around that was about the right size needed and that is what we used.
Not Pictured
- Washi Tape
Now with all of the materials needed laid out, it is time to start putting things together.
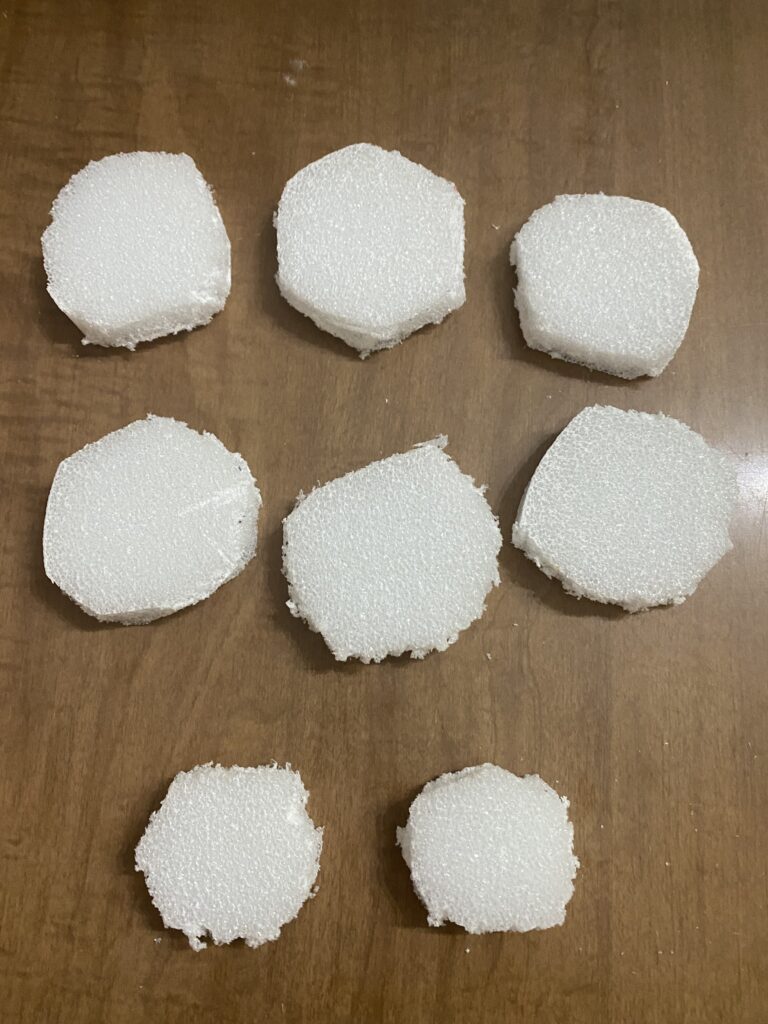
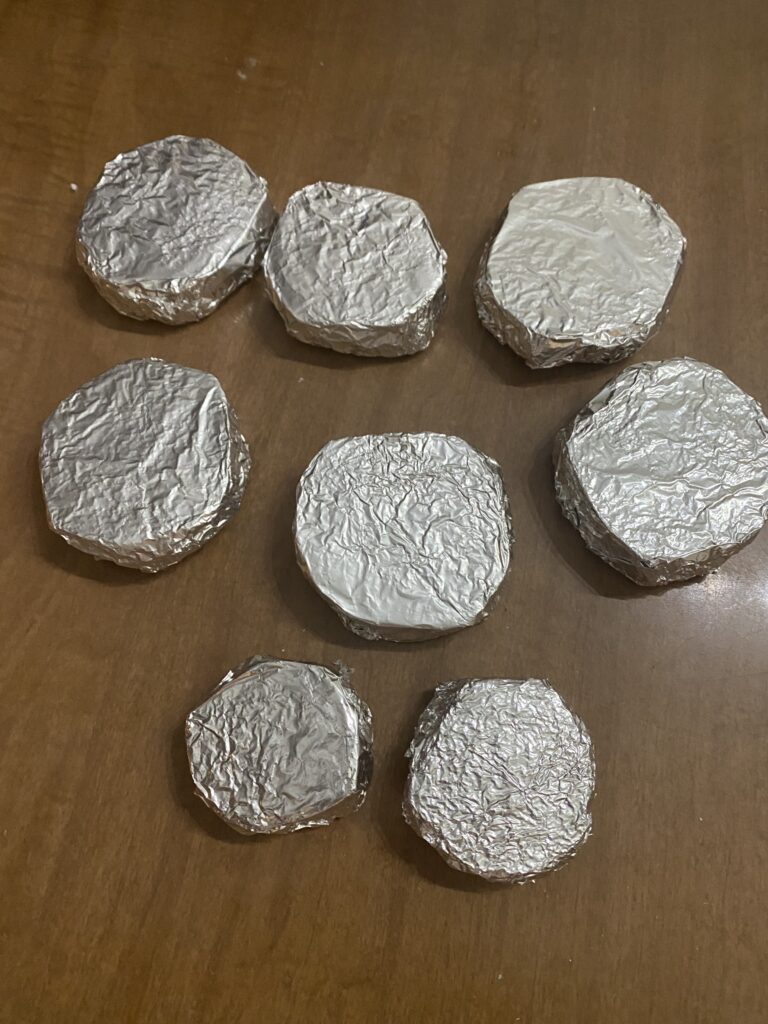
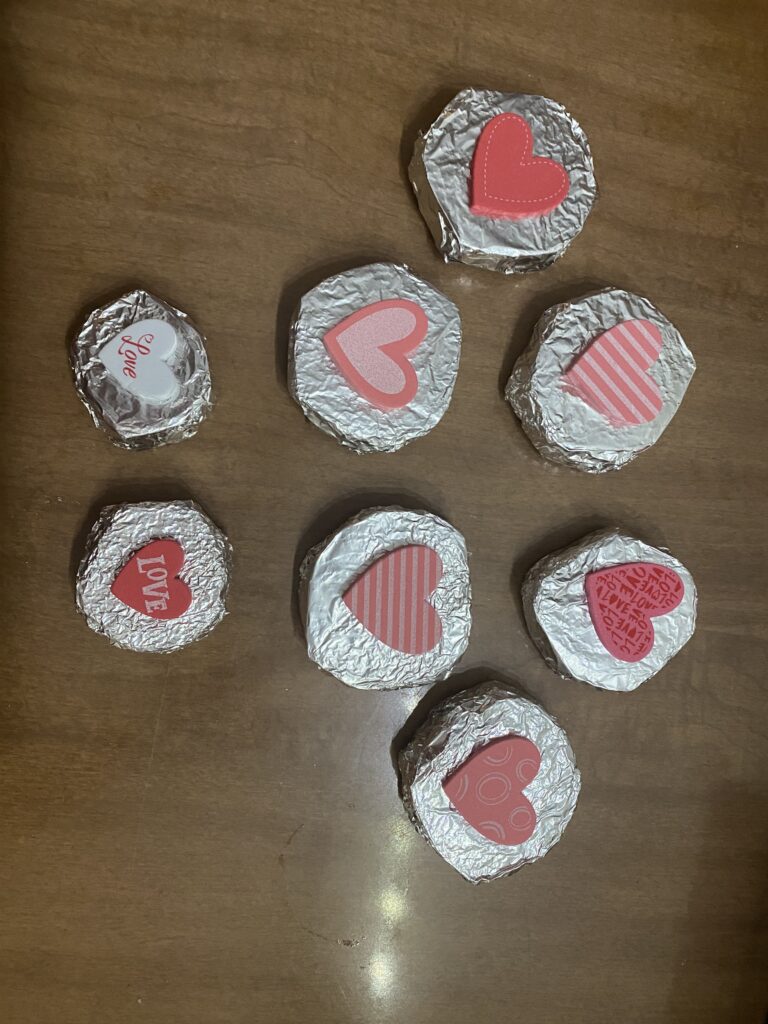
The first thing we did was the wheels for the train box. Casey cut the Styrofoam wheels down to a smaller size. Then she wrapped the cut down wheels in tin foil. This was a decision to switch from the silver wrapping paper to tin foil because the wrapping paper was not working well so we changed what we were doing. After wrapping the wheels in tin foil, we added the hearts to the tin foil wheels. Since the box was going to have to travel to school and carried into the class, we added some glue to the sticking process to create a better hold.
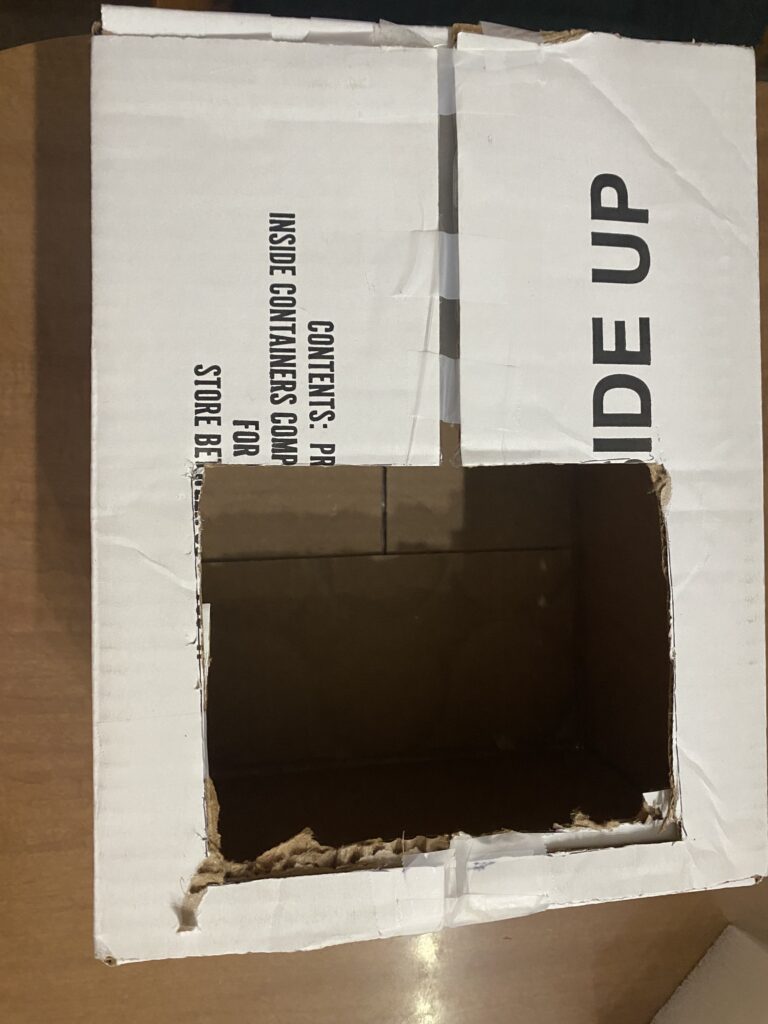
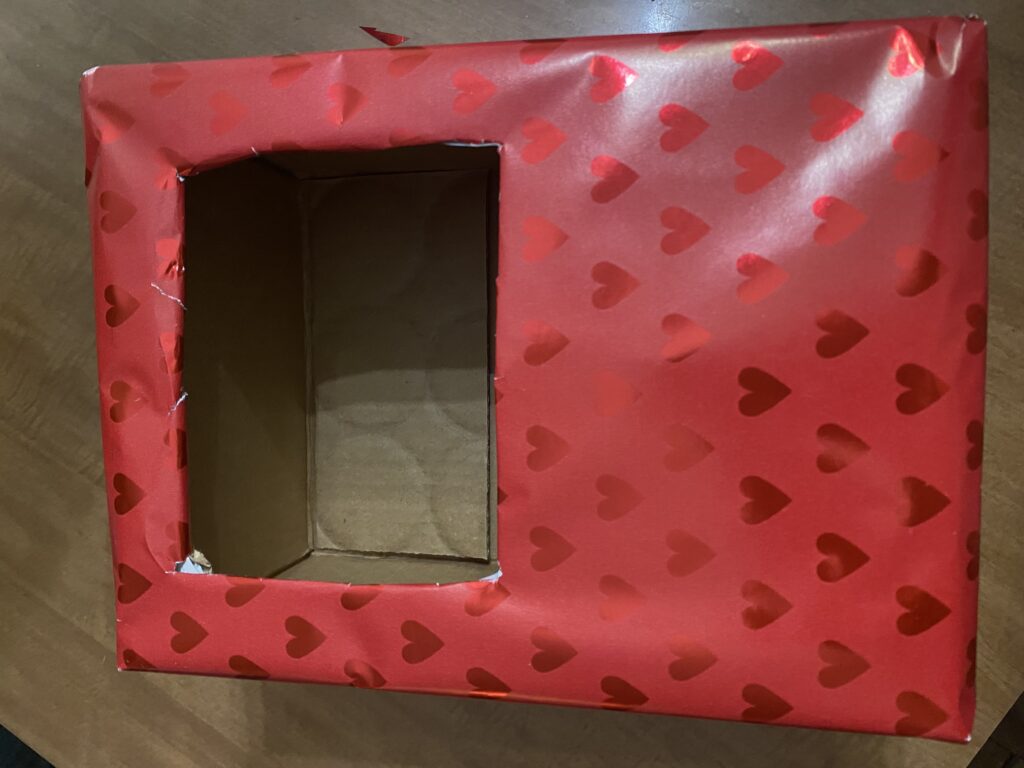
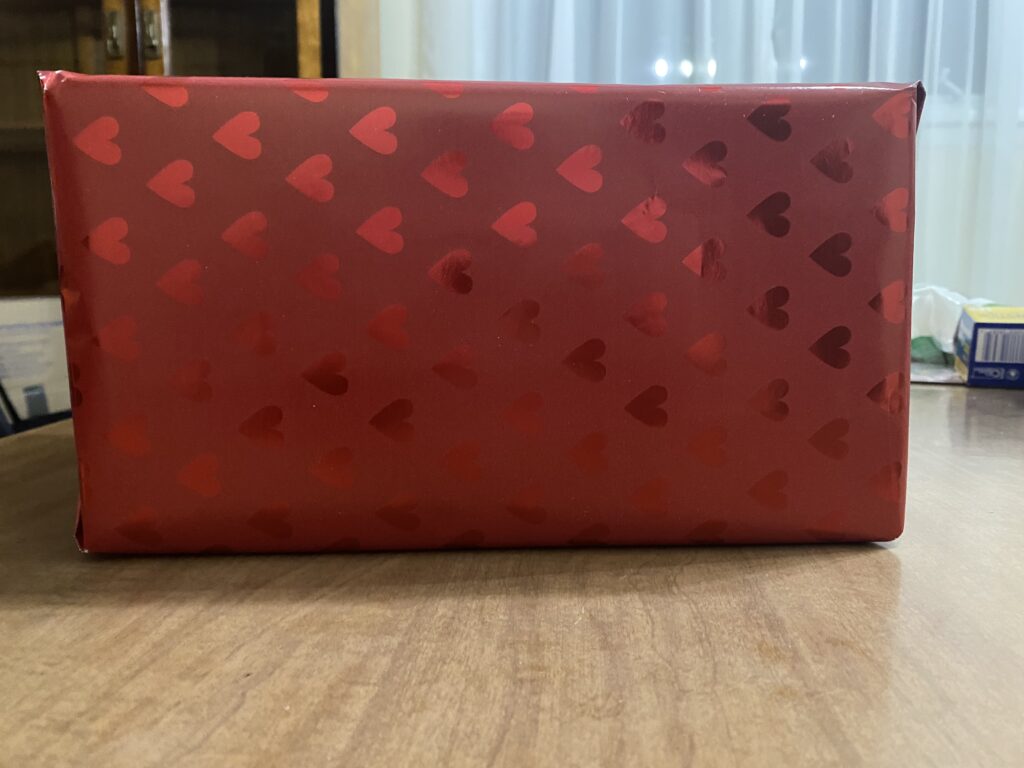
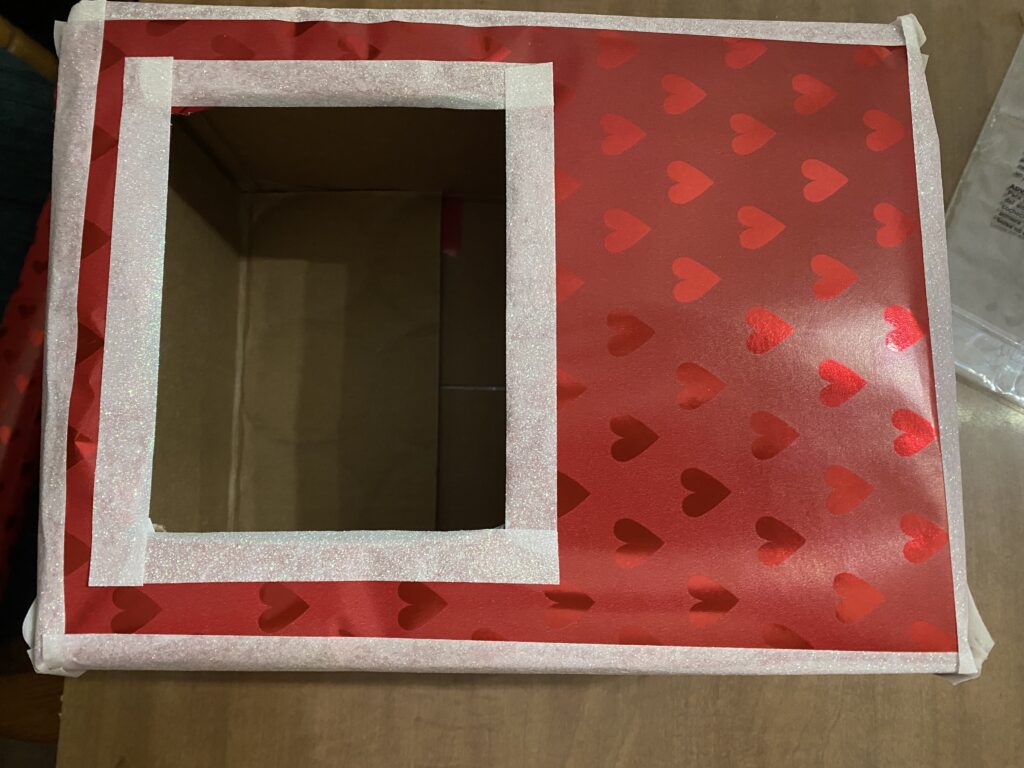
Next up was the box. Notice we are working on each individual piece before we combine them together. That way if something needed changed then we would not have to tear everything apart. We did not put anything together until the very end of the building.
Casey taped the box together like you would in packing something. This kept the box from moving. Once taped, Casey cut a hole in the top of the box. The size of the hole was not measured or anything like that. We thought about how large a valentine’s card Athena could get and made a hole that would be big enough for the largest possible Valentine. With the hole cut out, the red wrapping paper was used to cover the box. This box is the body of the train so the wrapping paper needs to be as neat and smooth as possible. A poor wrapping job would lead to a poor looking train. Finally, Casey outlined the box in washi tape. The washi tape helps to make the train more decorative. The washi tape has a little sparkle to it so the tape really popped against the red tape.
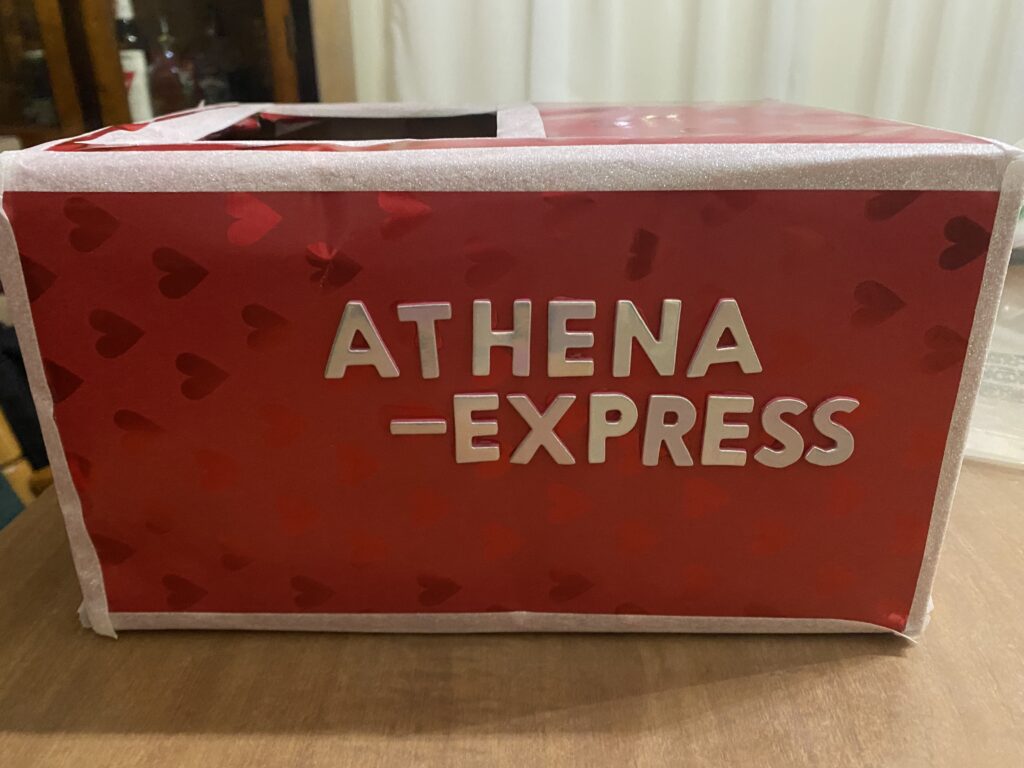
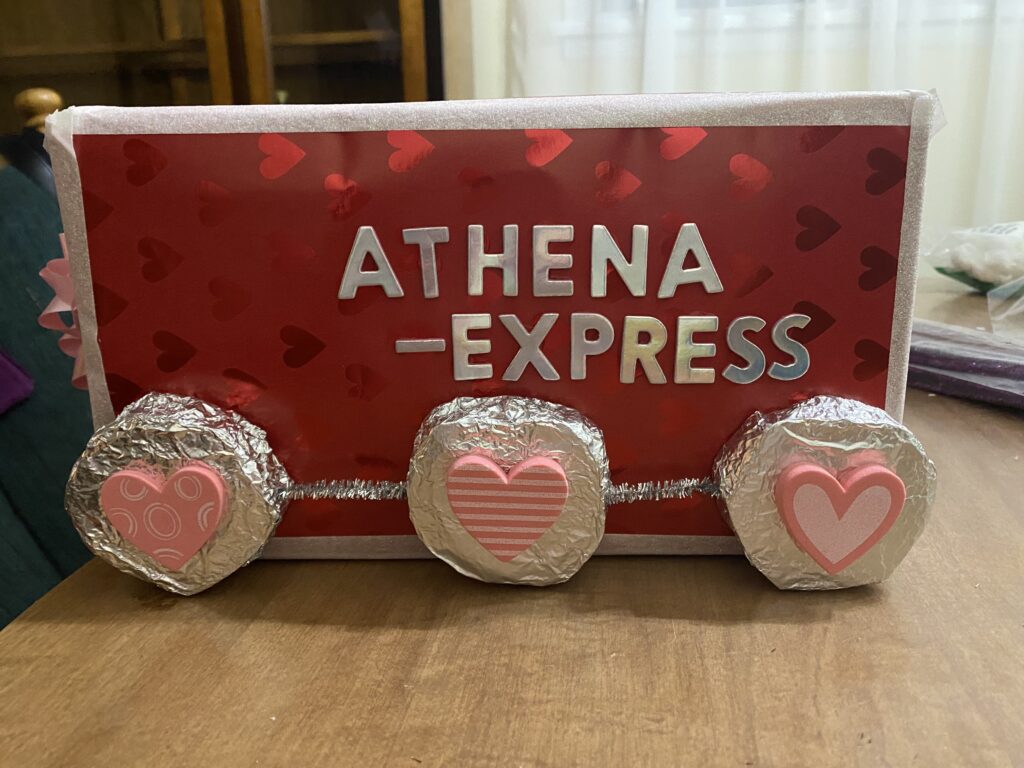
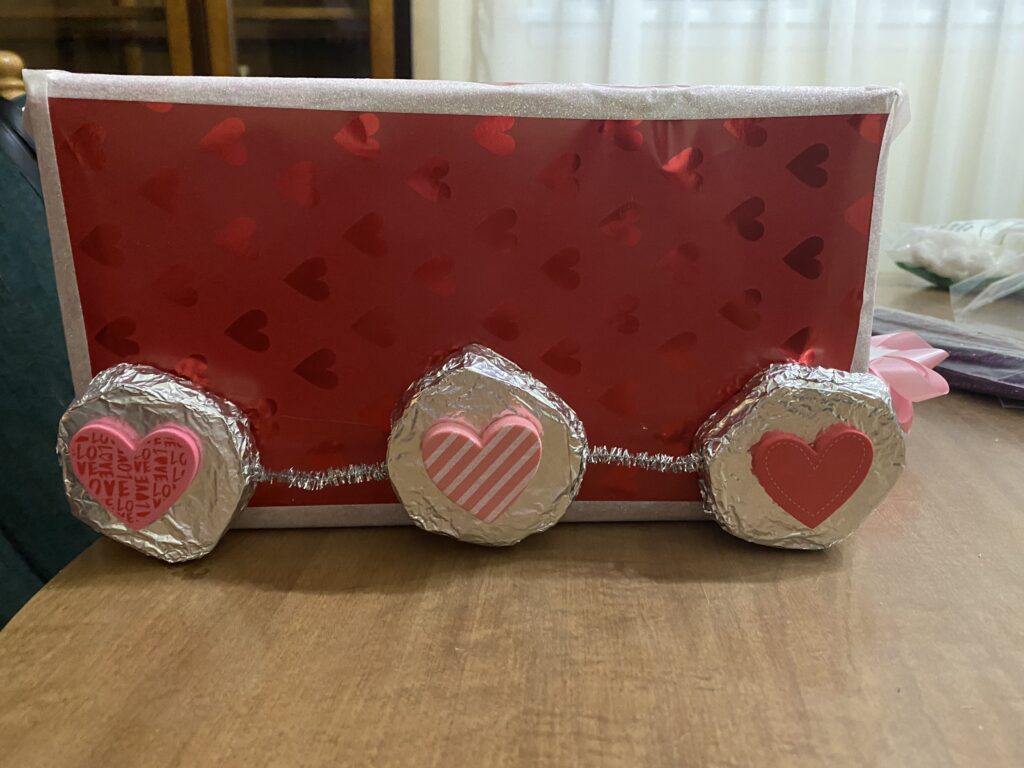
To Finish the box, we added the Athena Express in sticker letters. We ran out of letters due to Athena getting a little excited and playing with some of them before the project. So the Athena Express was on one side only. The initial plan was to have the Athena Express on both sides of the box.
We used the pipe cleaners to connect the 3 larger wheels on both sides. After connecting the wheels with the pipe cleaners, we glued the wheels onto the side of the box. With the attached wheels, the train part of the box was complete. Now it was just a matter of added in some additional details to really push the project over the top.
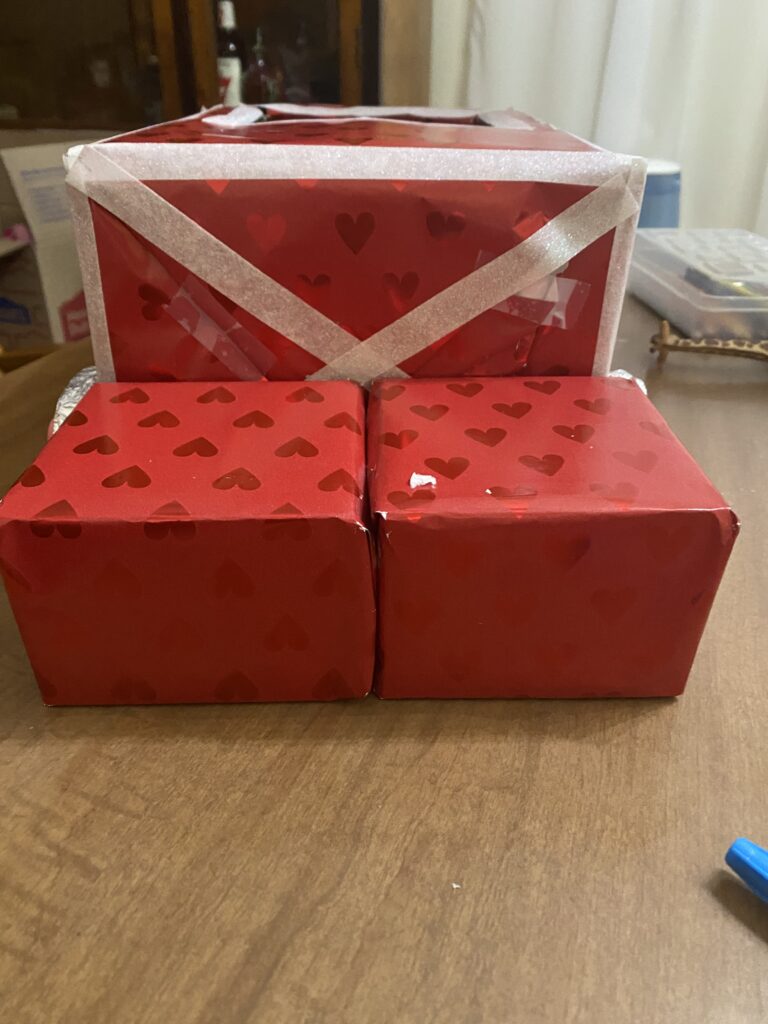
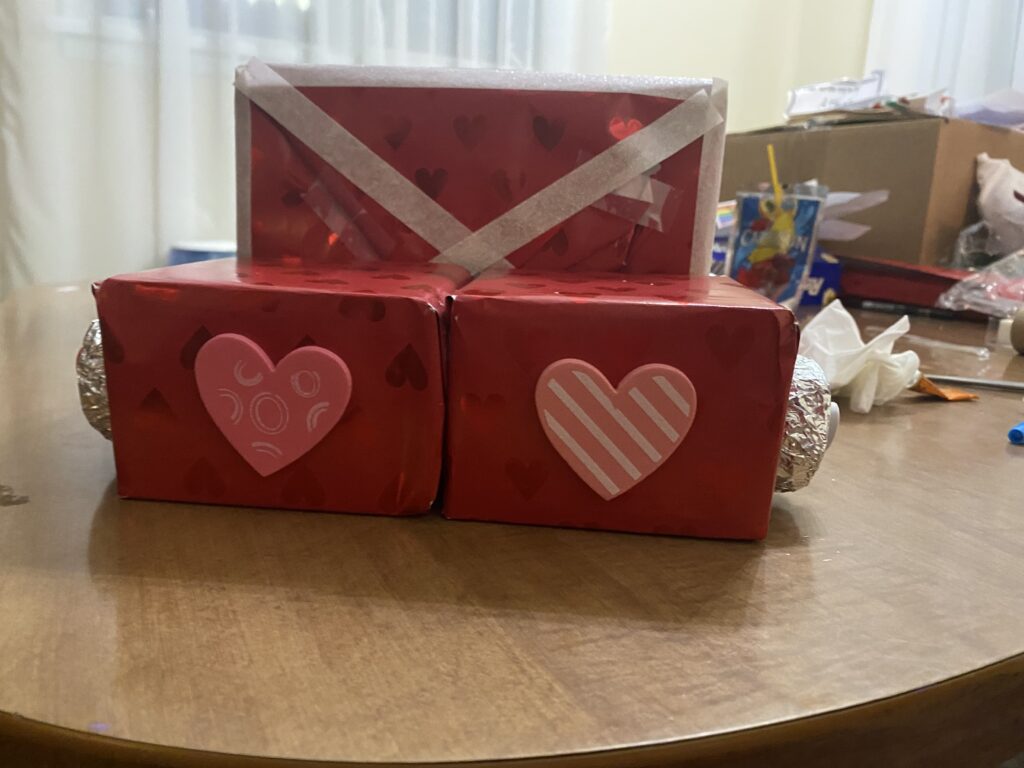
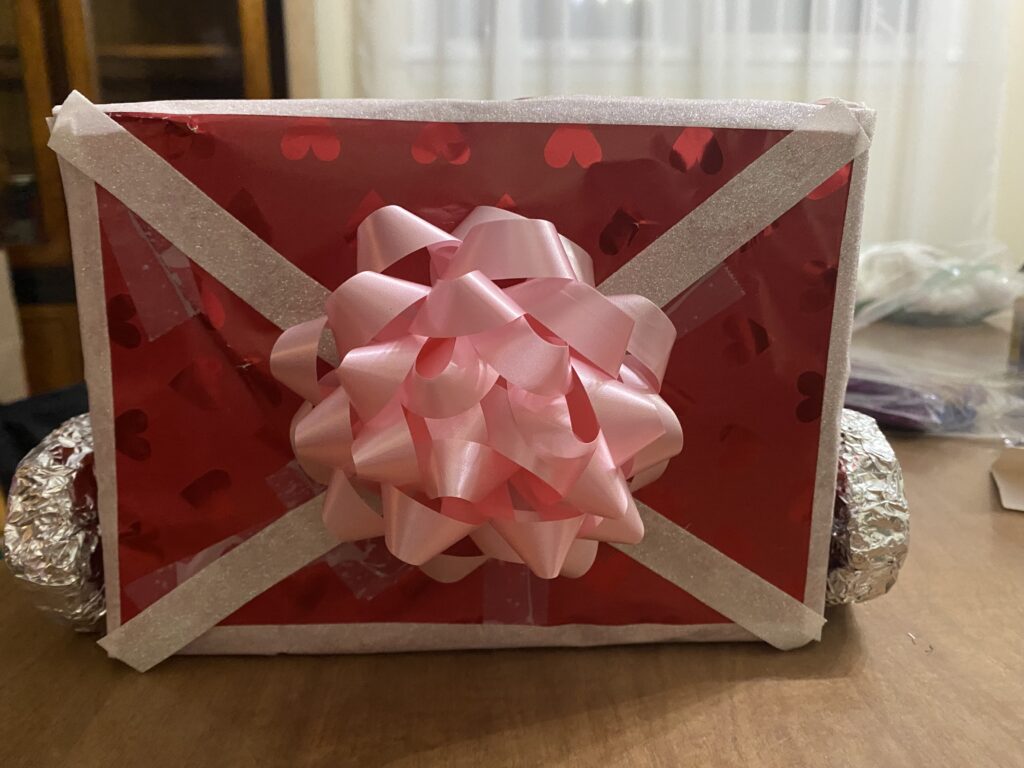
And now we started to put the little details. Casey wrapped the Styrofoam squares with the red wrapping paper. We tried gluing them onto the front like we did the wheels. Unfortunately the blocks would not stick. So we superglued them onto the front. The blocks stayed glued to the front with the super glue. And just like the wheels, we glued hearts onto the front of the blocks. On the back on the back, we added a pink bow for the caboose of the train.
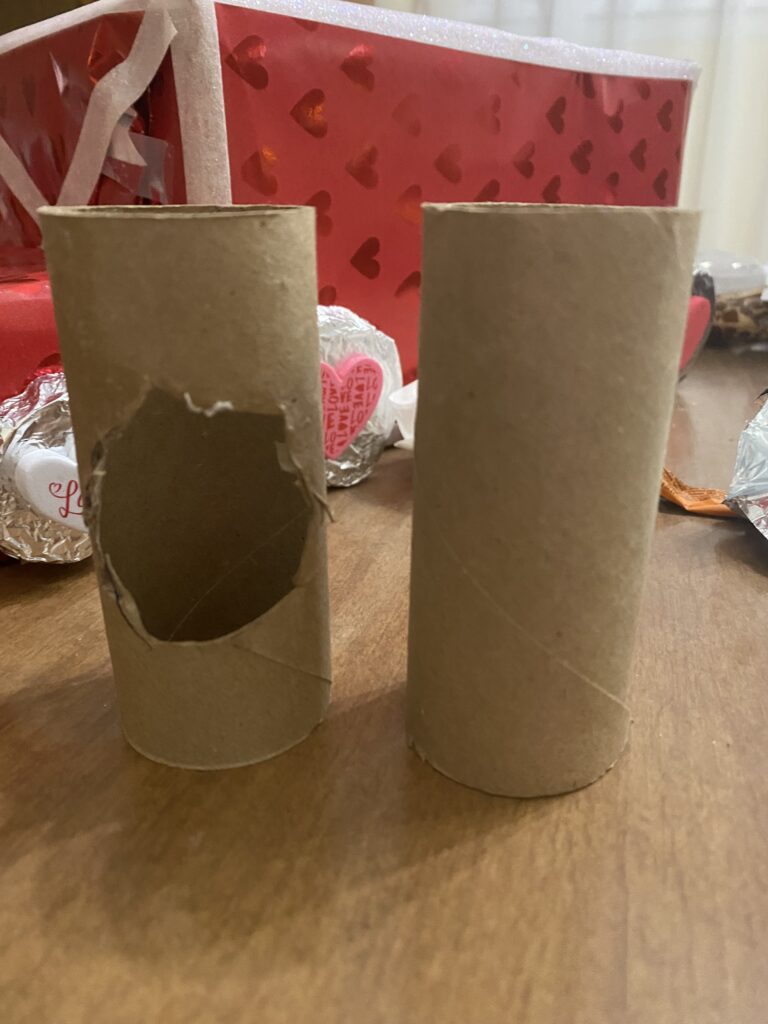
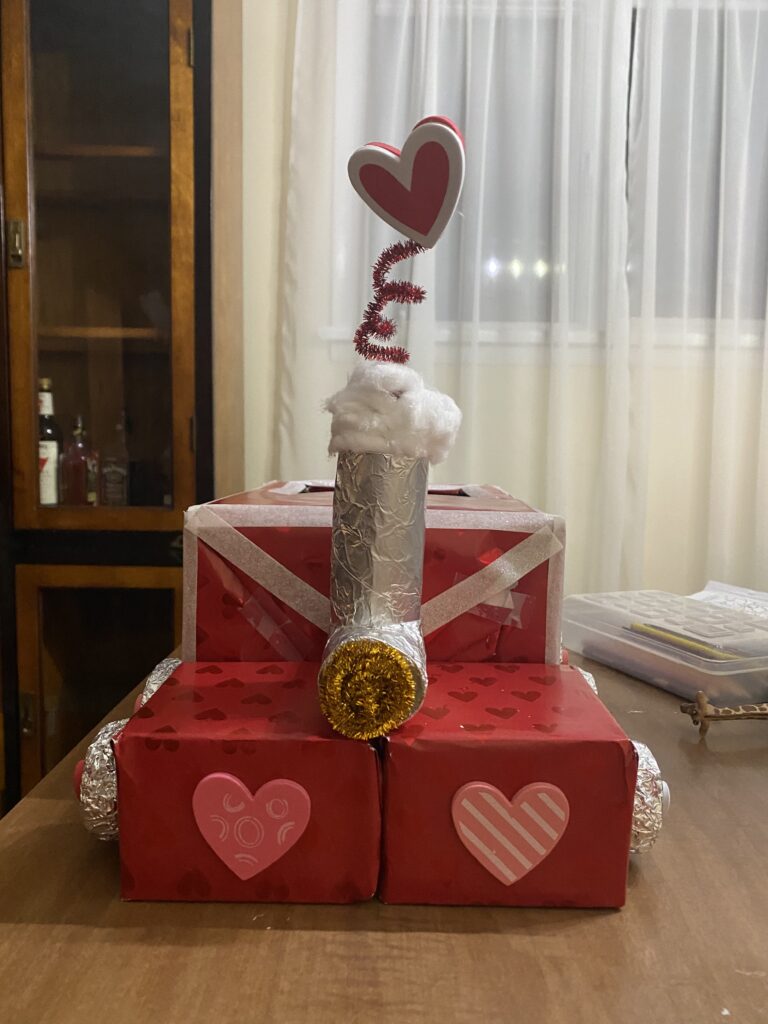
You might be able to tell we were getting tired cause we were at the end and the pictures started to get forgotten about. We used two toilet paper rolls and cut a hole in one of them. We put one roll into the 2nd roll with the cut out hole. This is going to give the appearance of a train smoke stack. We wrapped the toilet rolls in tin foil.
Casey rolled a gold pipe cleaner into the circle and attached in into the forward facing toilet roll. This makes it look like the train has its light shining. On top of the toilet rolls, we glued a bunch of cotton balls together. Before gluing all the cotton balls together, Casey put a red pipe cleaner in the middle of the cotton balls. This setup gives the pipe cleaner the ability to go straight up and not just fall down.
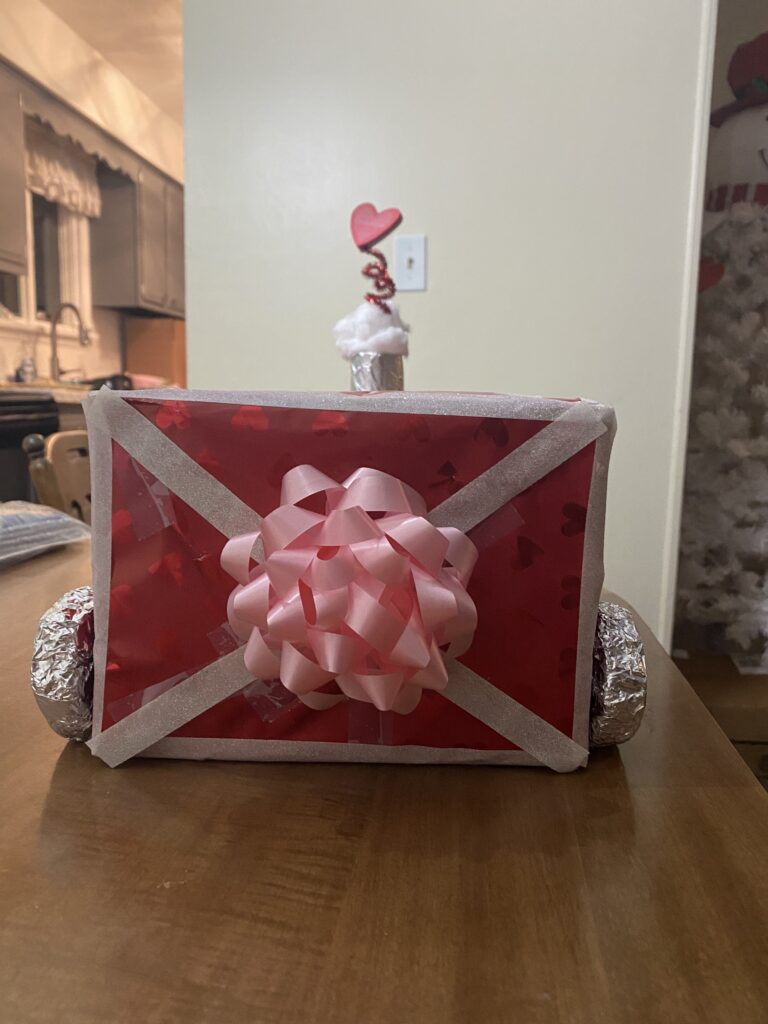
To finish the smoke stack we took two hearts and glued them together on the end of the red pipe cleaner. By glue to hearts instead of just one, it gives the front and back the same look. You can see from the above two pictures, looking at the front and back view, the hearts on the top look to be one heart. This was the look we were trying to achieve.
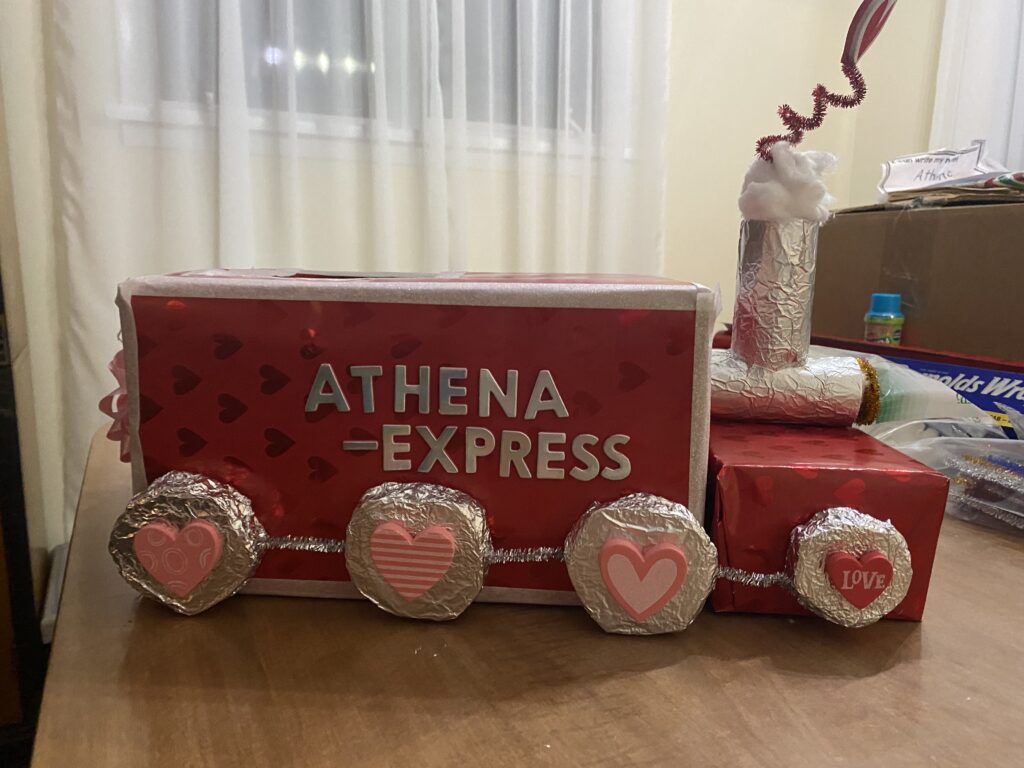


And with the toilet roll smoke stack completed, we are finished with the box. This is how the finished train box looks. Our daughter absolutely loved it. And it does have some decent size to it, but it is very light. Our pre-school daughter had no issue carrying all by herself.
I know sometimes crafts that look like this can be intimidating. It looks like a lot of effort and work and skill goes into making something like this. I am here to tell you that knowing a few little tricks makes the seemingly impossible quite possible. I hope you can follow along with what we did and create something similar. Also keep checking back here to see more crafts that we are doing.

