The wood stained magazine rack, Project #3, was the first thing I have ever stained. This quilt stand is the 2nd. I wanted to do a darker stain as well as a lighter stain to compare and contrast the work as well as the finished look. Overall I was pleased with how this quilt stand turned out. I found this at an auction and was able to buy it fairly cheaply. I was looking for a wood piece to stain and this stand was perfect as a learning piece.
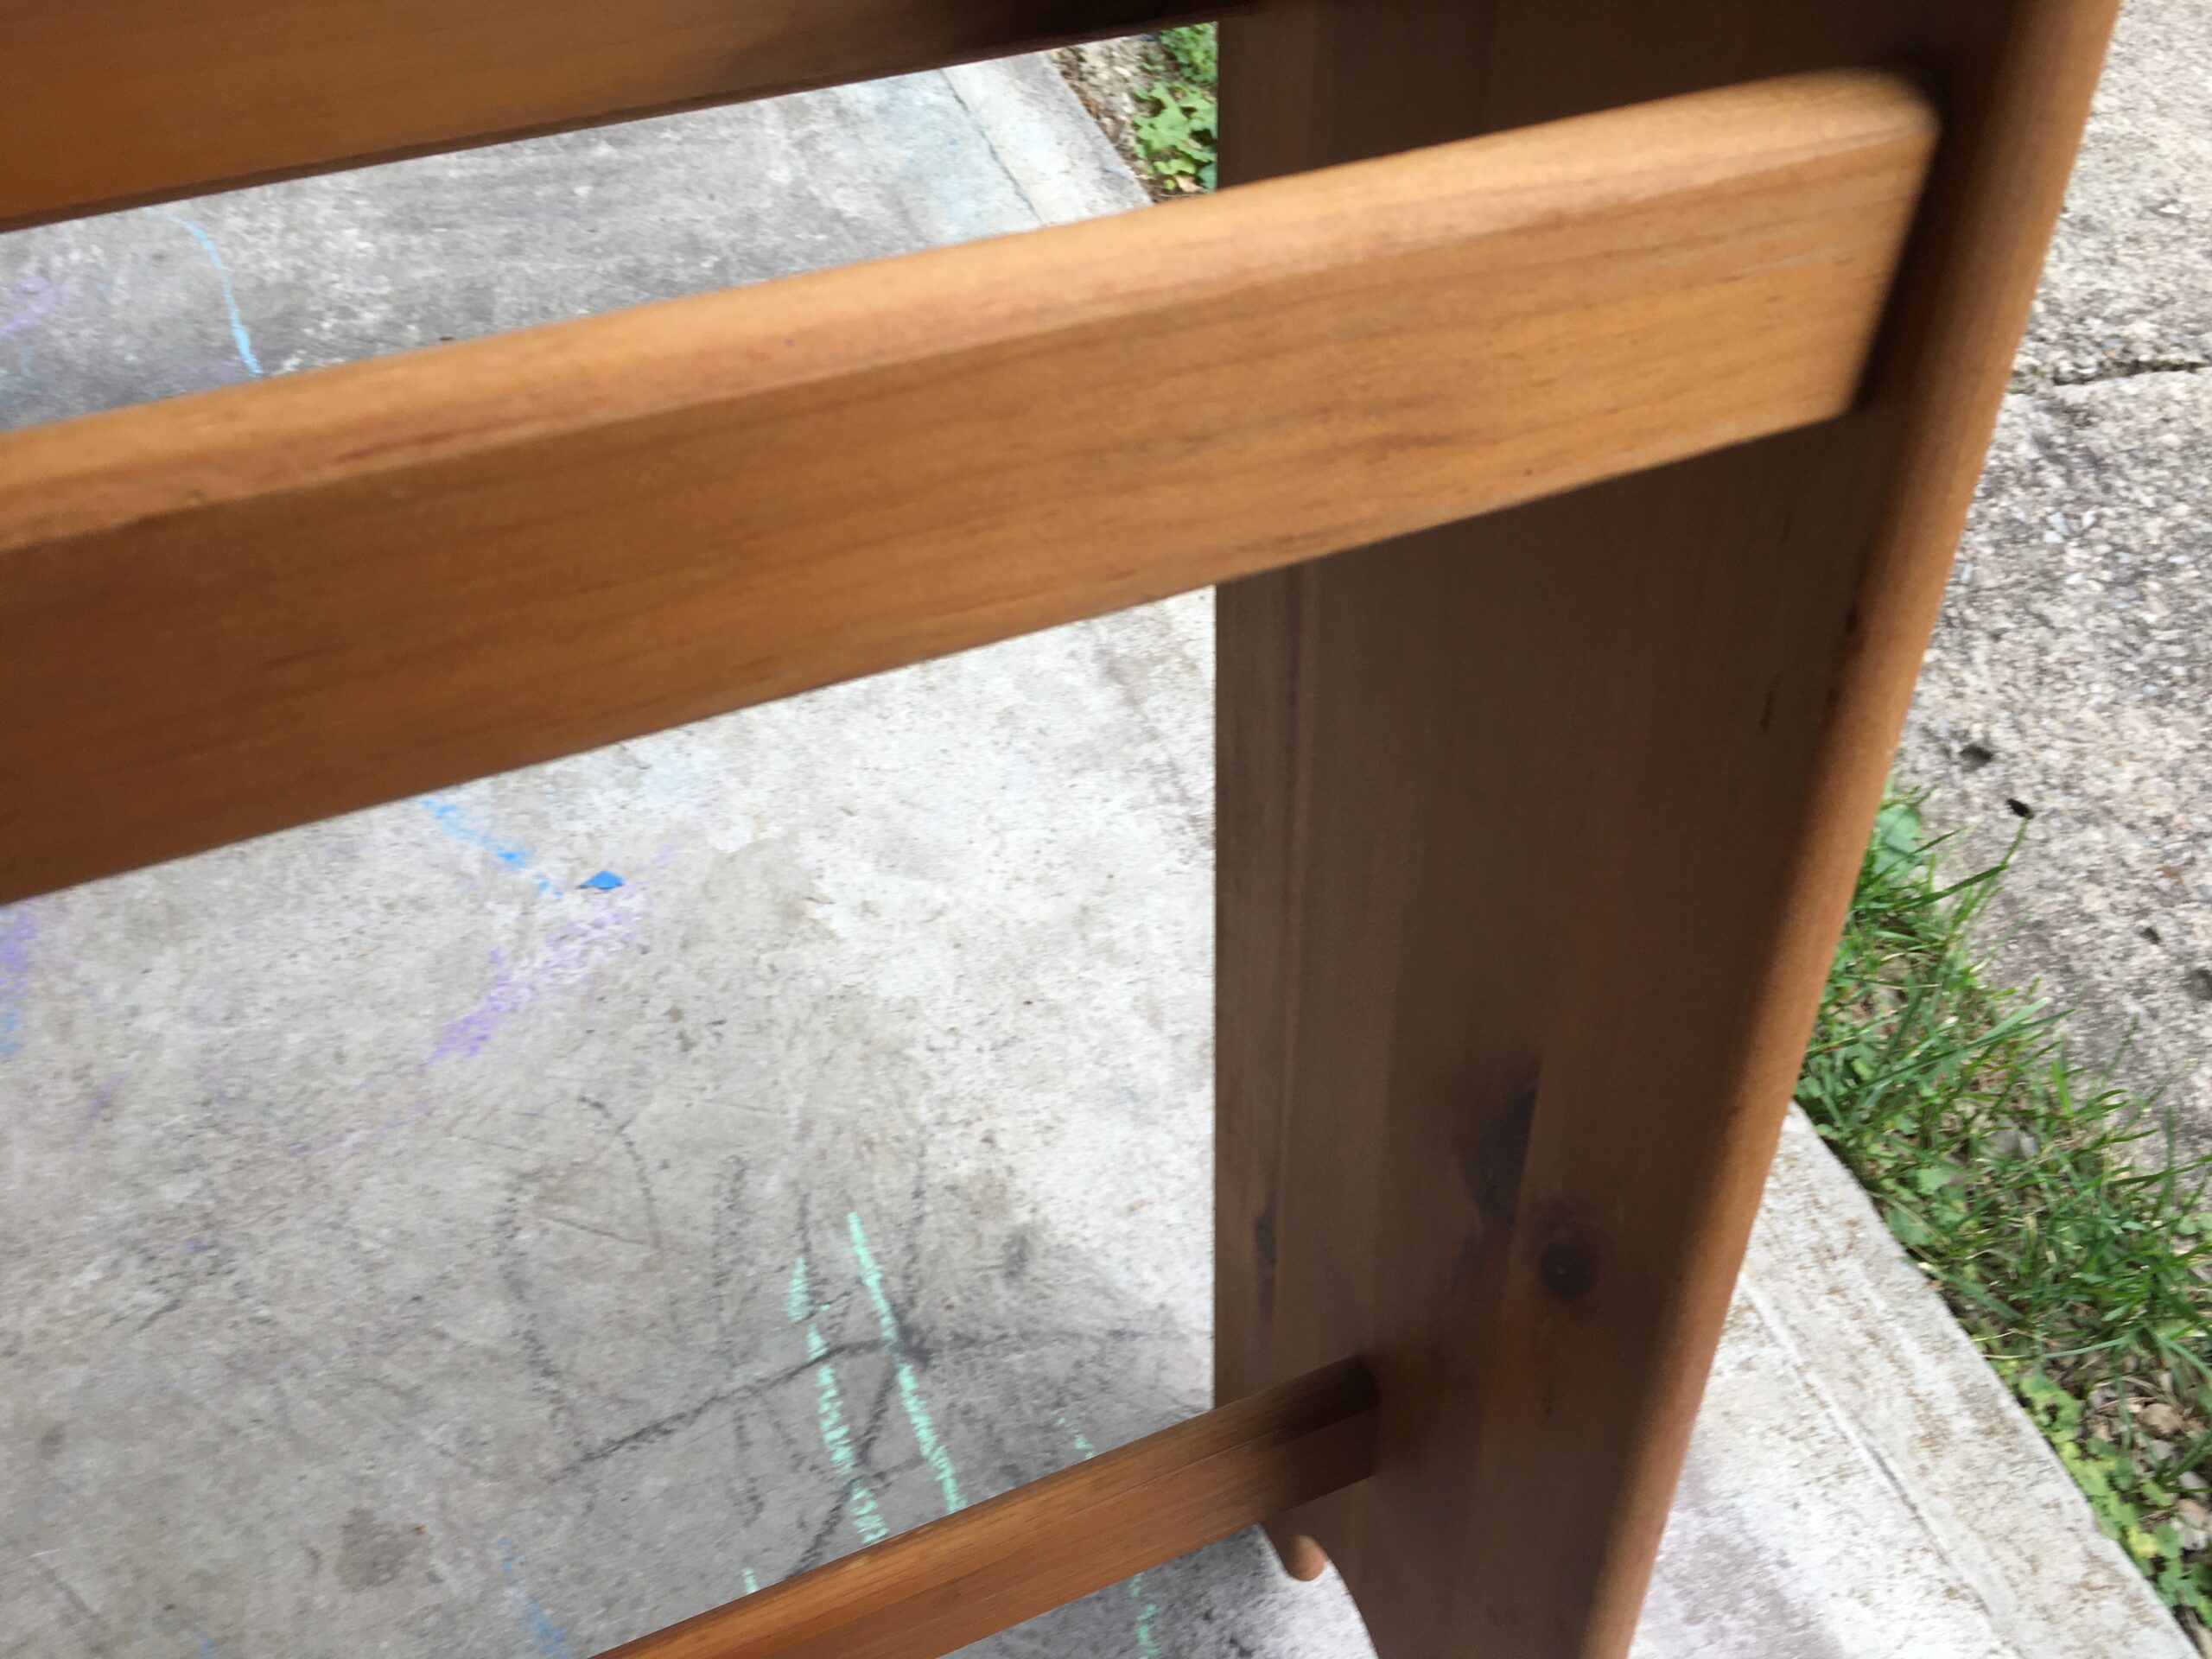
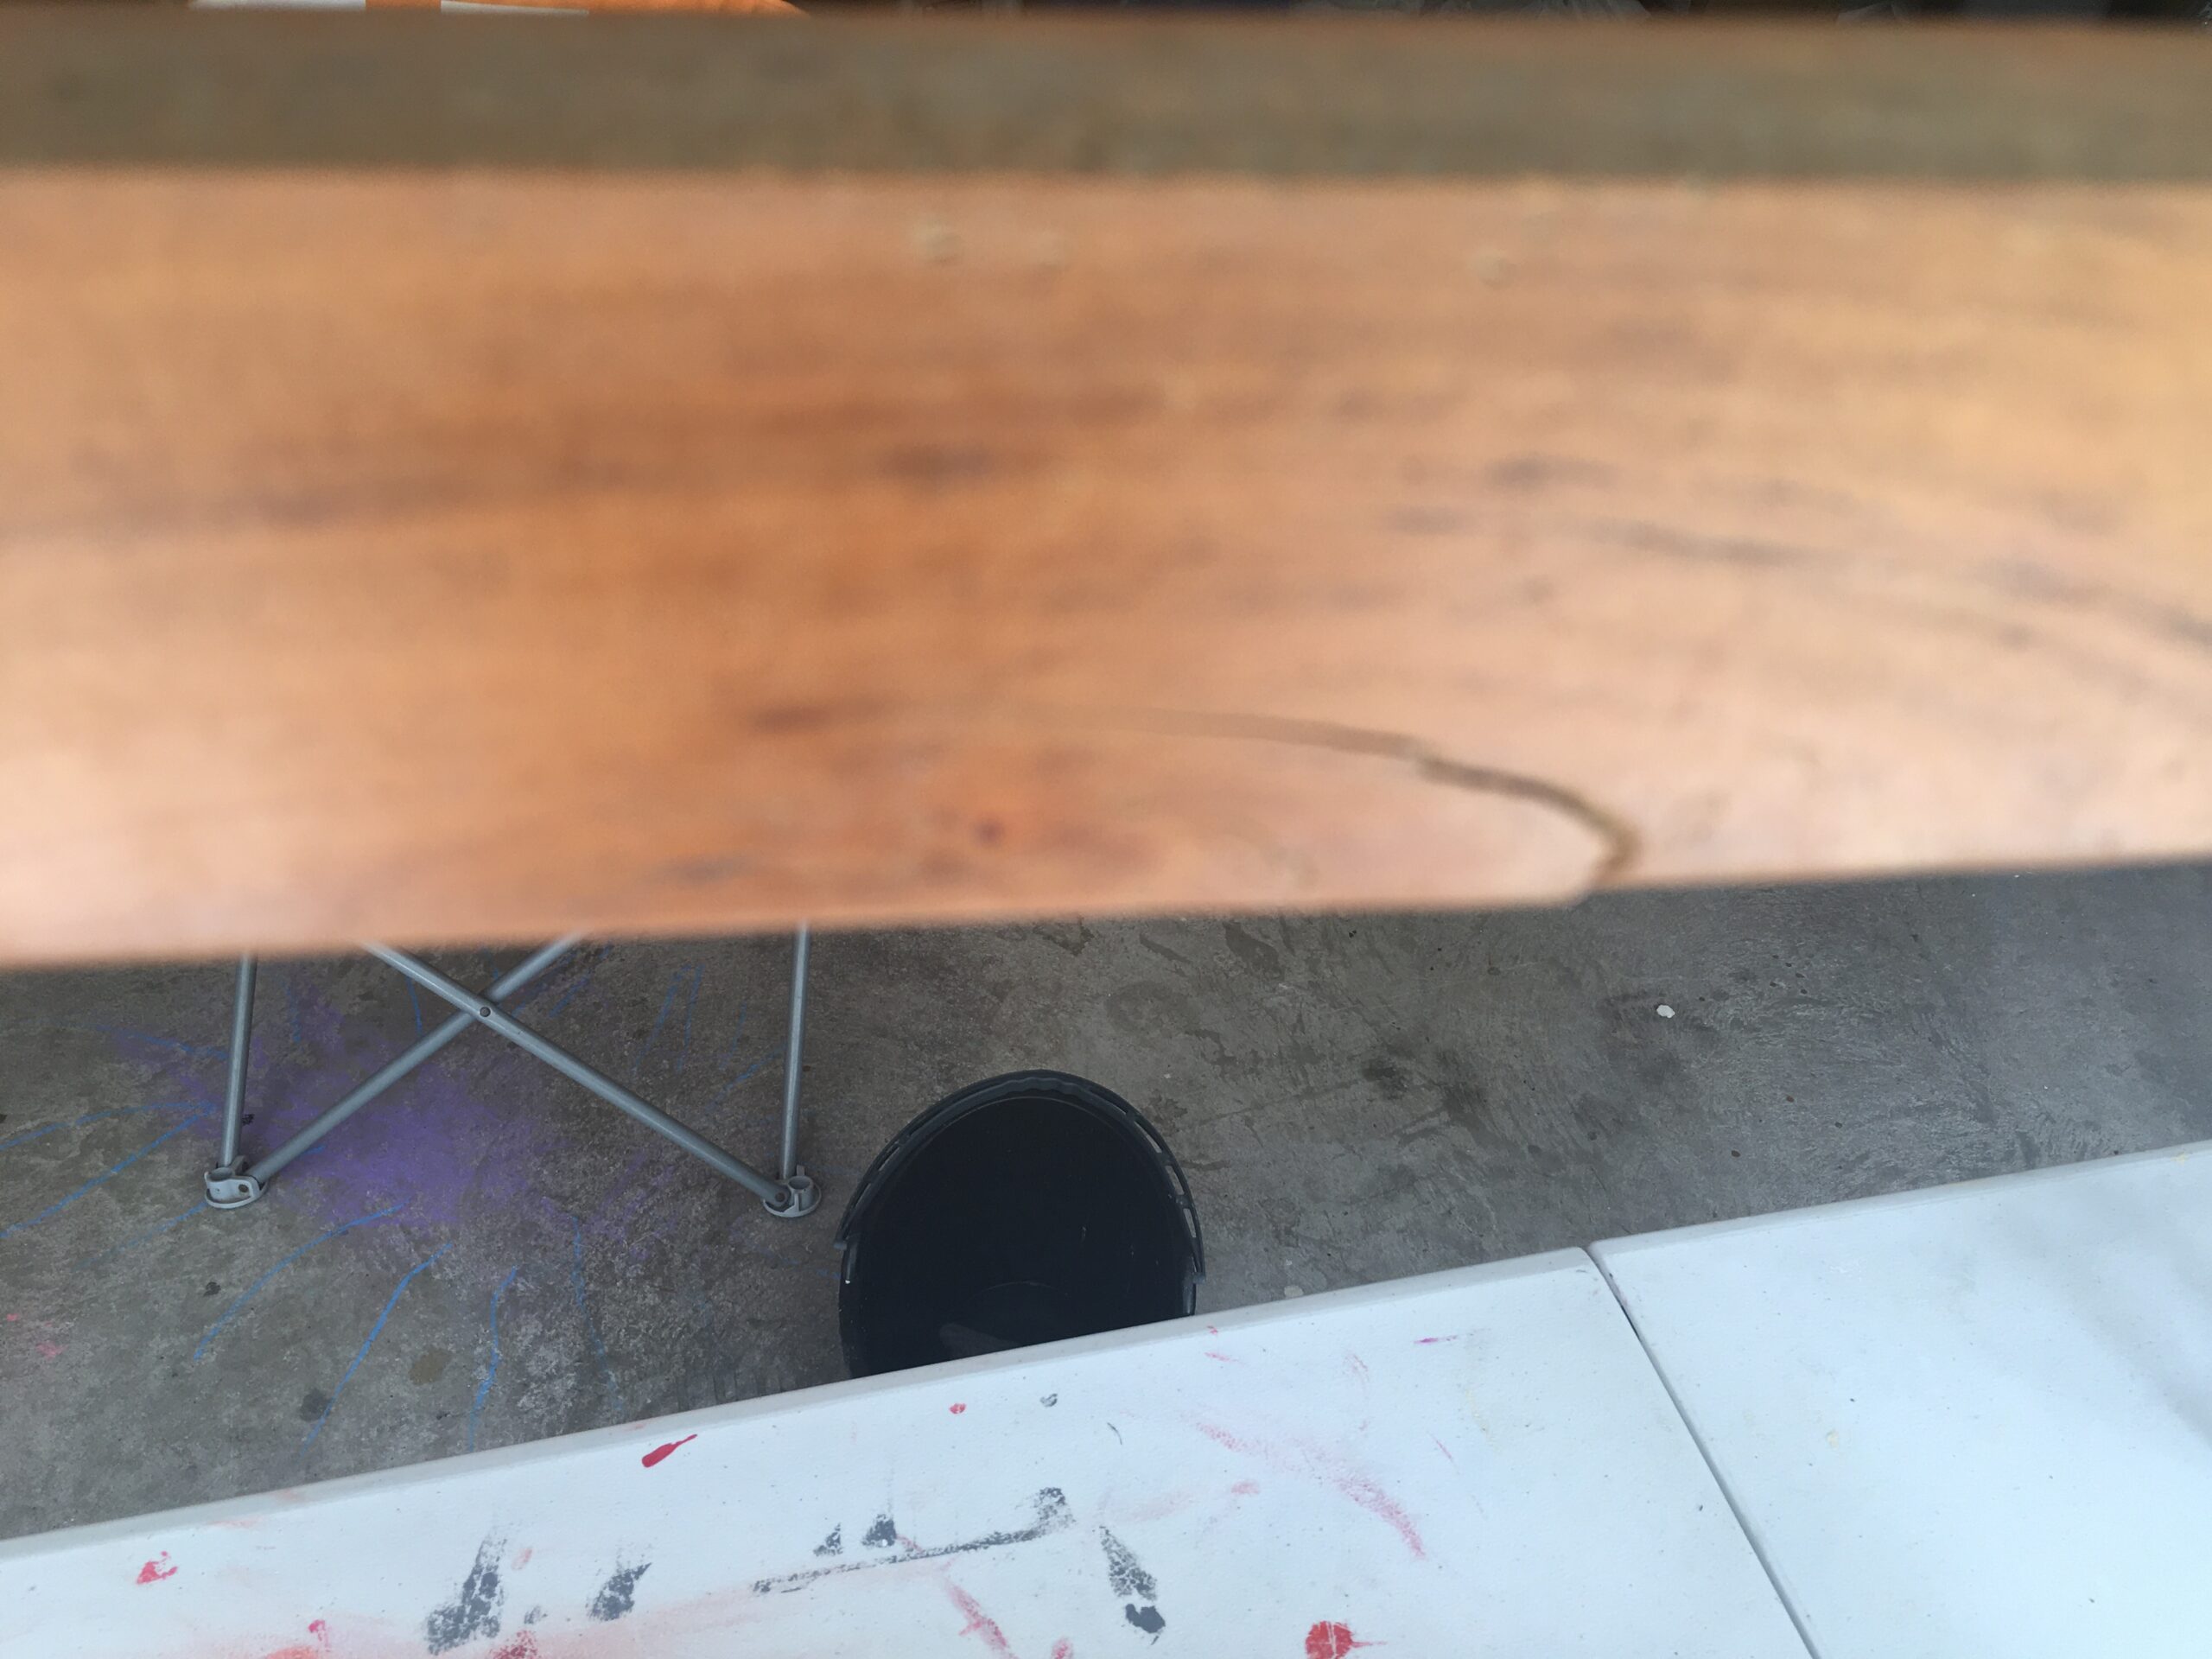
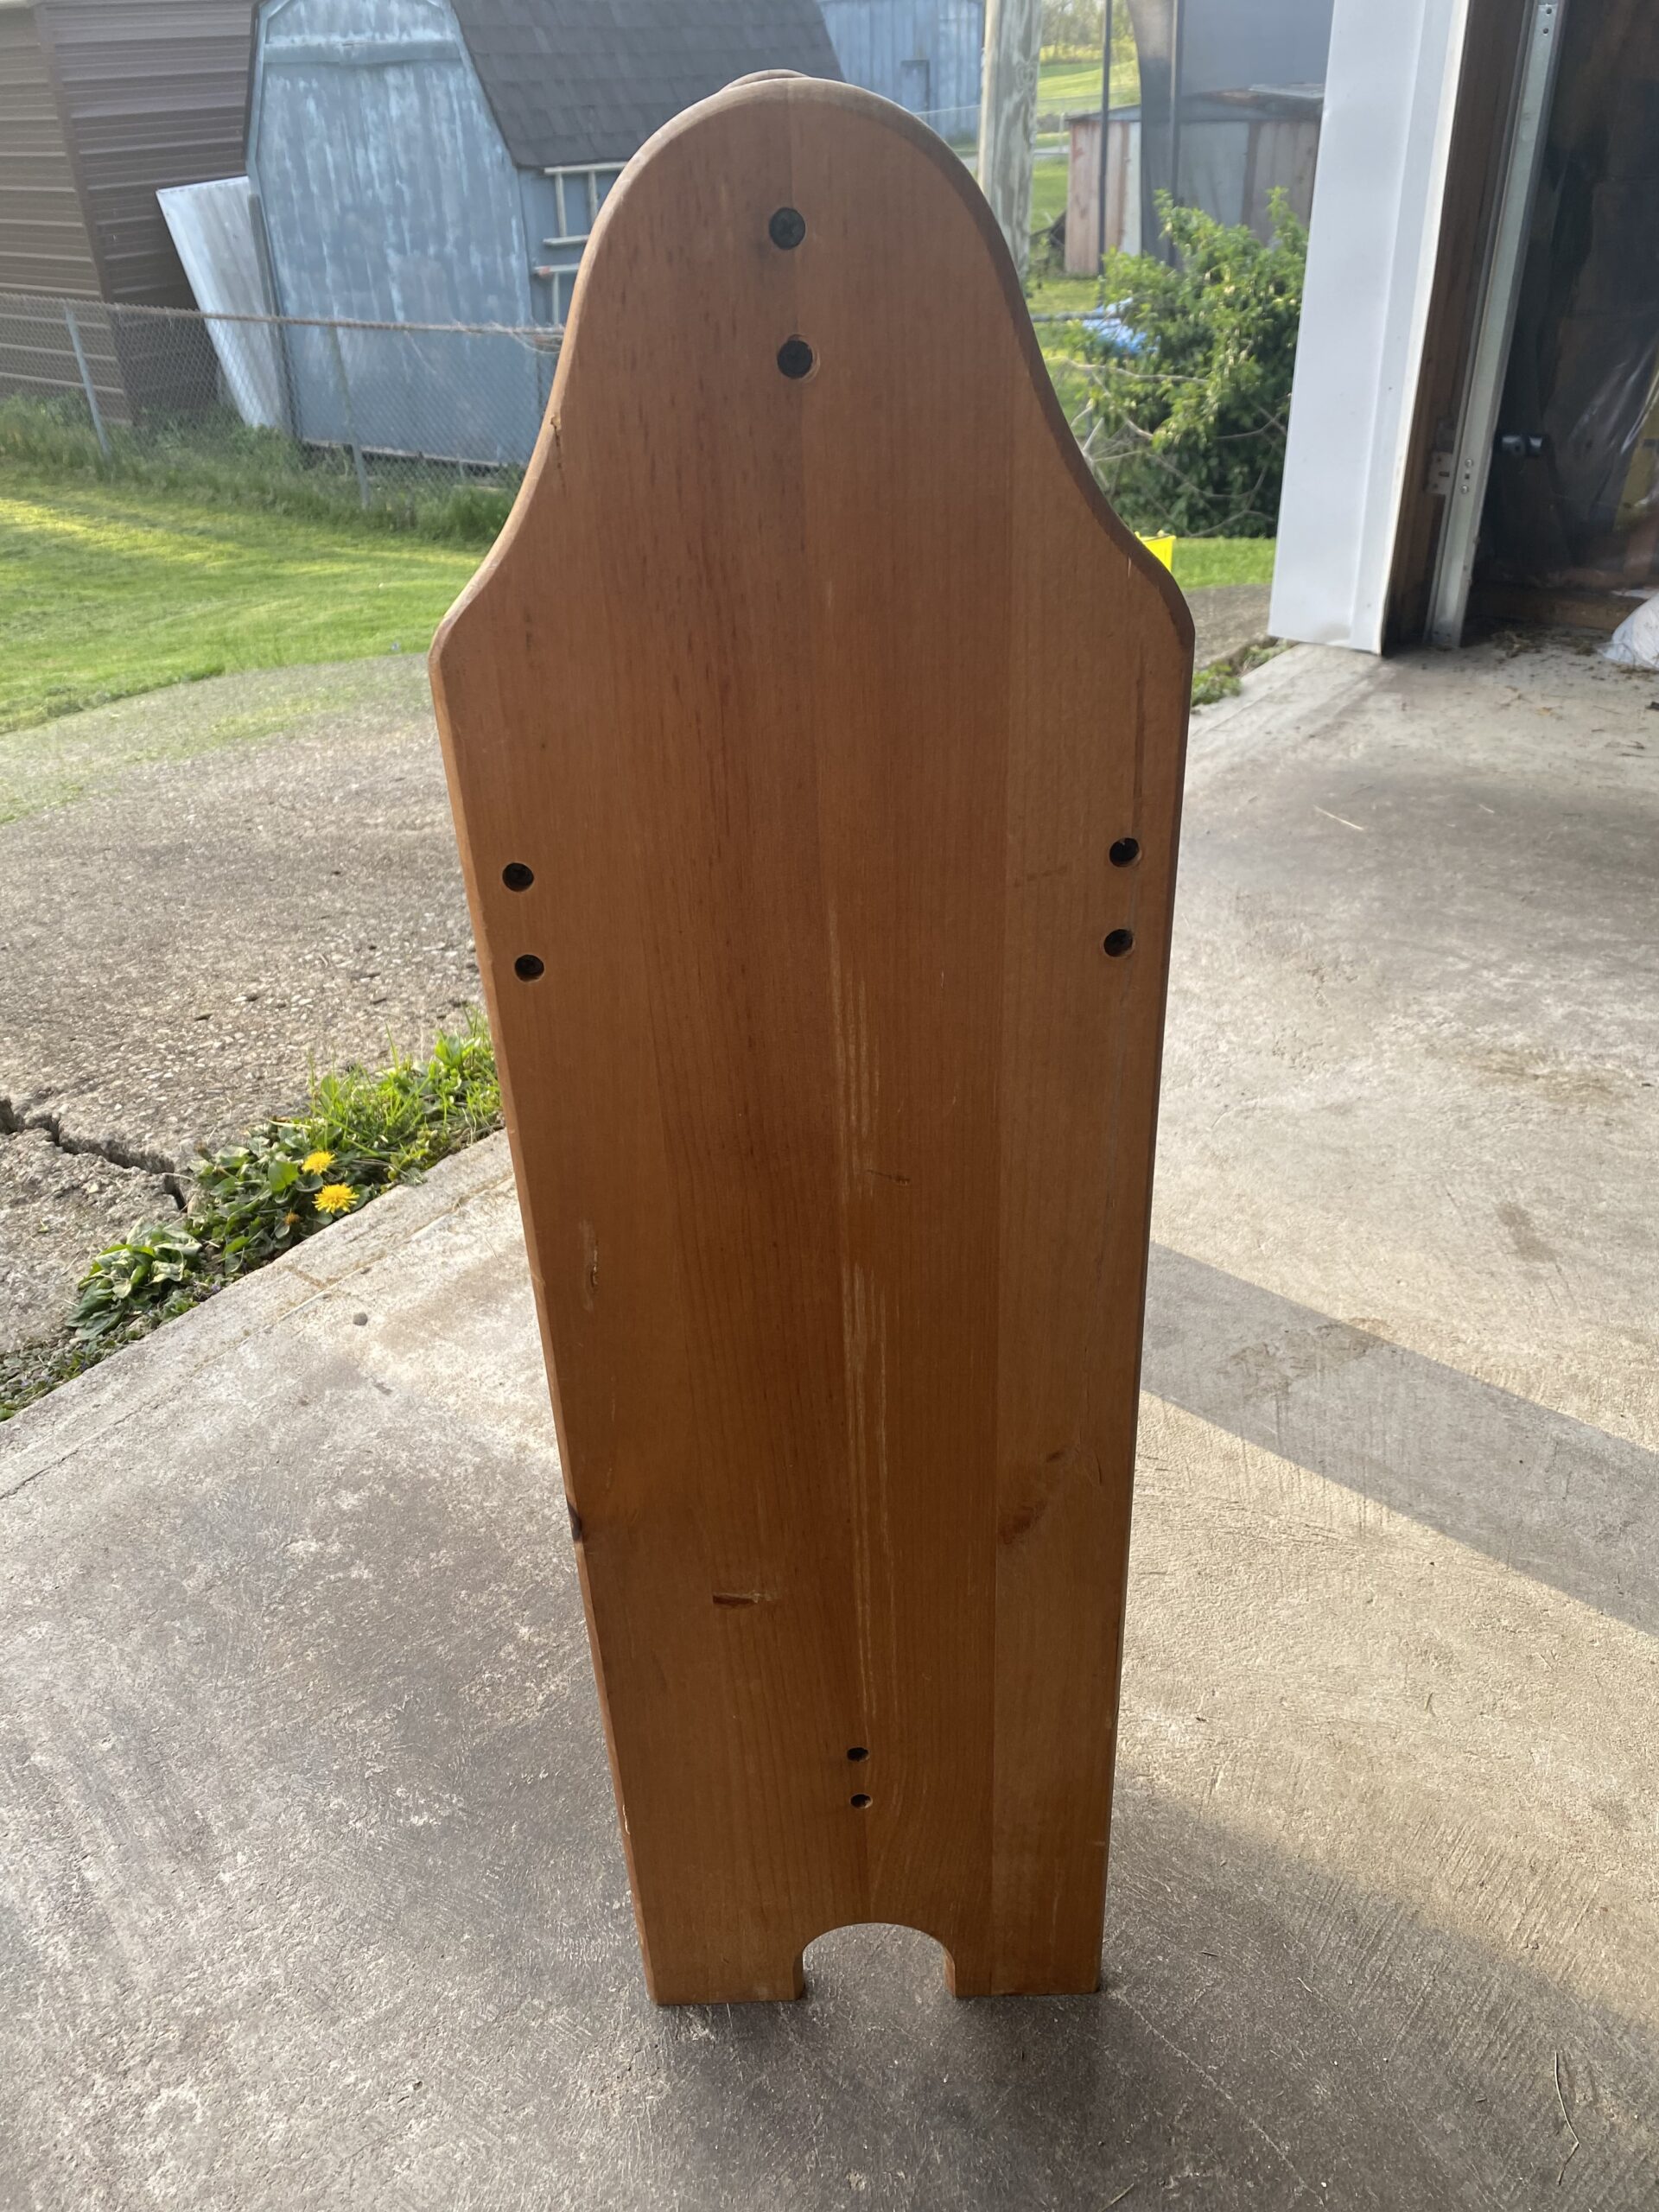
For an online auction piece, it turned out to be in great shape. The condition of the stand was good. It stood without any issues. It did not sway or rock at all. Without doing any work, it appeared to be a piece of furniture that was well taken care of. Except on one of the cross beams. There is a closeup above where the section of wood was cracked. This was a good sized piece that was splitting off from the crossbeam. That was a major issue that needed to be fixed before doing anything else. Luckily it was not that hard of a fix.
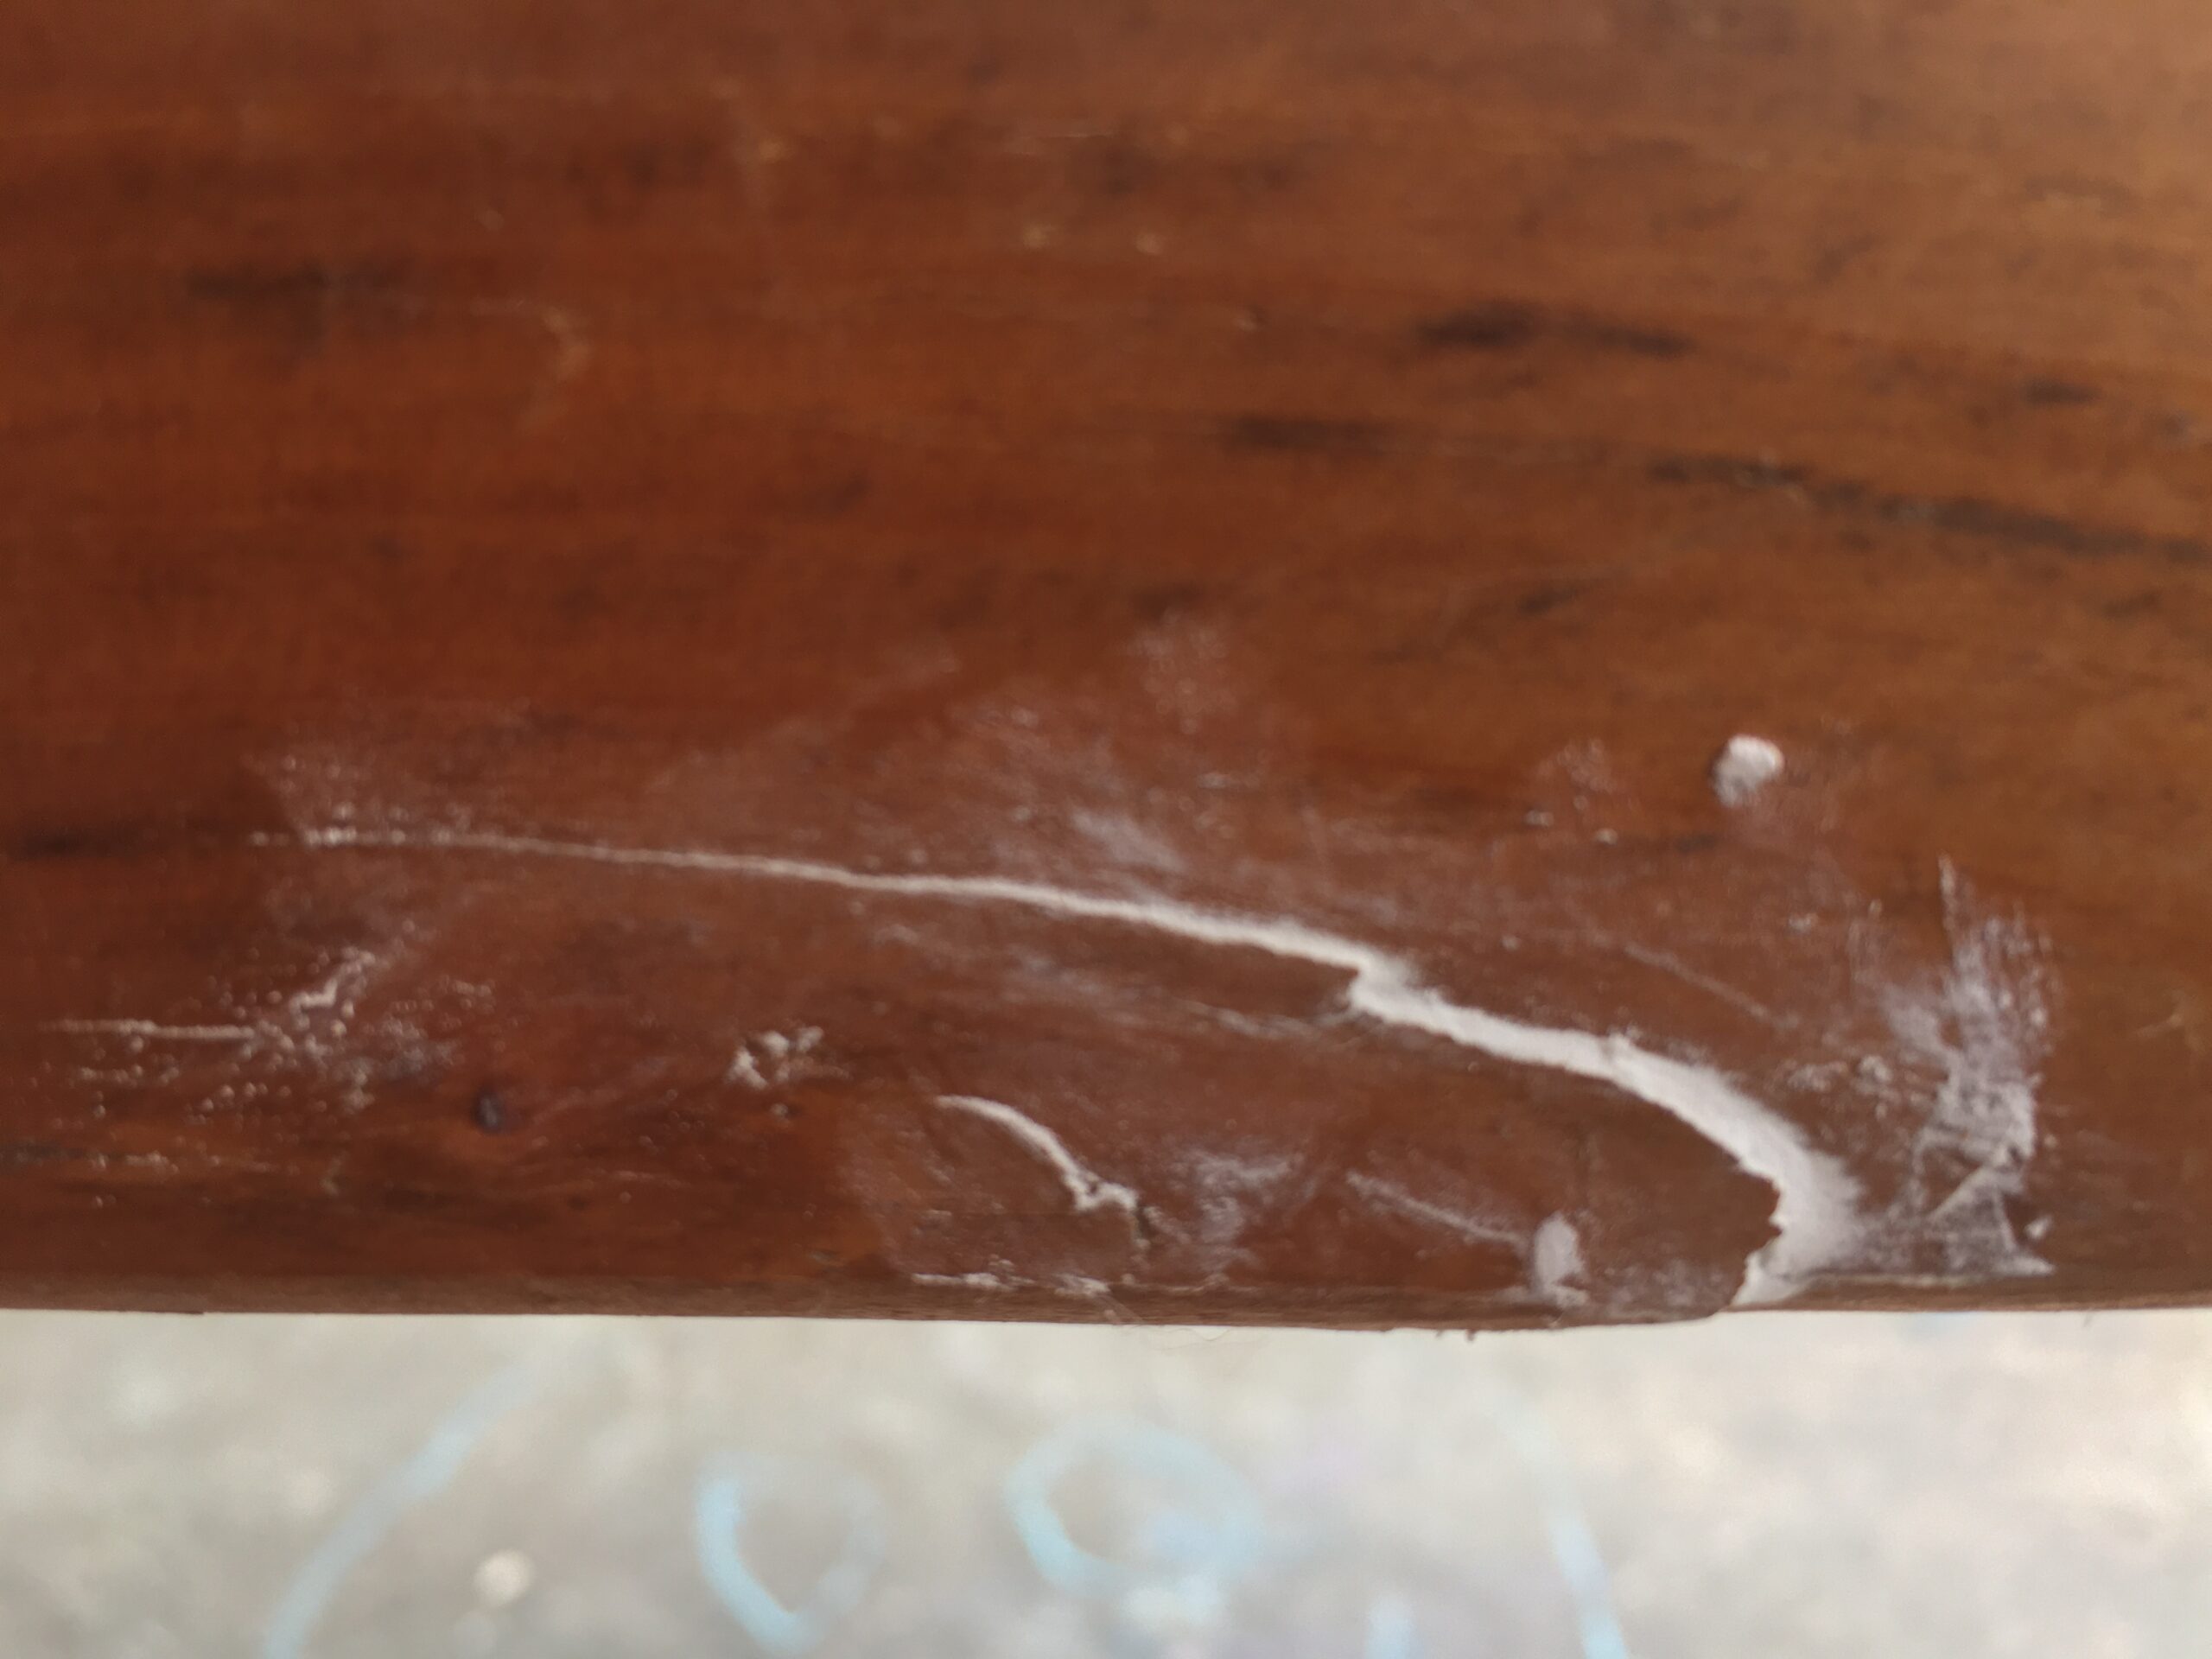
This is the closeup of the finished filled in crack. I put some wood filler into the crack and completely fill it. I wiped all excess filler with my hand. The wood filler acts as a kind of glue. It helps to build a connection back from the crossbeam to the splintered piece of wood. After letting it dry for a day, I was able to use a piece of sandpaper and smooth all of the rough edges. After sanding, it was smooth to the touch and since the crack was facing the inside of the stand and not the outside, it was not overly apparent it was there. If the crack was facing the outside then it could be a bigger problem because it would not be as hidden away as it is. Now that the problem was fixed, it was onto sanding and staining the stand.
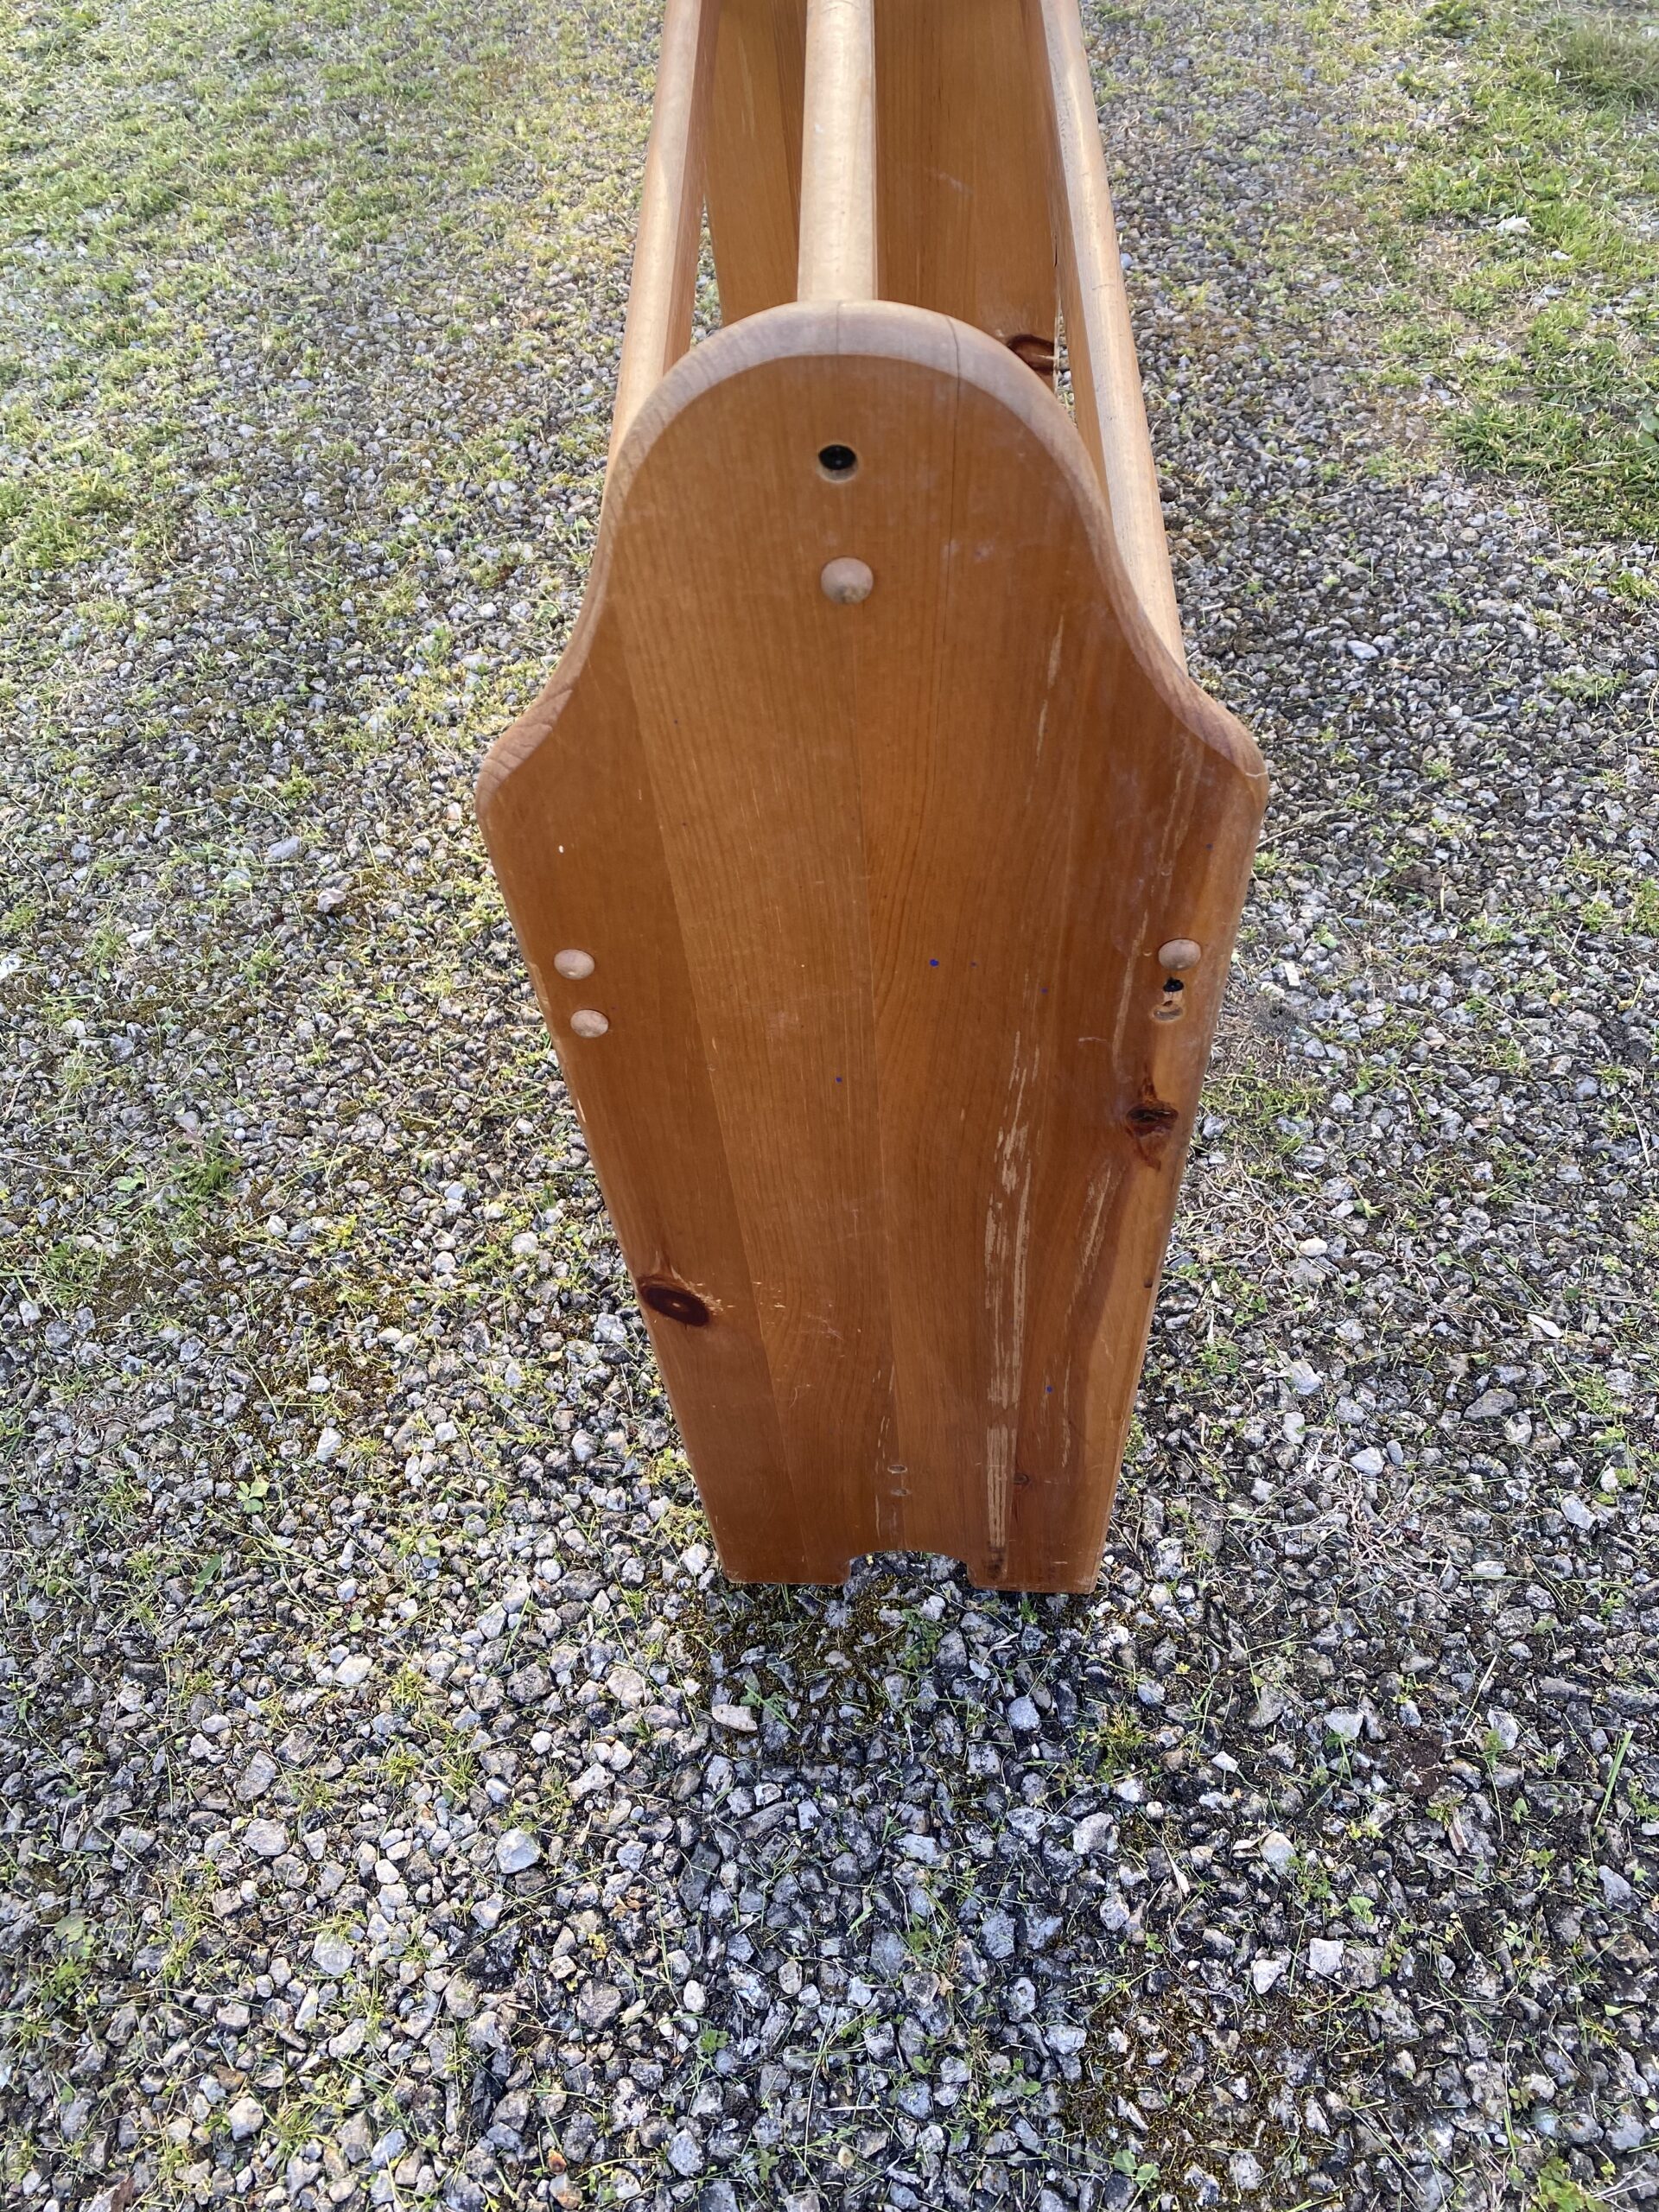
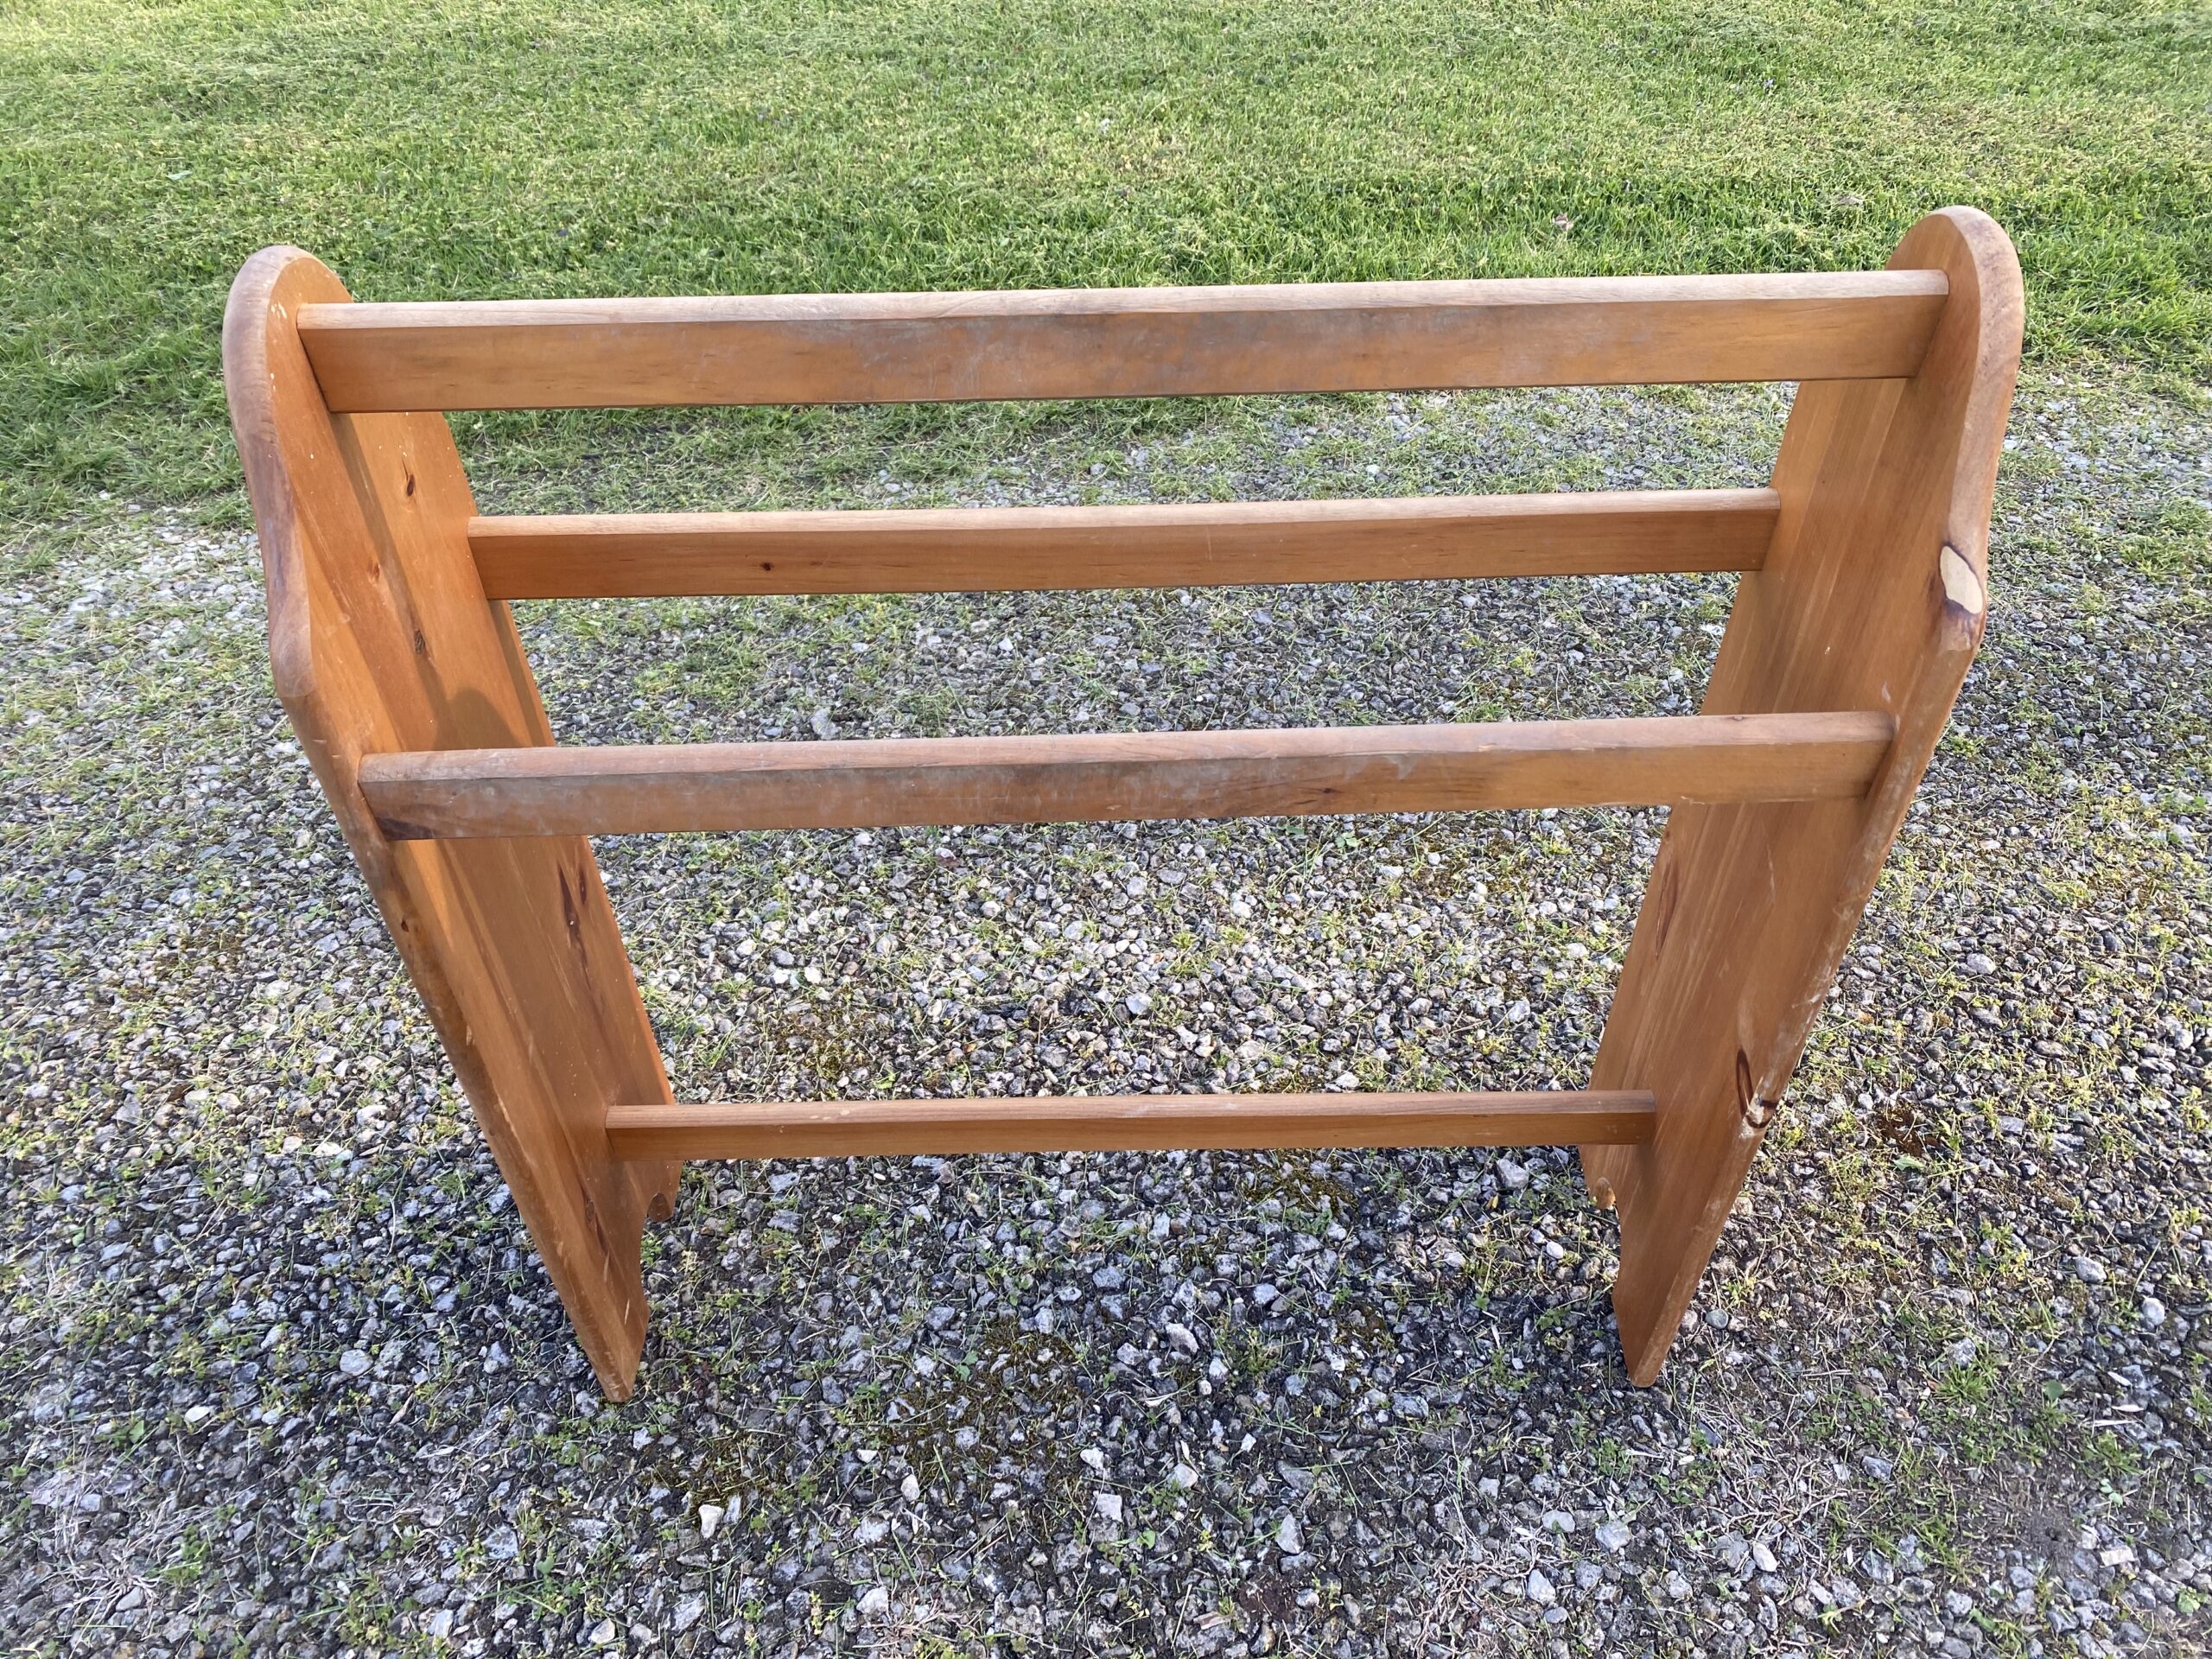
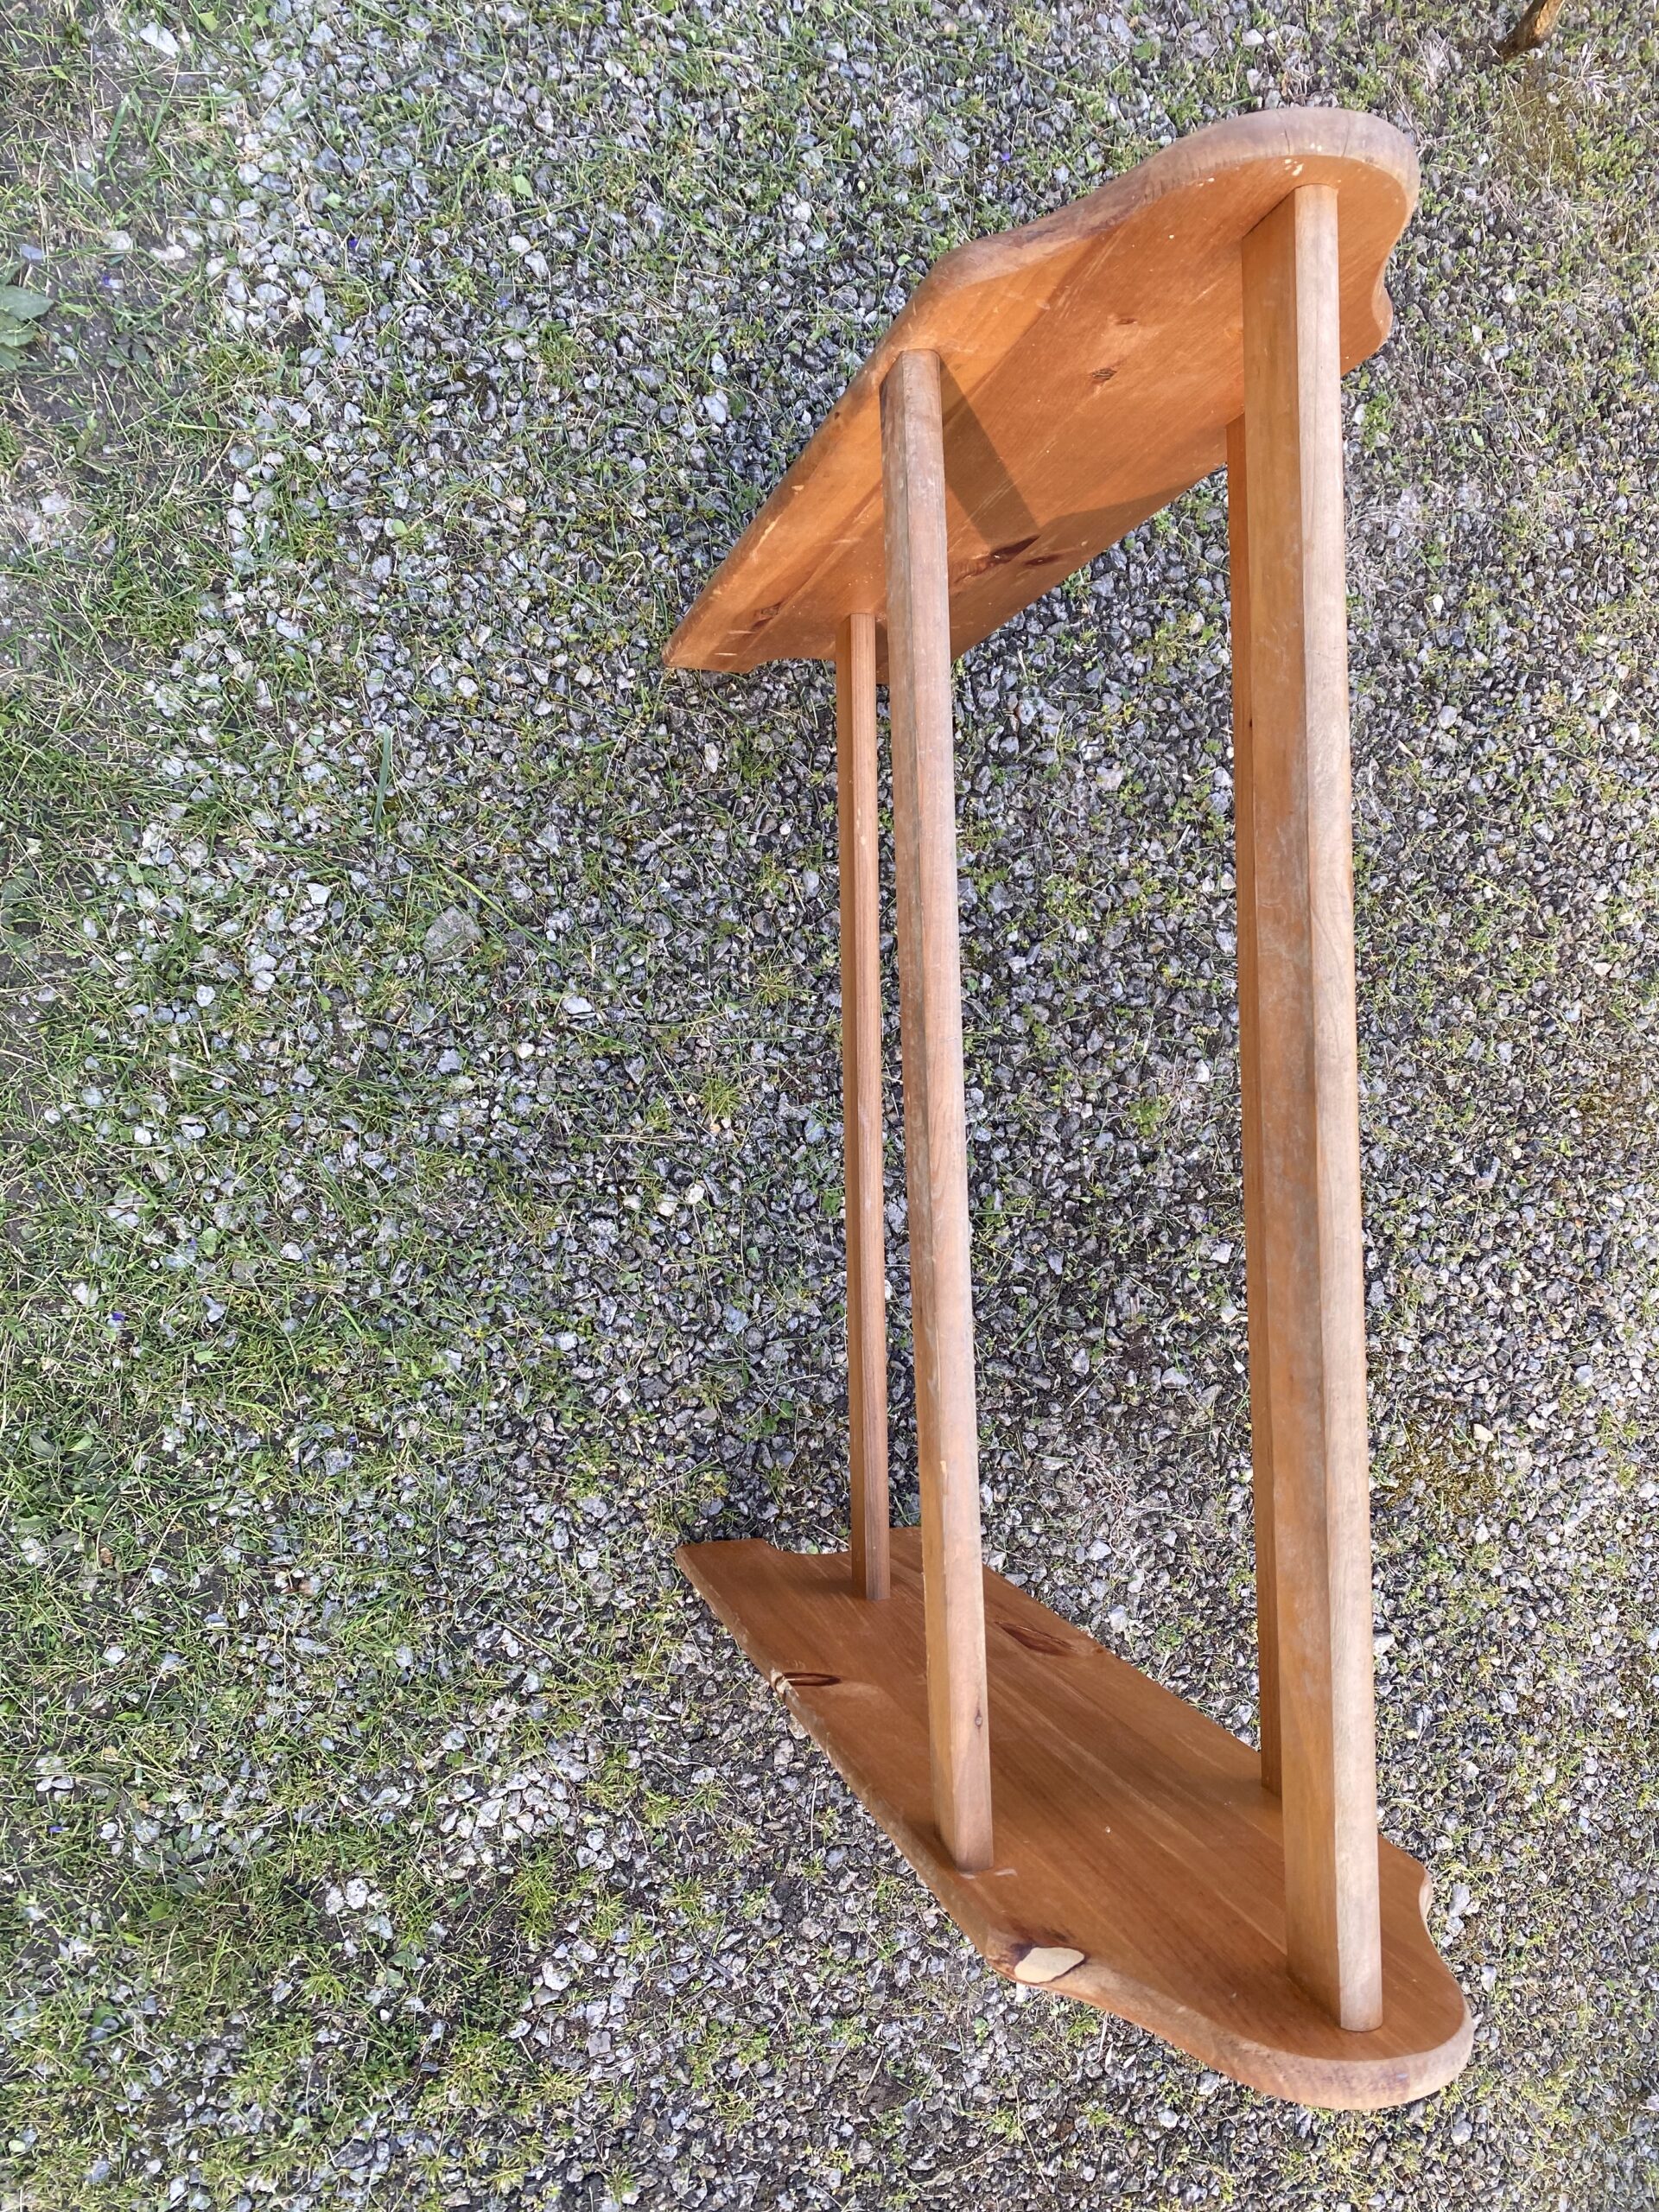
I used three different grit sandpapers to sand the entire quilt stand. I used 120 grit first, 150 grit second and finished the sanding with a 180 grit sandpaper. The sanding helps to take any previous clear coat off the stand. By removing this top layer, it helps the wood conditioner and wood stain to adhere to the wood better. Once it is sanded, the stand looks dull and some of the previous shine has been removed. This is fine because we are going to be replacing those with the wood conditioner and wood stain. I make sure to cover the entire part of the stand during the sanding so the stain has a smooth and even surface when it is applied. Now the whole piece is ready for the stain.
As I said earlier this is my 2nd item ever staining. I used a cloth for the stain on the magazine rack. For the quilt stand, I used a foam brush to apply the conditioner and stain and a lint free cloth to wipe any access conditioner and stain off. The process I used was exactly the same except I did not wait as long on this piece due to the outside heat. I was working on this outside in the summer and it was hot. Due to the weather the conditioner and stain was going to dry much faster. I wiped the entire stand down with just a cloth to remove any dust off of it. I then mentally broke the piece into a bunch of little tiny sections that I would use to apply in each area before moving onto the next area. This made sure I got to every spot on the quilt stand. It also gave me a sequence for application from beginning to end. This sequence helps me to apply the conditioner and stain to the same parts of the stand in the same order. Once I started applying the wood conditioner then I would not stop until I had applied the wood stain to the entire piece. So I lay everything out ahead of time to ensure I have everything I need. I have the wood conditioner and wood stain. I had two foam brushes, I had two lint free clothes to wipe the access conditioner and stain off. I had a couple pairs of disposable gloves so I would not stain my hands. Using the small sections, I apply the wood conditioner first. I complete each section then move to the next section. I continue this way until I have applied the wood conditioner to the entire stand. I then wait about 8-10 minutes to let the conditioner soak into the wood. After waiting the 8-10 minutes, I wiped the quilt stand with the lint free cloth to wipe any access wood conditioner that had not set in.
IMPORTANT: When applying wood conditioner and wood stain, make sure to properly dispose of the items to prevent combustion. I have a paint can filled 3/4 with water and place the items straight into the paint can of water after using the conditioner and stain.
Once I wipe the access wood conditioner, I wait another 10 minutes before applying the stain. I follow the same exact process a 2nd time except with the wood stain instead of the wood conditioner. I apply the stain to the entire stand, wait 10 minutes then wipe away any excess with a cloth. All in all it took about an hour and a half to go through the entire process. I would advise that you have enough time set aside before starting any wood staining.
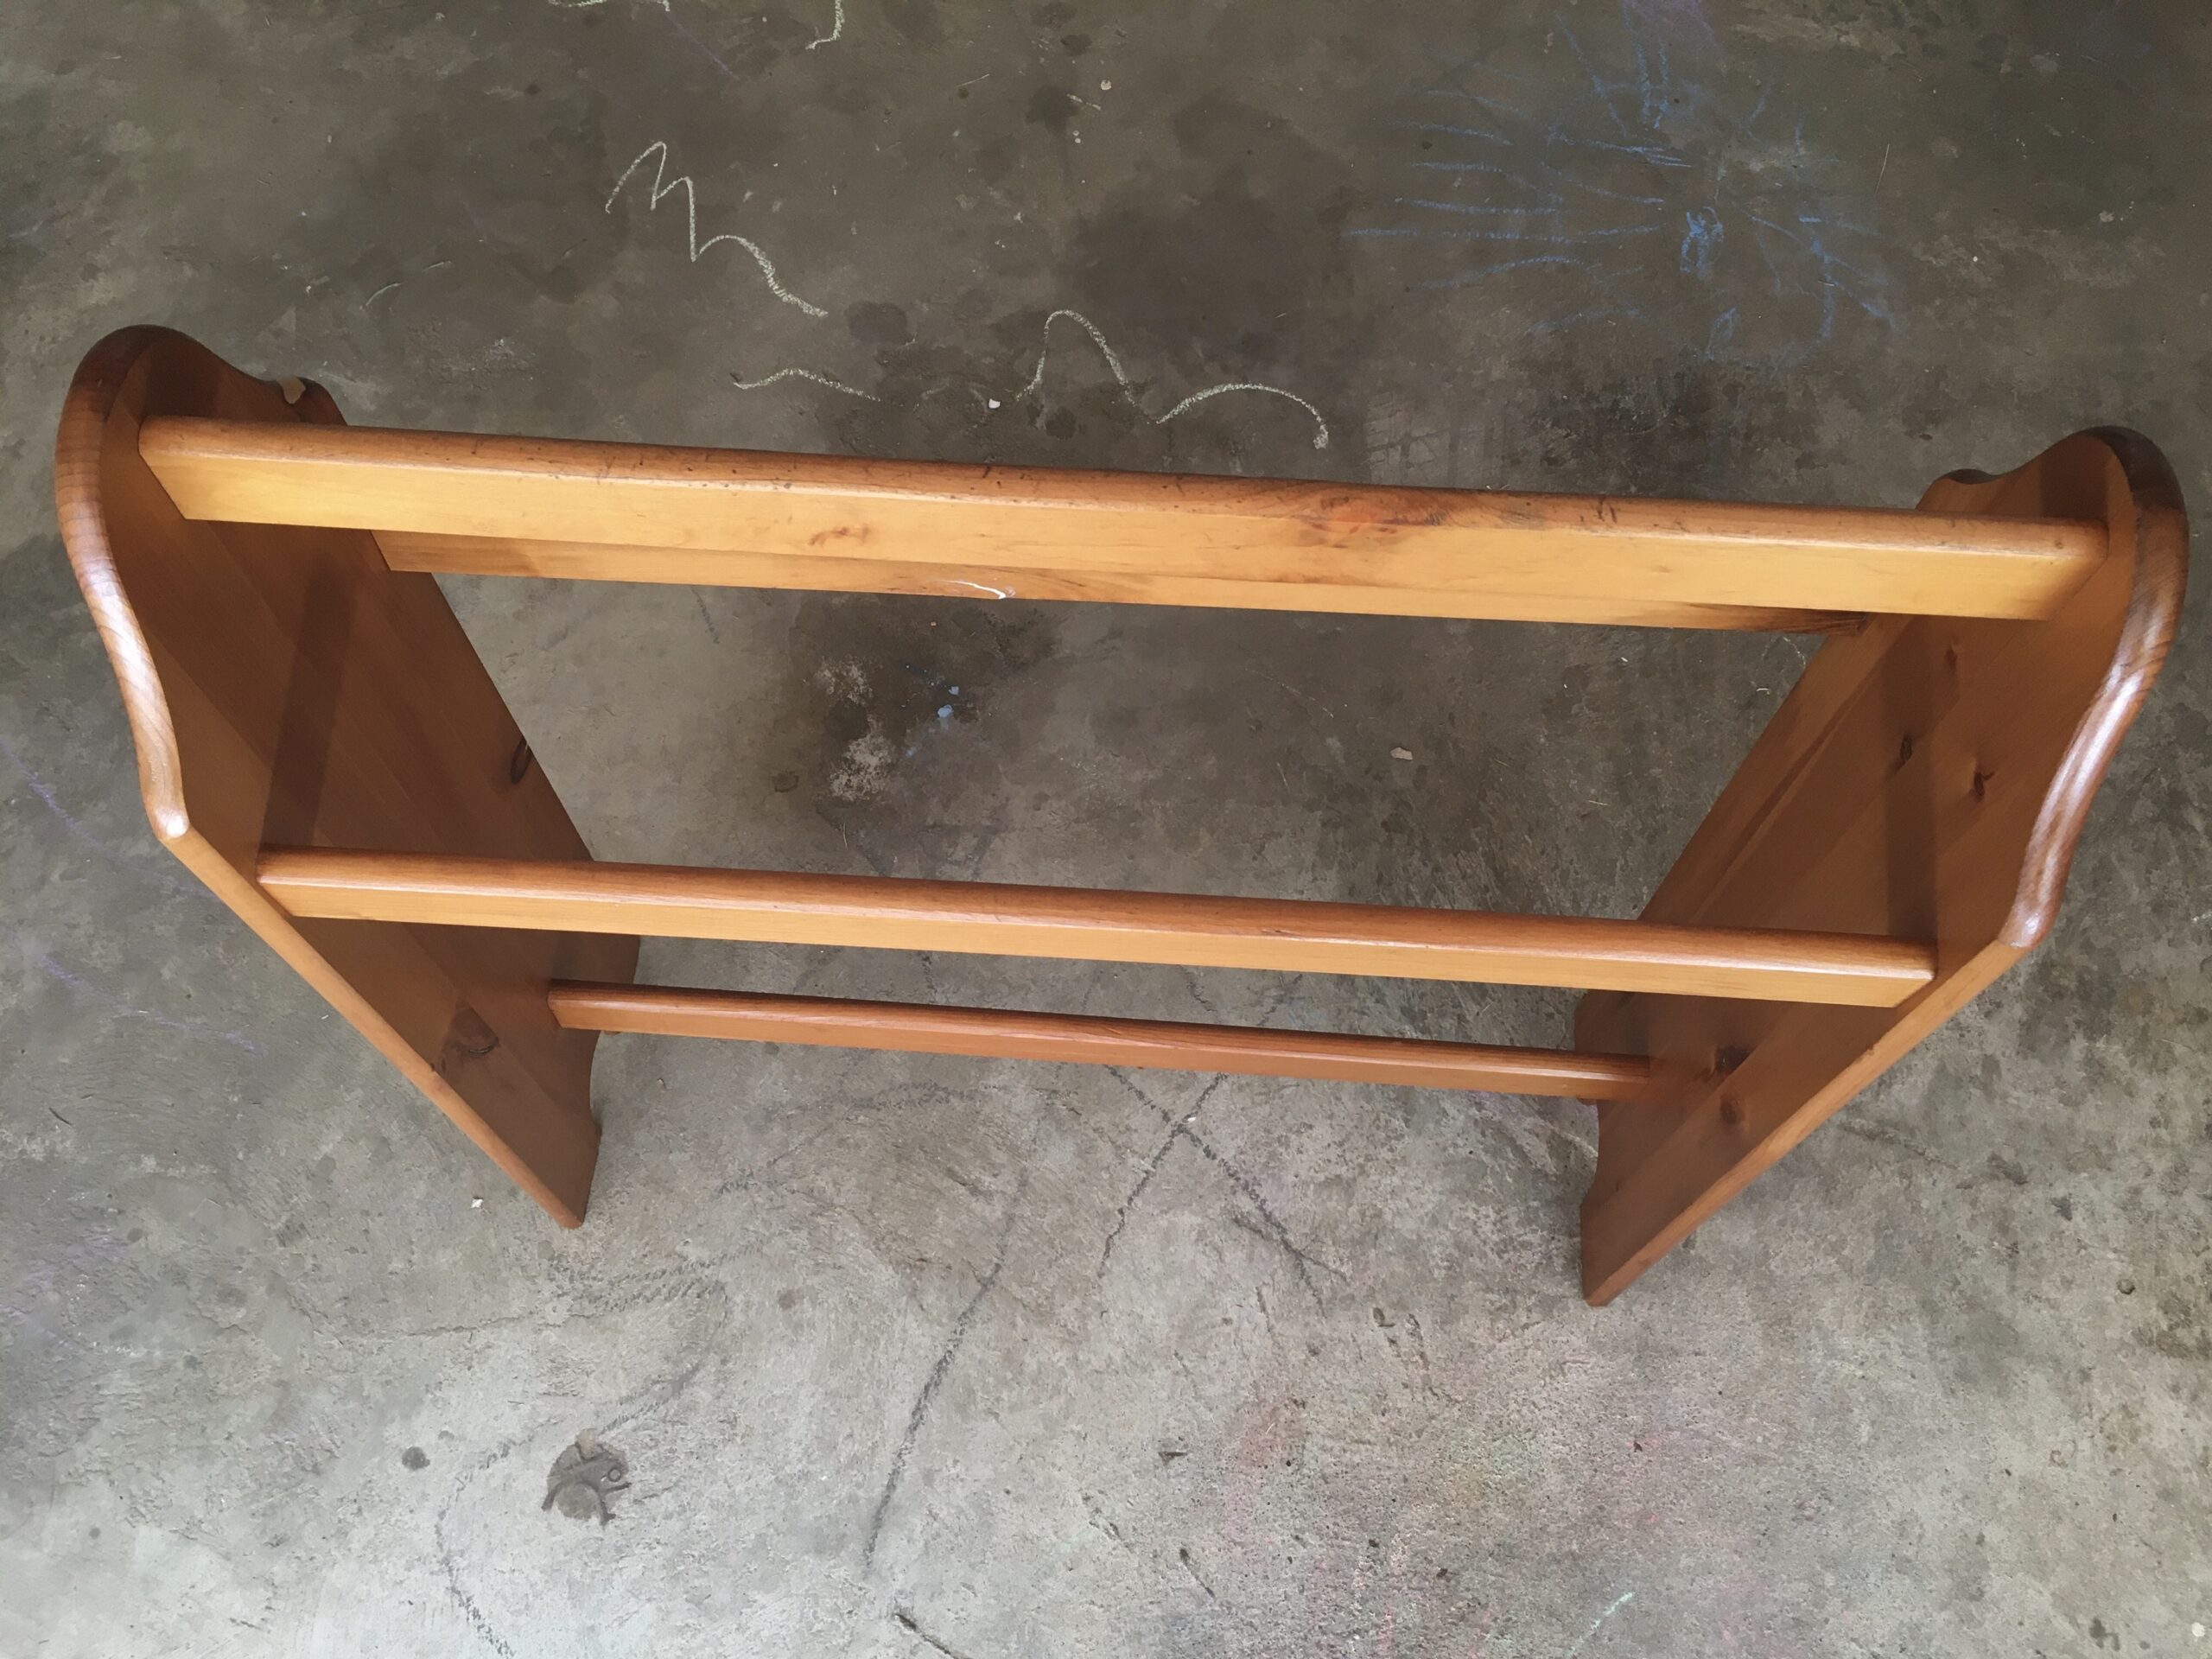
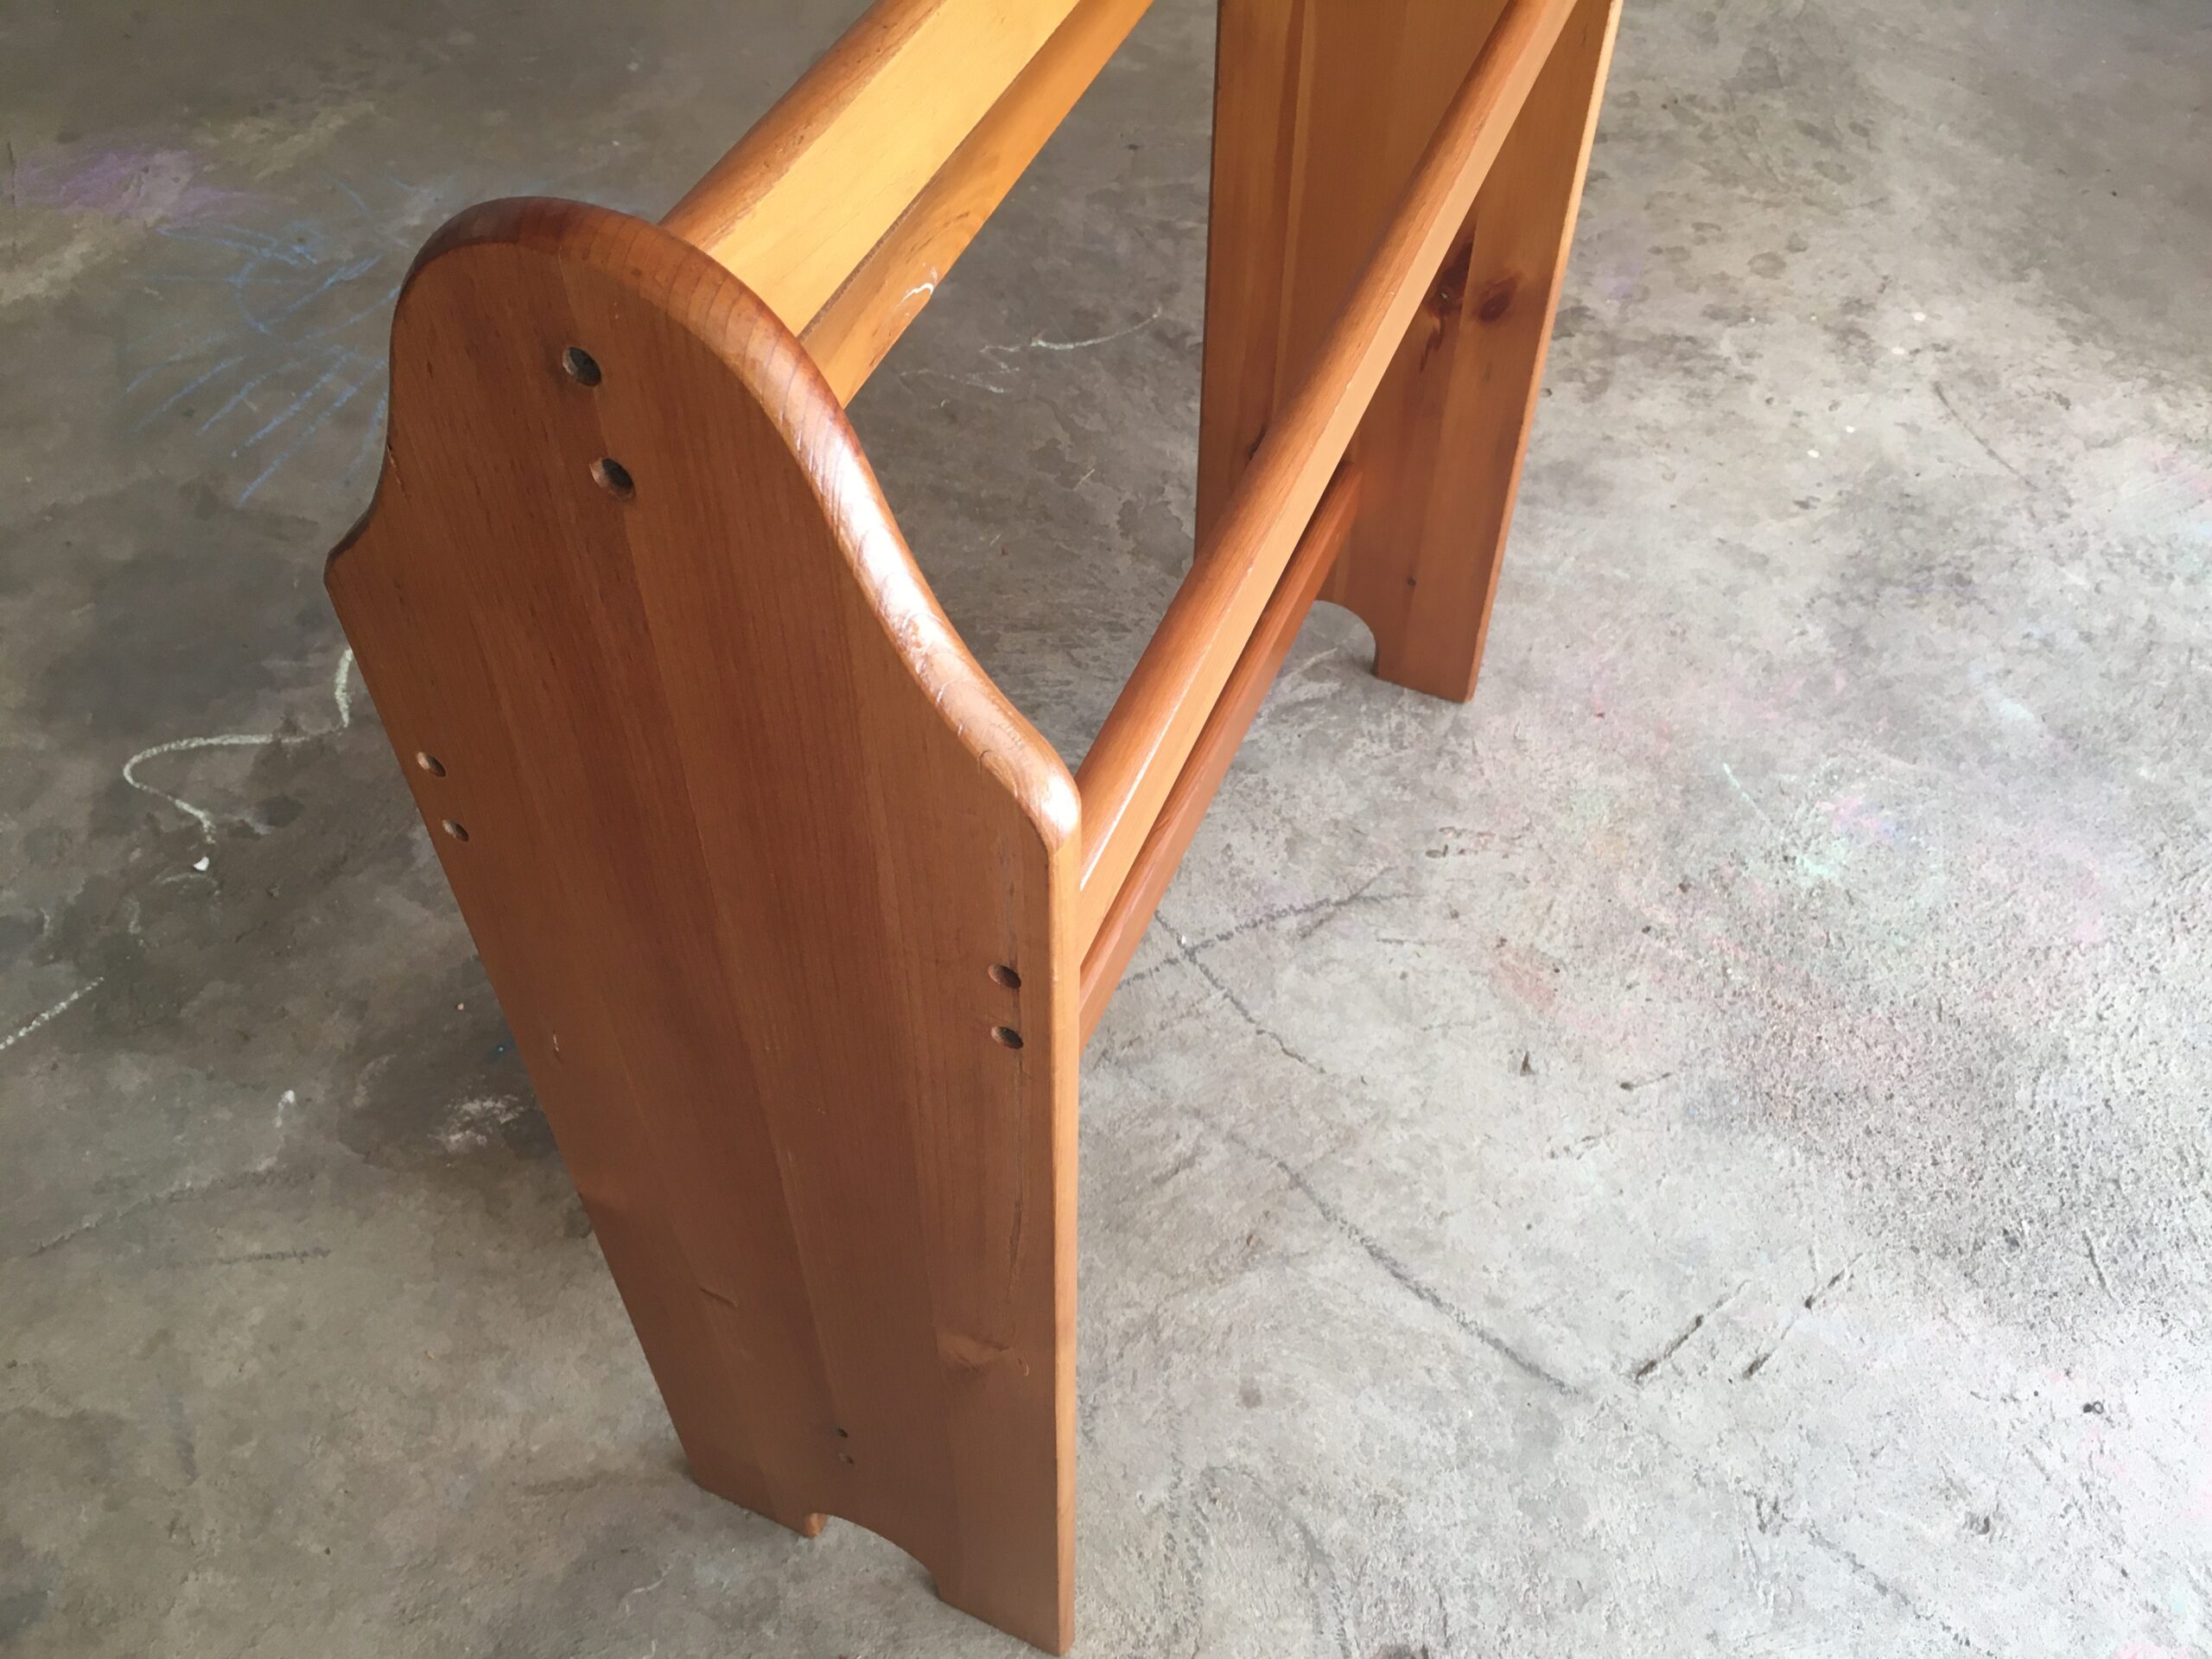
The wood conditioner and wood stain have done a great job. The dull and scuffed look is now gone. The wood has a shine to it that it did not have before. The wood stain helped to bring a nice new look to an older piece of furniture. To finish the quilt stand, I waited a couple of days to let the stain completely dry then applied a clear coat to help seal the wood and hopefully prevent possible water damage in the future. From beginning to end it took about 4 separate days of work in order to let everything dry between the different tasks. Even though I worked 4 separate days, I did not work any more than 2 hours each day. All in total, this project was about 5 hours total.
