I had a neighbor re-building some of their deck. In the process of re-doing the deck, there were scraps of wood from the different cuts for the deck. I asked my neighbor what they were going to do with the scraps of wood and they were planning on just getting rid of it. I asked if I could have them and see if I could do anything with them. He said sure cause that would save him some time and effort on getting rid of them.
Here are some of the scraps of wood.
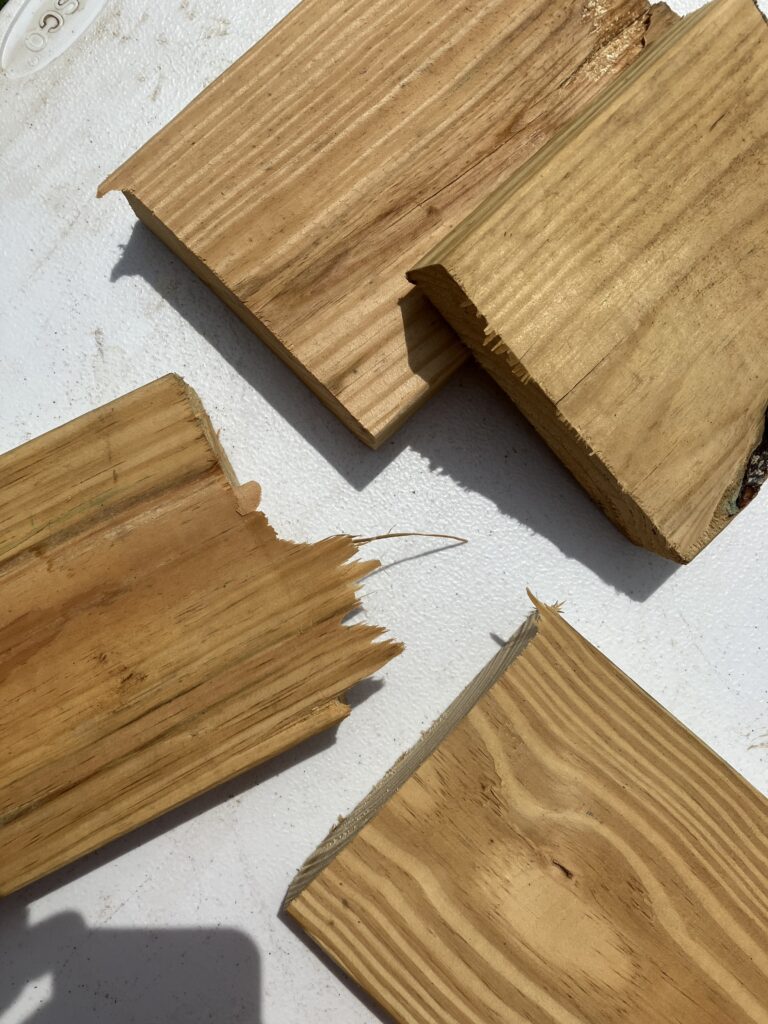
As you can see there is some rough edges that need to be cleaned up before I start. After trimming the edges with a saw, this is the scraps of wood all cleaned up. Once all the edges were cleaned and cut, the pieces of wood looked very nice.
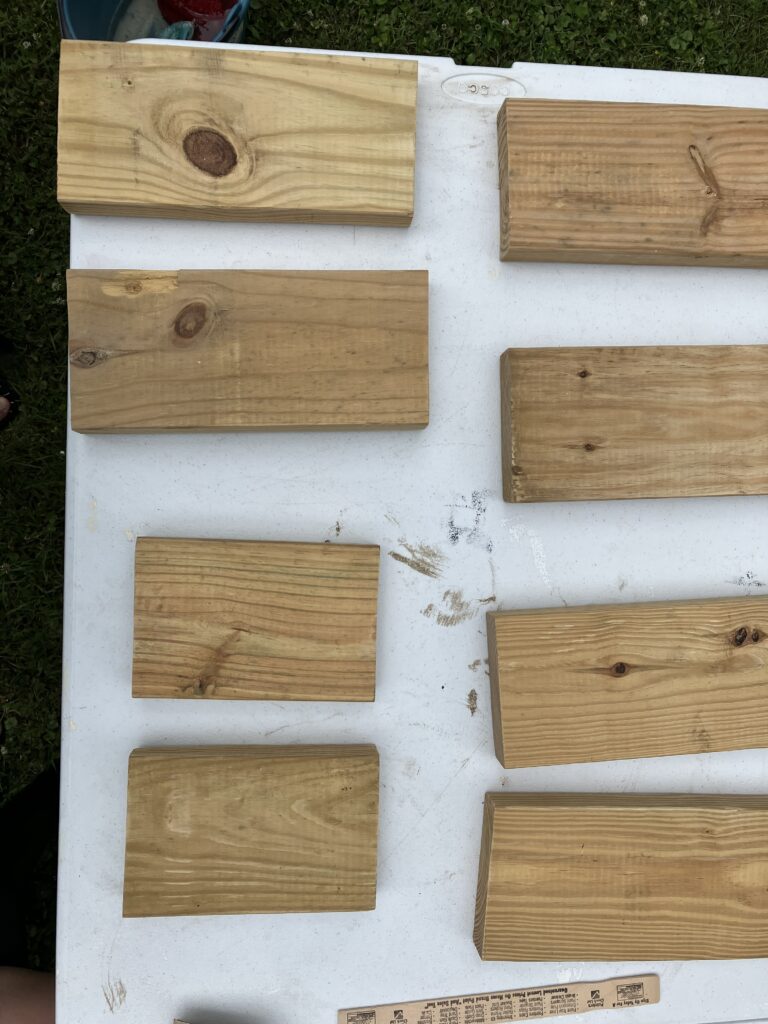
For this wall sign I am using just two of the 8 wood blocks. I am working on different things for the other 6 blocks of wood.
After cleaning all of the edges, I sanded the blocks of wood to get a nice even surface for all of the blocks of woods. Once the wood was edged nicely and sanded, I was then able to prime all of the blocks of wood with white paint before splitting the wood into their different projects.
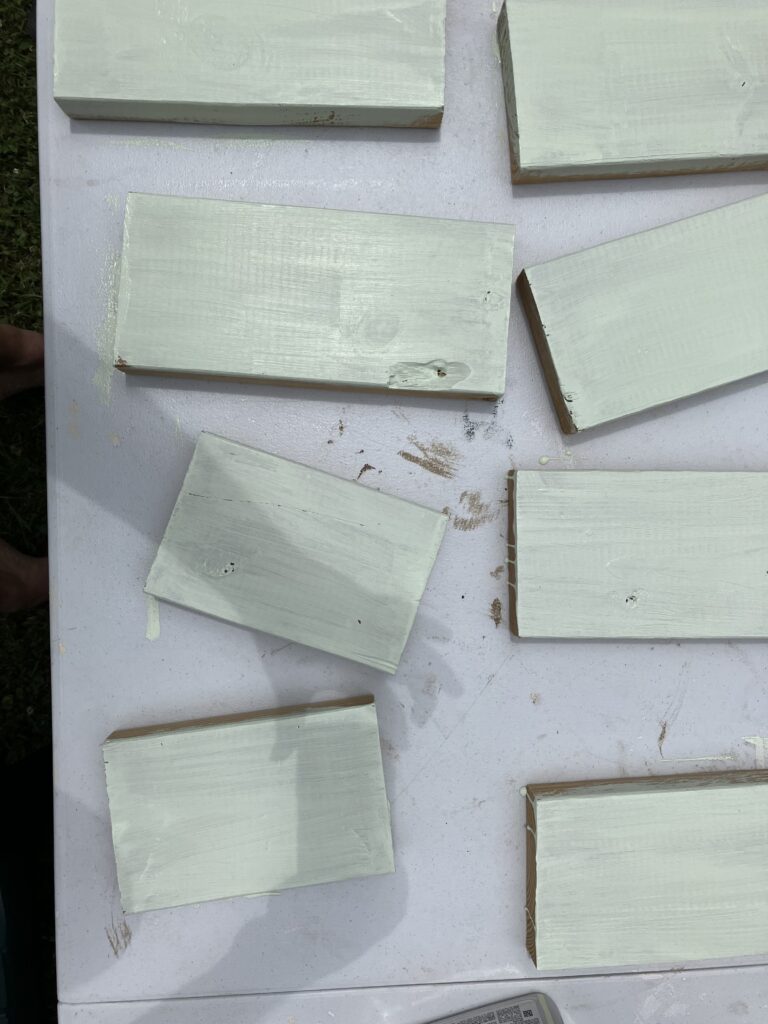
Priming the wood is just basically getting a nice white coat of paint on each block to make it easier to paint with the different colors going on the wood. All of the blocks got a coat of primer on each side of the wood. This part of the project was done together for all 8 pieces of wood. Now I started to separate the wood and work on each individual project.
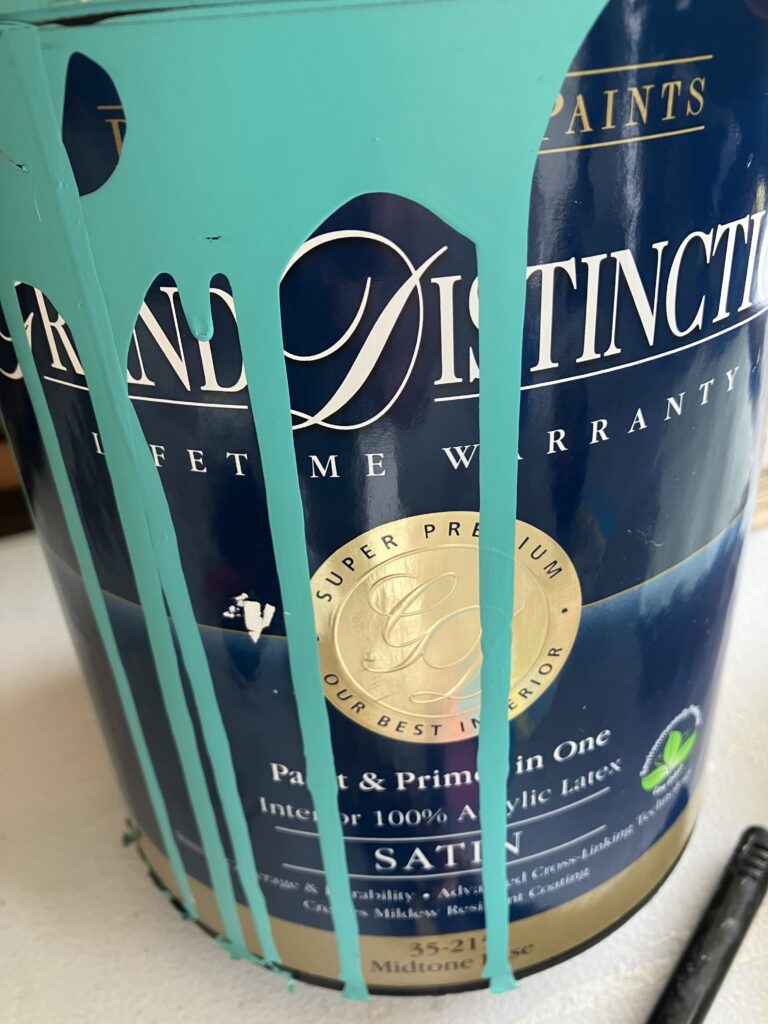
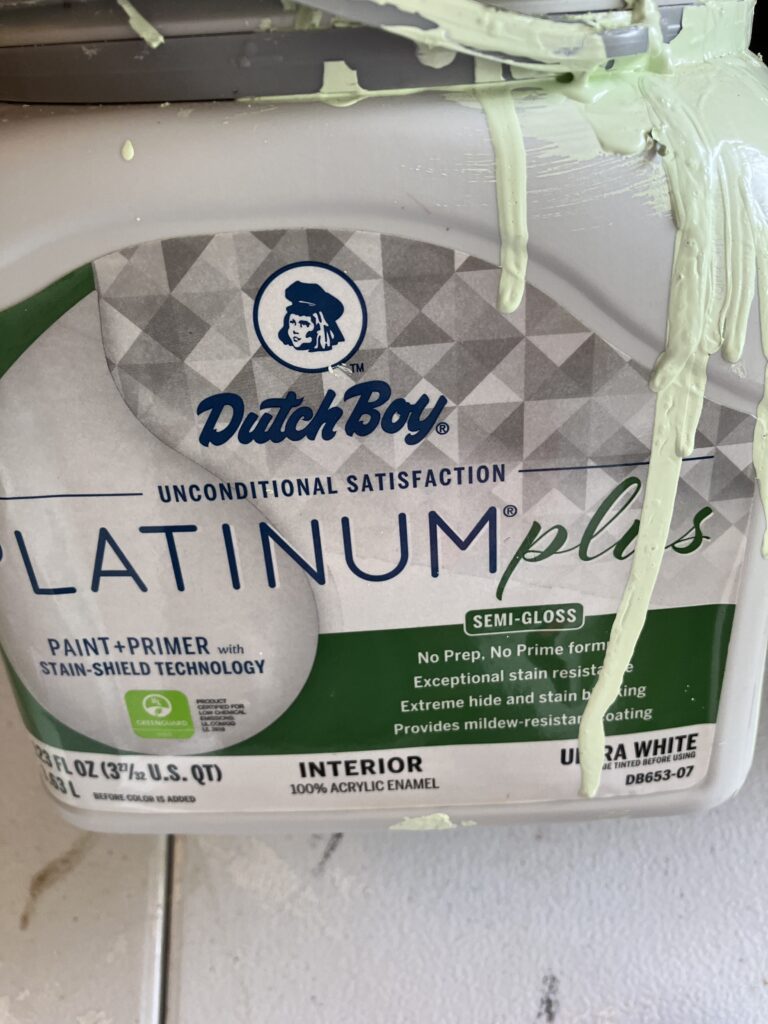
For this project I wanted colors in a tropical like theme. So I went with a very light green and blue. I thought the cool colors would pair well with the pool theme of the design. Here are the two colors of paint I used for the project. The blue is called Biscay Bay. The green I am not sure what it is called. It might be a cactus green but I am only guessing on that.
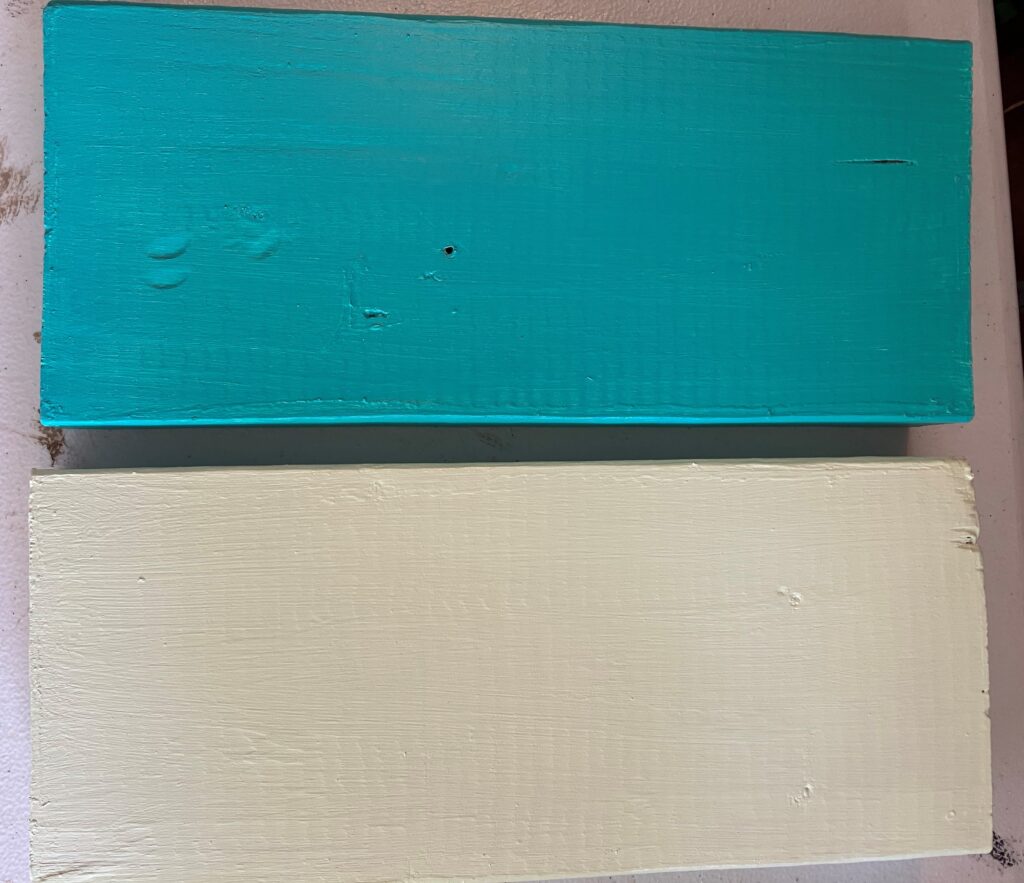
I painted the two blocks of wood with one being blue and the other green. I added a clear coat on top of the blocks of wood after the paint was dry. The clear coat just helps with potential water damage. This is how the blocks of wood turned out.
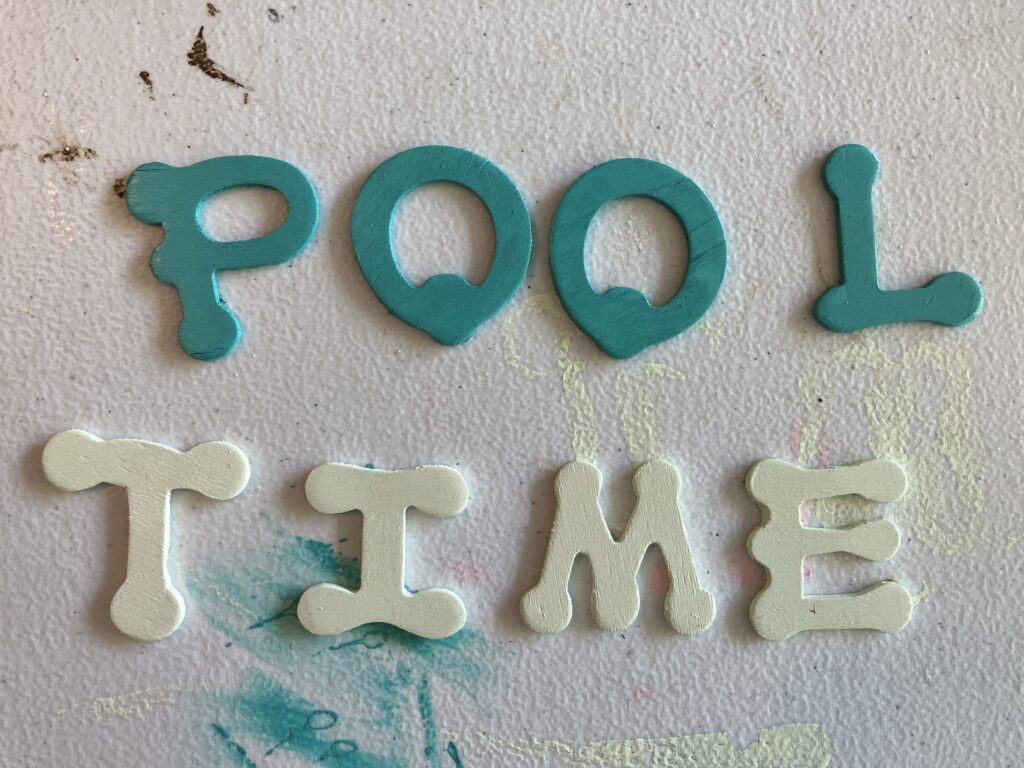
Next I repeated the same paint and clear coat for all of the letters. I painted the letters of pool in one color and time in the other color. This would give a nice continuity on the piece as well as contrasting the letters to make them pop.
The letters are just wooden crafting letters that you can find at any store that has crafting supplies. There is nothing really fancy about the letters.
Once the blocks of wood and the letters were done, it was time to put the letters onto the blocks of wood. We used a hot glue gun to attach the letters to the blocks of wood.
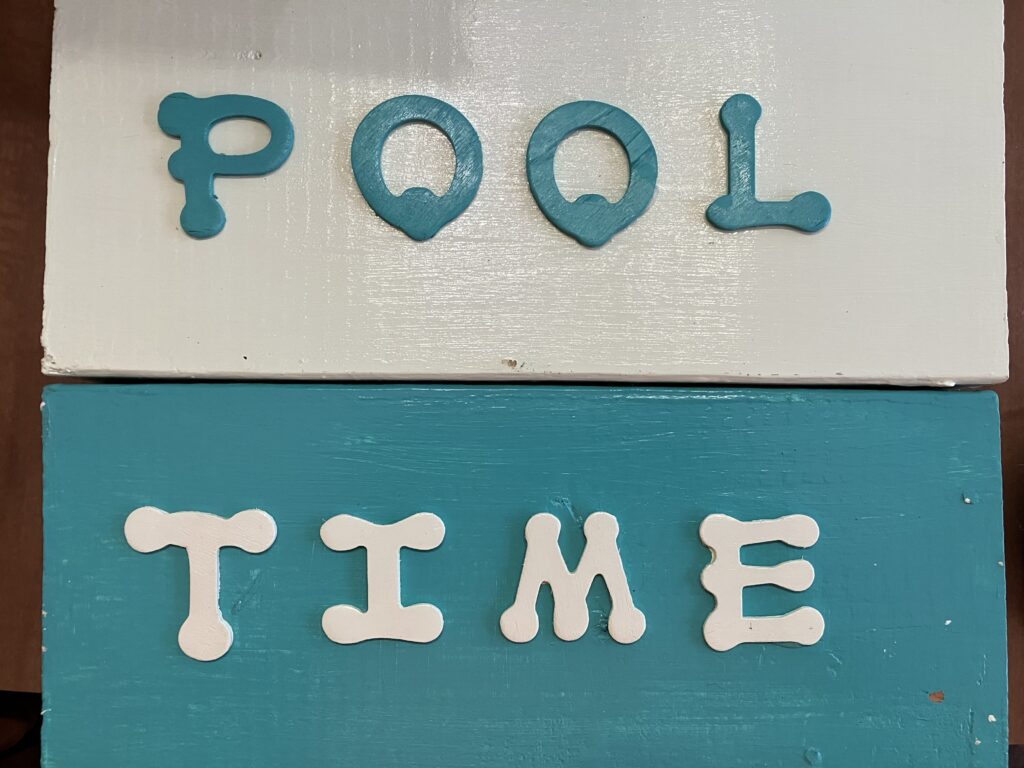
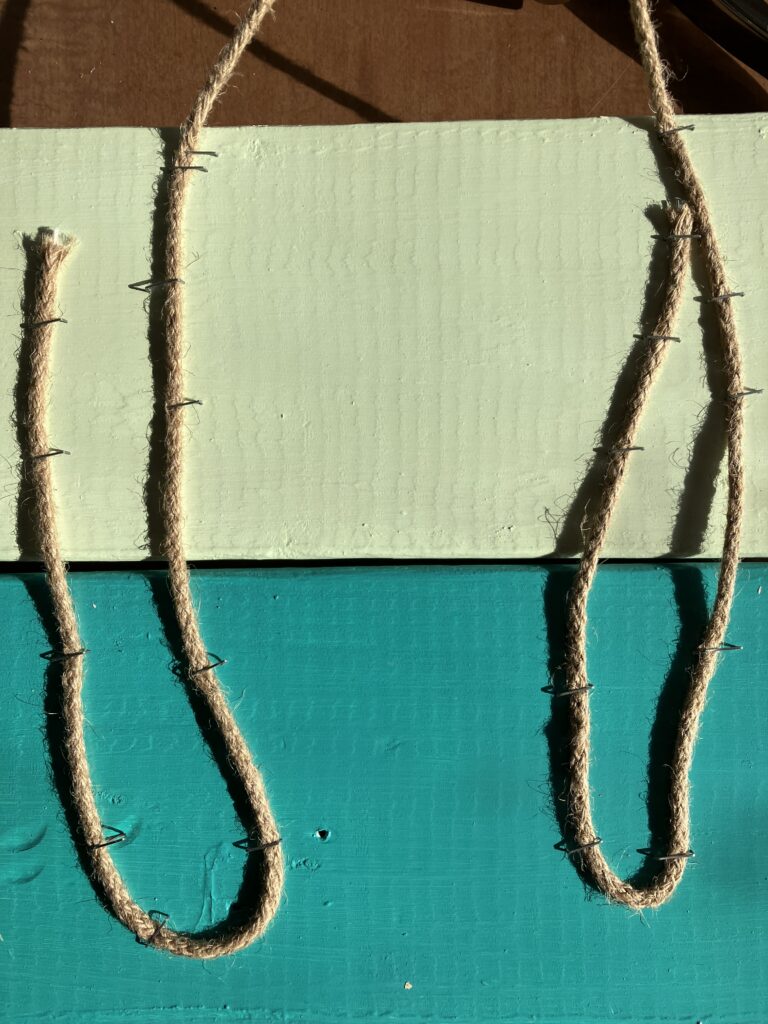
The final step was to add twine to the back so the piece can hang. I used a staple gun to attach the twine to the blocks. I used a lot of twine on the backside of the wood to give some extra strength. Once the twine was attached, the piece is finished as you can see from below.
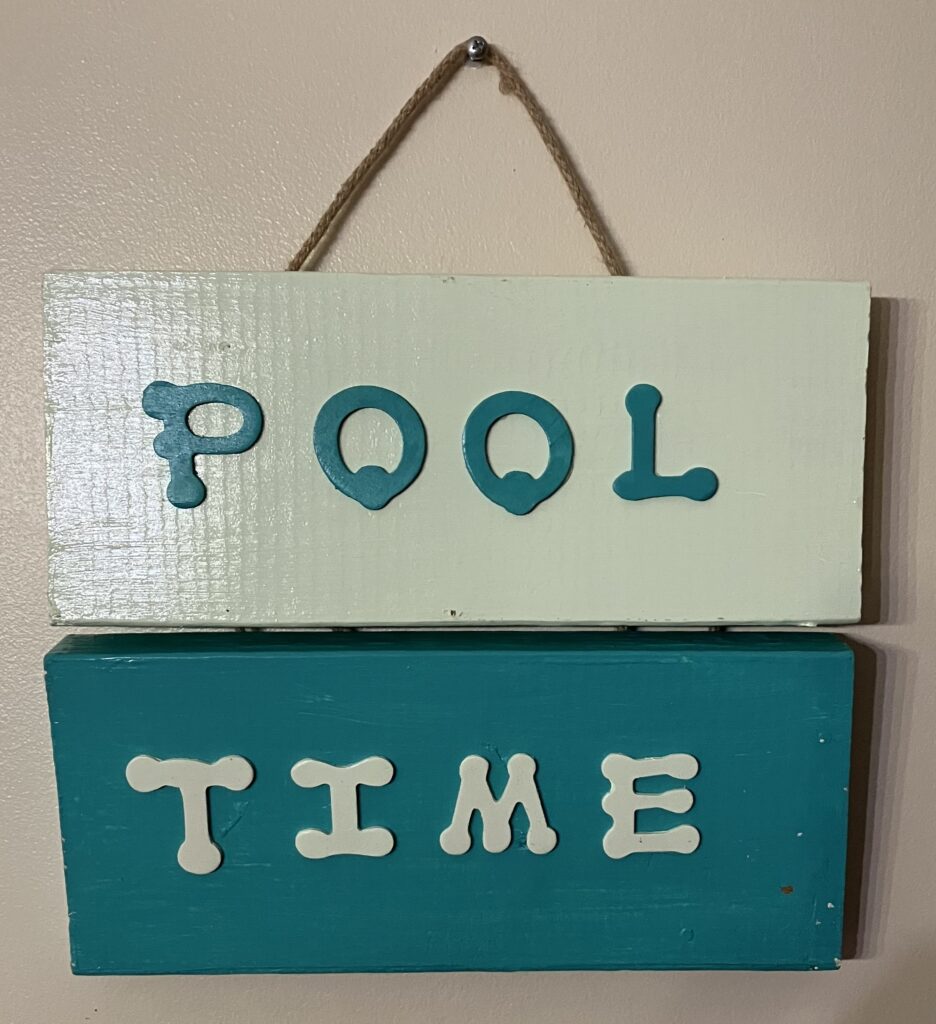
Overall it was a project to take some thrown out pieces of wood and turn them into a wall sign. I think this sign will be a great sign outside next to a pool or somewhere inside a pool house.
I am going to use the other 6 blocks of wood in different other projects so check back to see what I am creating from those.

