We bought a piano seat with an idea of possibly turning it into a possible end table. The height is a little lower then a normal end table but since it is a piano seat, it is sturdy enough to seat on or keep things on. We are thinking it can be used as additional seating if you are having a get together. But it can also be used to store things in or on when not being used as a seat. We were not sure if it would work or how it would turn out but it can be a versatile piece of furniture without taking up that much space.
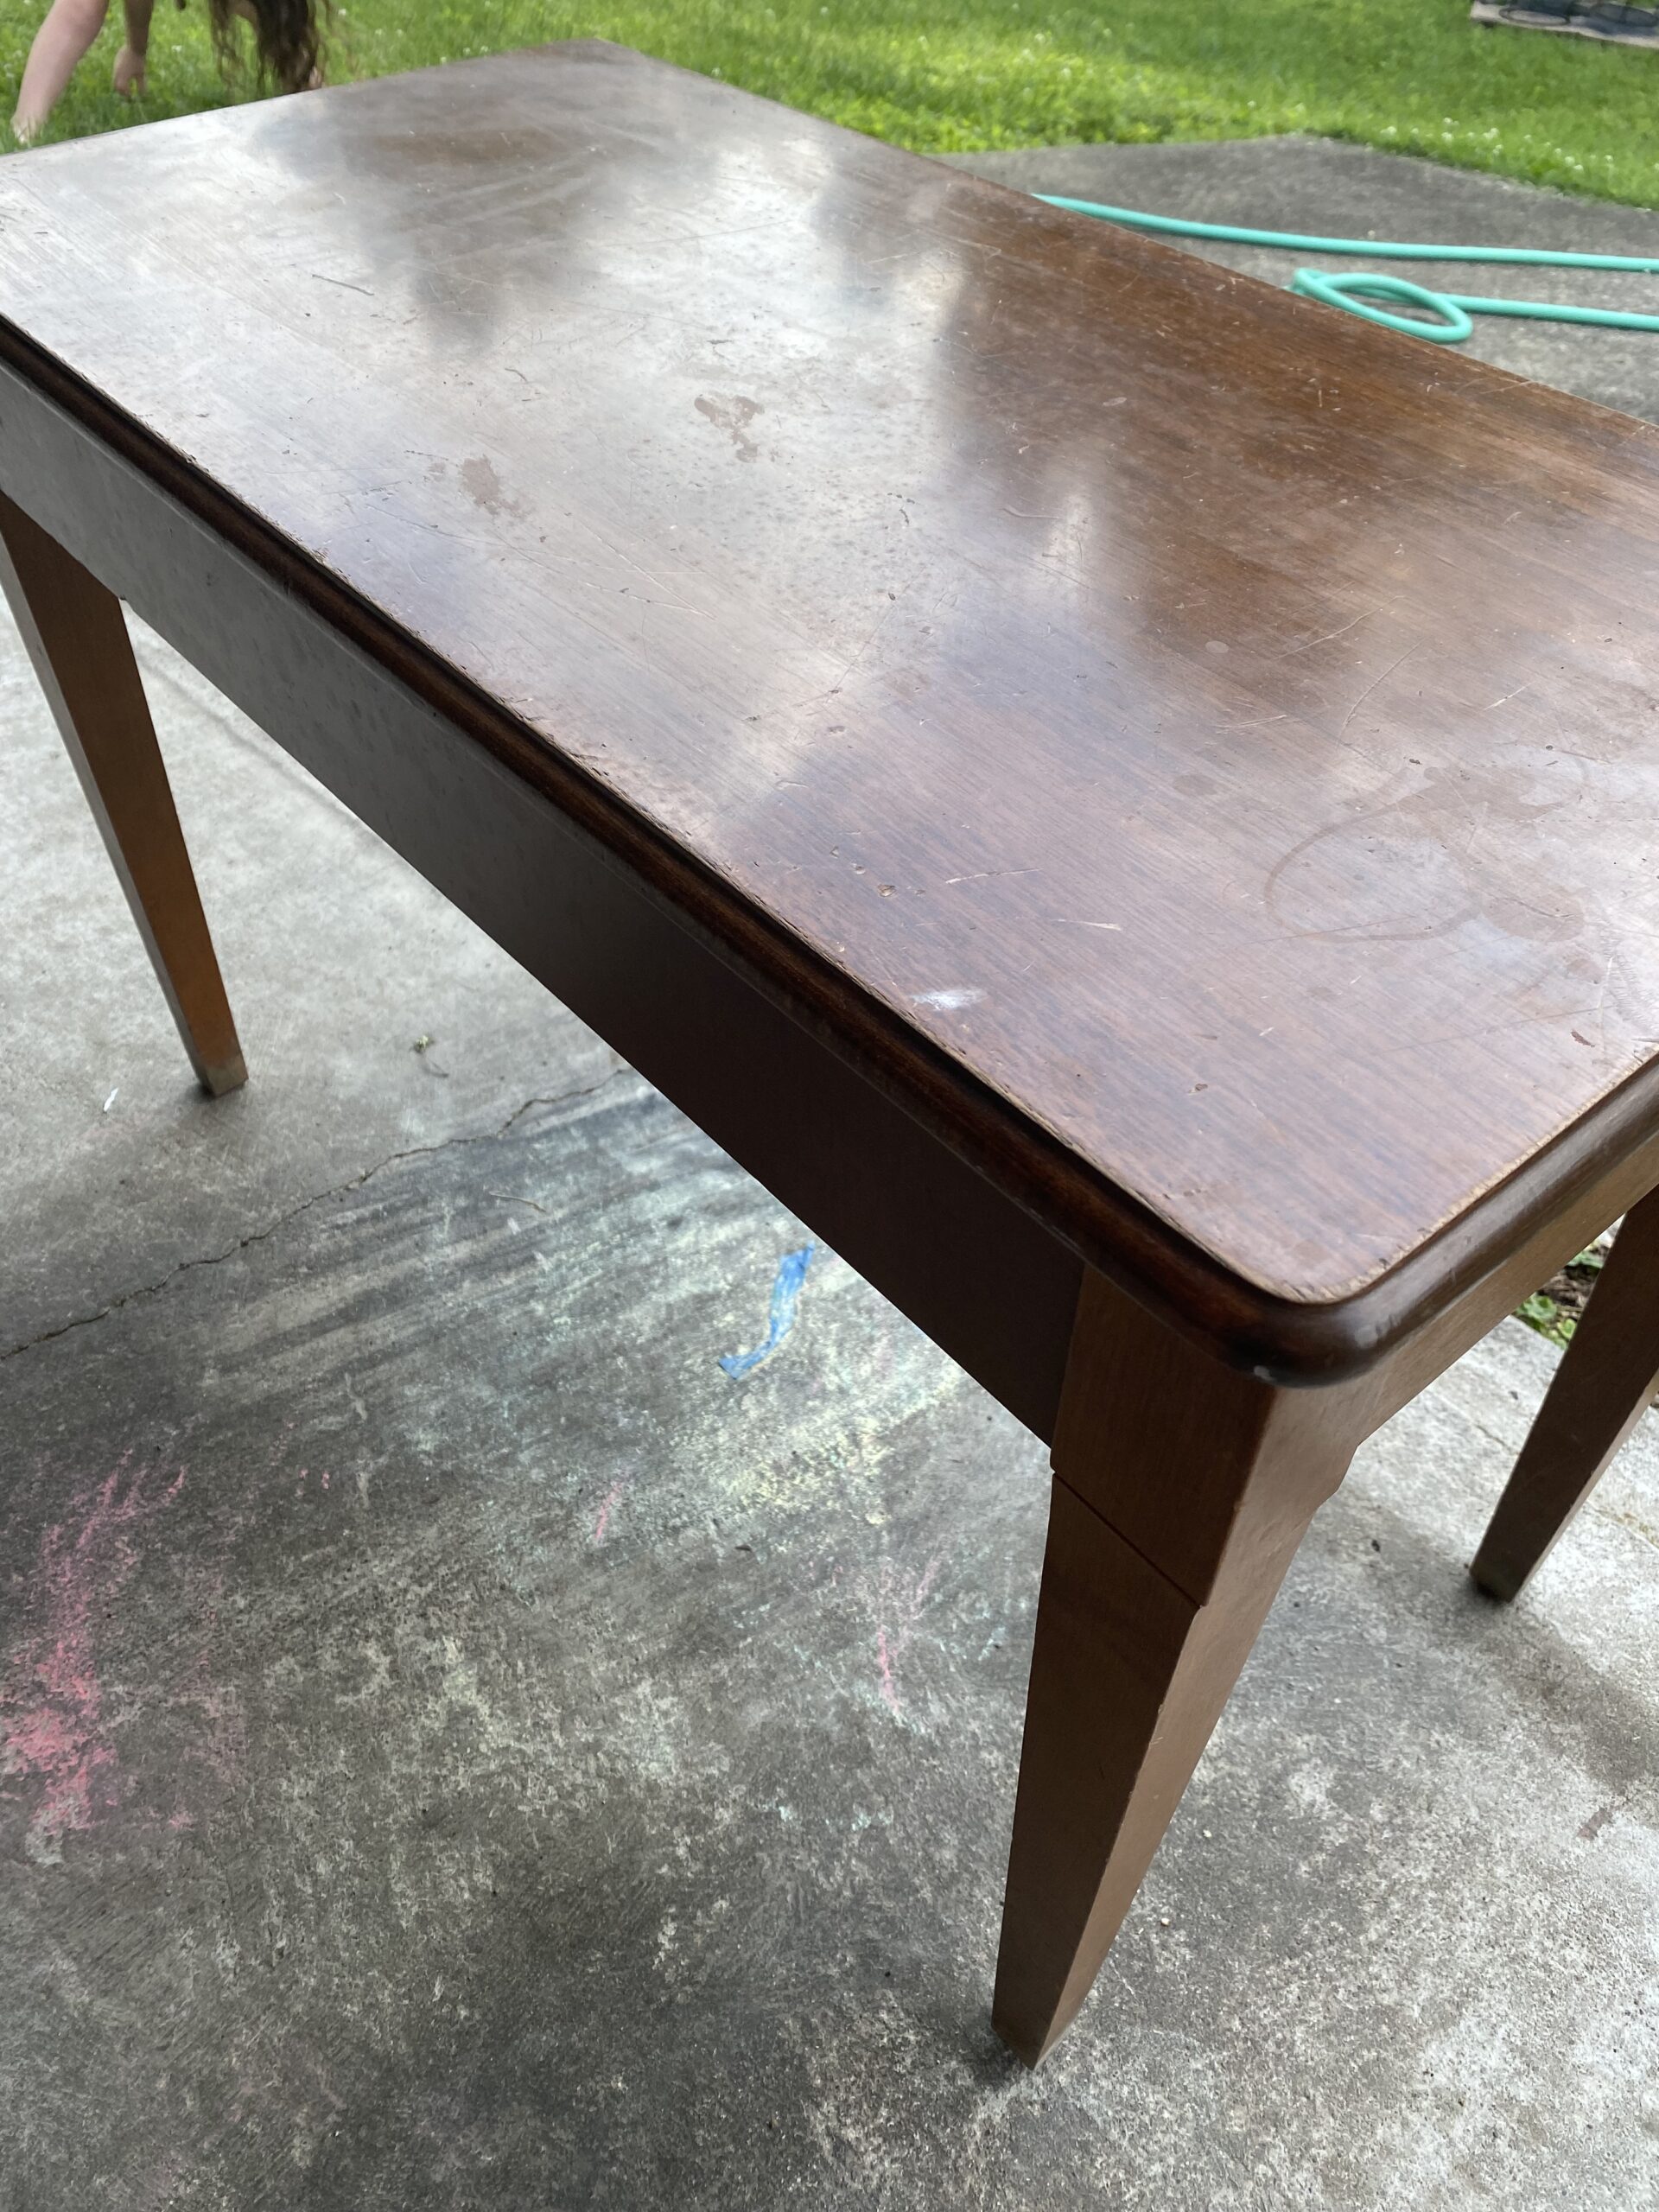
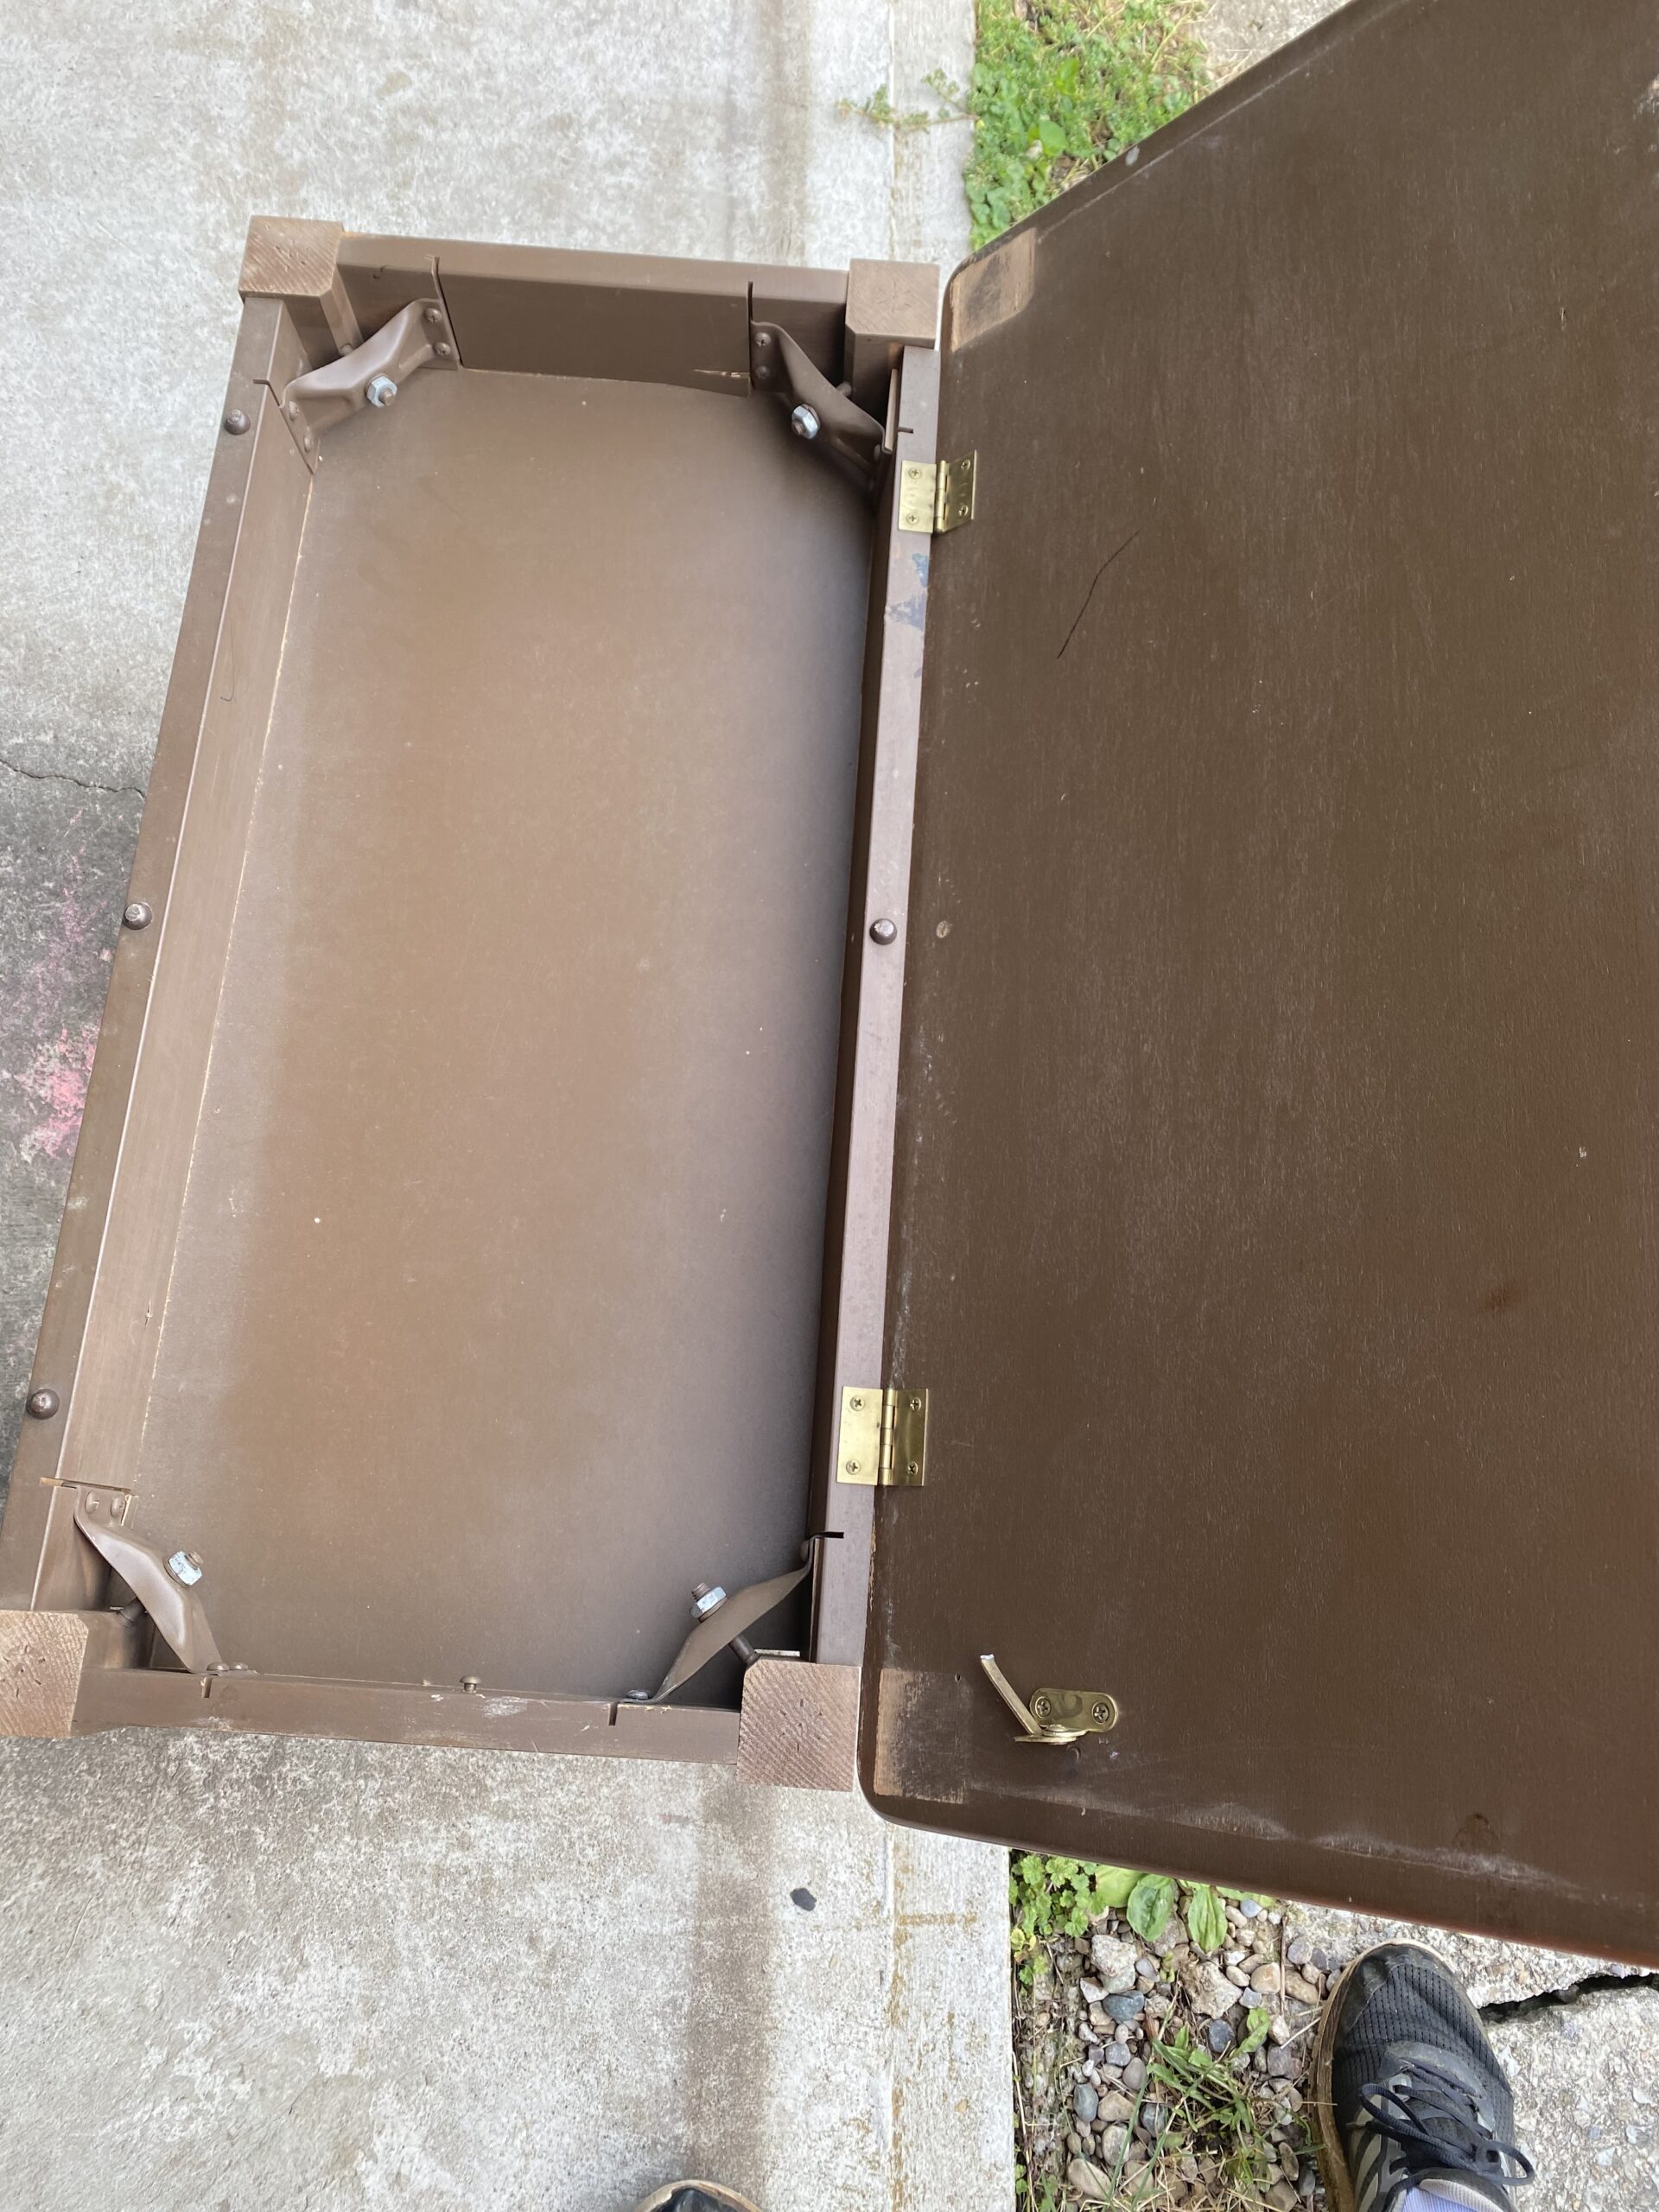
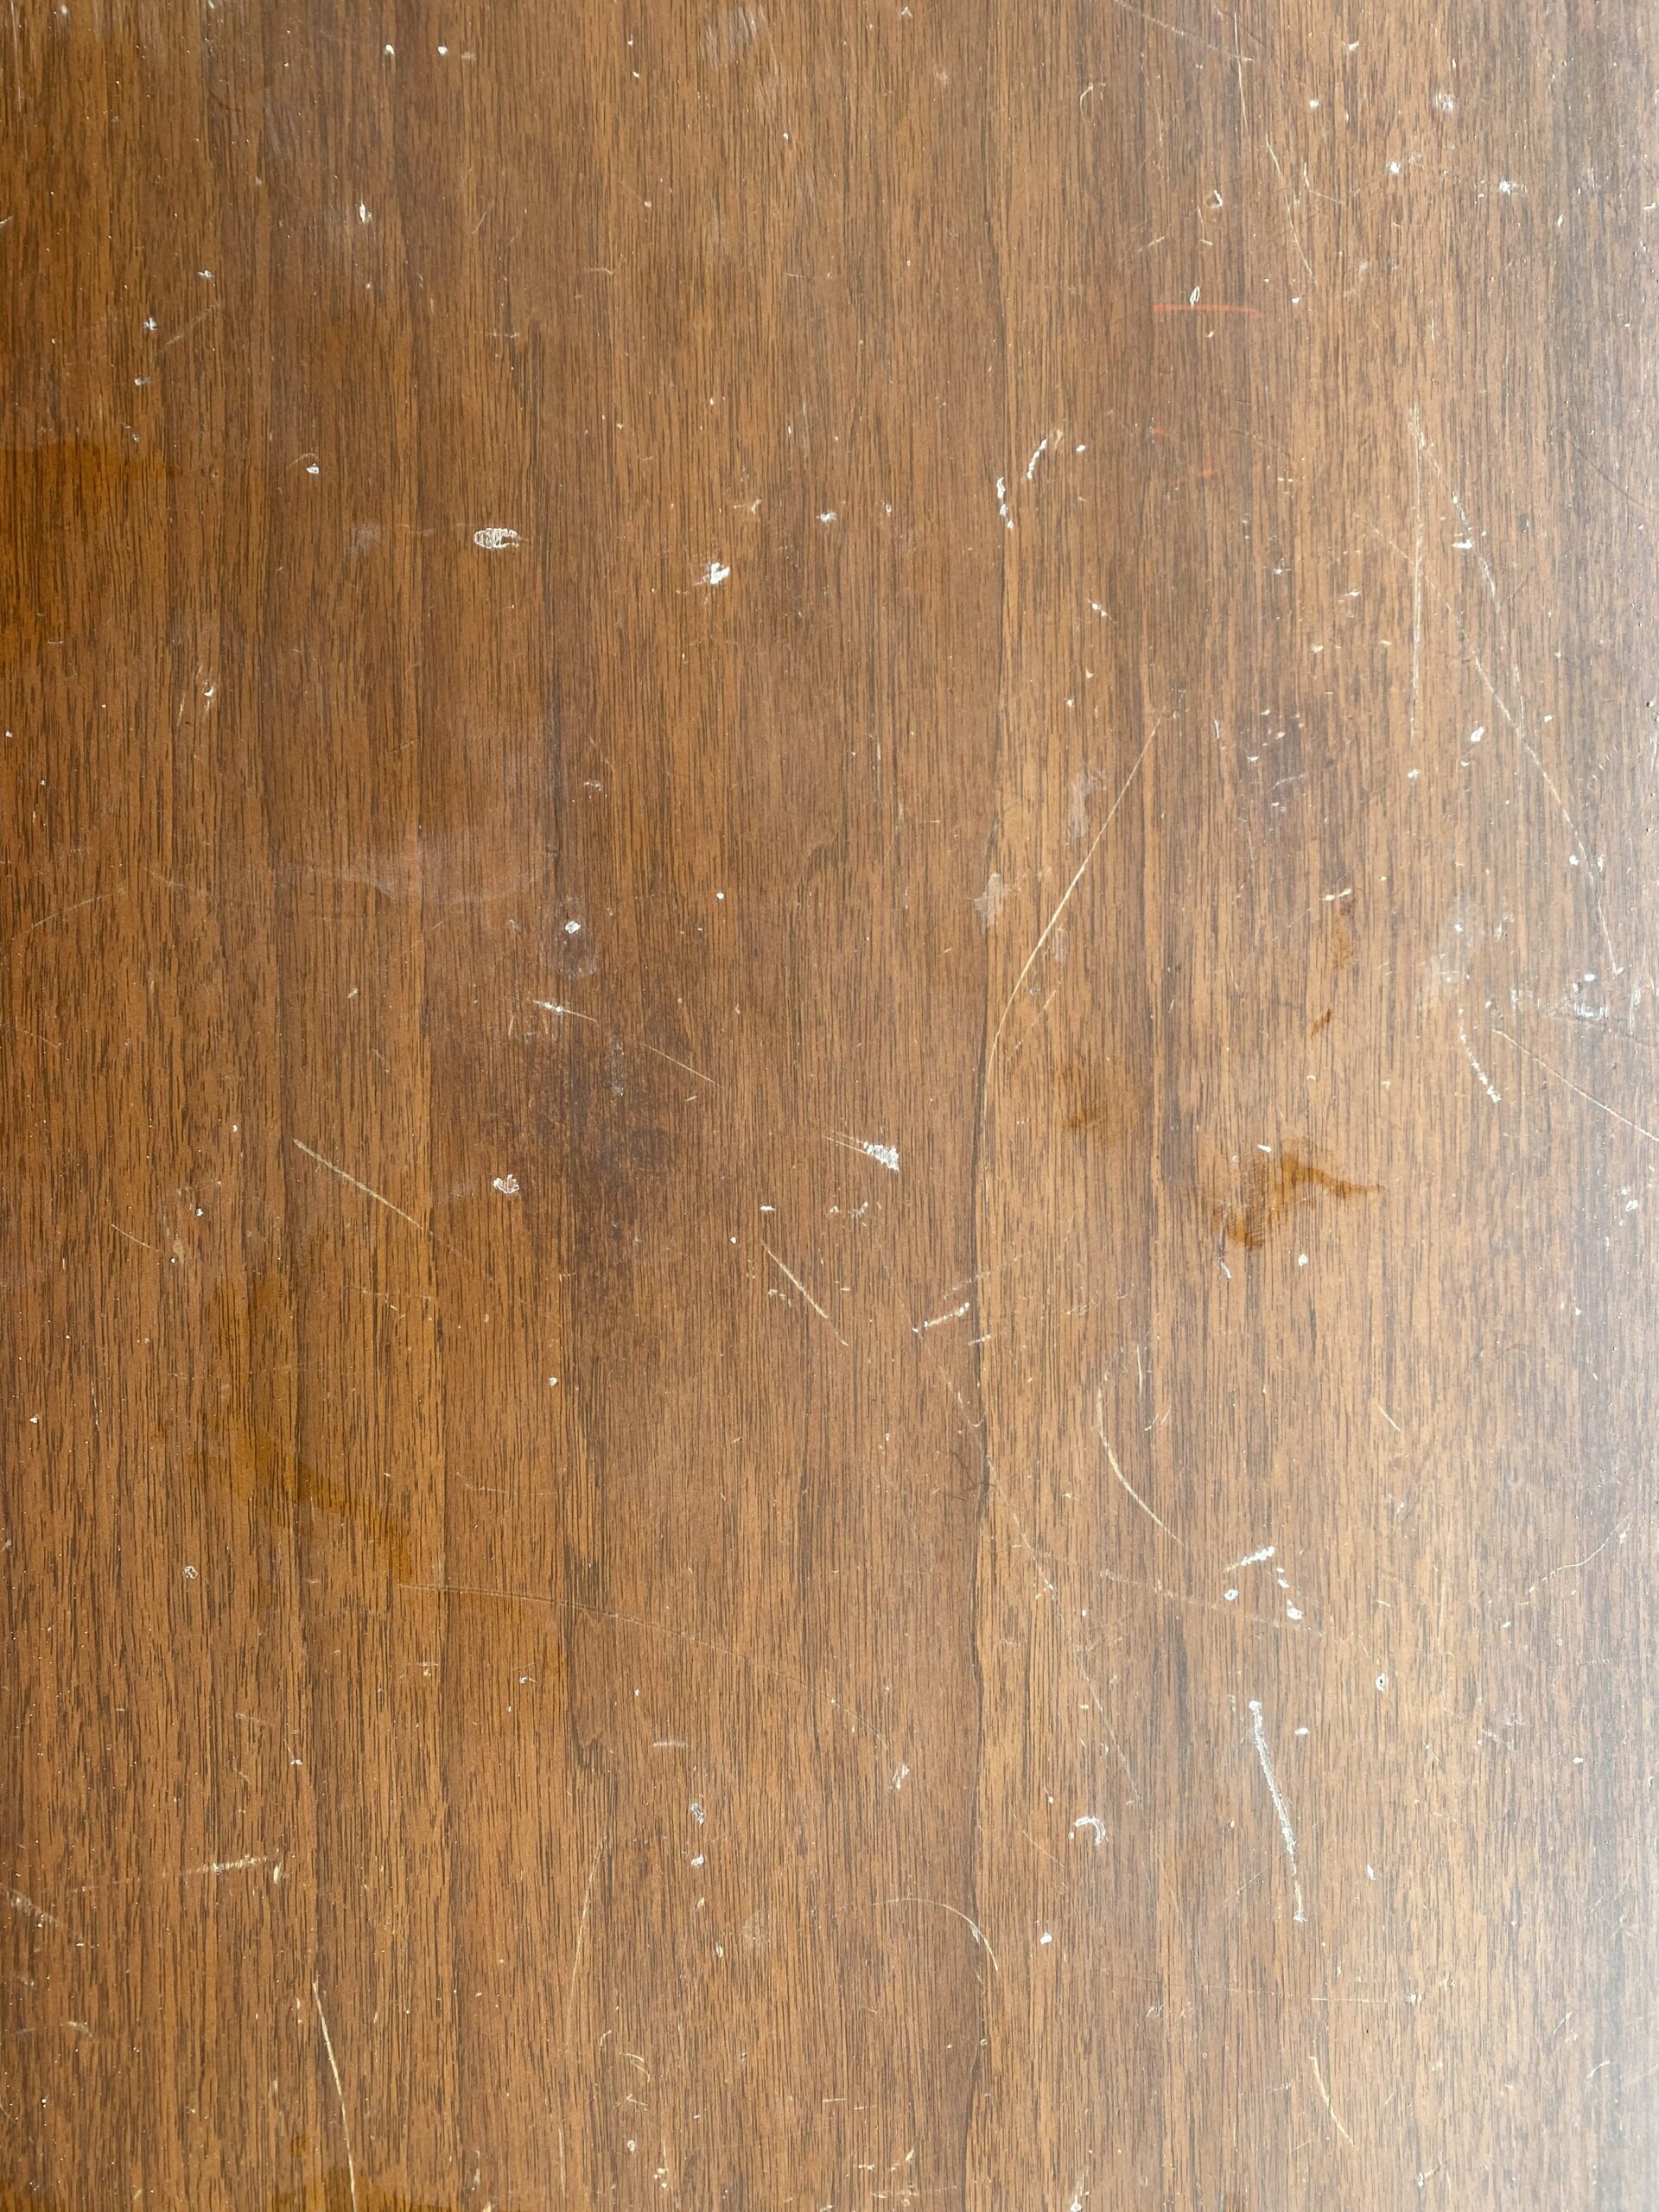
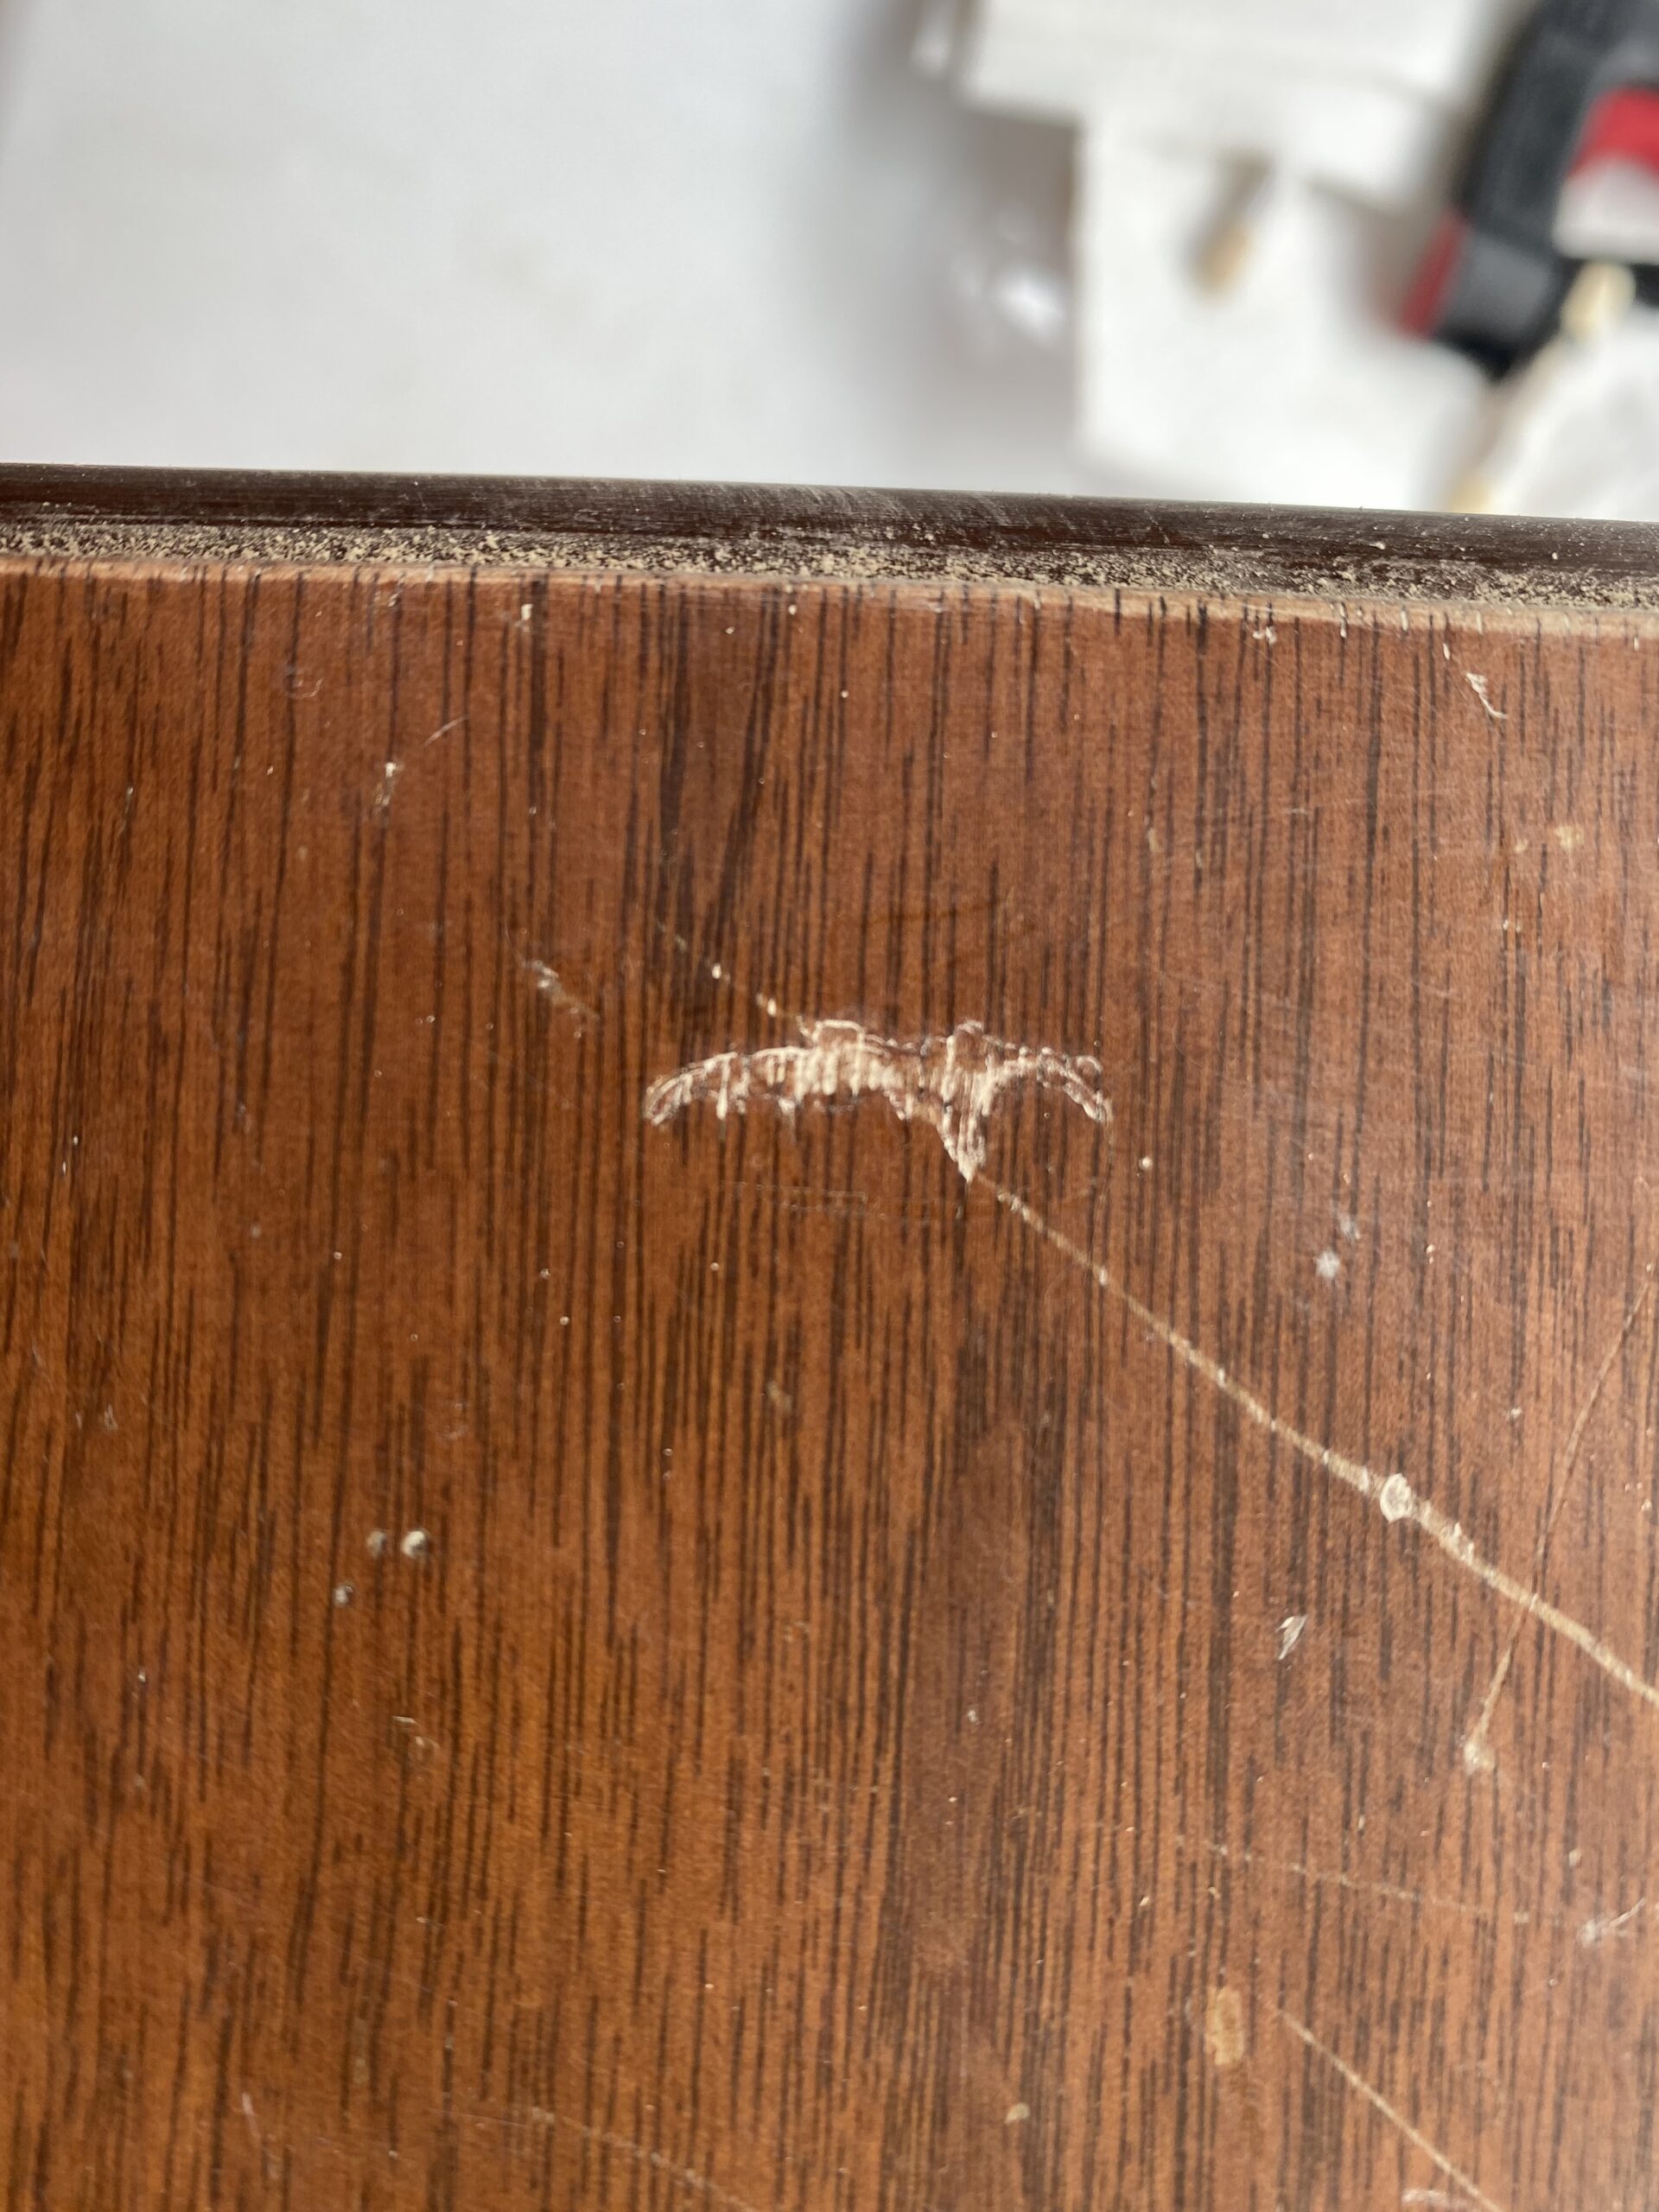
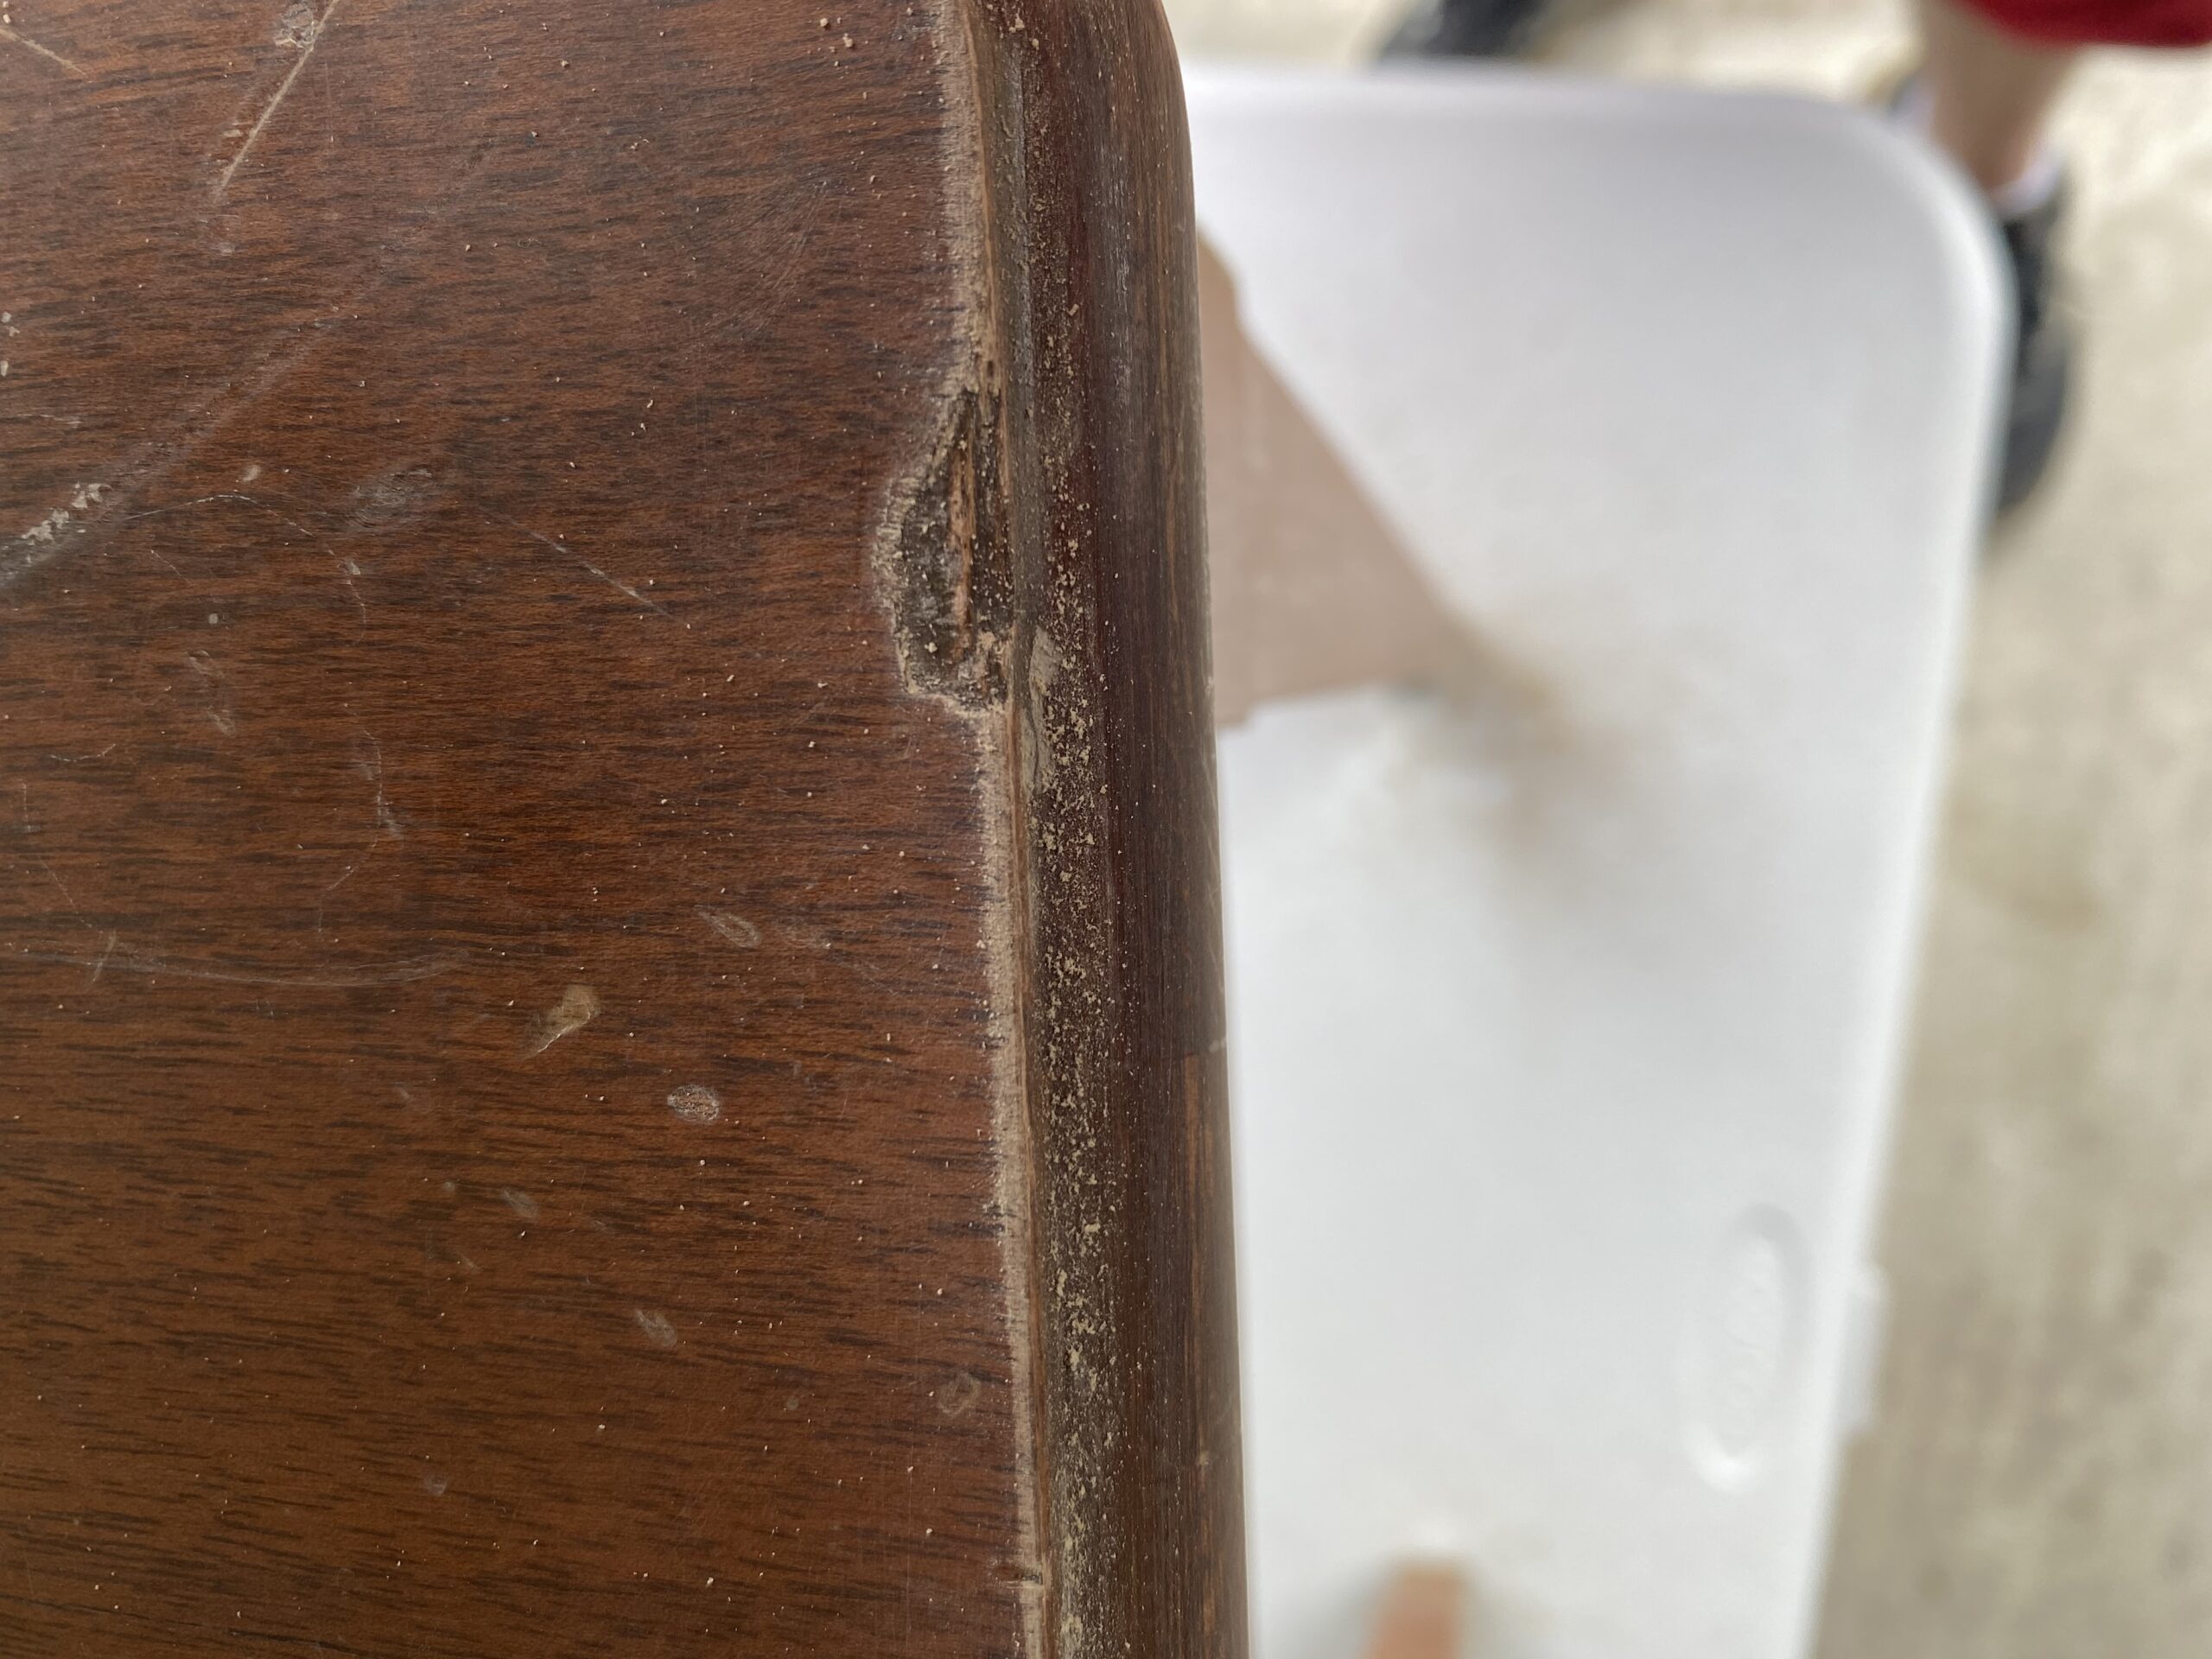
From afar the seat looks to be in really good condition. Looking a little closer there was a couple of different spots that had some decent damage. The overall structure and integrity of the seat was in great shape. But I wanted to repair the couple of damage spots and bring the seat back to the best possible condition. There was two bigger areas that showed the damage much more than the rest of the seat. There was a decent sized scratch in the top of the seat and a chuck of wood missing on the edge of the seat. These areas required my initial attention before moving onto any other work on the piano seat. I used wood filler and put a couple of small patches of filler to cover the larger scratches. After putting the filler in completely, I then sanded the entire piece.
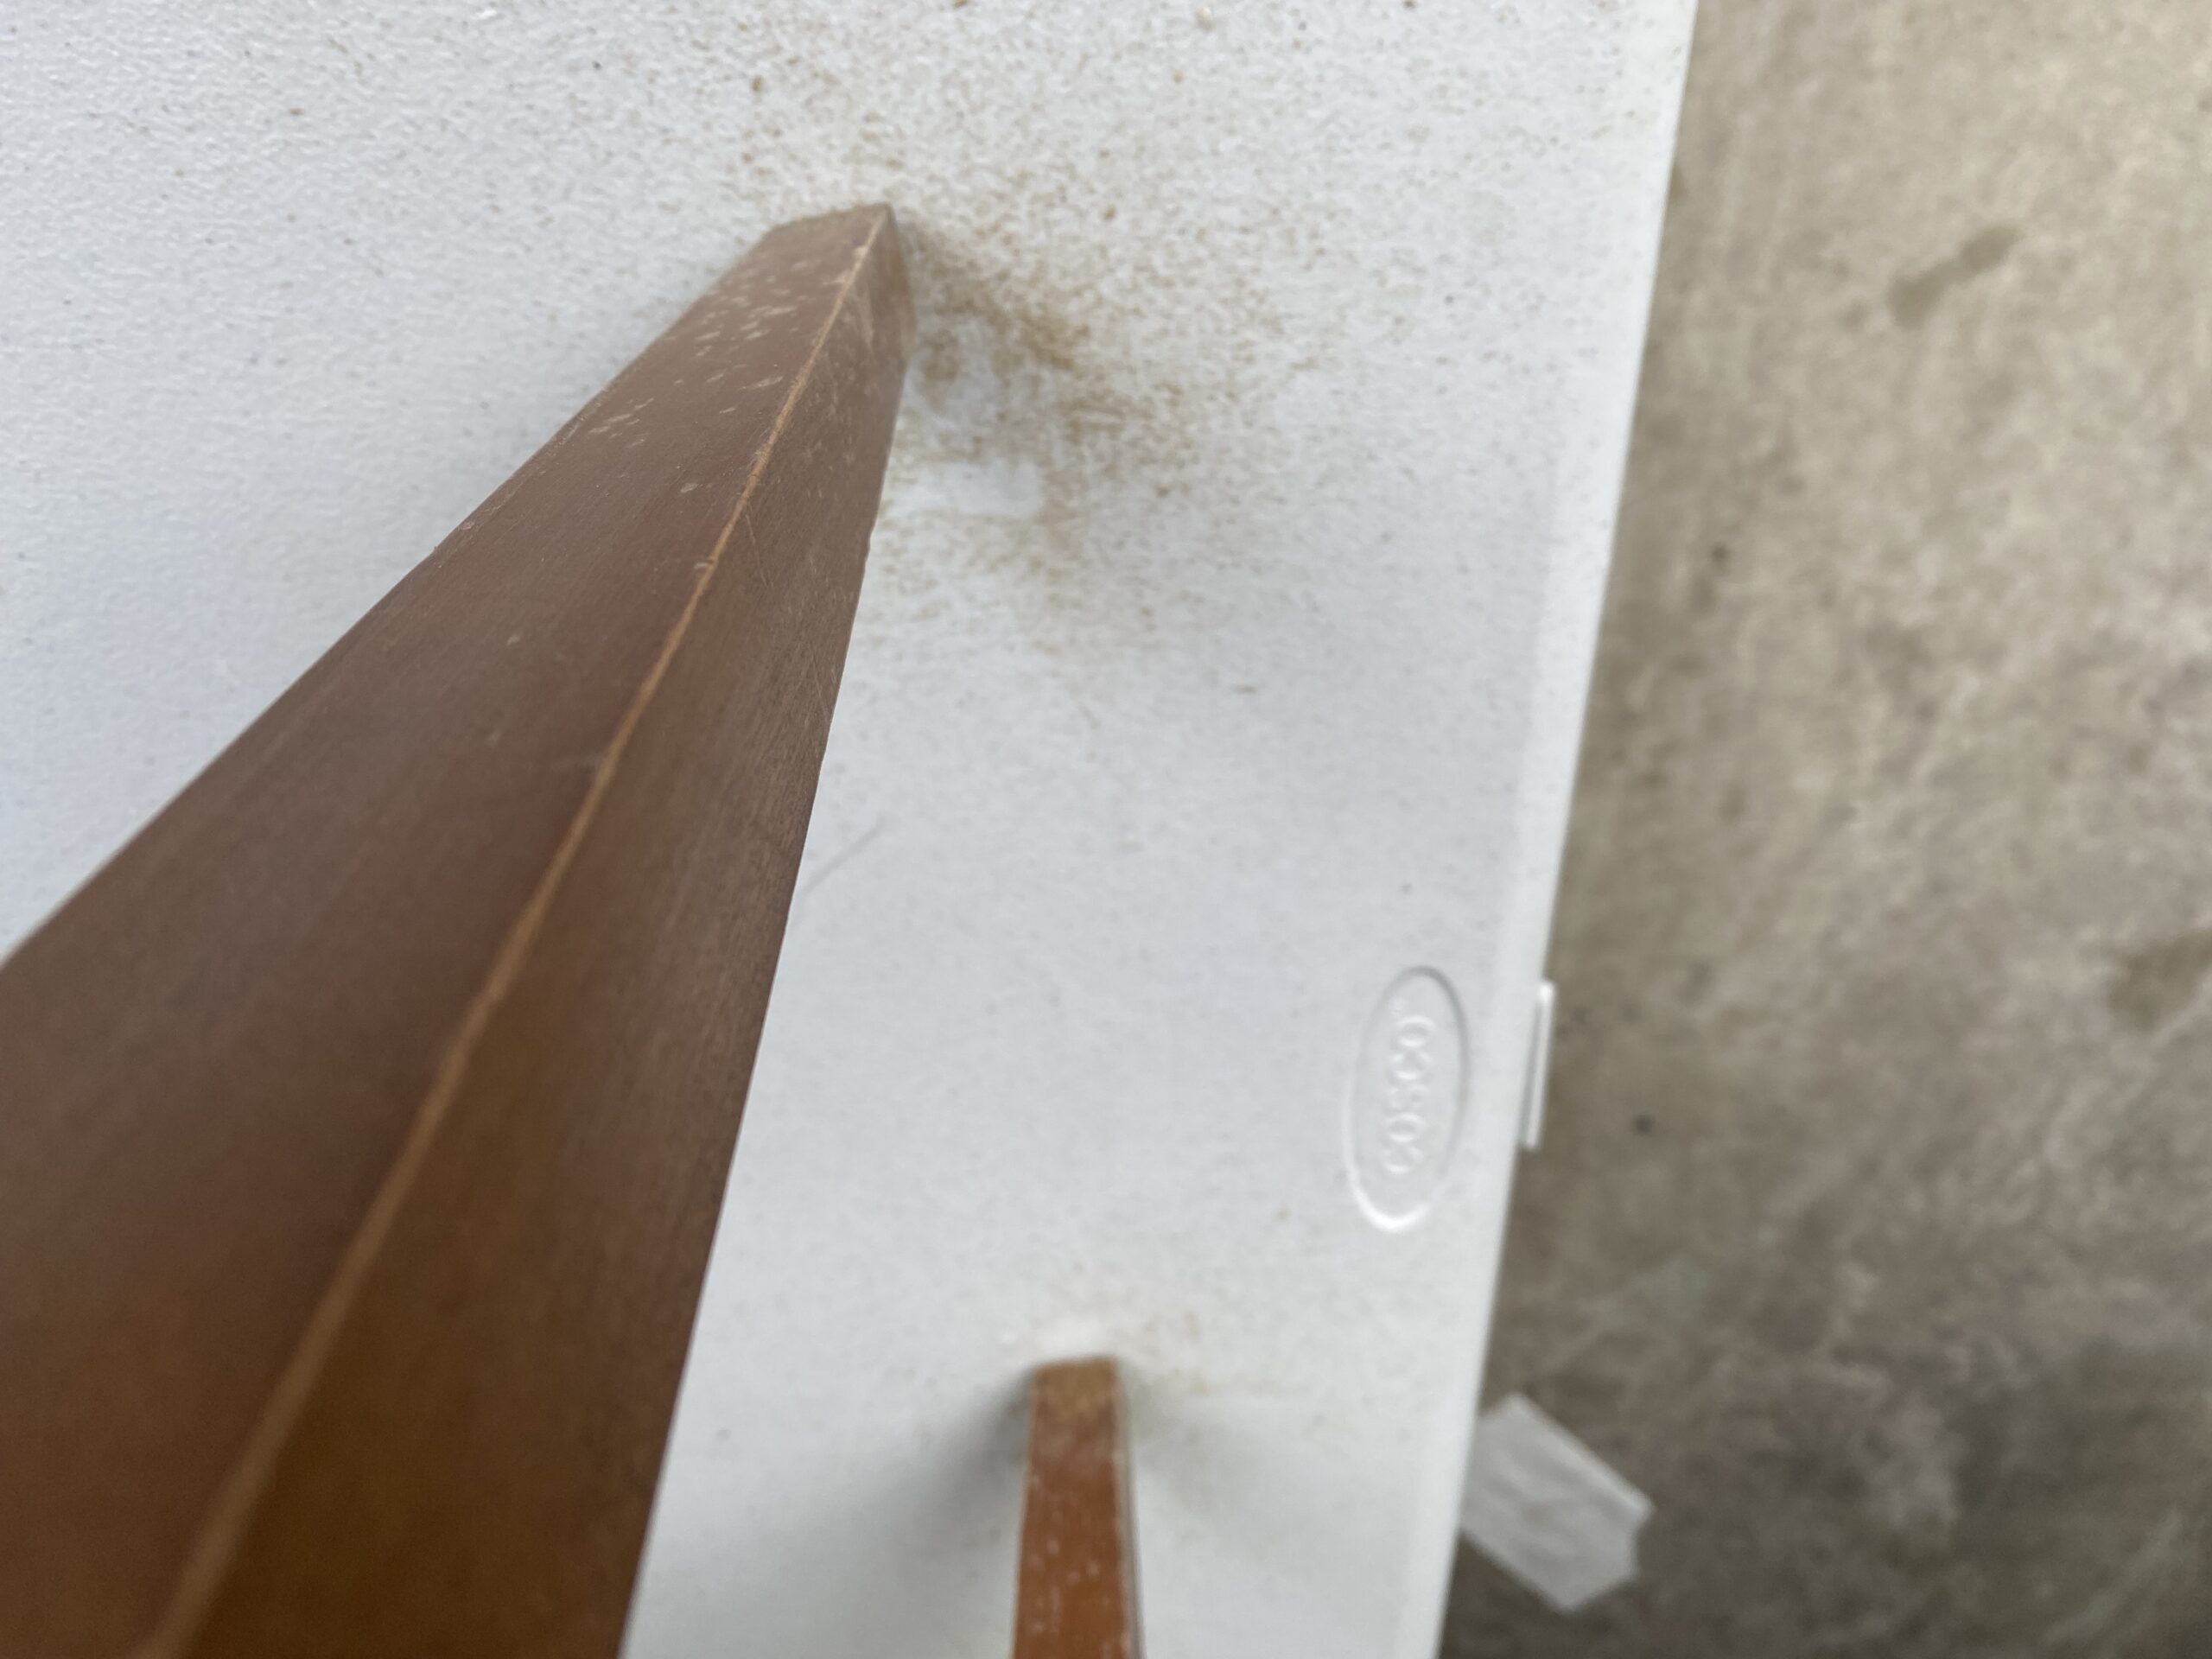
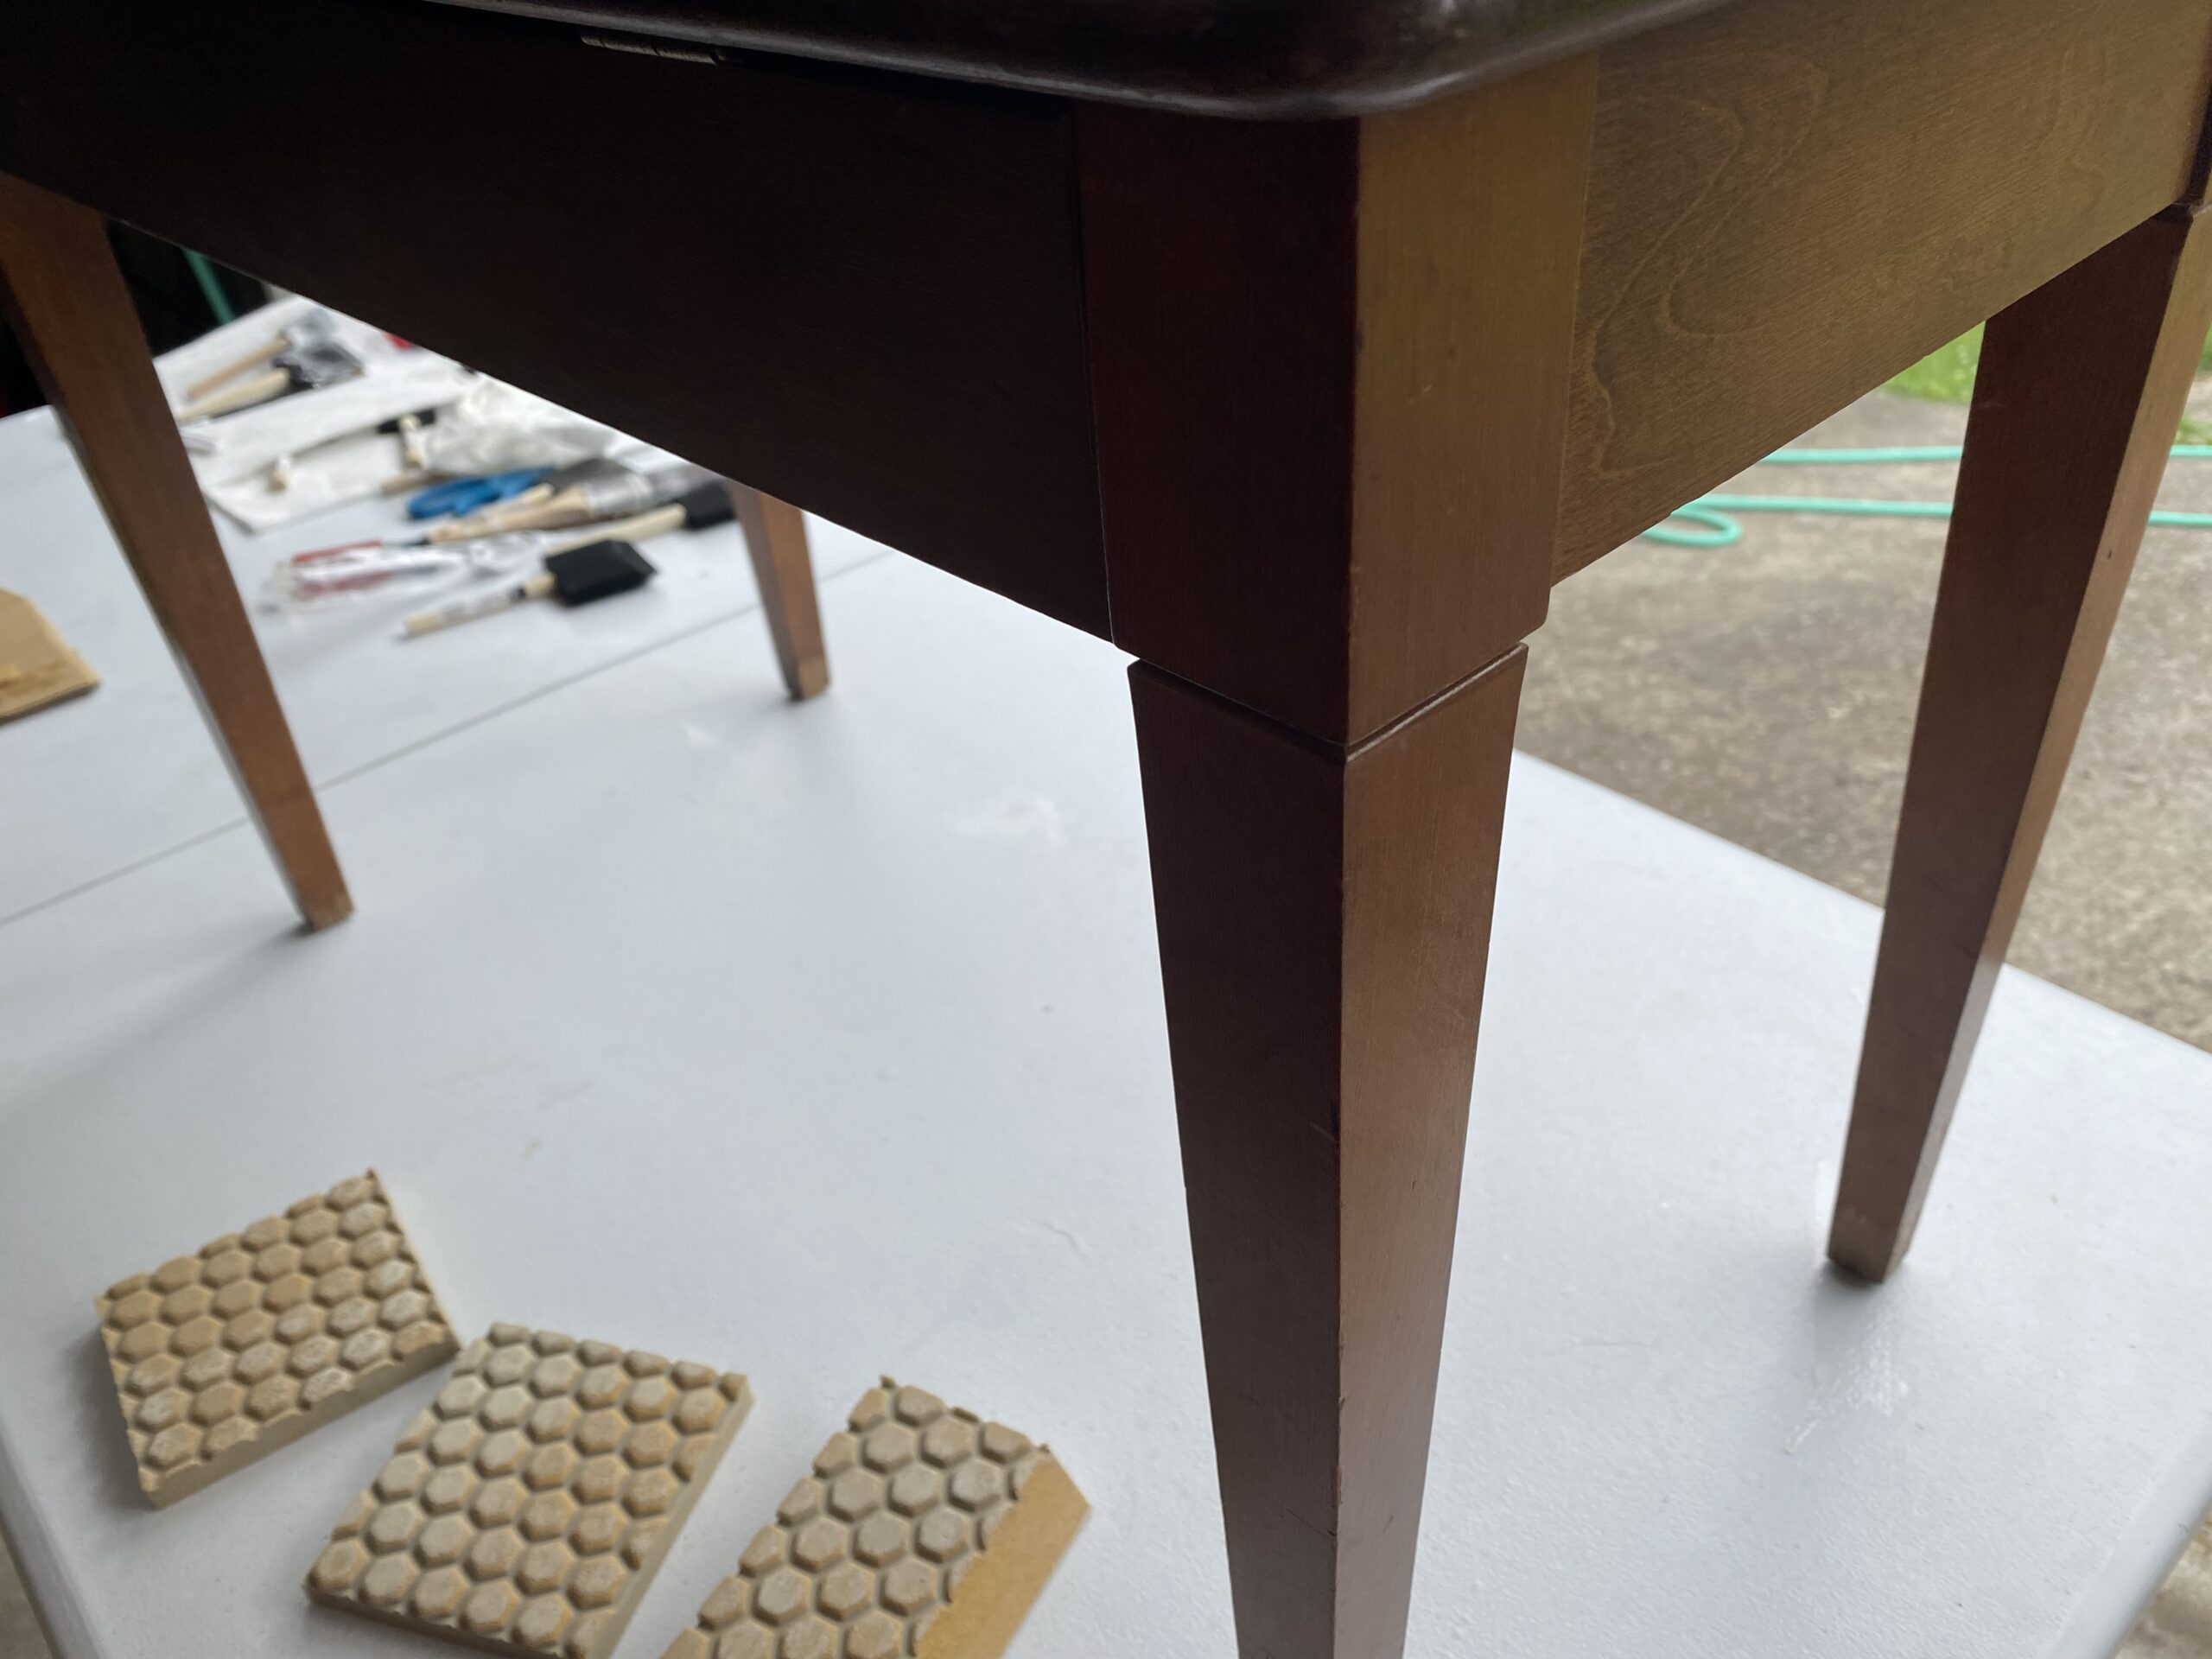
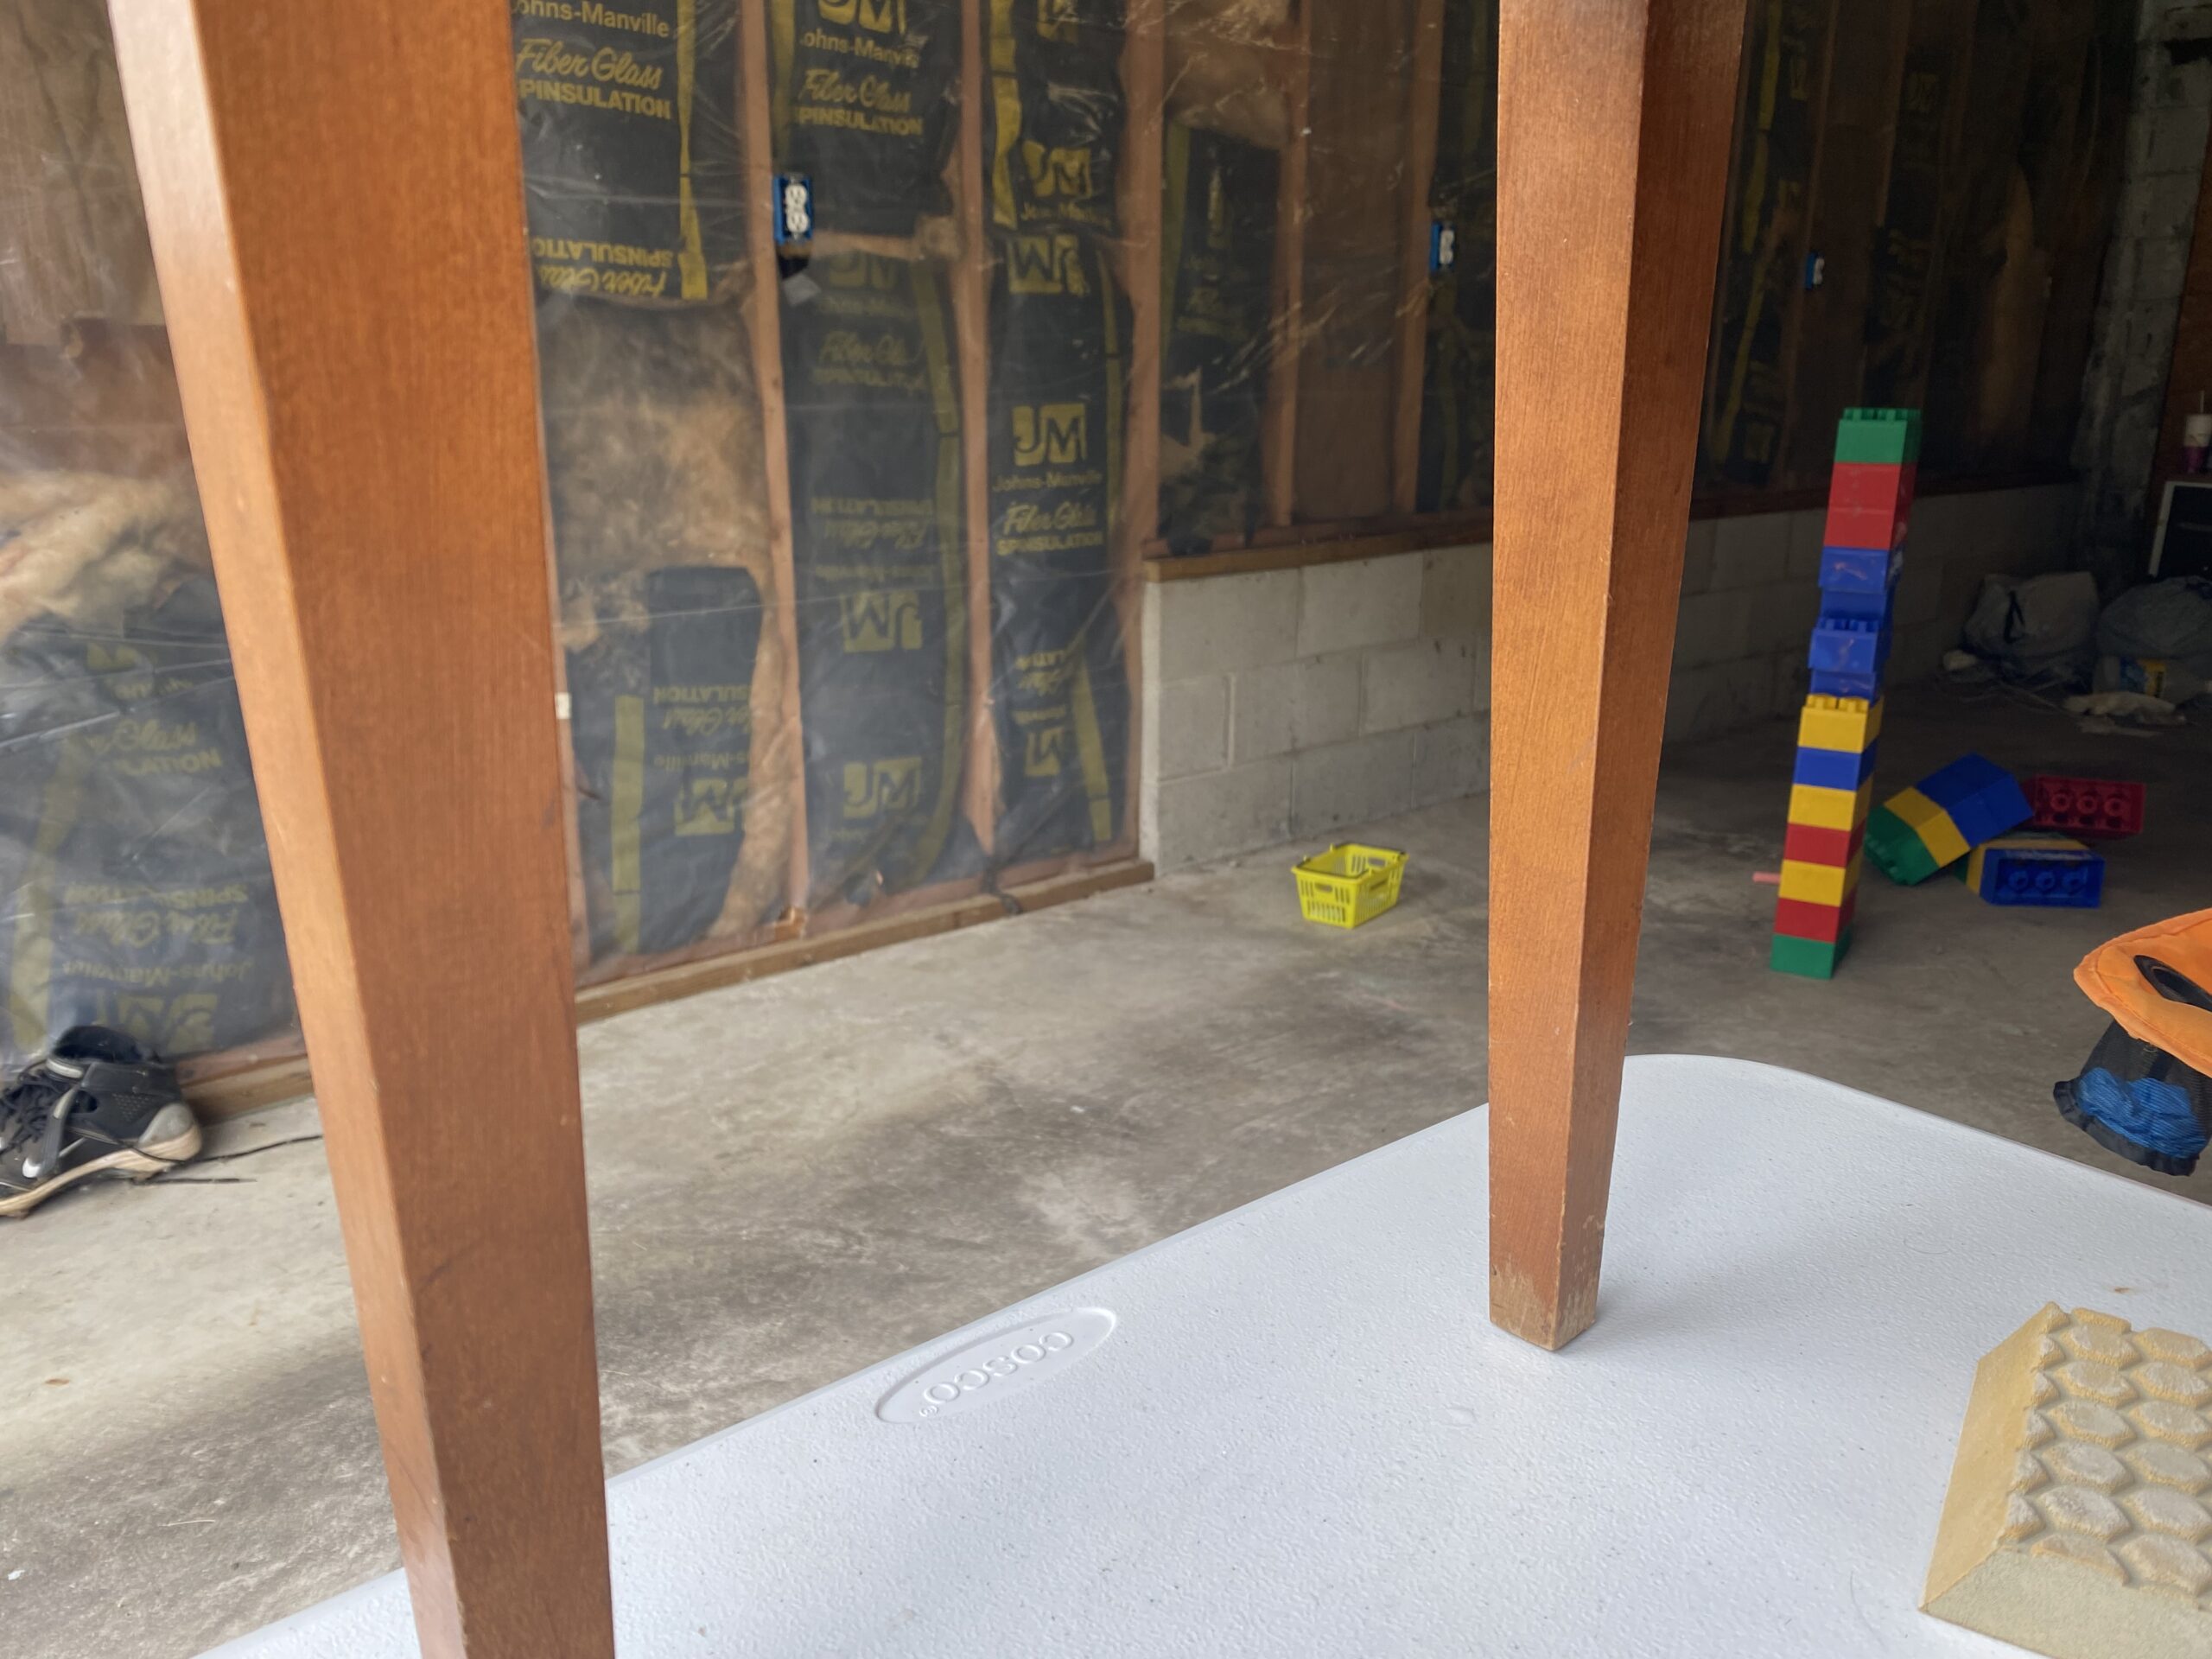
After wiping the seat completely clean with some cleaning vinegar and water, I sanded the entire piece. As you can from the first picture, the sandpaper is taking some wood off and just getting the entire piece back to being a nice smooth surface. I also took some time making sure the damaged places filled with the wood filler was sanded to a nice smooth finish. We planned on painting this seat so I was not concerned with how much wood filler I used. I also was not concerned with how much the wood filler was noticeable during the sanding because everything was going to be covered when the painting process was starting. Now that the piano seat has been cleaned and sanded and cleaned again, we are ready to start the painting.
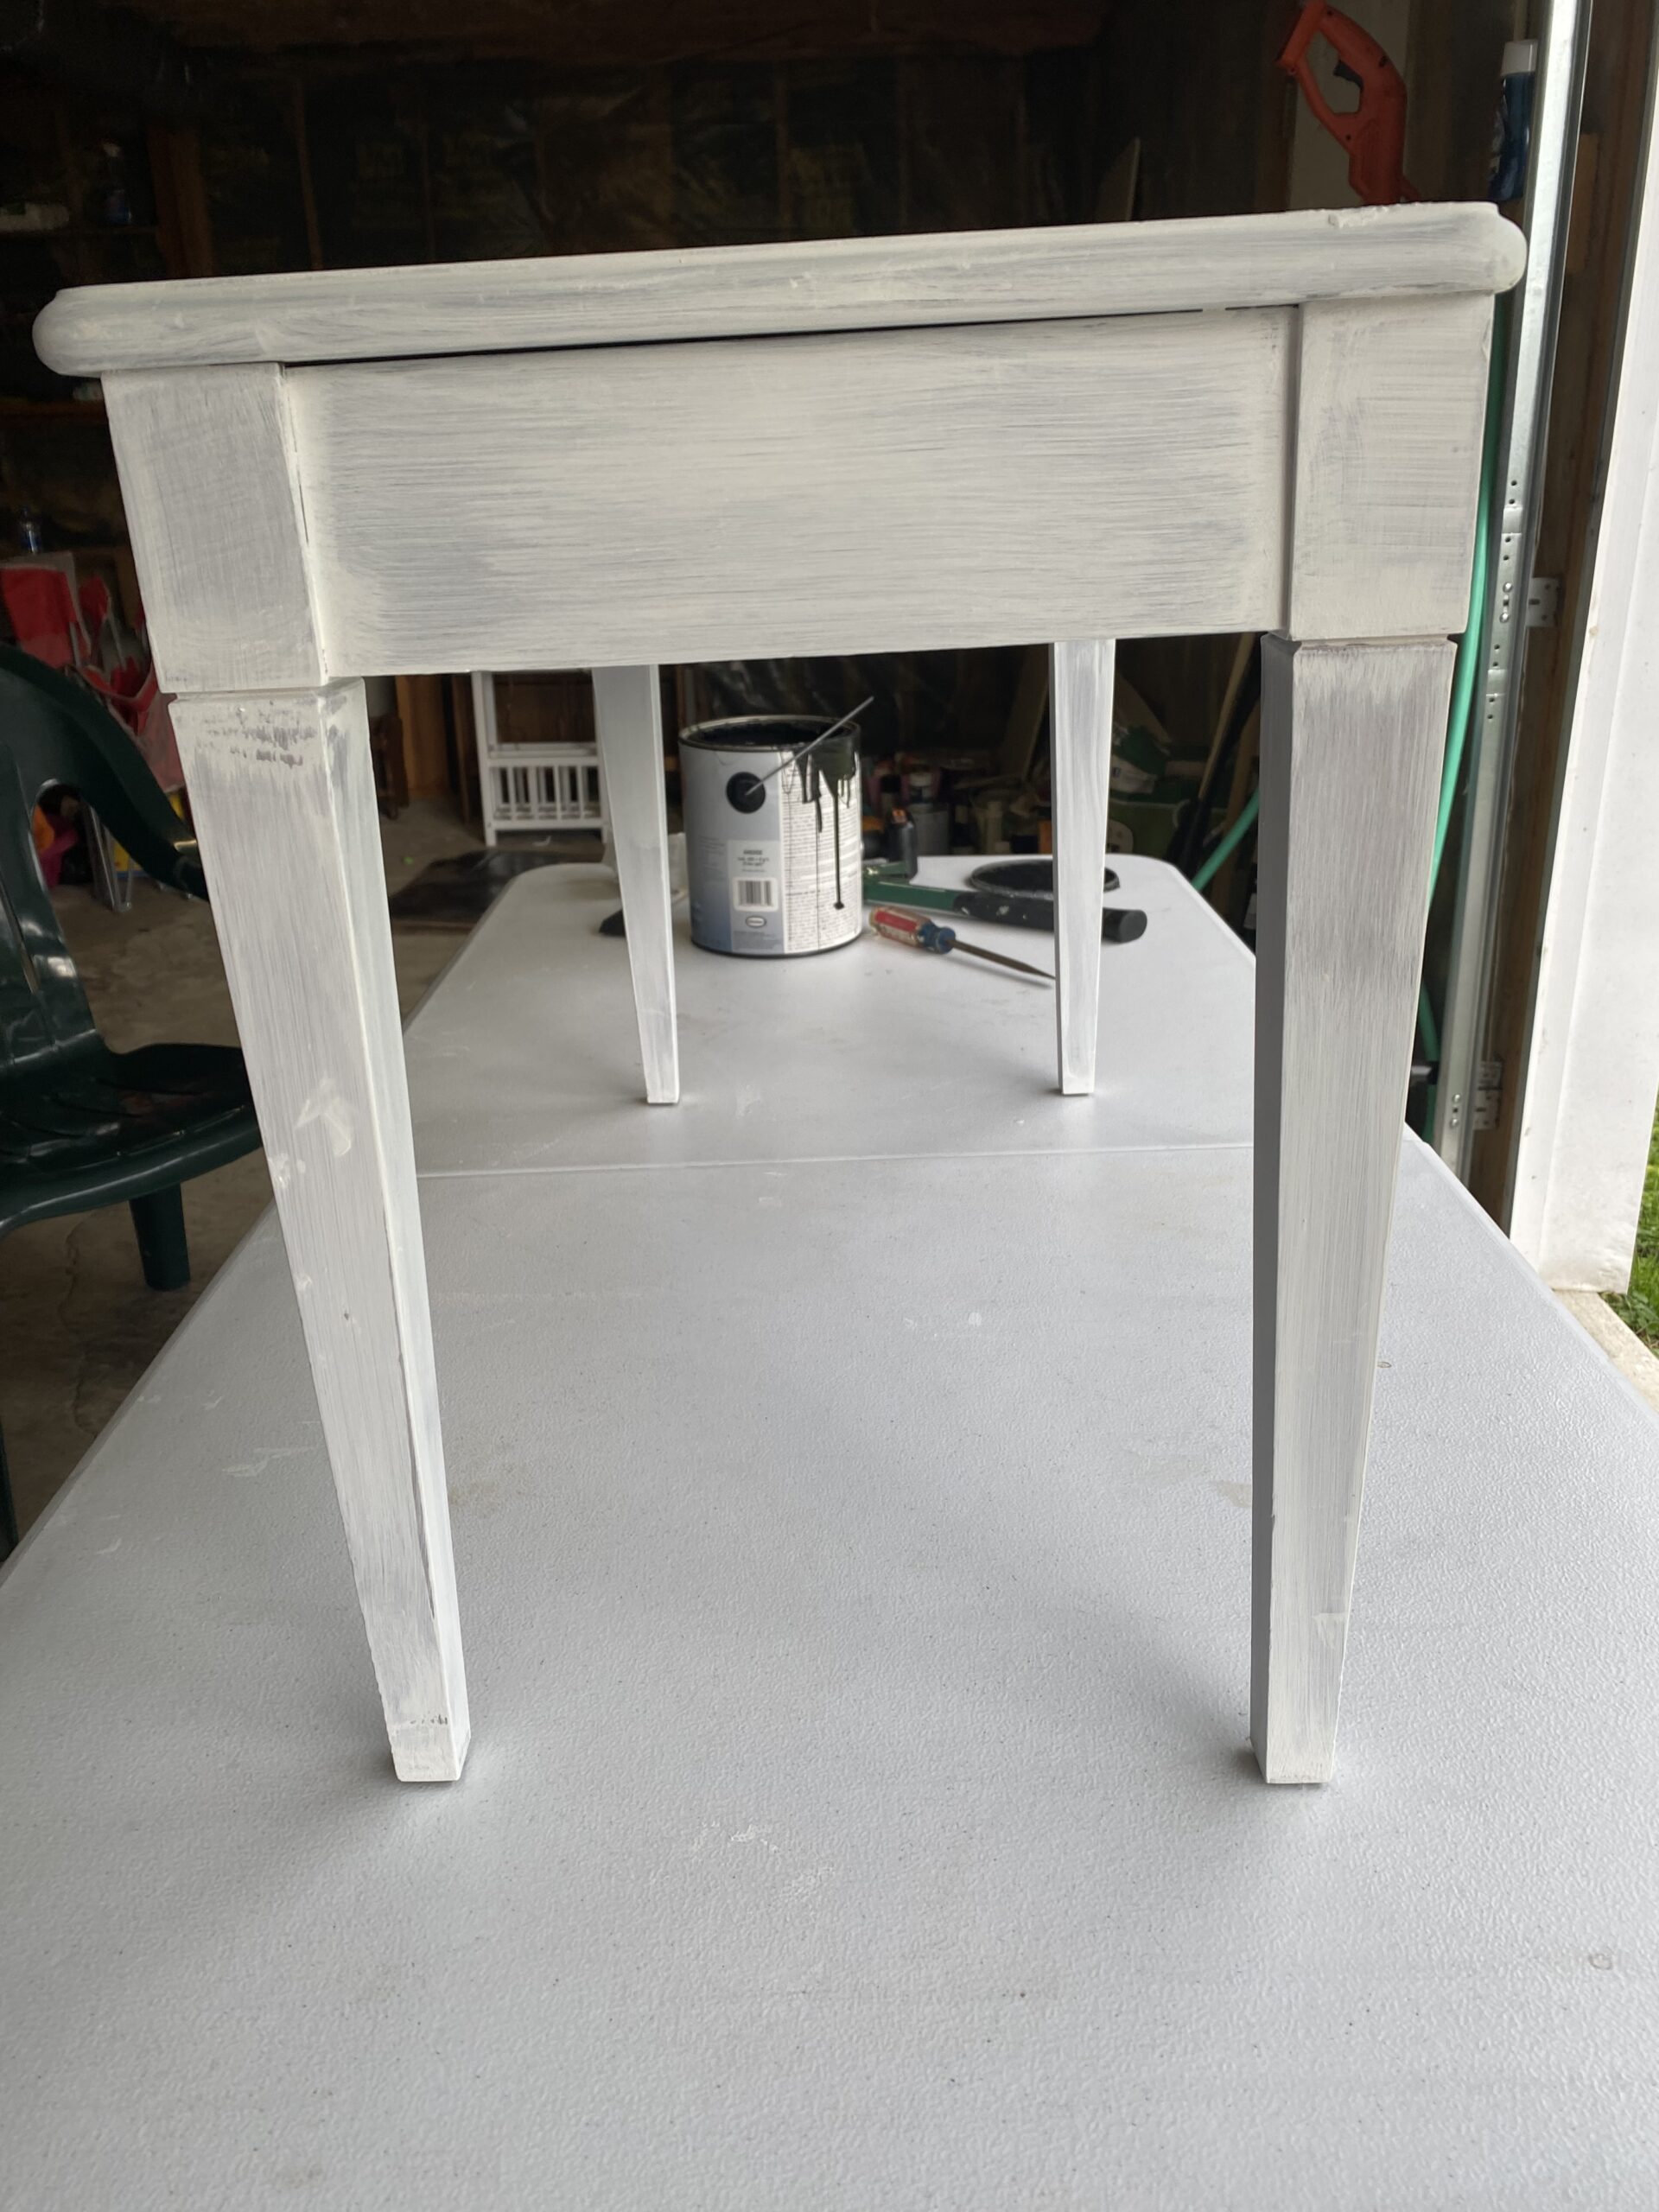
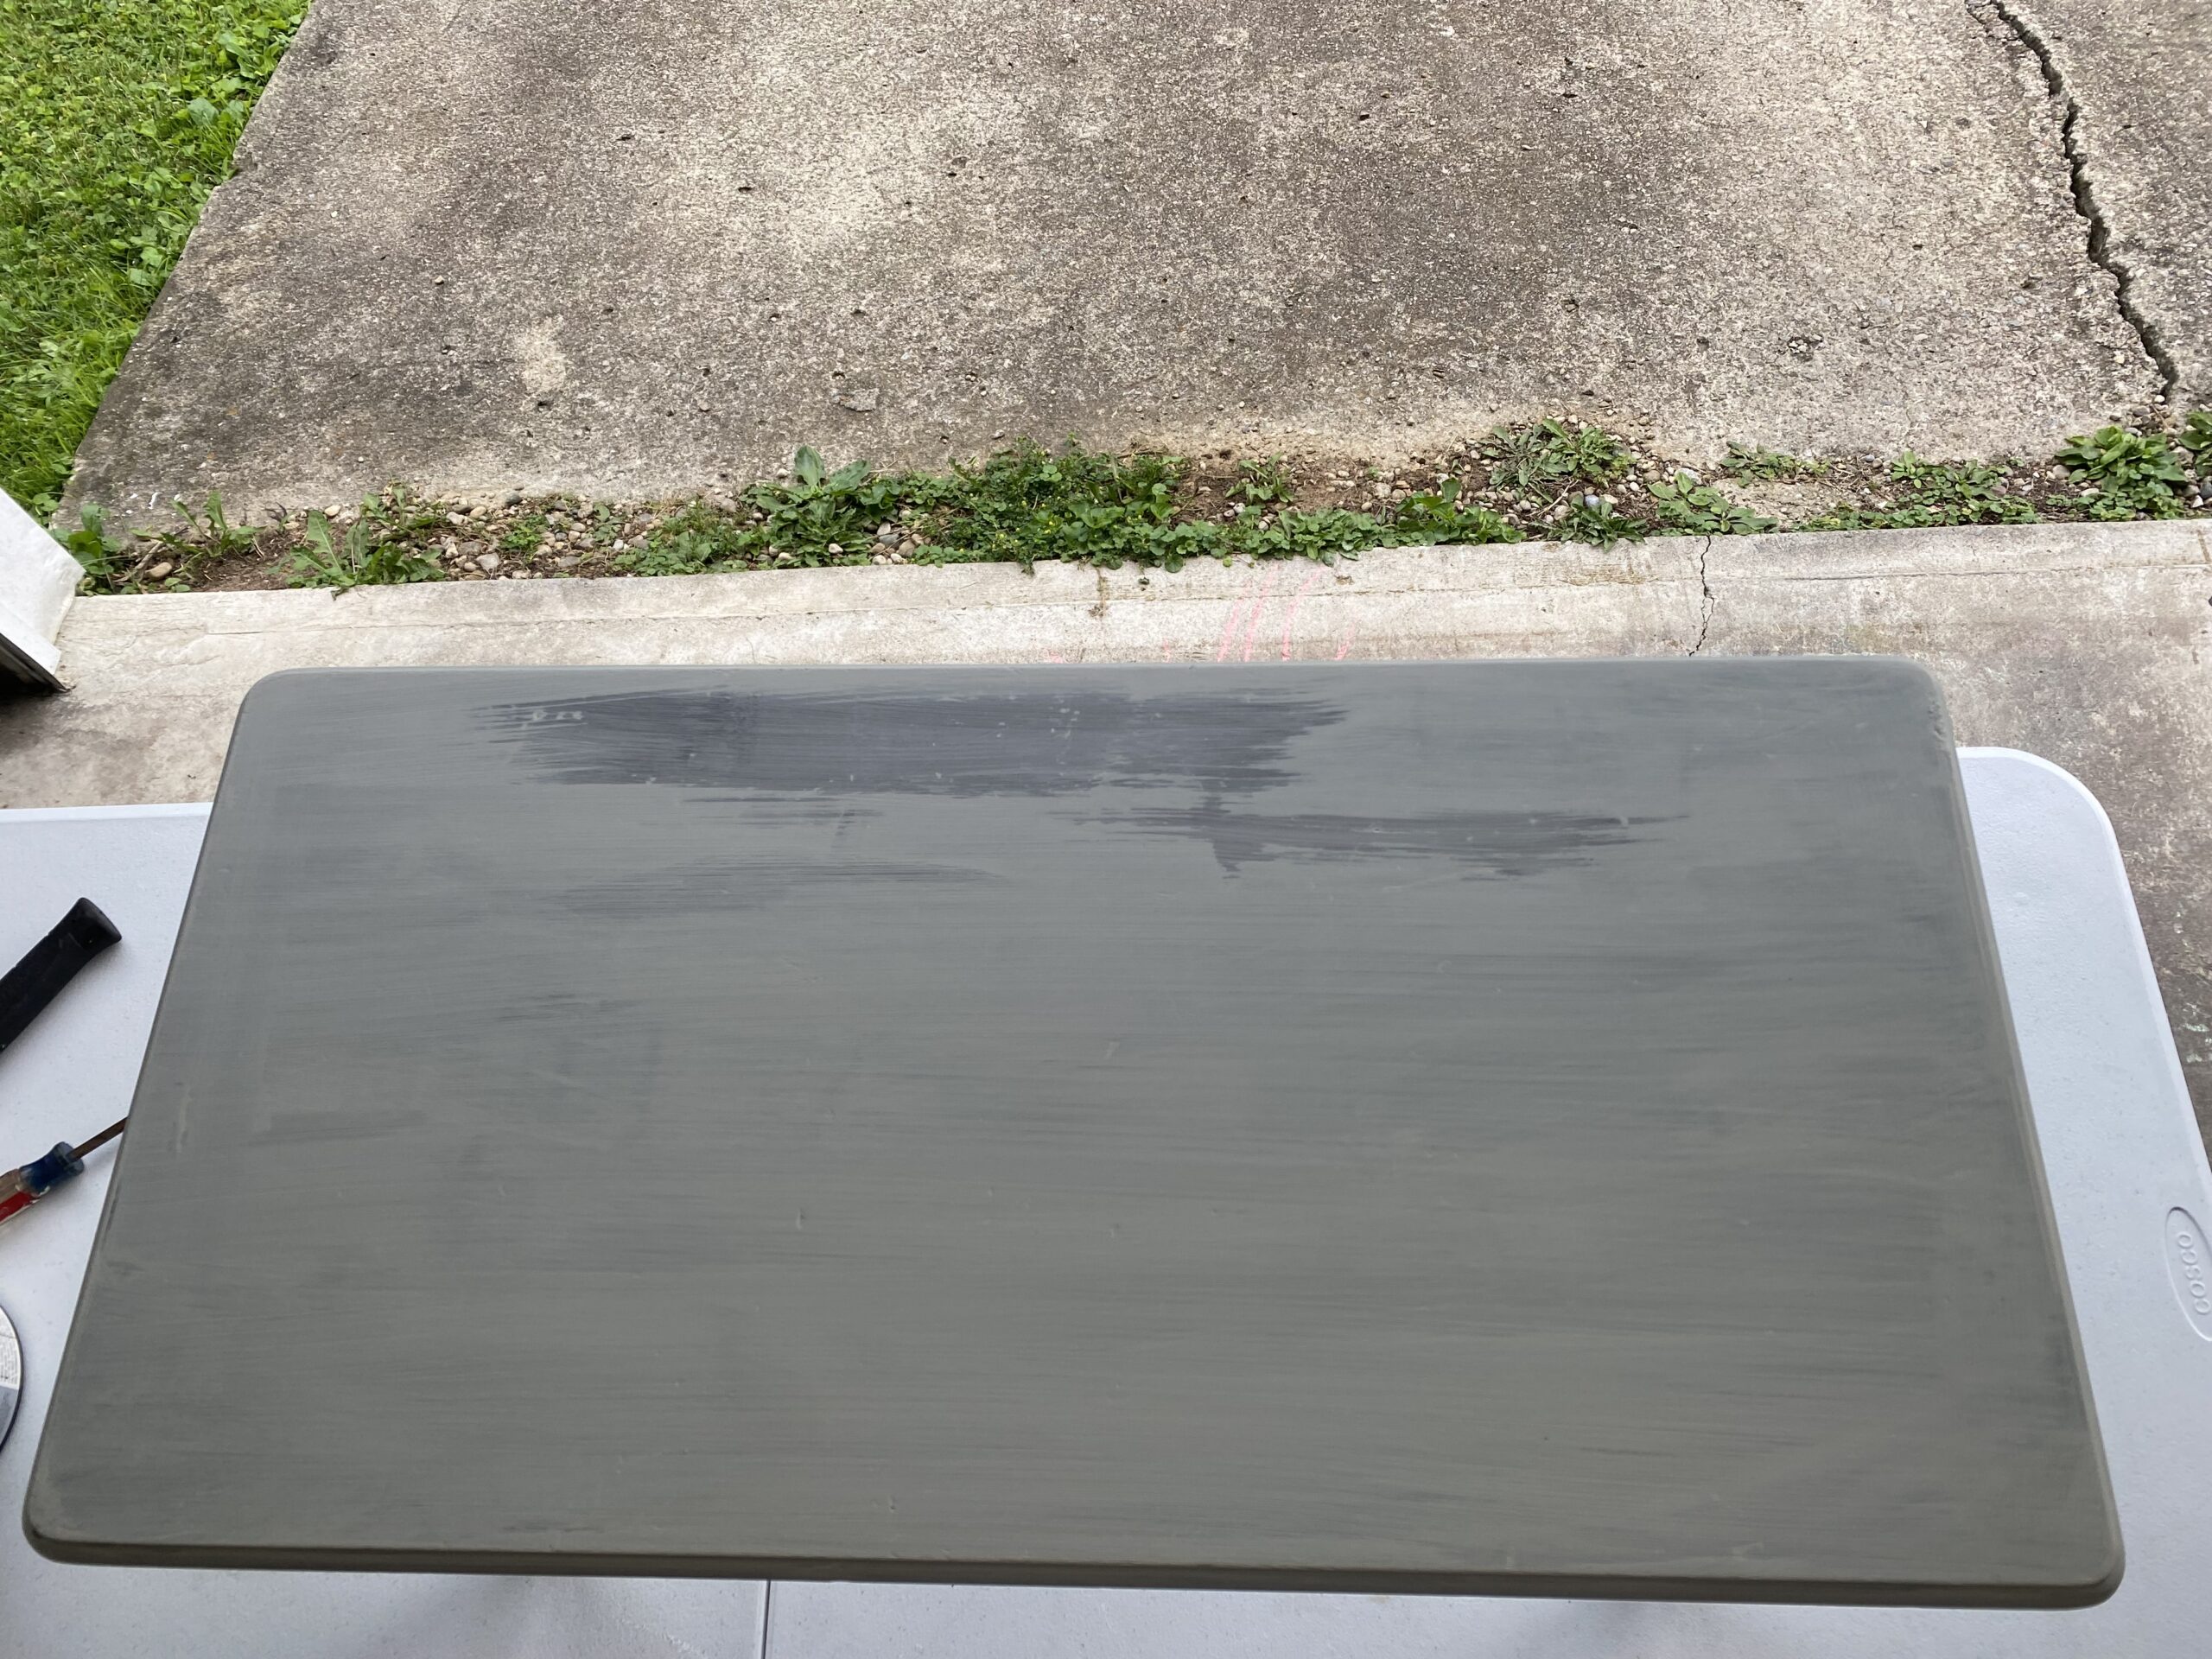
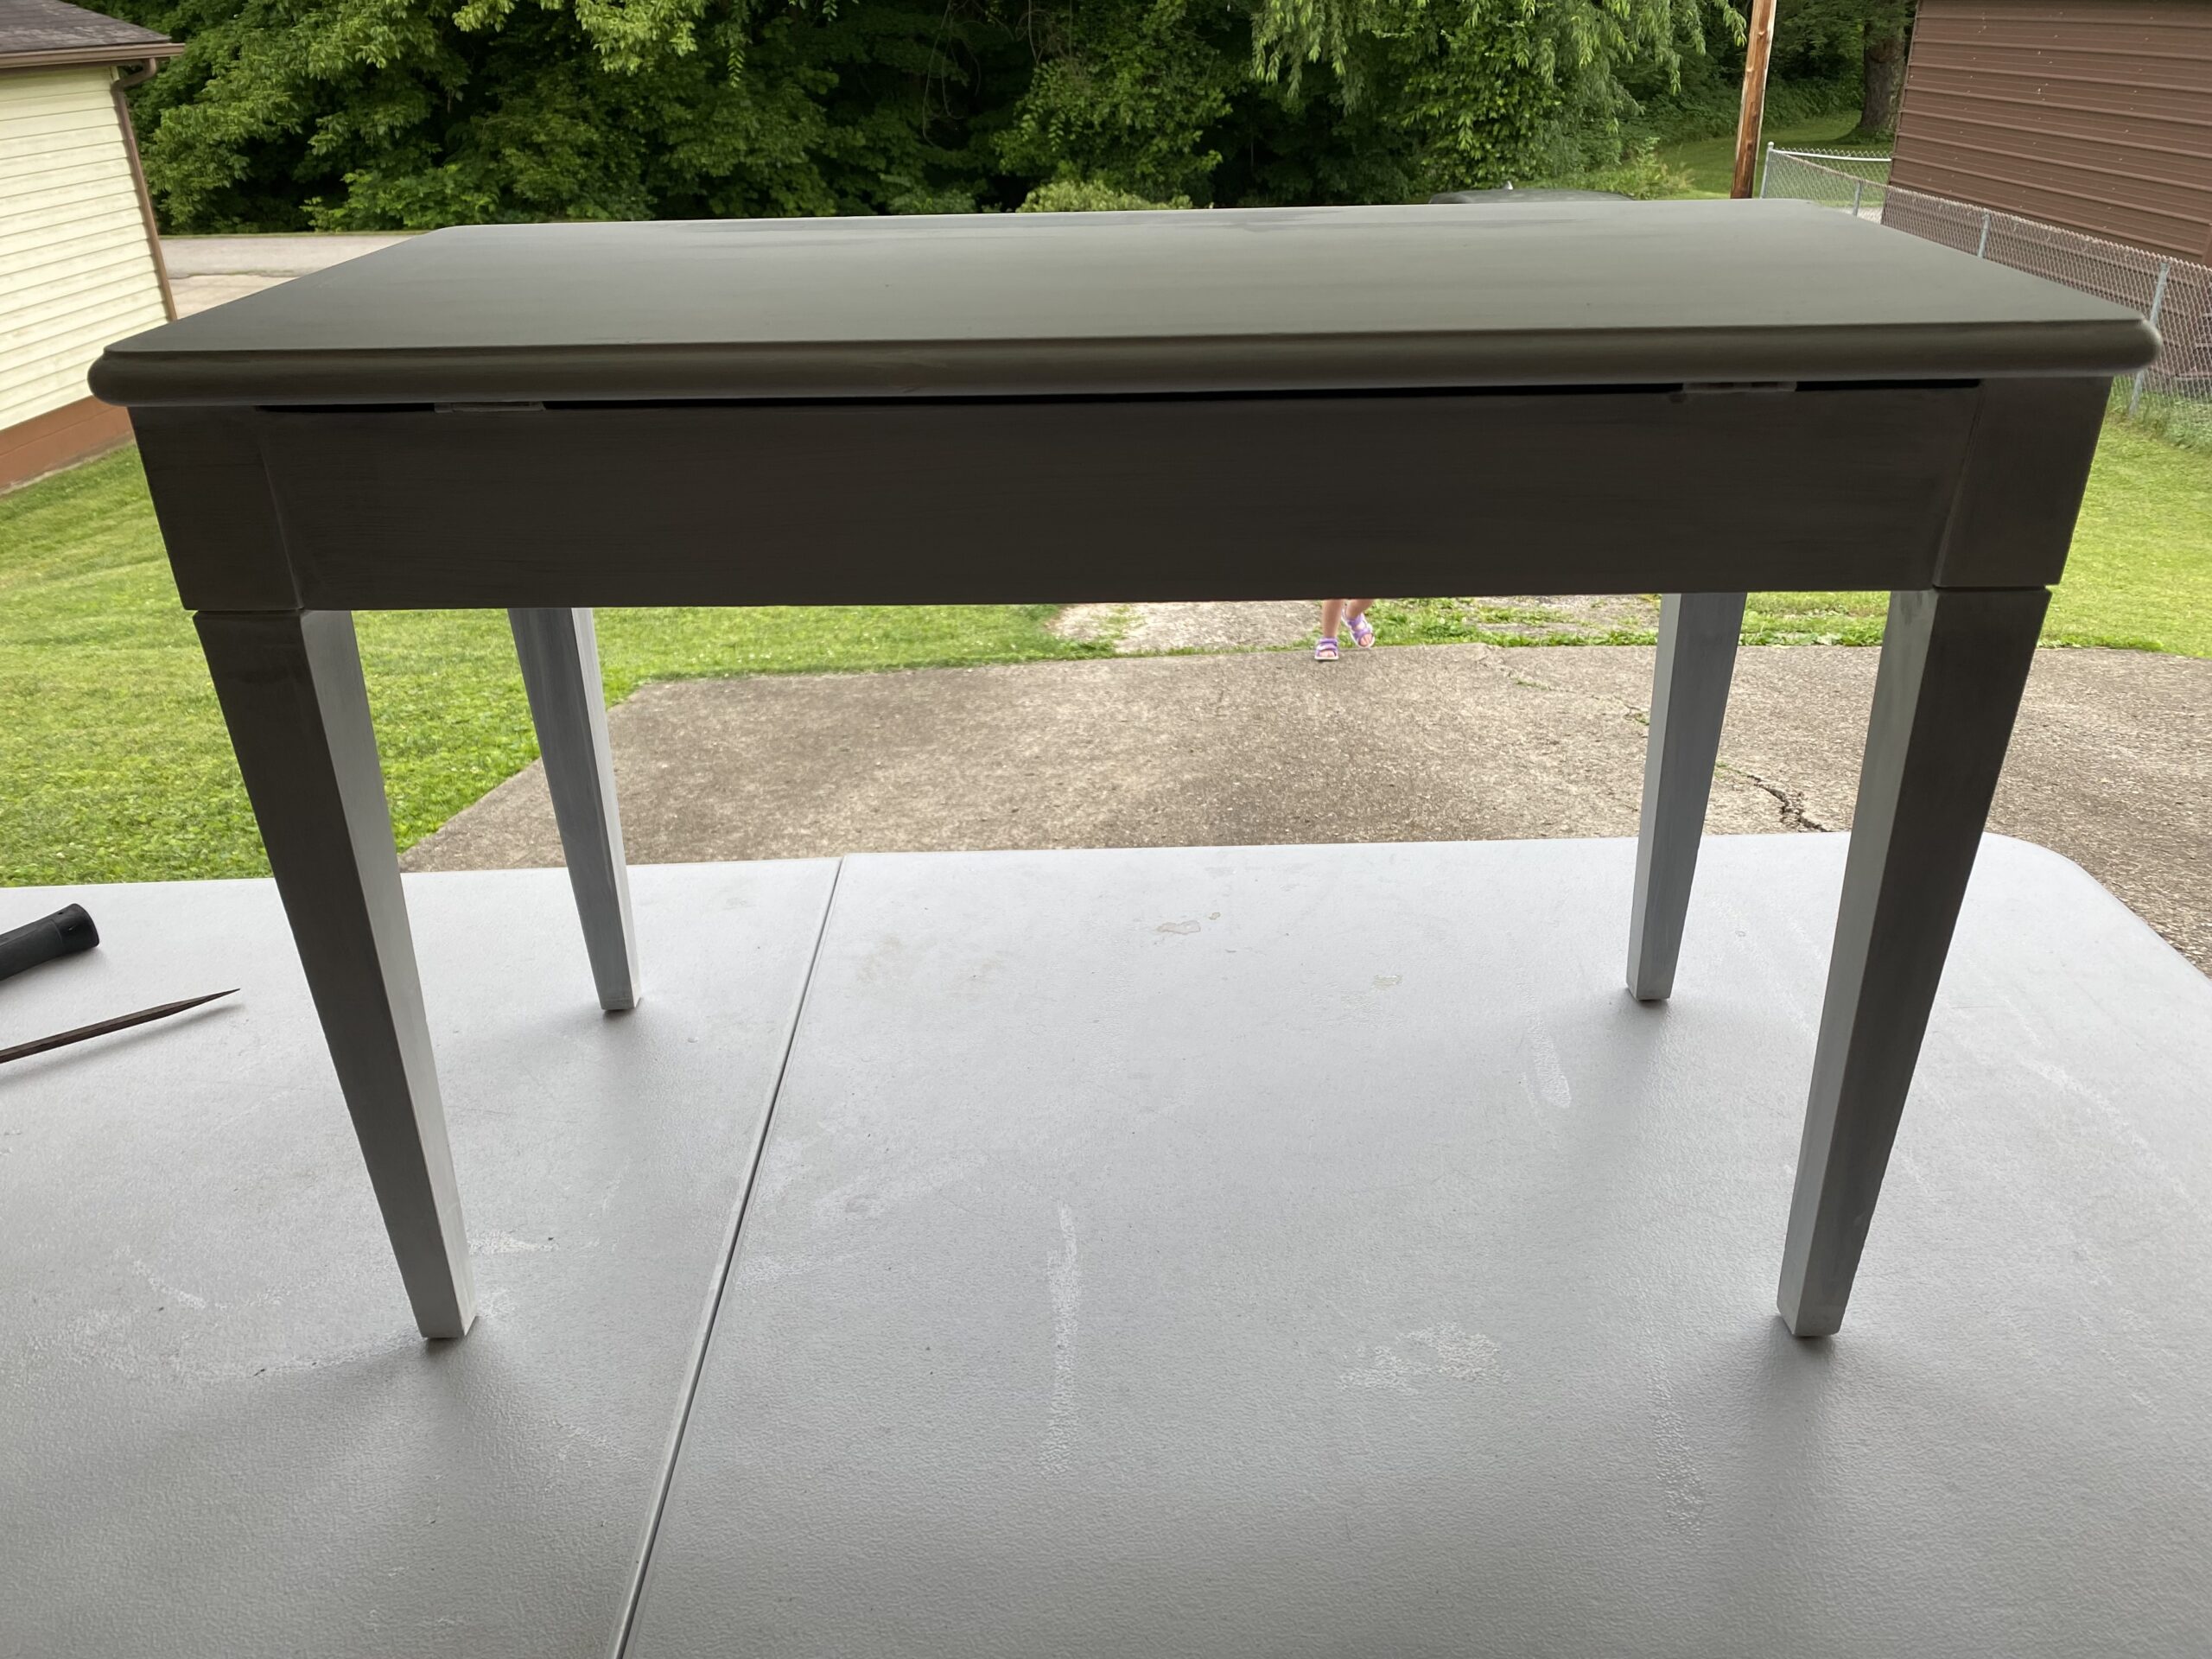
We started with a layer of white primer before we added any color to the seat. After priming the piano seat, it was finally starting to look more like an end table rather than a piano seat. We put one layer of primer onto the table and let it dry. For whatever reason, the top of the table had the different colored spot on the top of it. Of course we had no idea what was causing it. We even added a second layer of primer just on that spot and after drying it was still showing through. Unsure of what it was, we decided to go ahead and paint it and hope the paint would cover the different color. We decided to paint it a solid black. However, this is where some unplanned things turned out better then anything we could have planned.
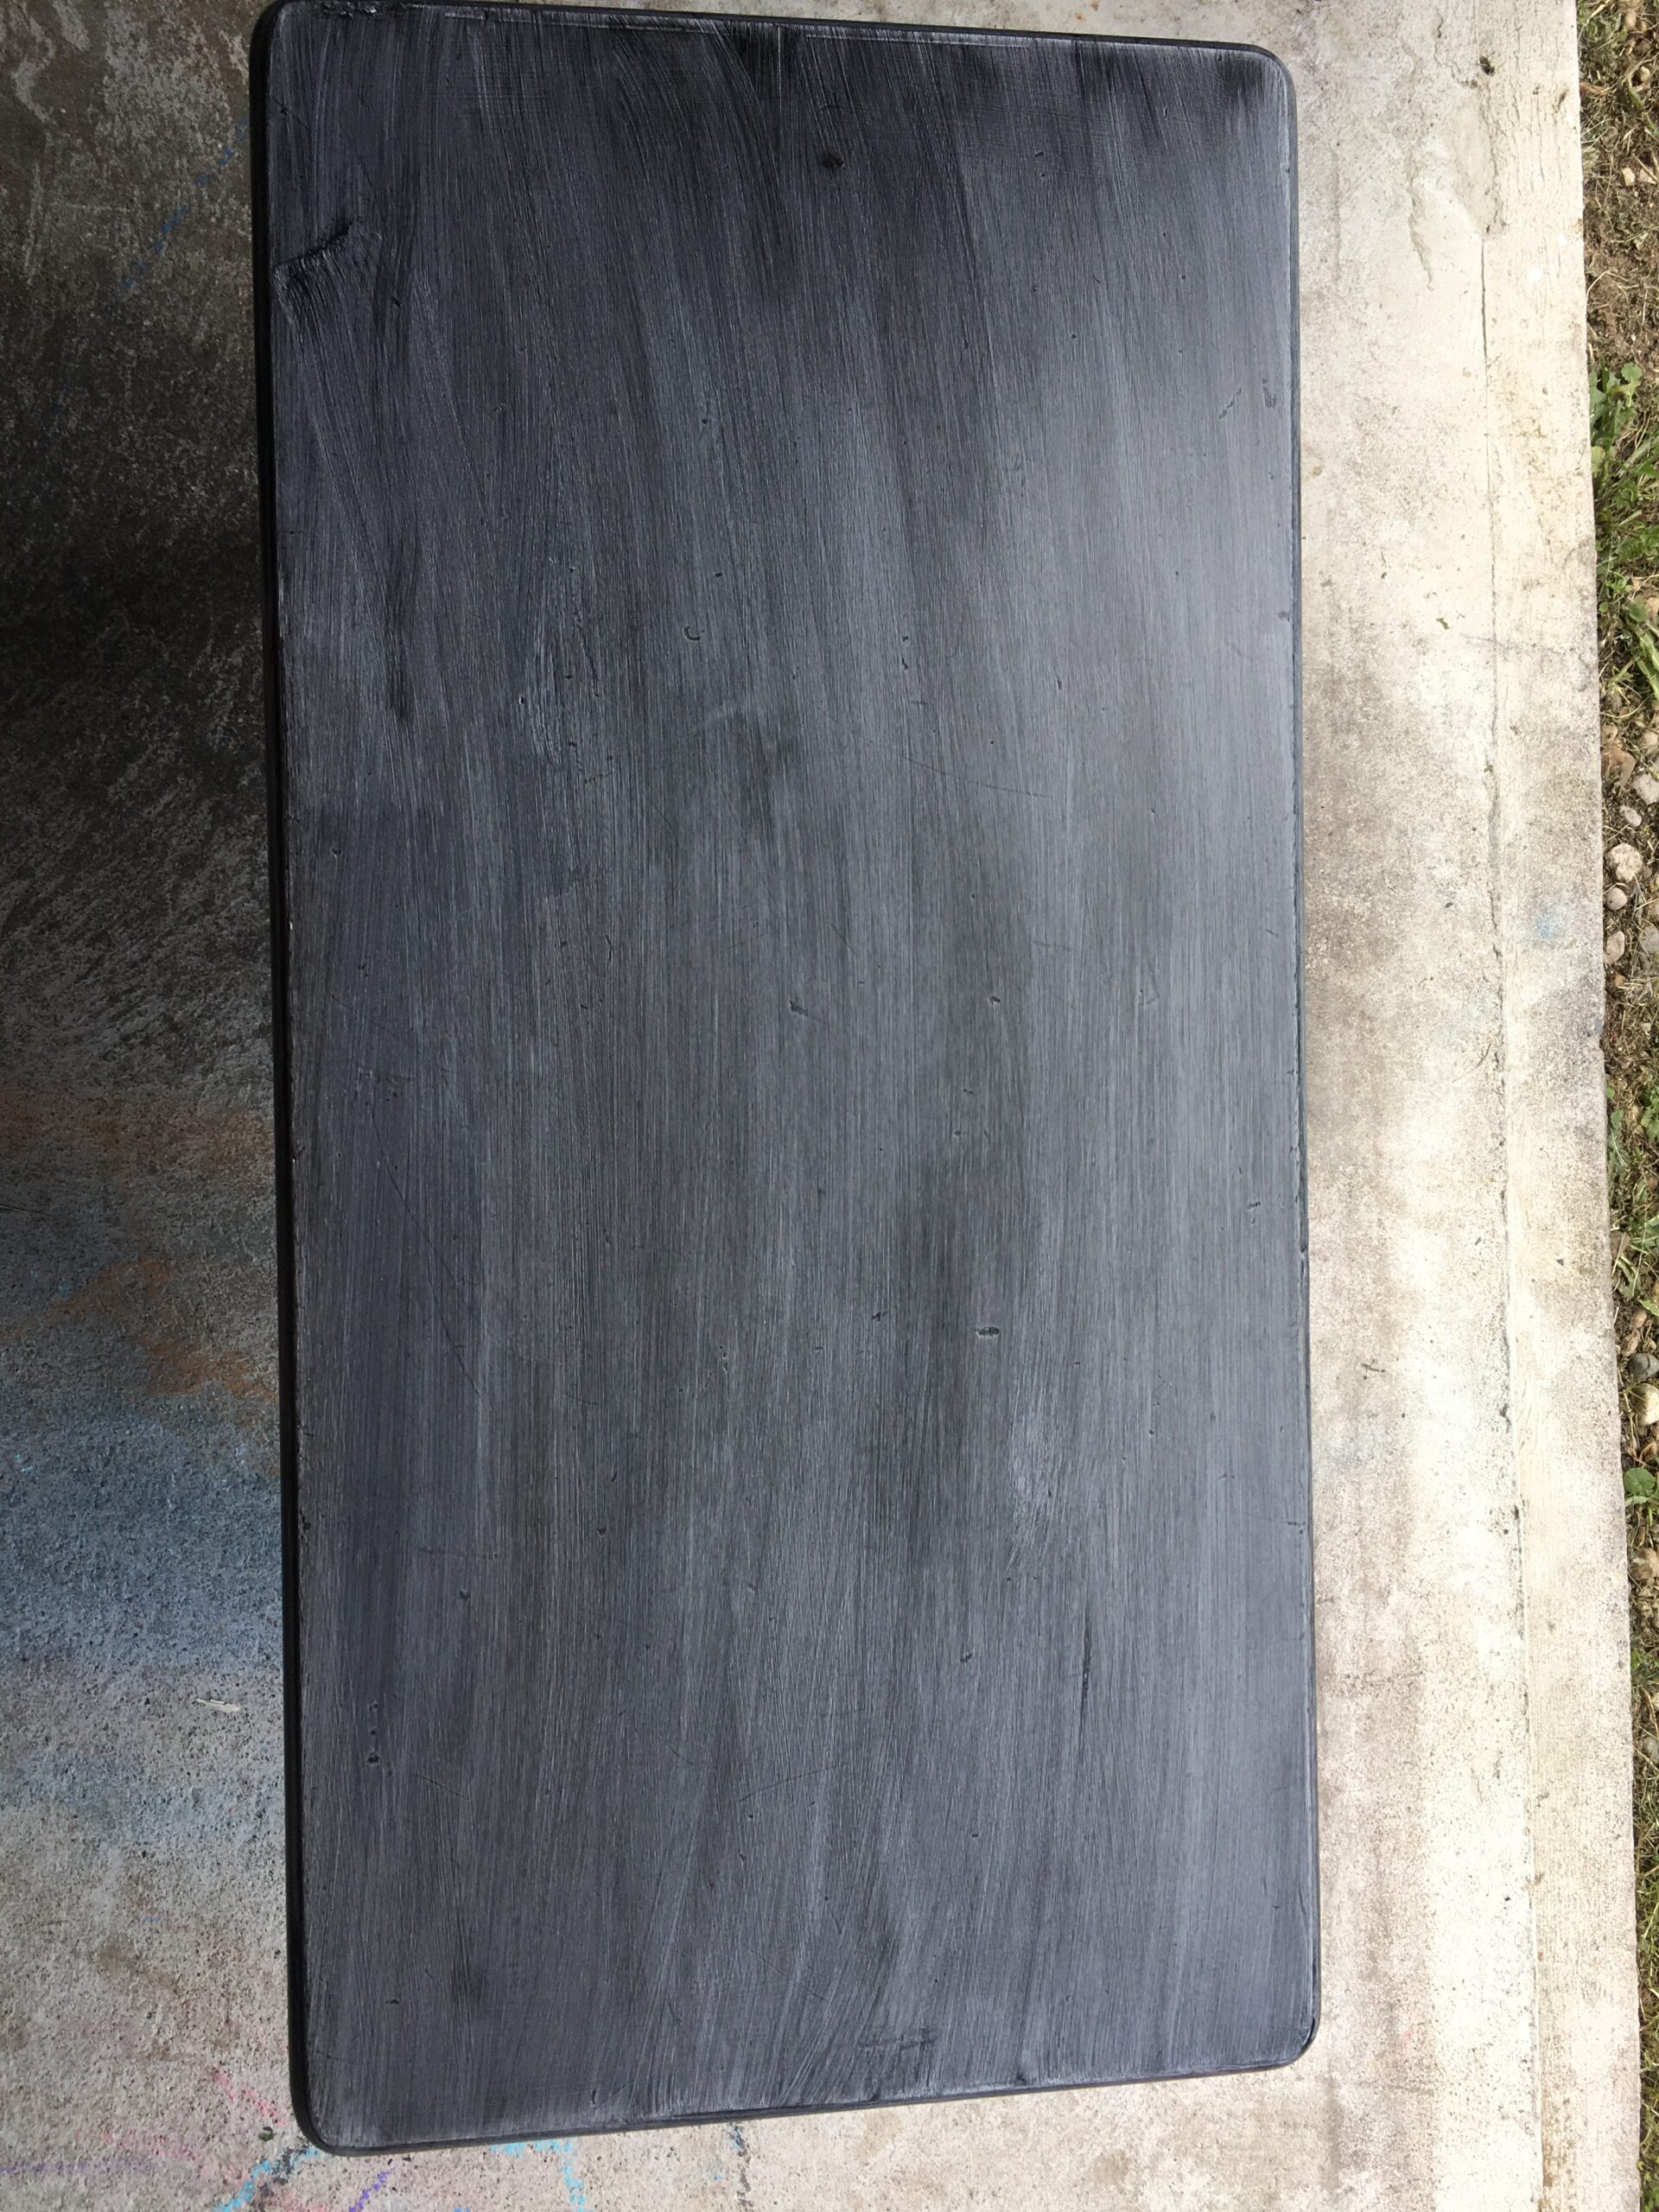
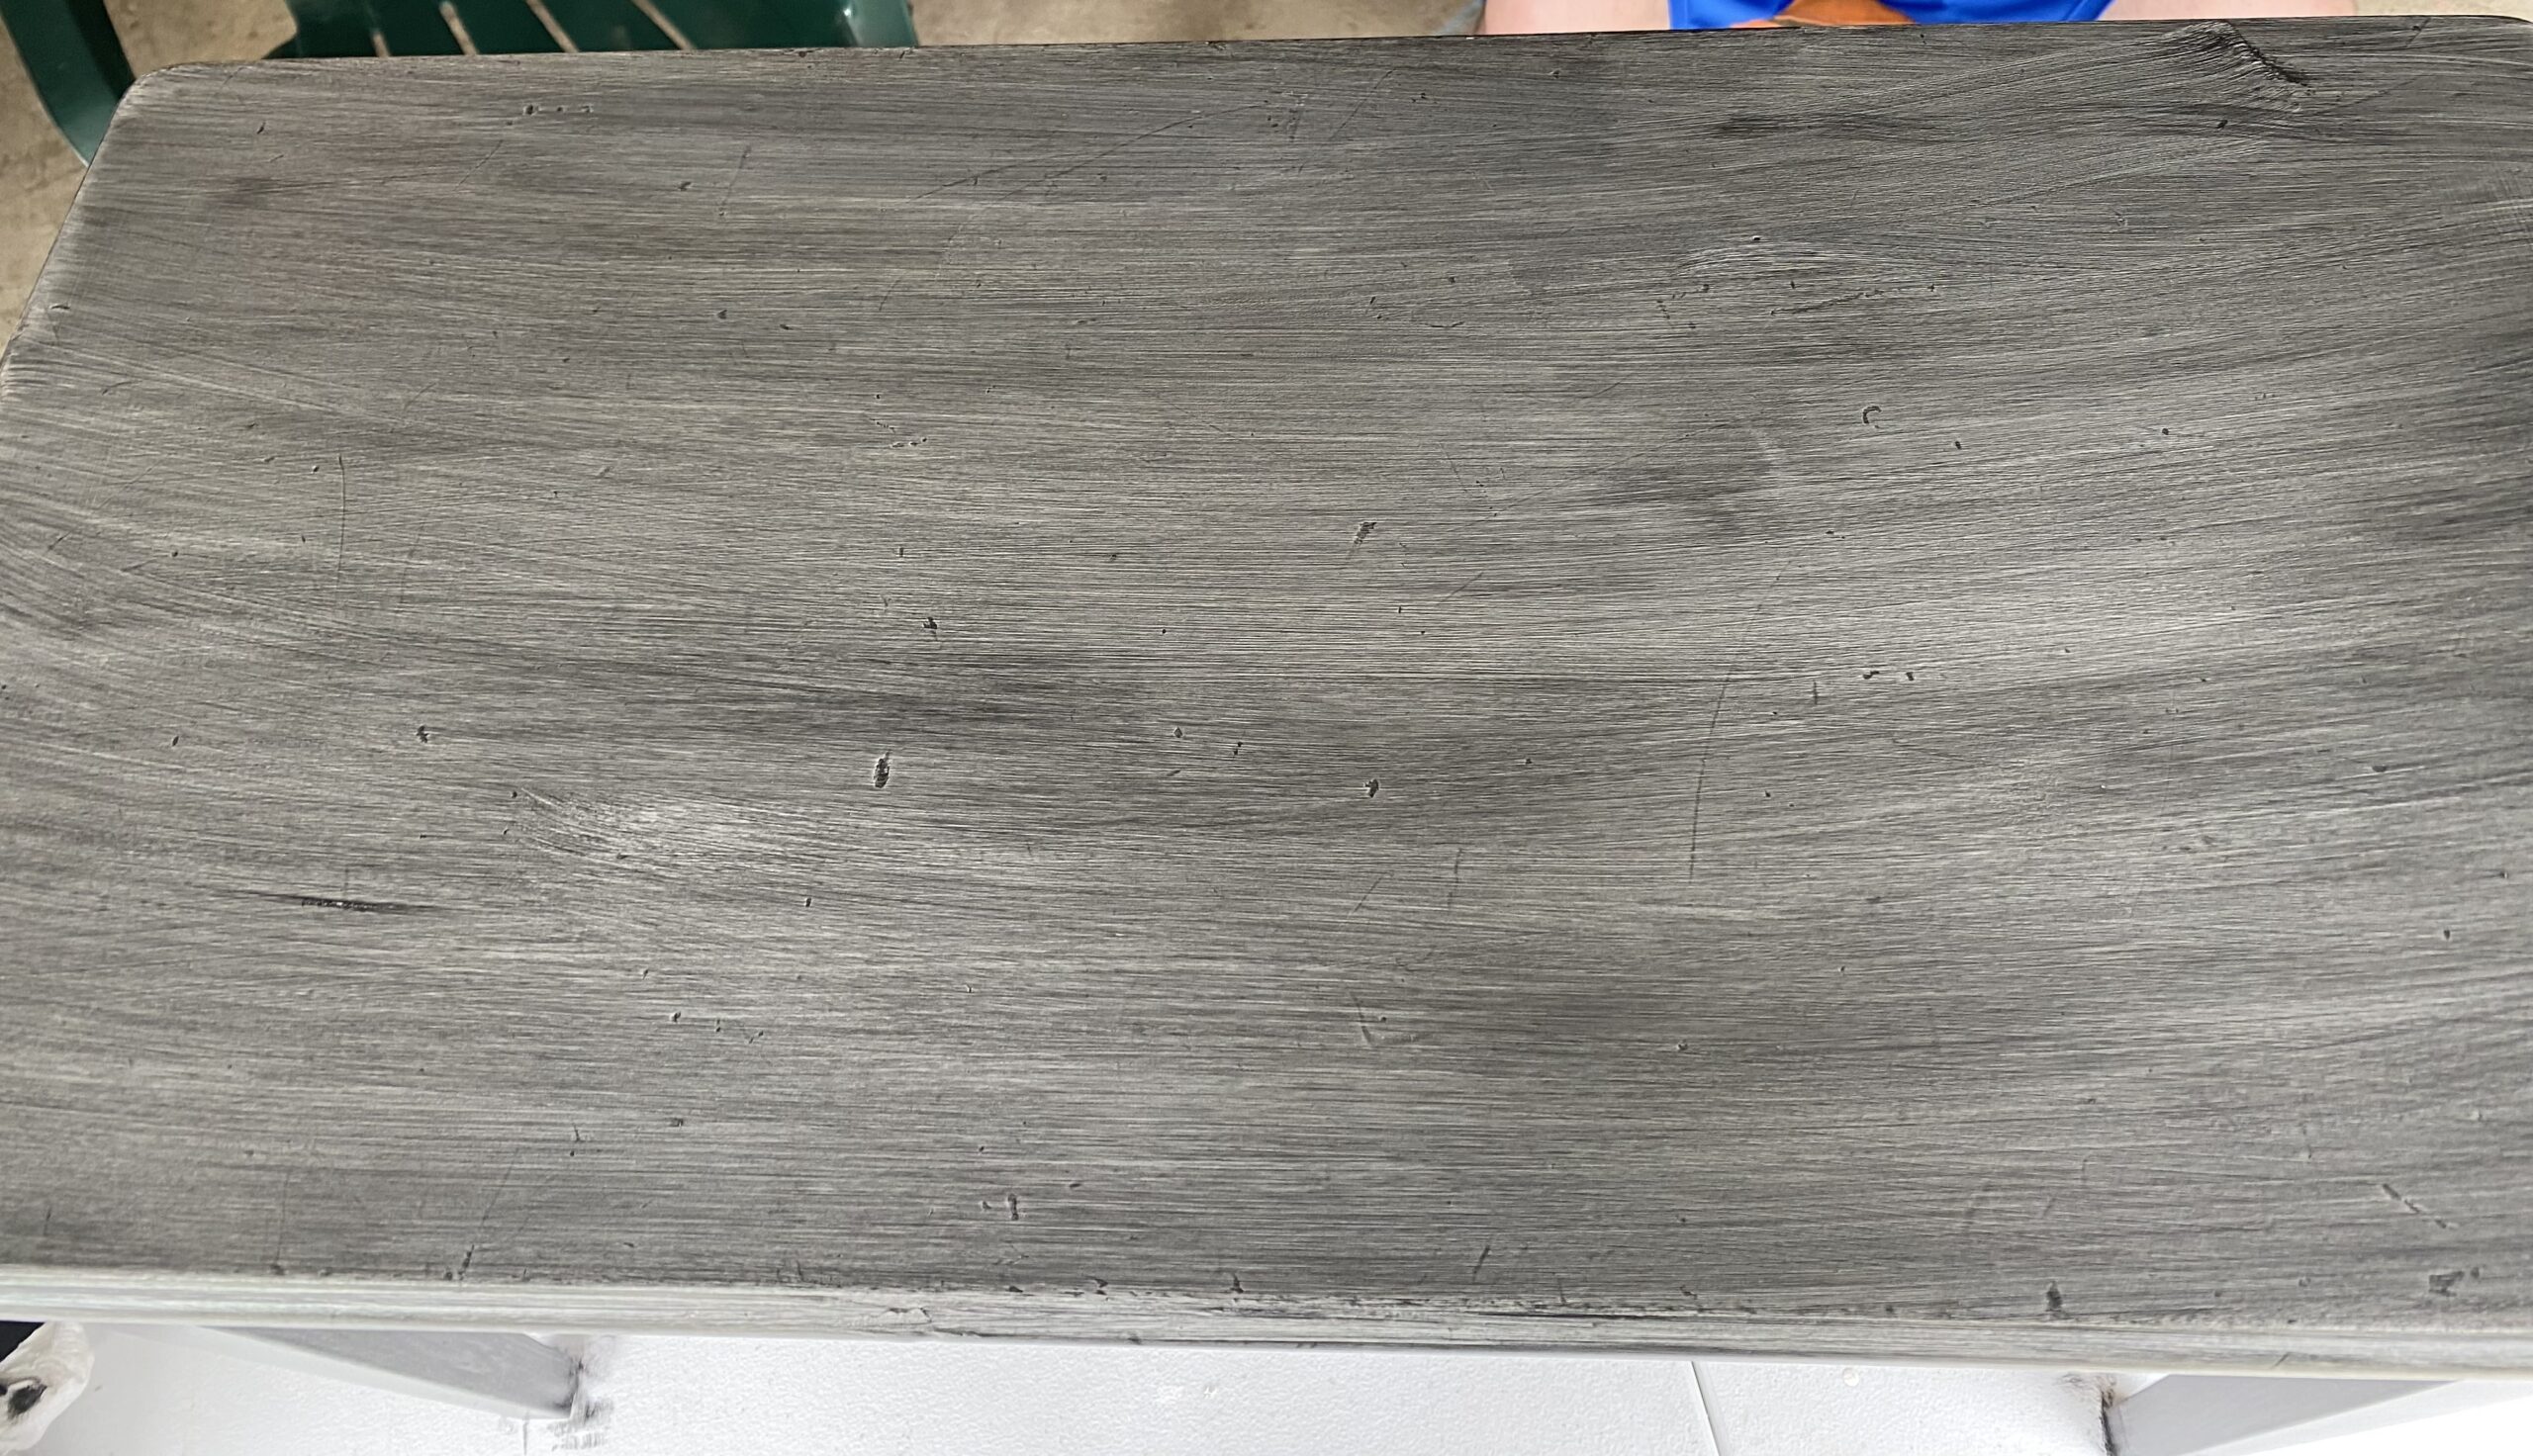
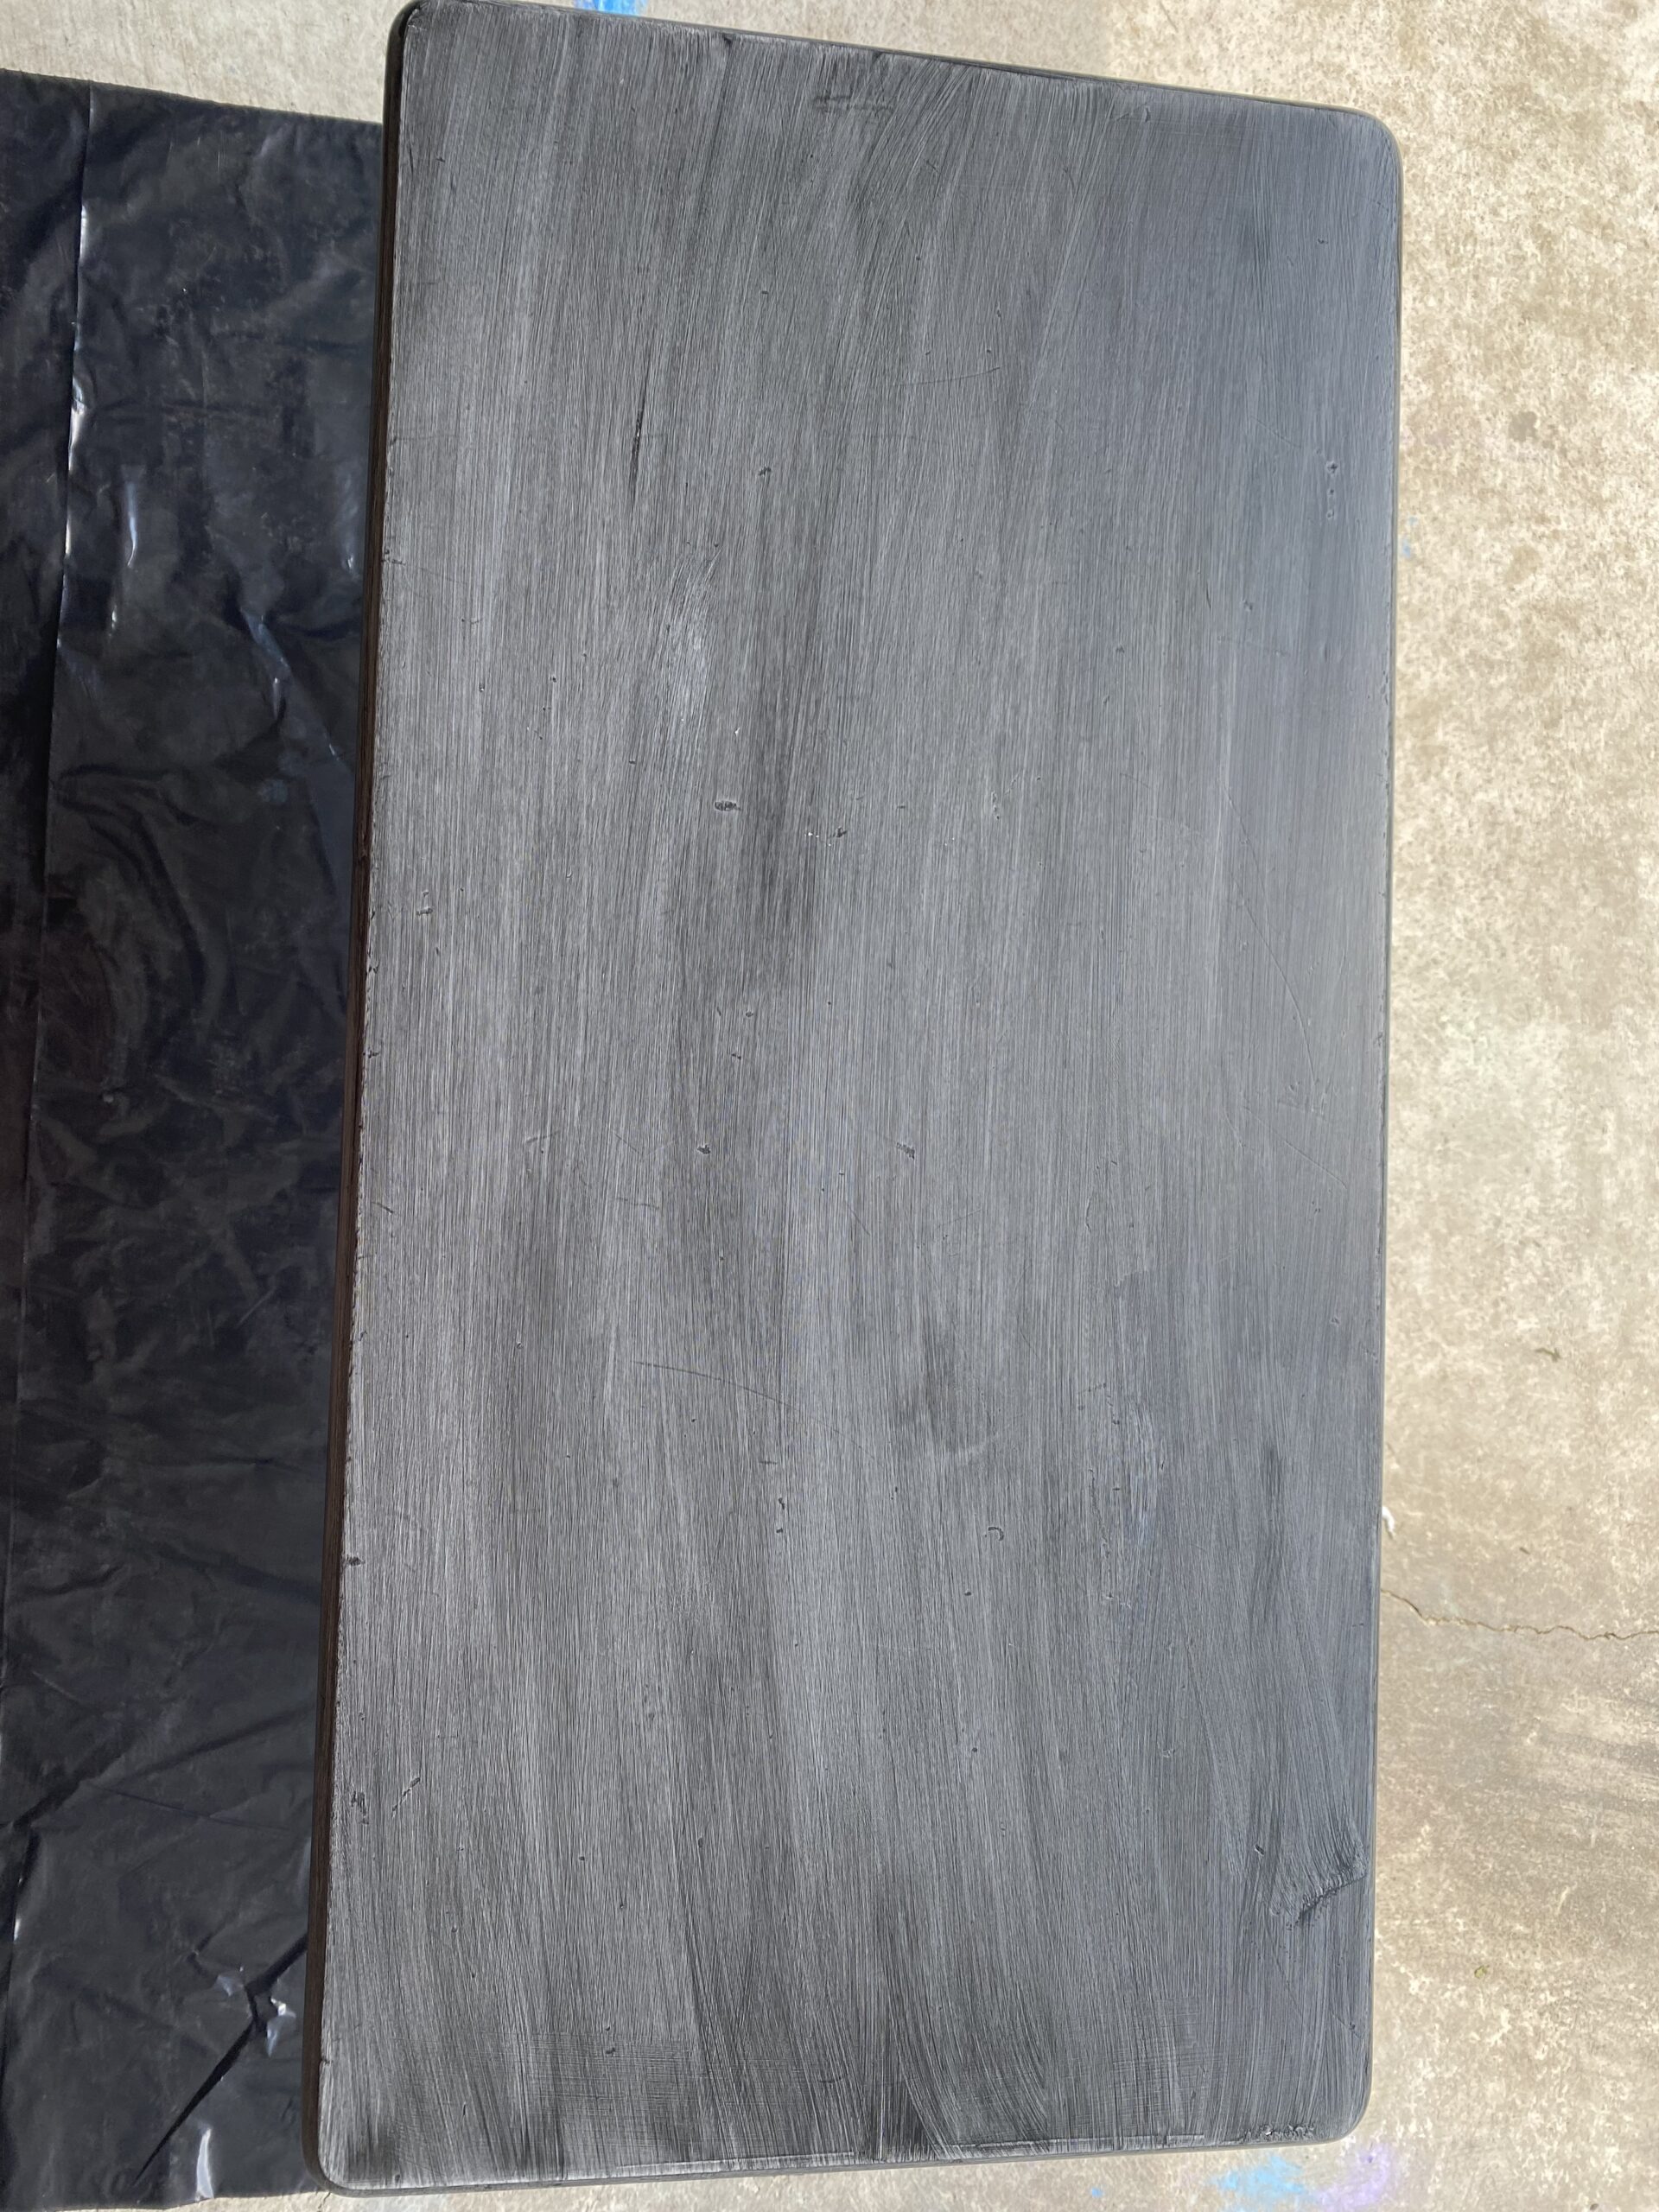
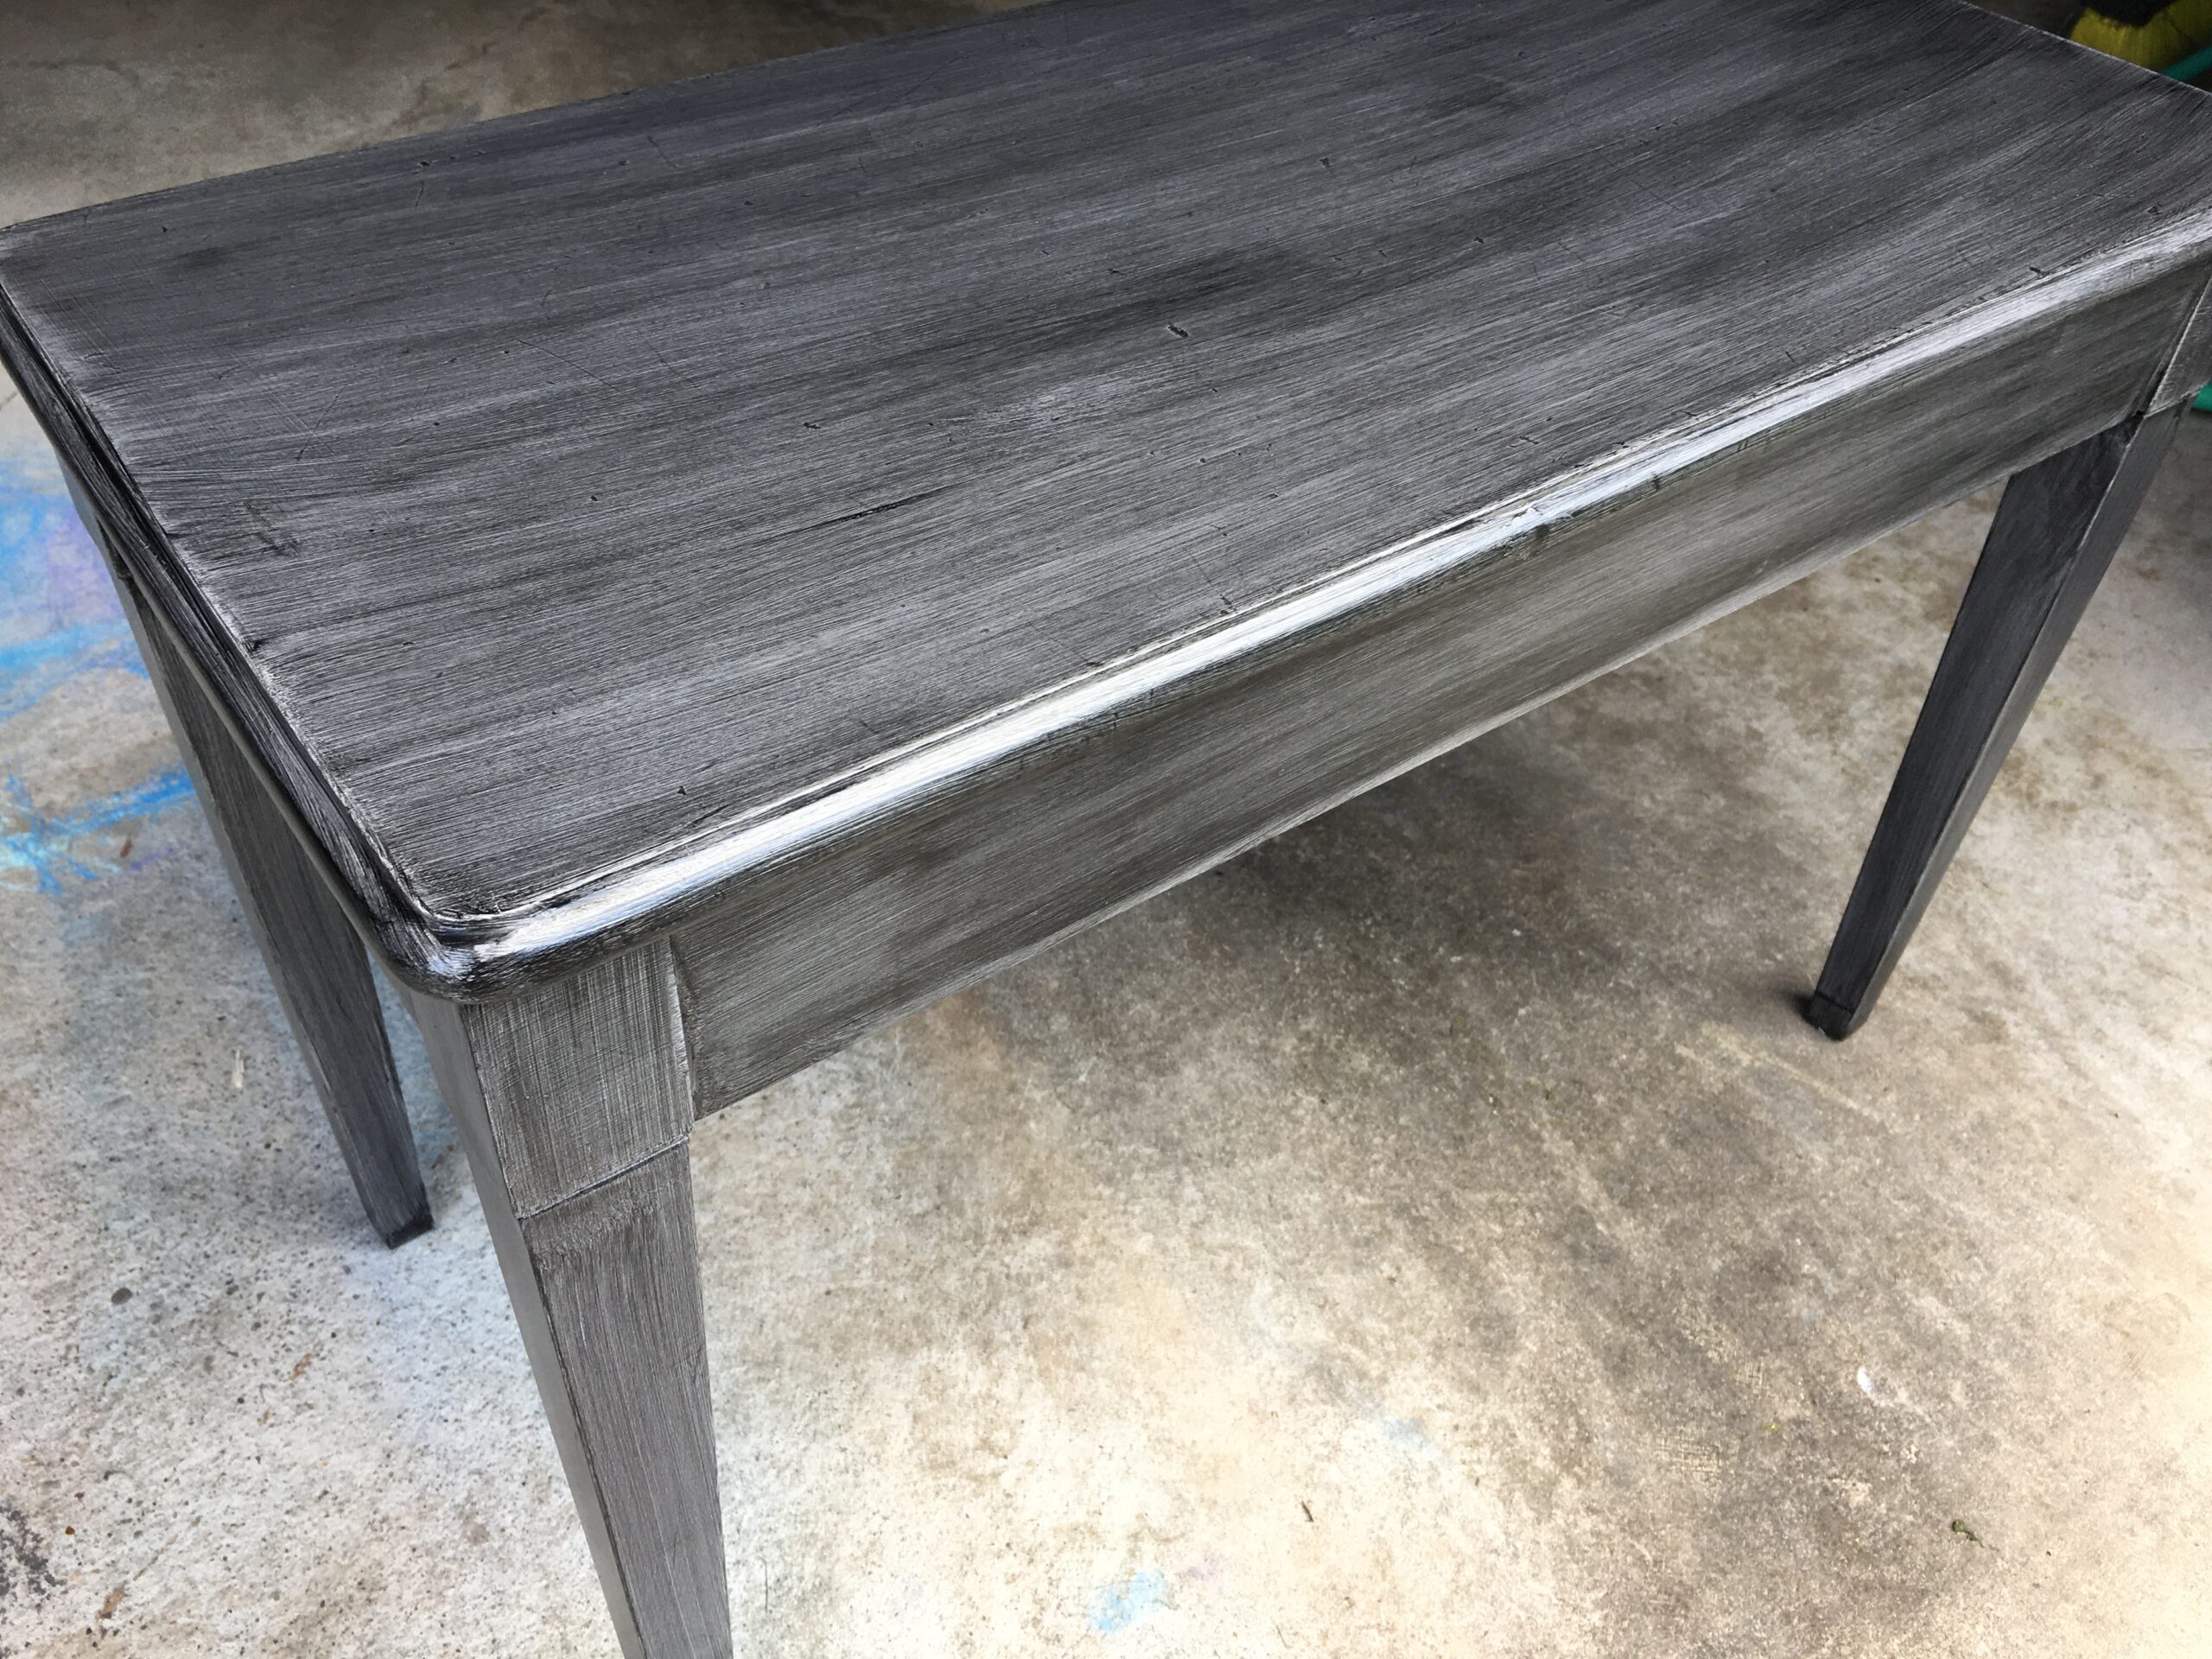
We painted the first coat of the black paint and let it sit overnight to dry before adding the second coat of paint. We felt good about the paint but when we came back the next the day, the white primer was showing through some of the black paint and created this distressed black paint. We could have never accomplished this look on purpose. We both thought this distressed paint would be better looking then having the table as a solid black. The spot on the top that was coming through the primer completely disappeared with the black paint. The damaged spots filled in with wood filler are now completely hidden with the primer and paint. This can now be described as a small end table rather than a piano seat. It sits a little bit lower then our other end tables but its versatility makes it much more usable as a furniture piece. This piano seat has us looking around for more seats that we can convert into smaller end tables with some paint or stain. This turned out to be a nice refurbished piano seat.
