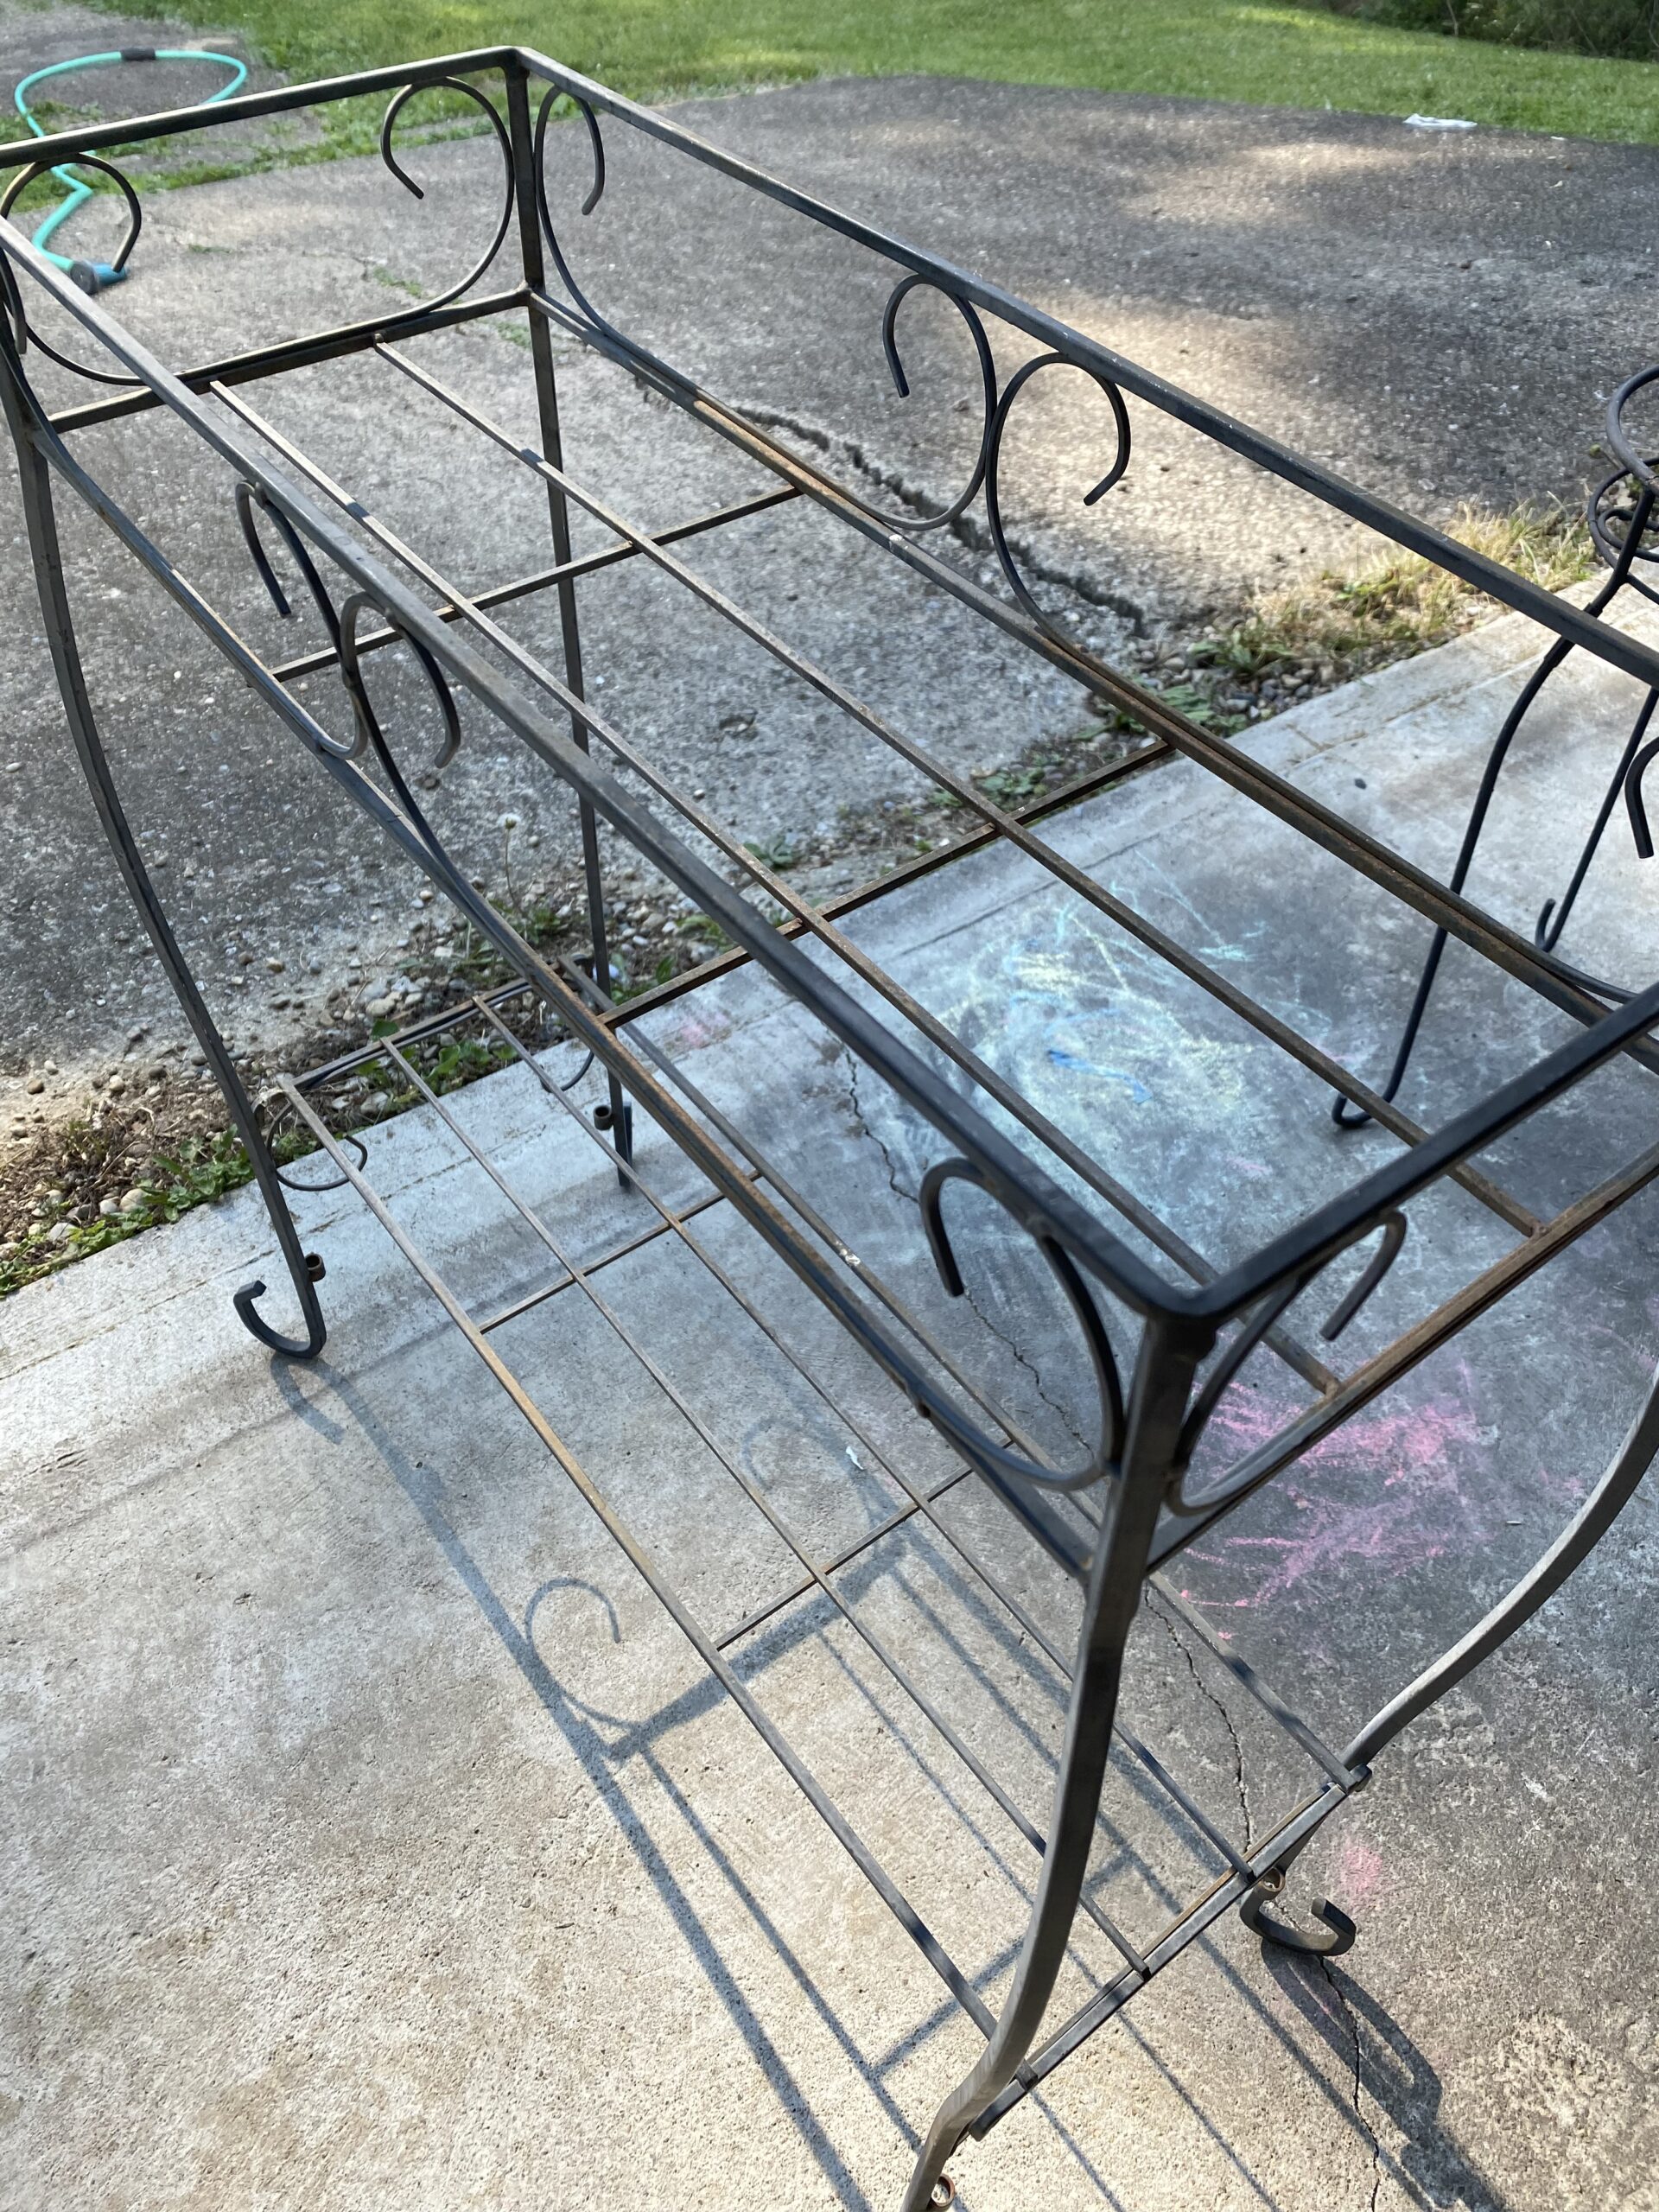
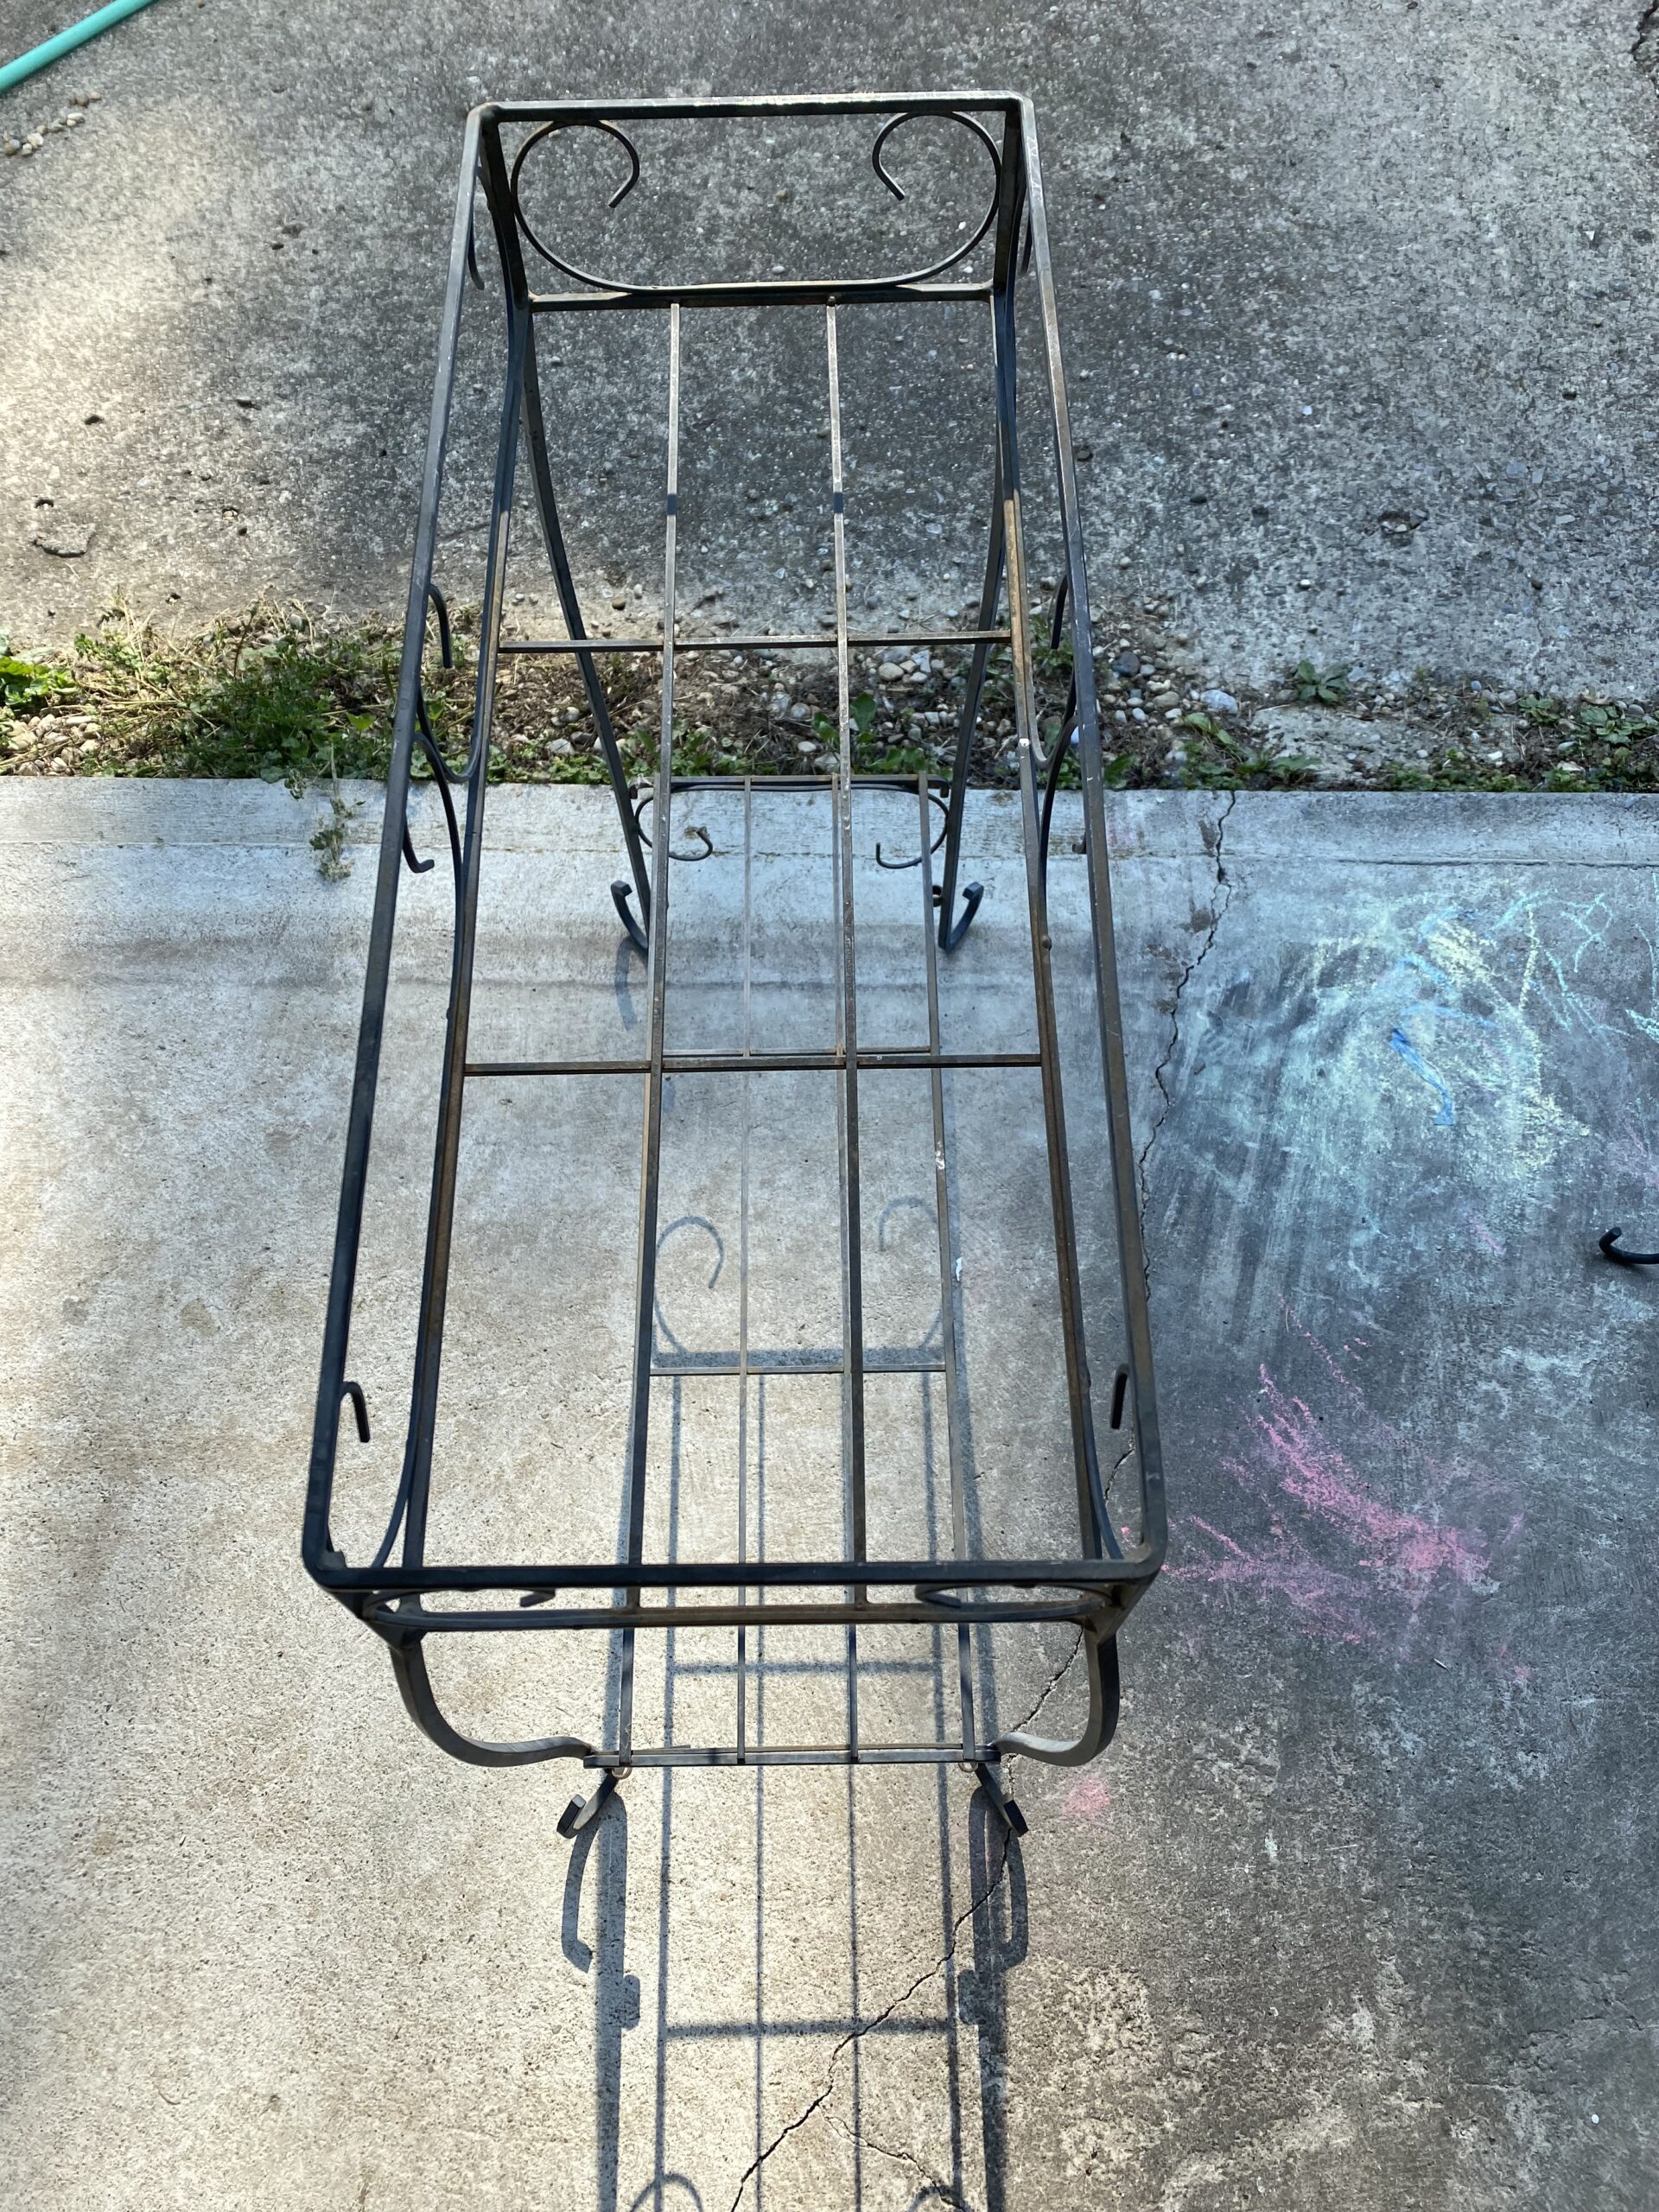
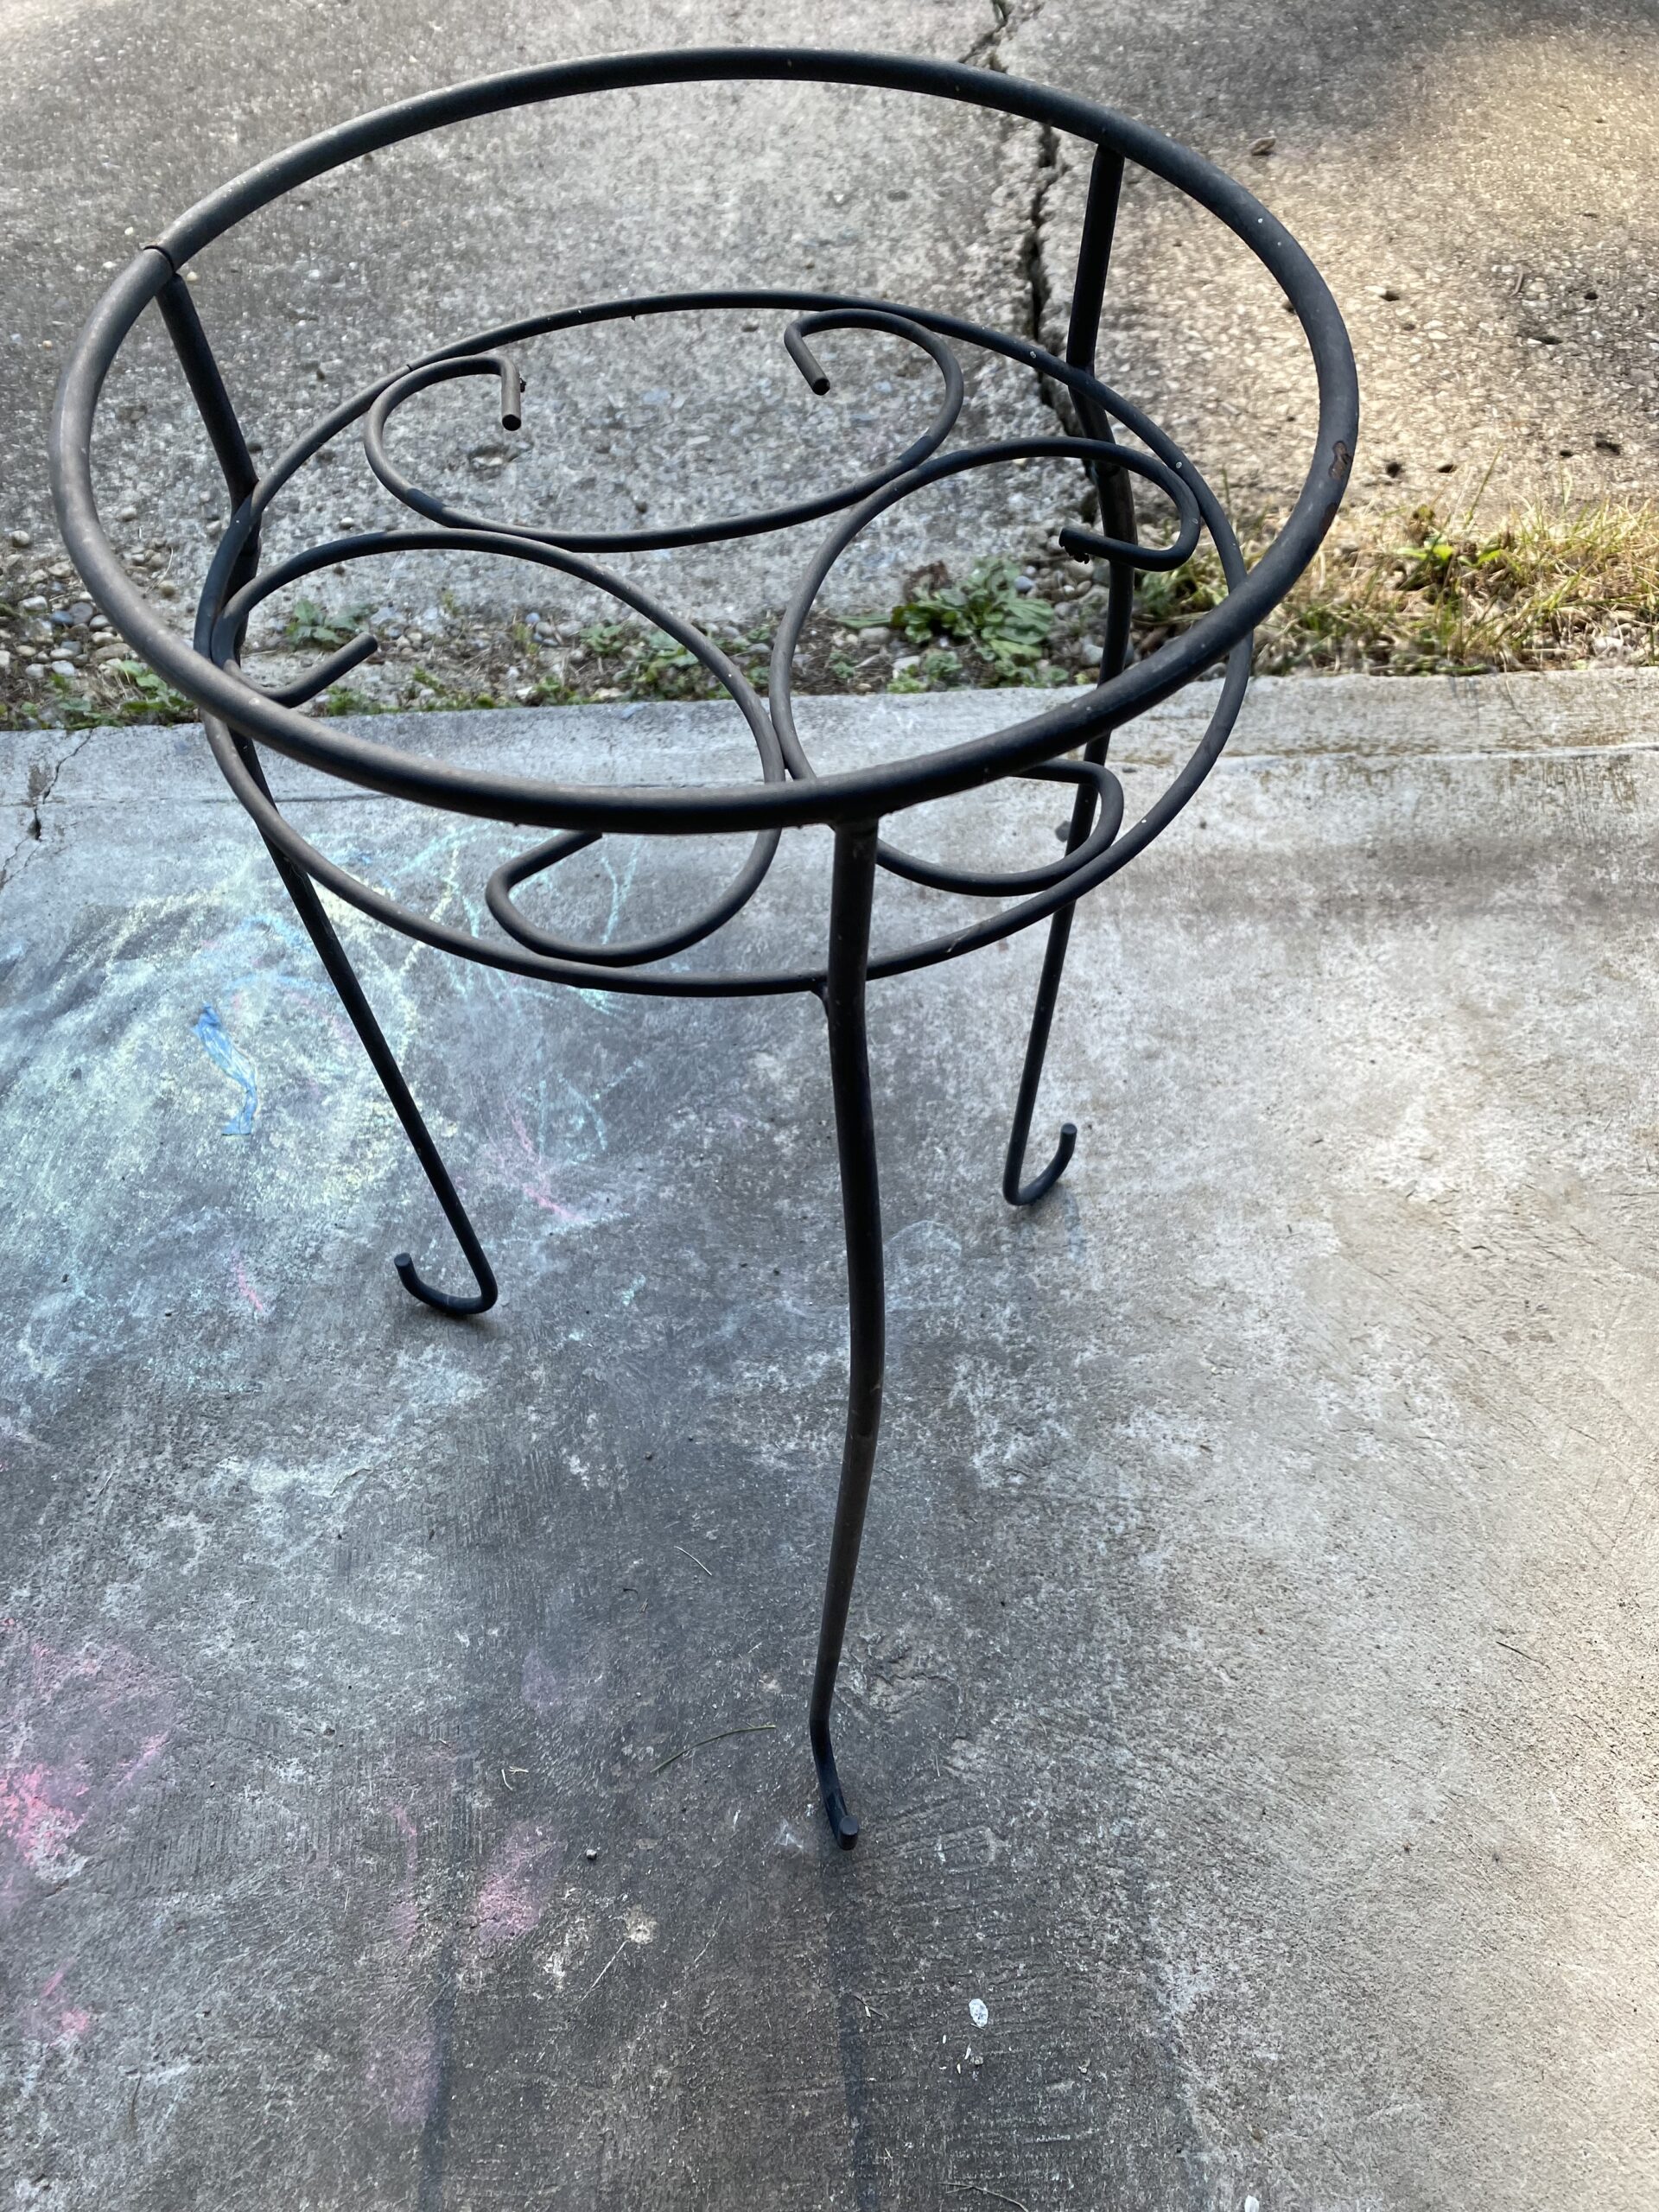
Our next project was using the following three metal plant stands. The smaller two stands we had that we had stashed away off to the side and was not using them. The taller metal stand was bought in an auction lot. The smaller two stands were in fairly good state but there was some standard wear and tear and some of the paint was starting to fade. They just needed a new coat of paint and they would be looking as good as new. However, the tall stand had some rust starting to crop up in a couple of different spots. The first thing that needed to be done was to remove the rust.
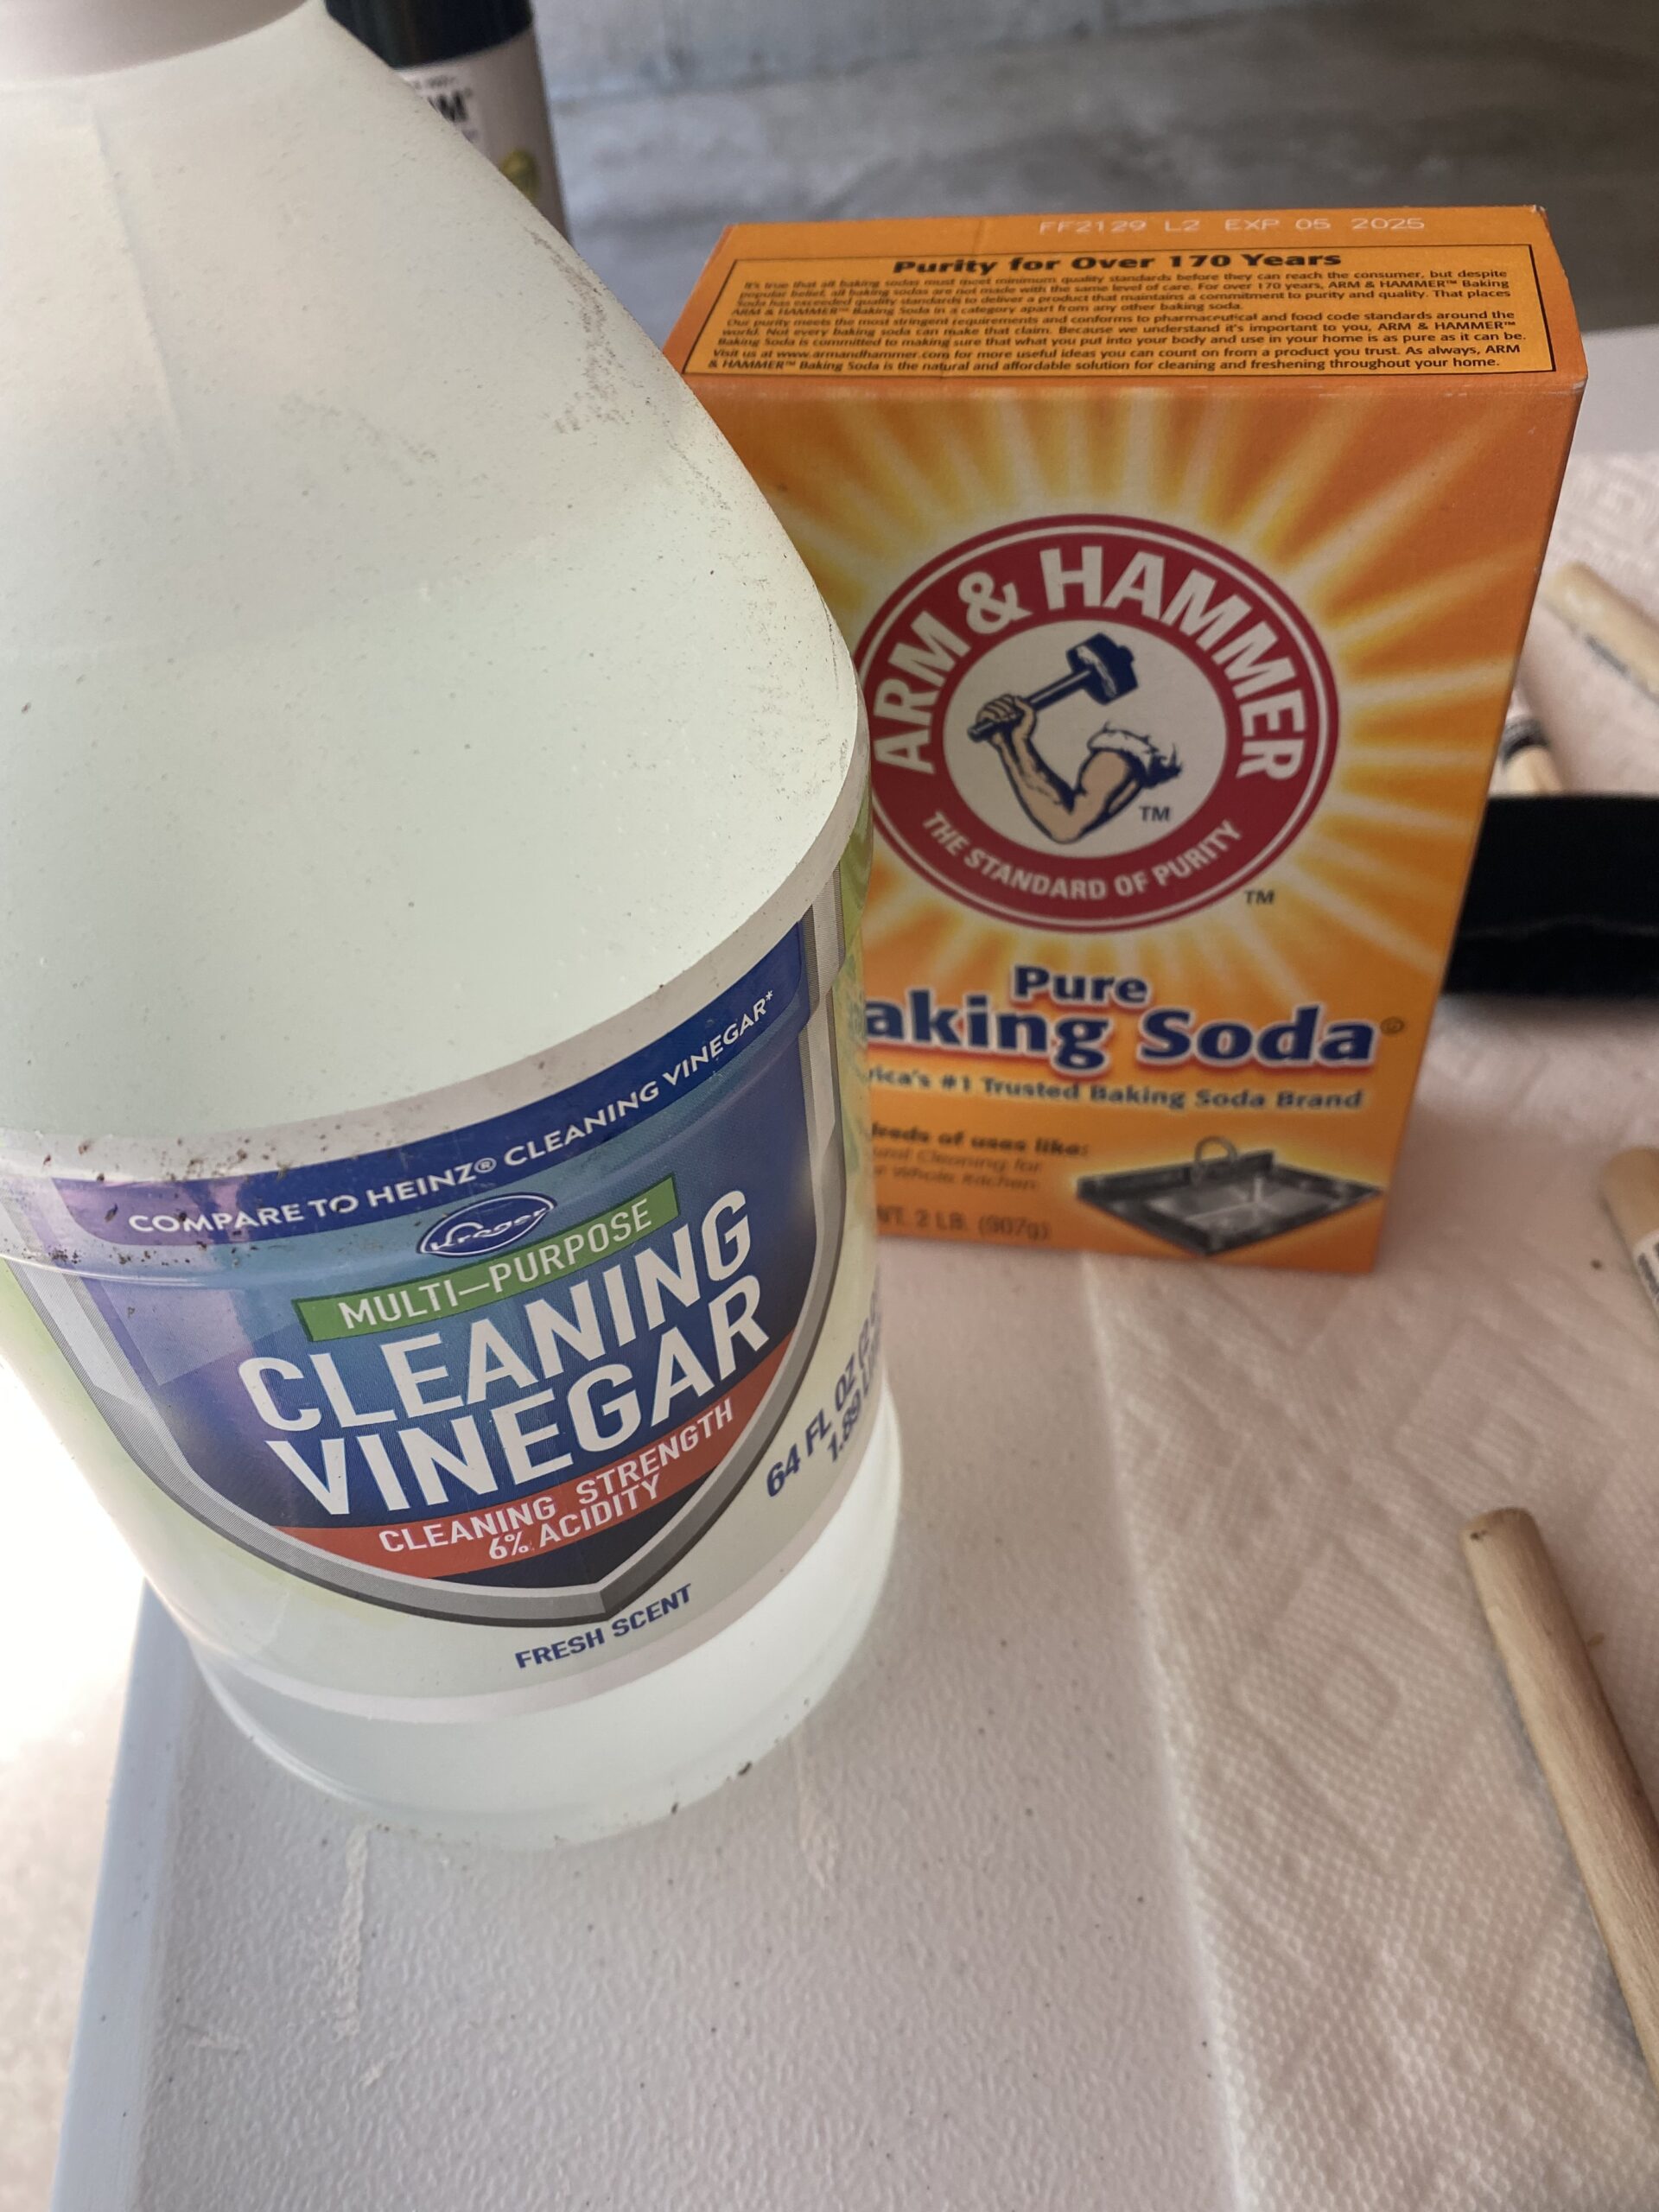
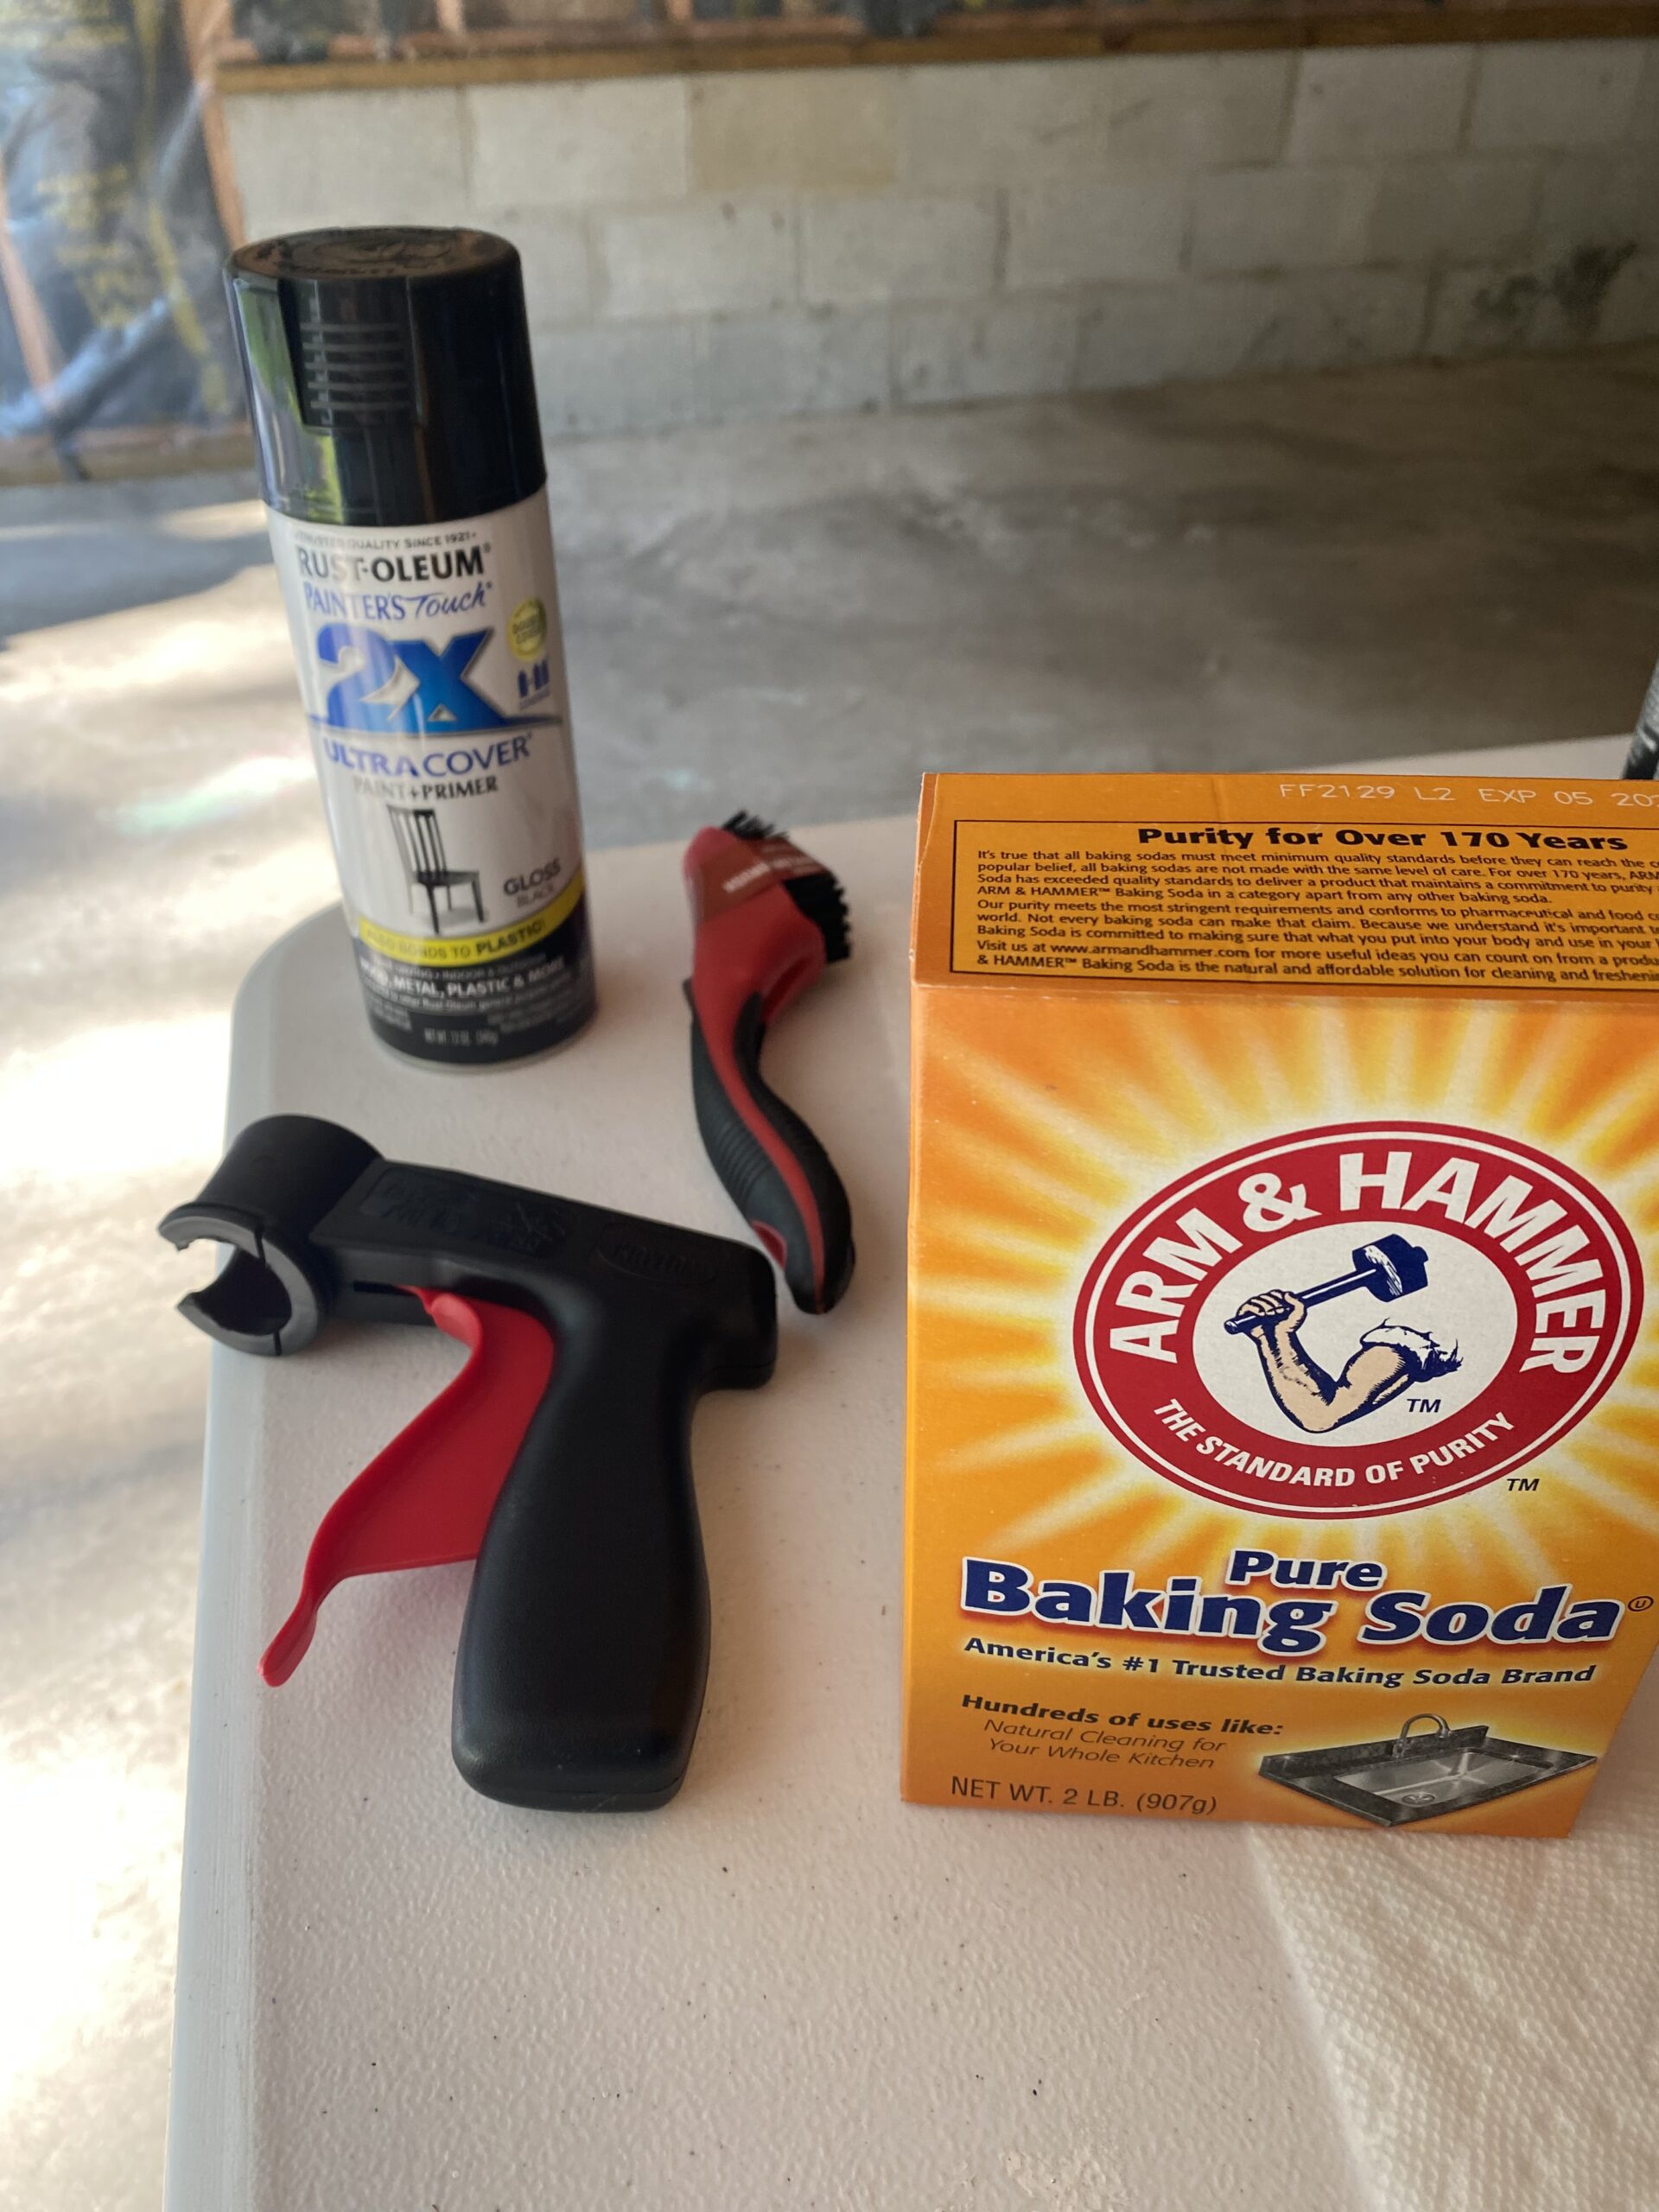
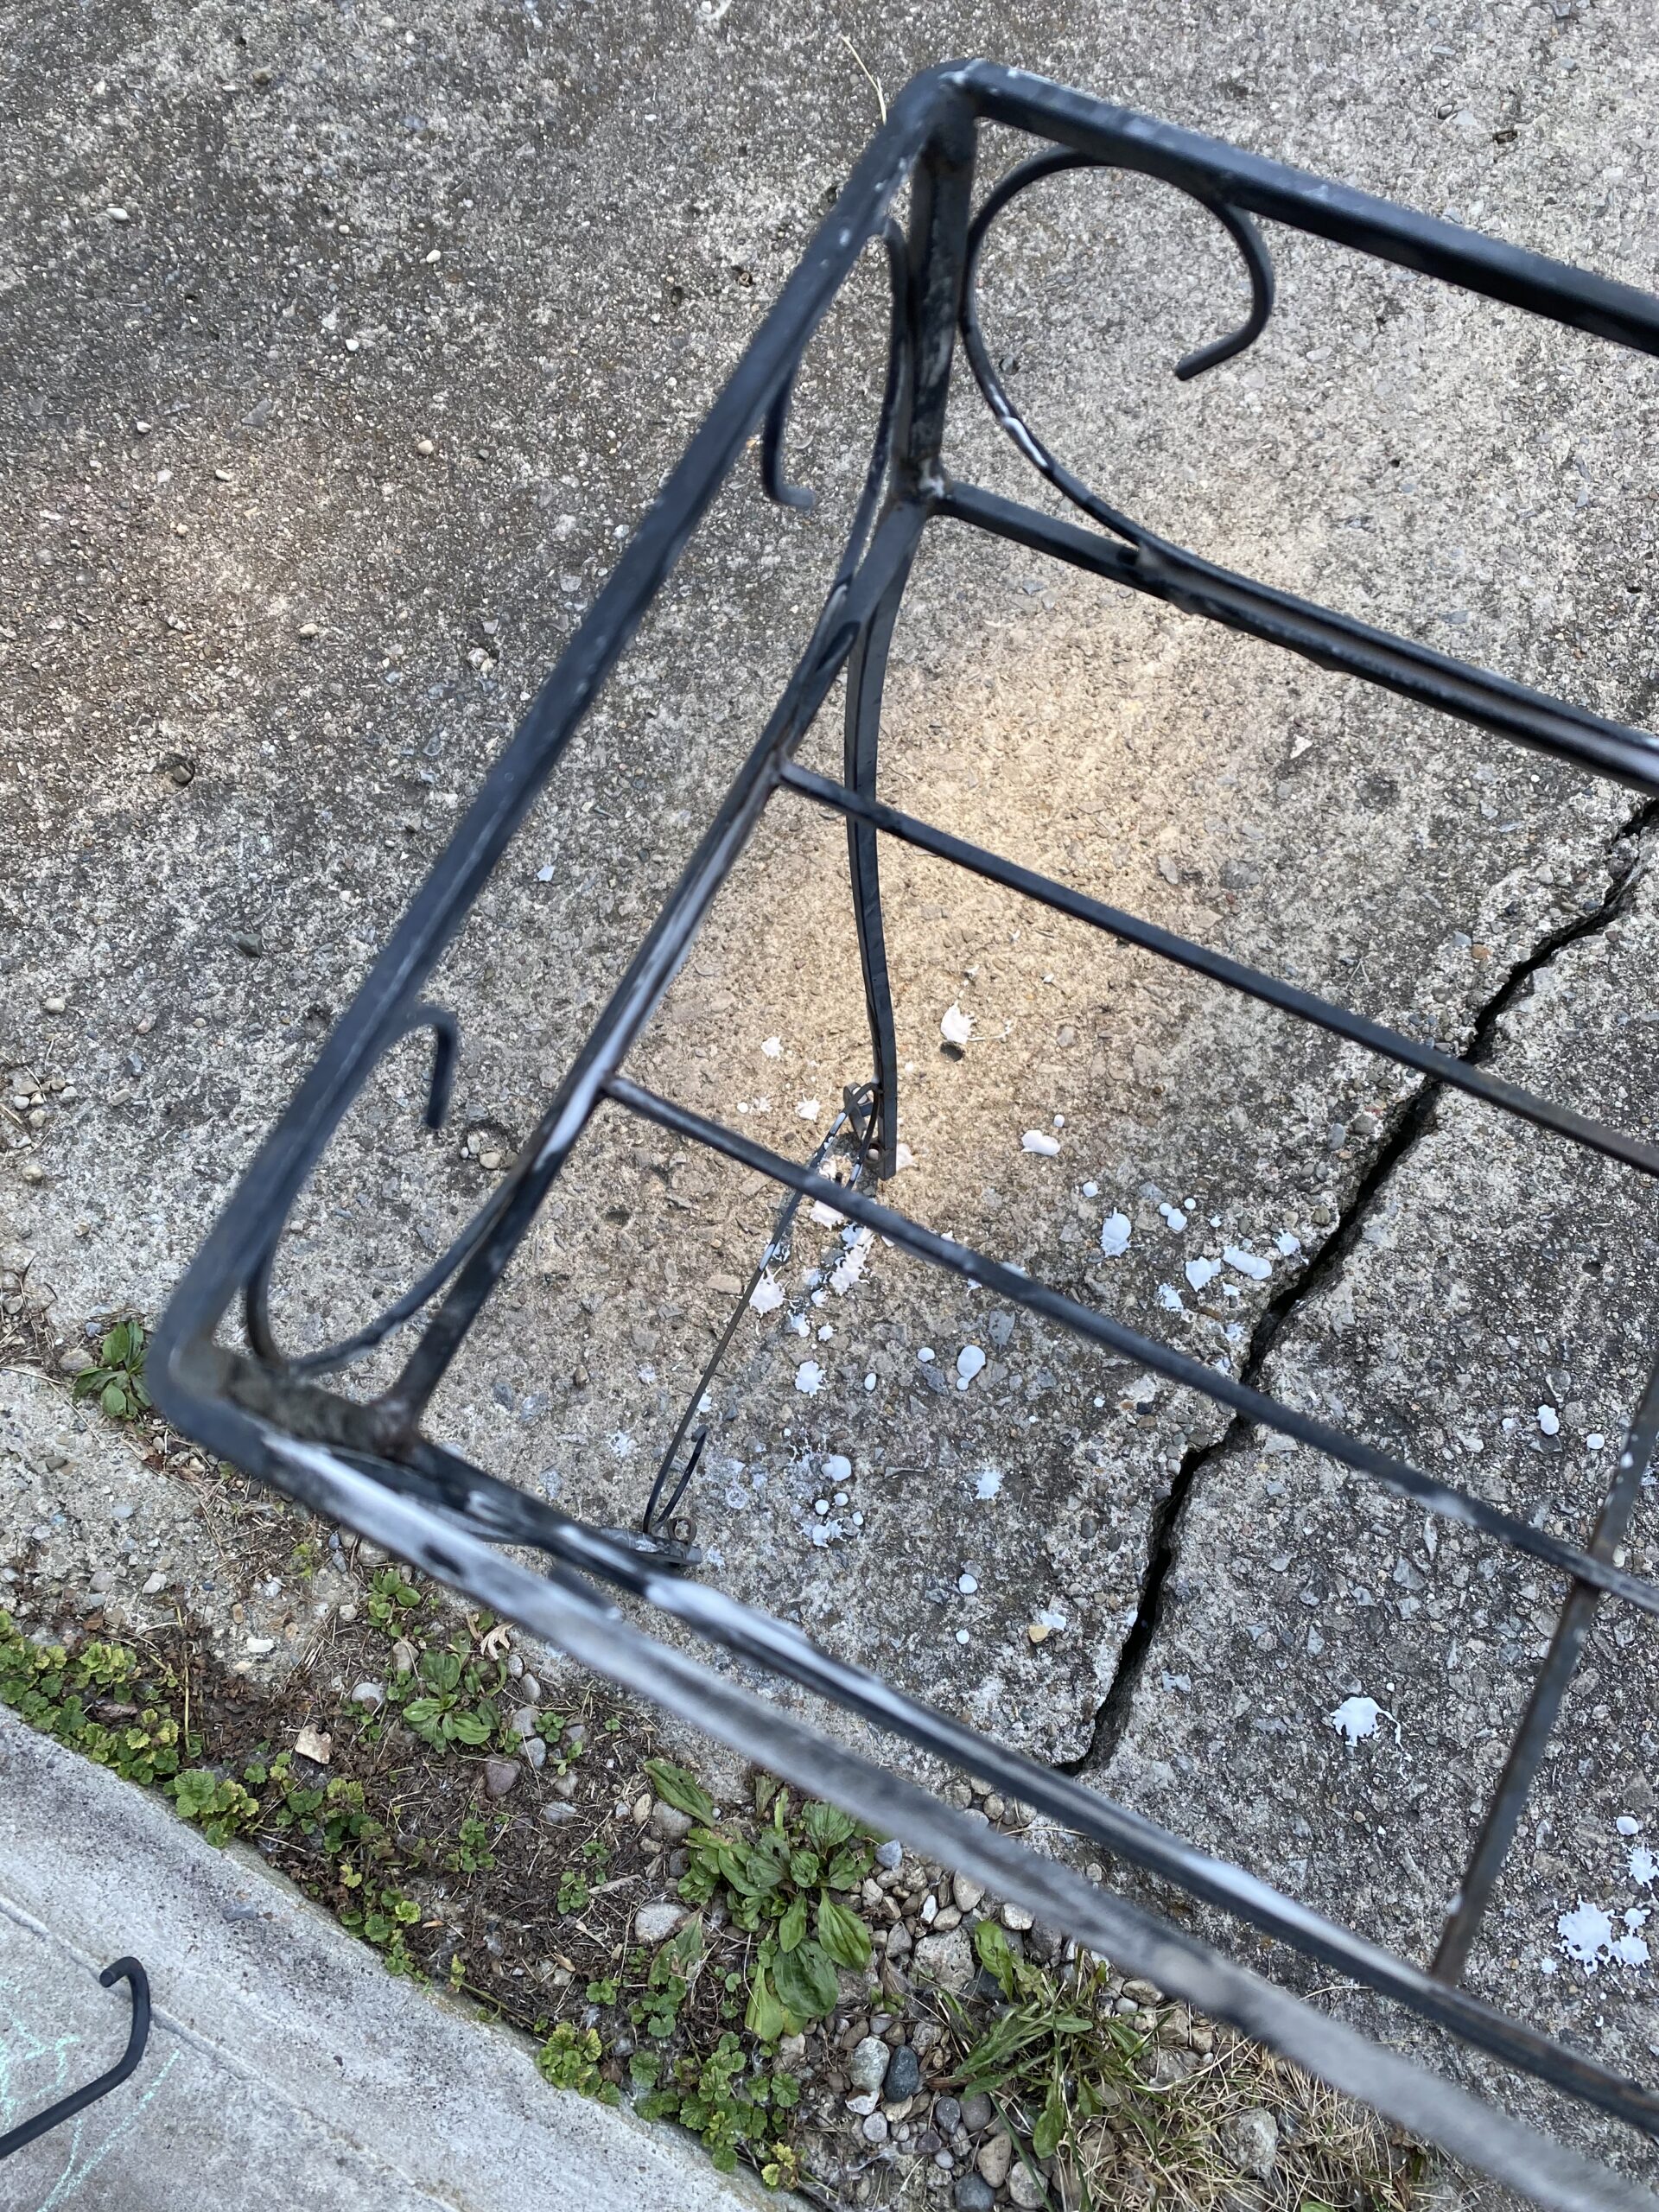
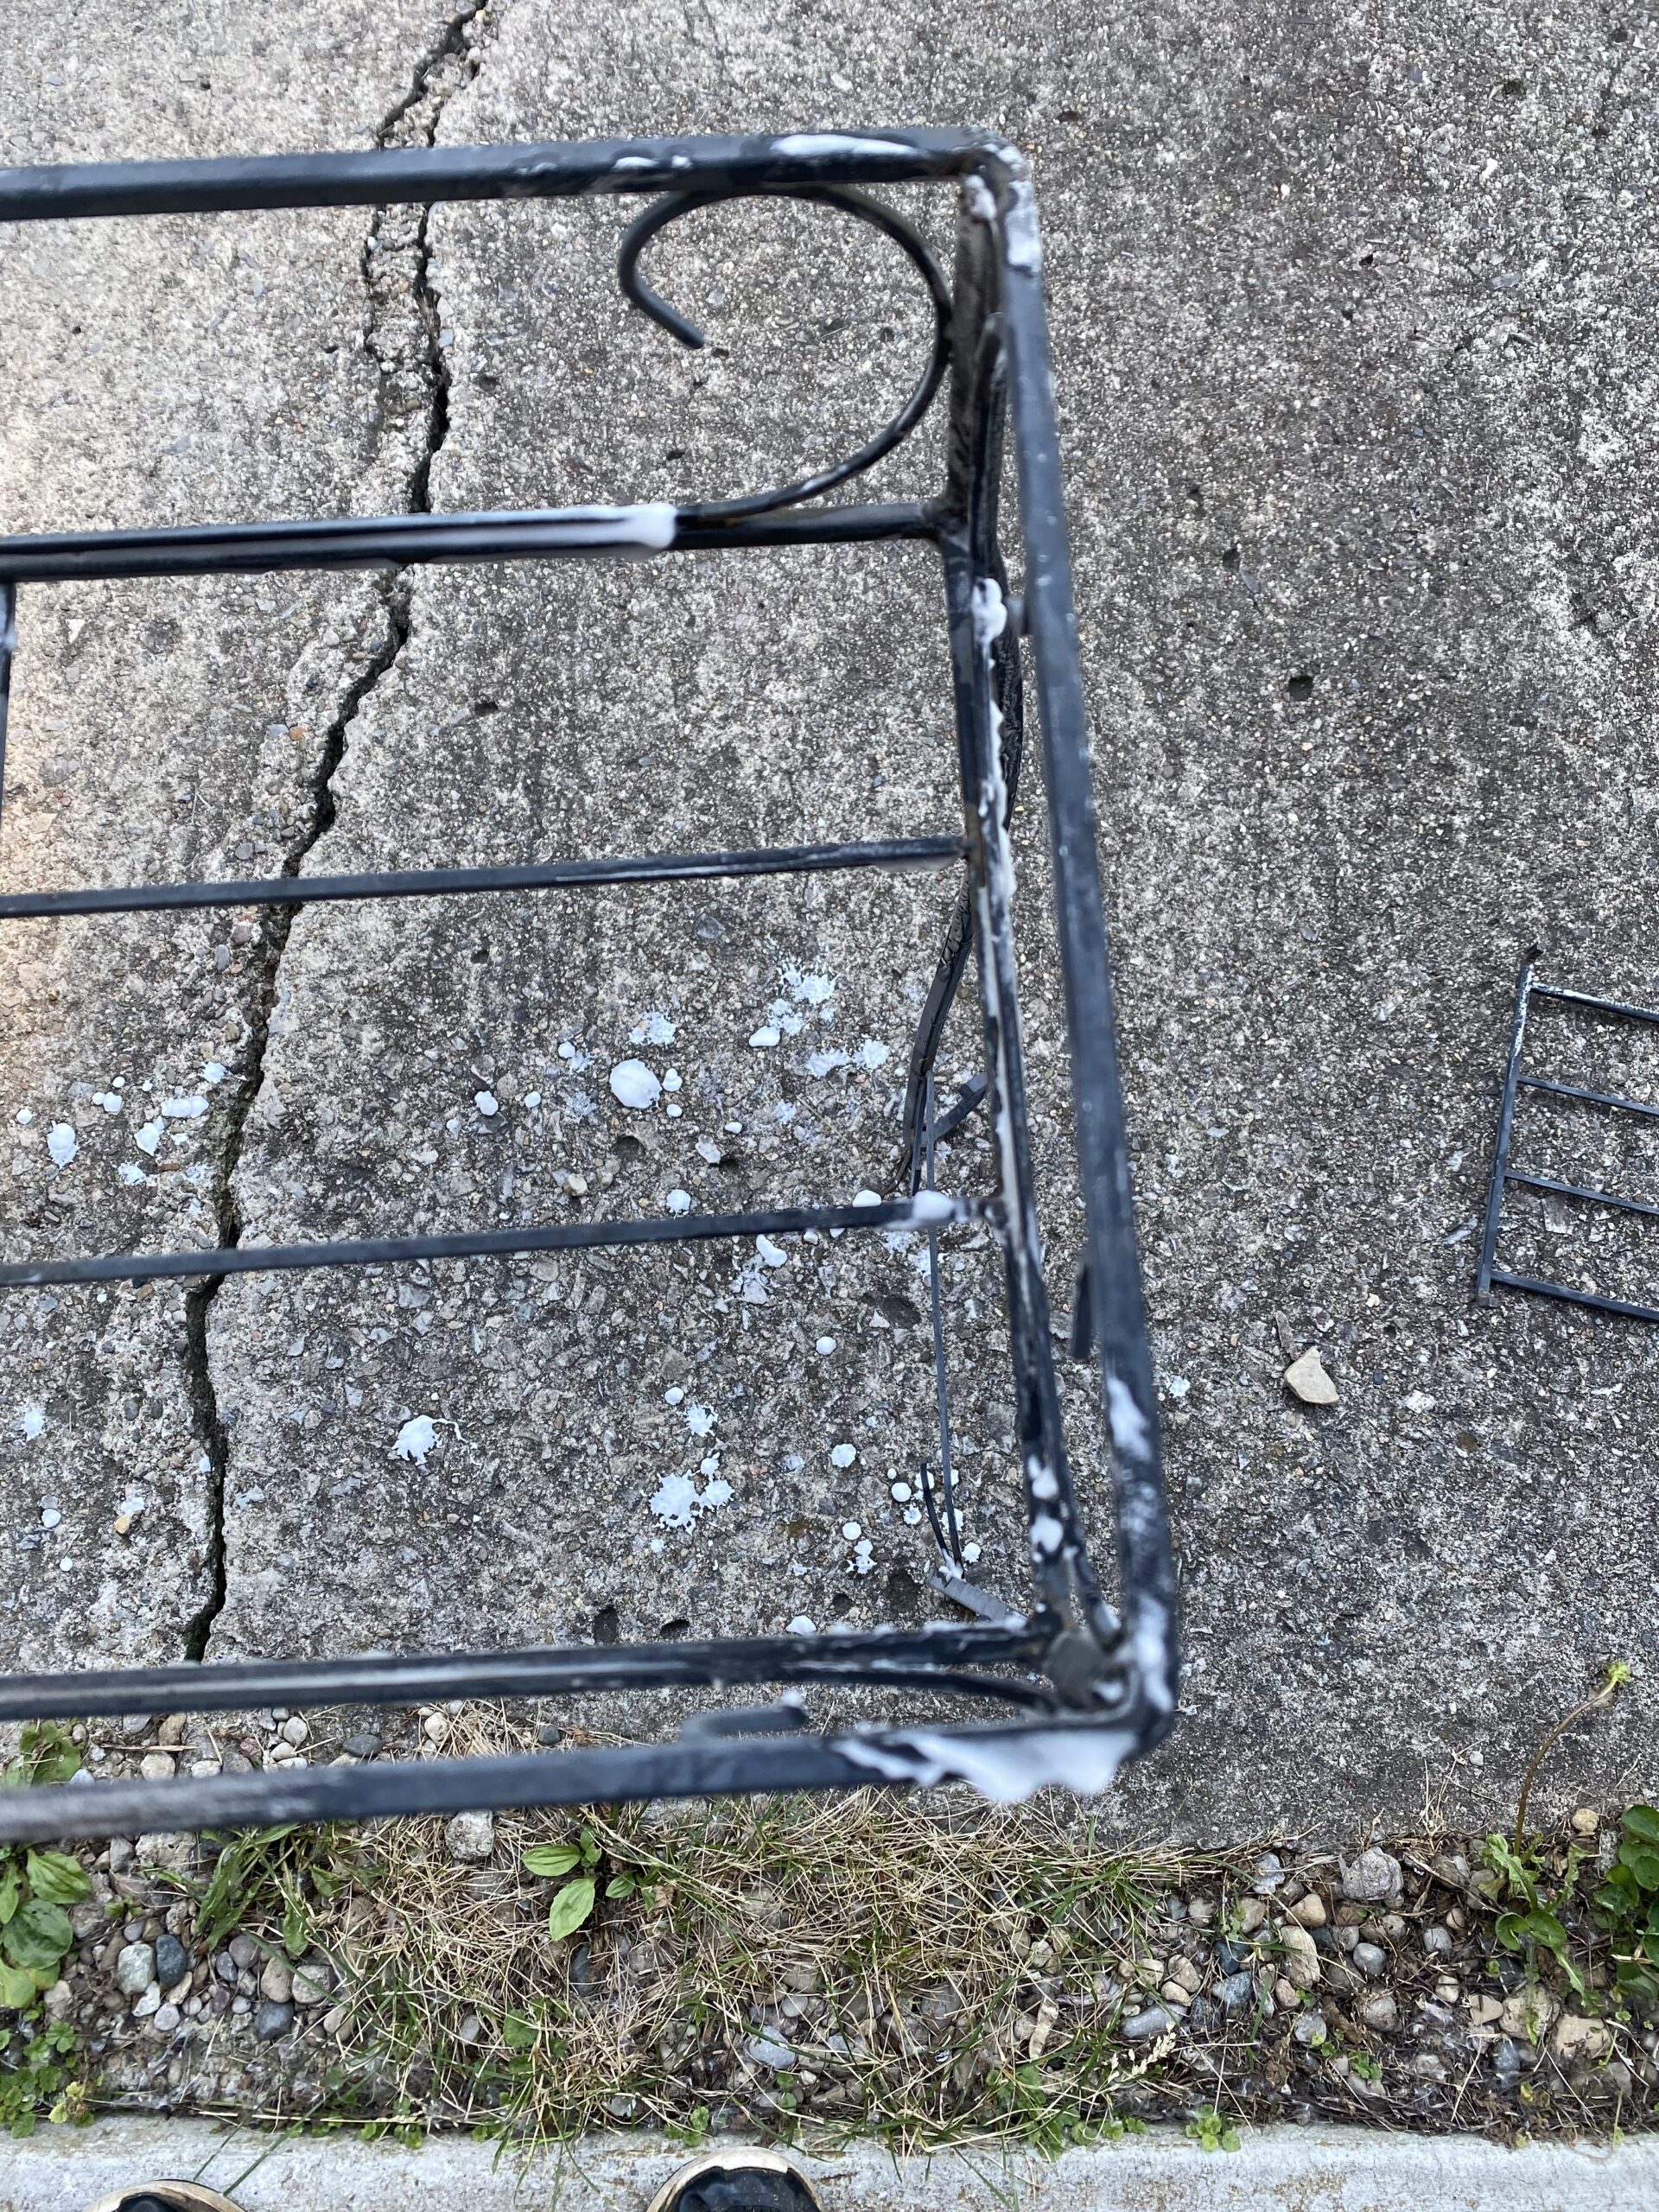
In order to remove the rust, I used a mixture of baking soda and cleaning vinegar. This was the first time mixing the two chemicals up to get a paste like mixture so it took me a couple of times to get the right mixture. At first I was using to much vinegar and it created a soupy mess and not the paste like I wanted. In order to get the mixture to sit on the stand it needed to be a paste so it would stick onto the stand before I scrubbed it off. First, you do not need that much baking soda and vinegar to create enough paste to cover a good size area. Second you need just a touch of vinegar to create the paste. Too much and it turns watery very quick. I took a water bottle and cut it in half. I put the baking soda into the bottom of the bottle. I then added just a very small amount of vinegar and stirred it into a paste. Like I said too much vinegar turns it watery and baking soda will need to added again. Too little vinegar and the baking soda does not start to change. If the baking soda is not changing then add a little more vinegar. It is much easier to add vinegar then it is to add baking soda. If you trying to do this then be patient, it took me three times to figure out the right mixture and even then it was a little too watery and I strained some liquid off before applying it to the metal stand. I used a medical glove and just rubbed the paste onto the rust. It reacted and bubbled a little when it touched the rust. Once I rubbed the paste on, I then waited about 10-15 minutes to let the chemicals sit into the rust. As you can see in the pictures, the paste just sits on the metal and after the 10-15 minutes I used the metal brush shown in the picture and scrubbed the paste off the metal. As the paste was being scrubbed off, the rust was coming off as well. The metal brush worked great because it was able to get into some of the tight and small spaces and clean off the paste and rust all together. All together it only took about an hour to hour and half to create the paste, apply it, let it sit, and scrub it off.
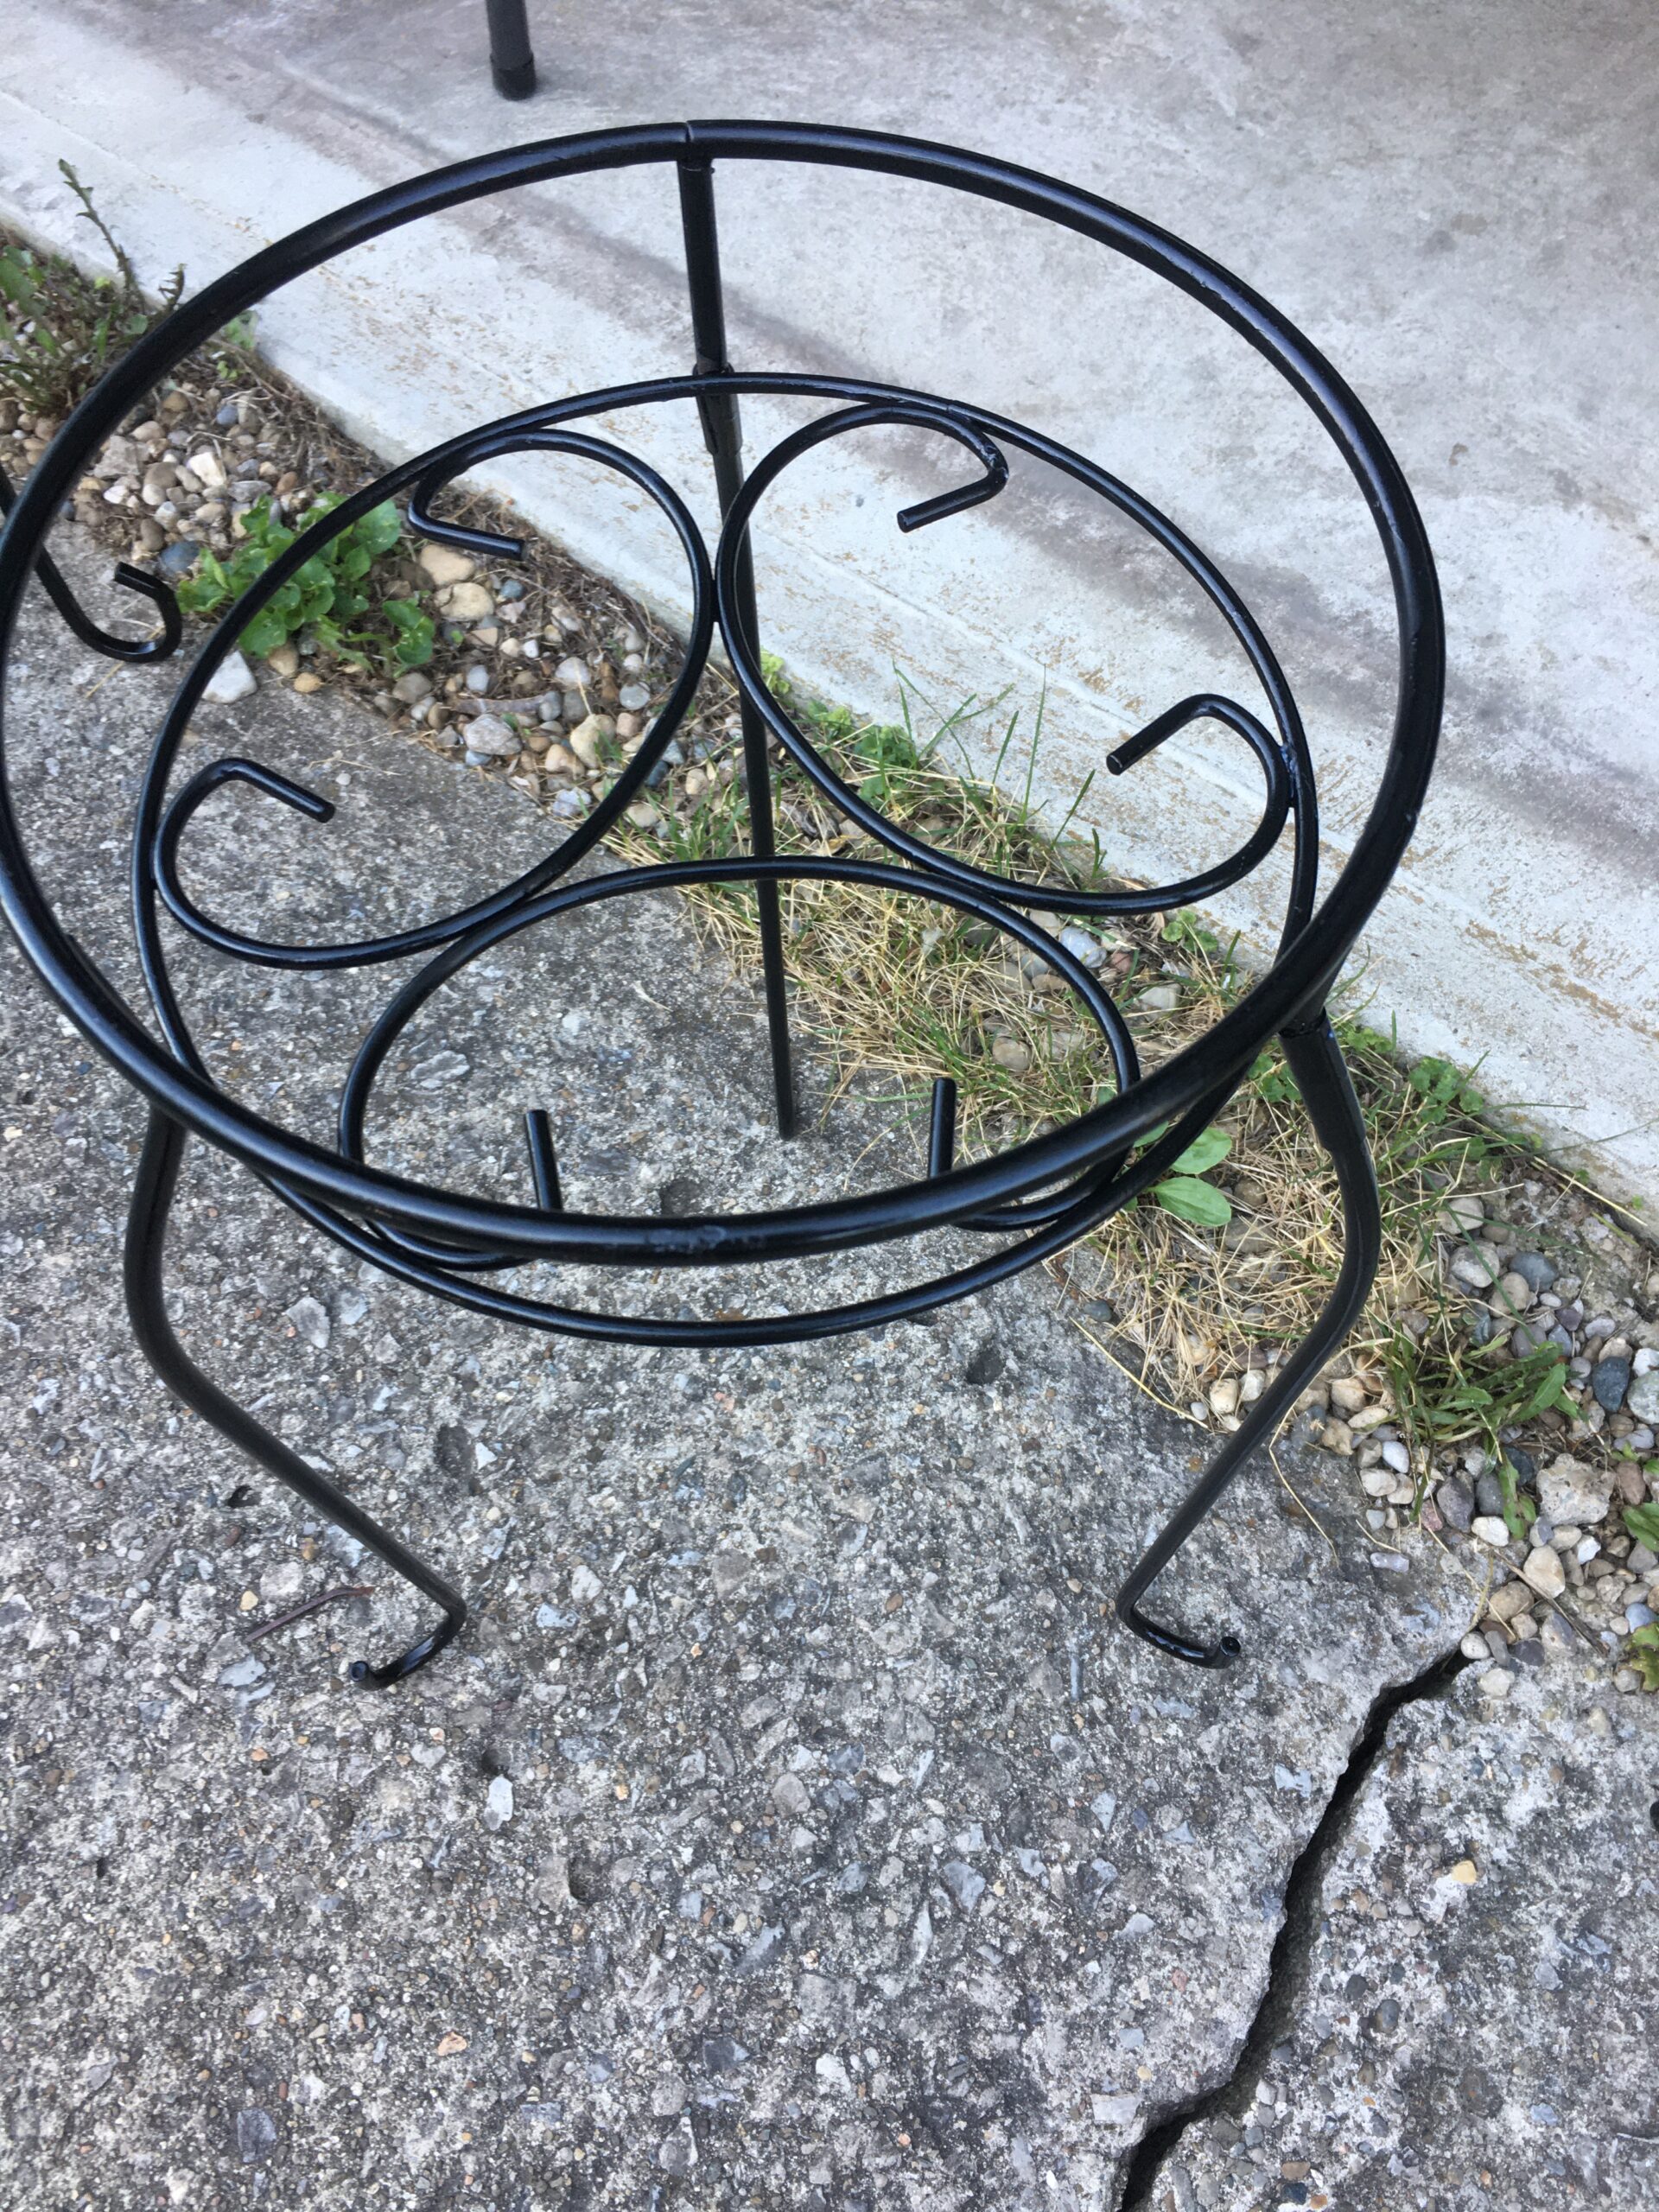
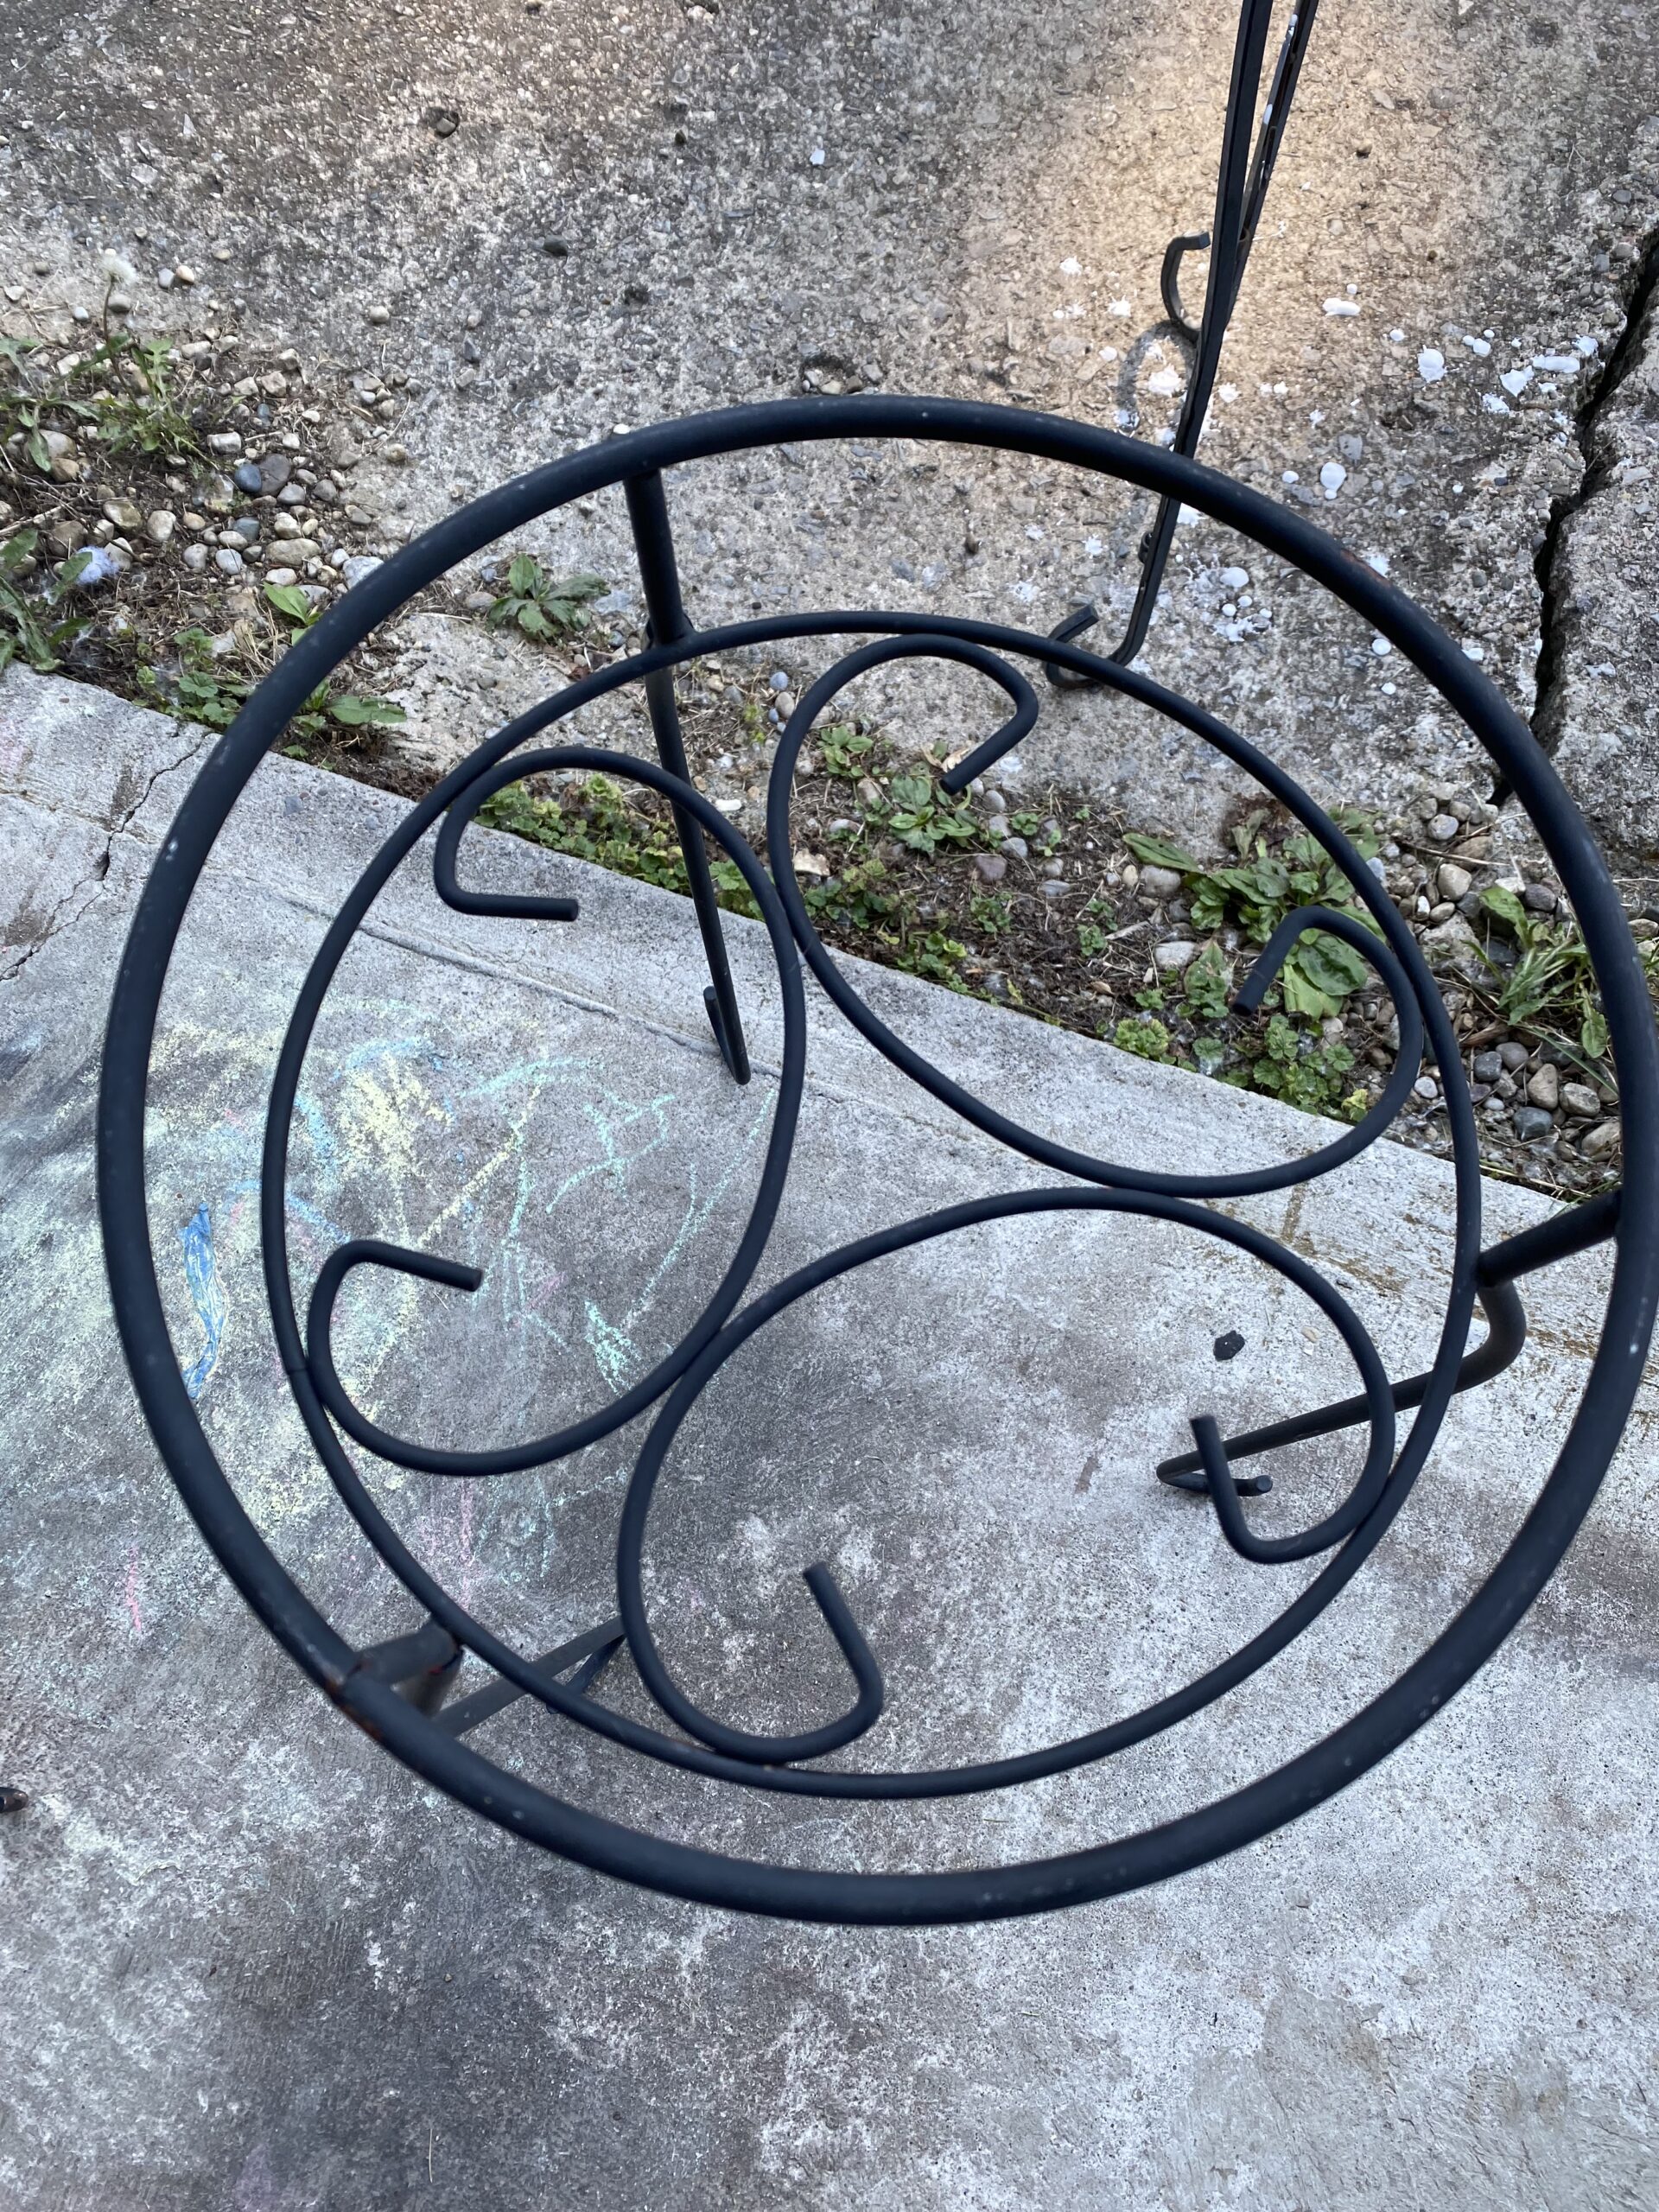
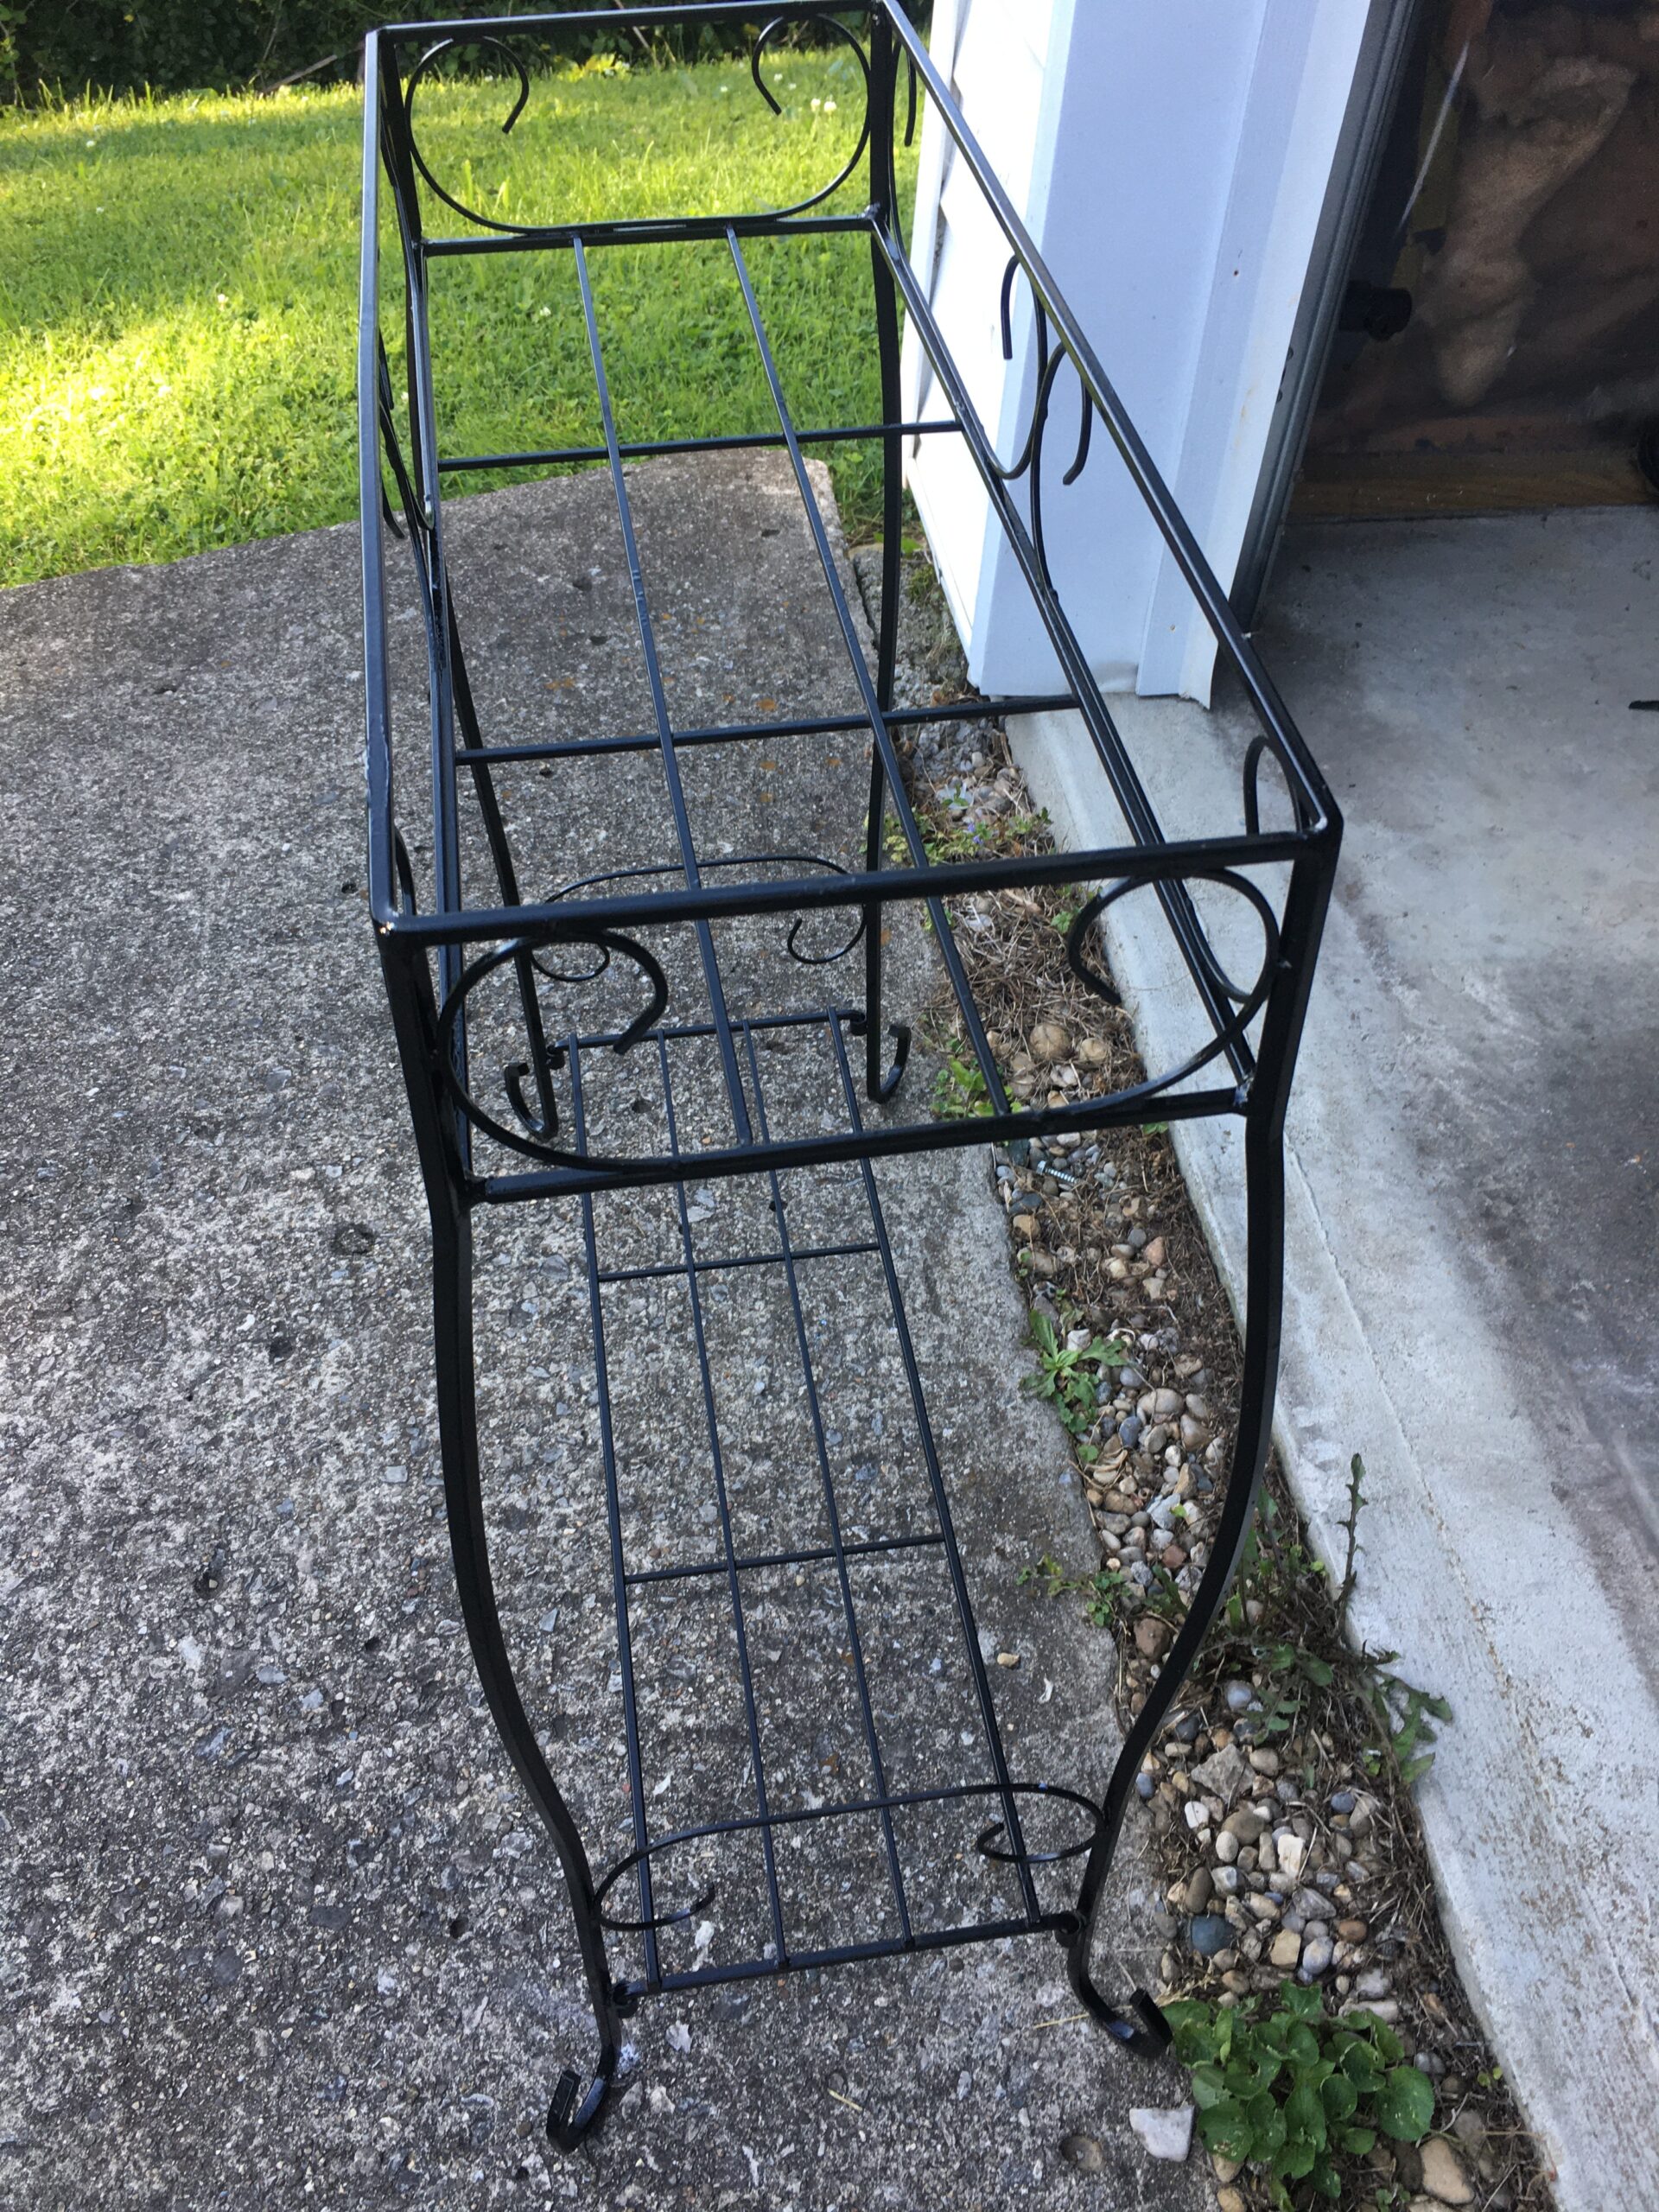
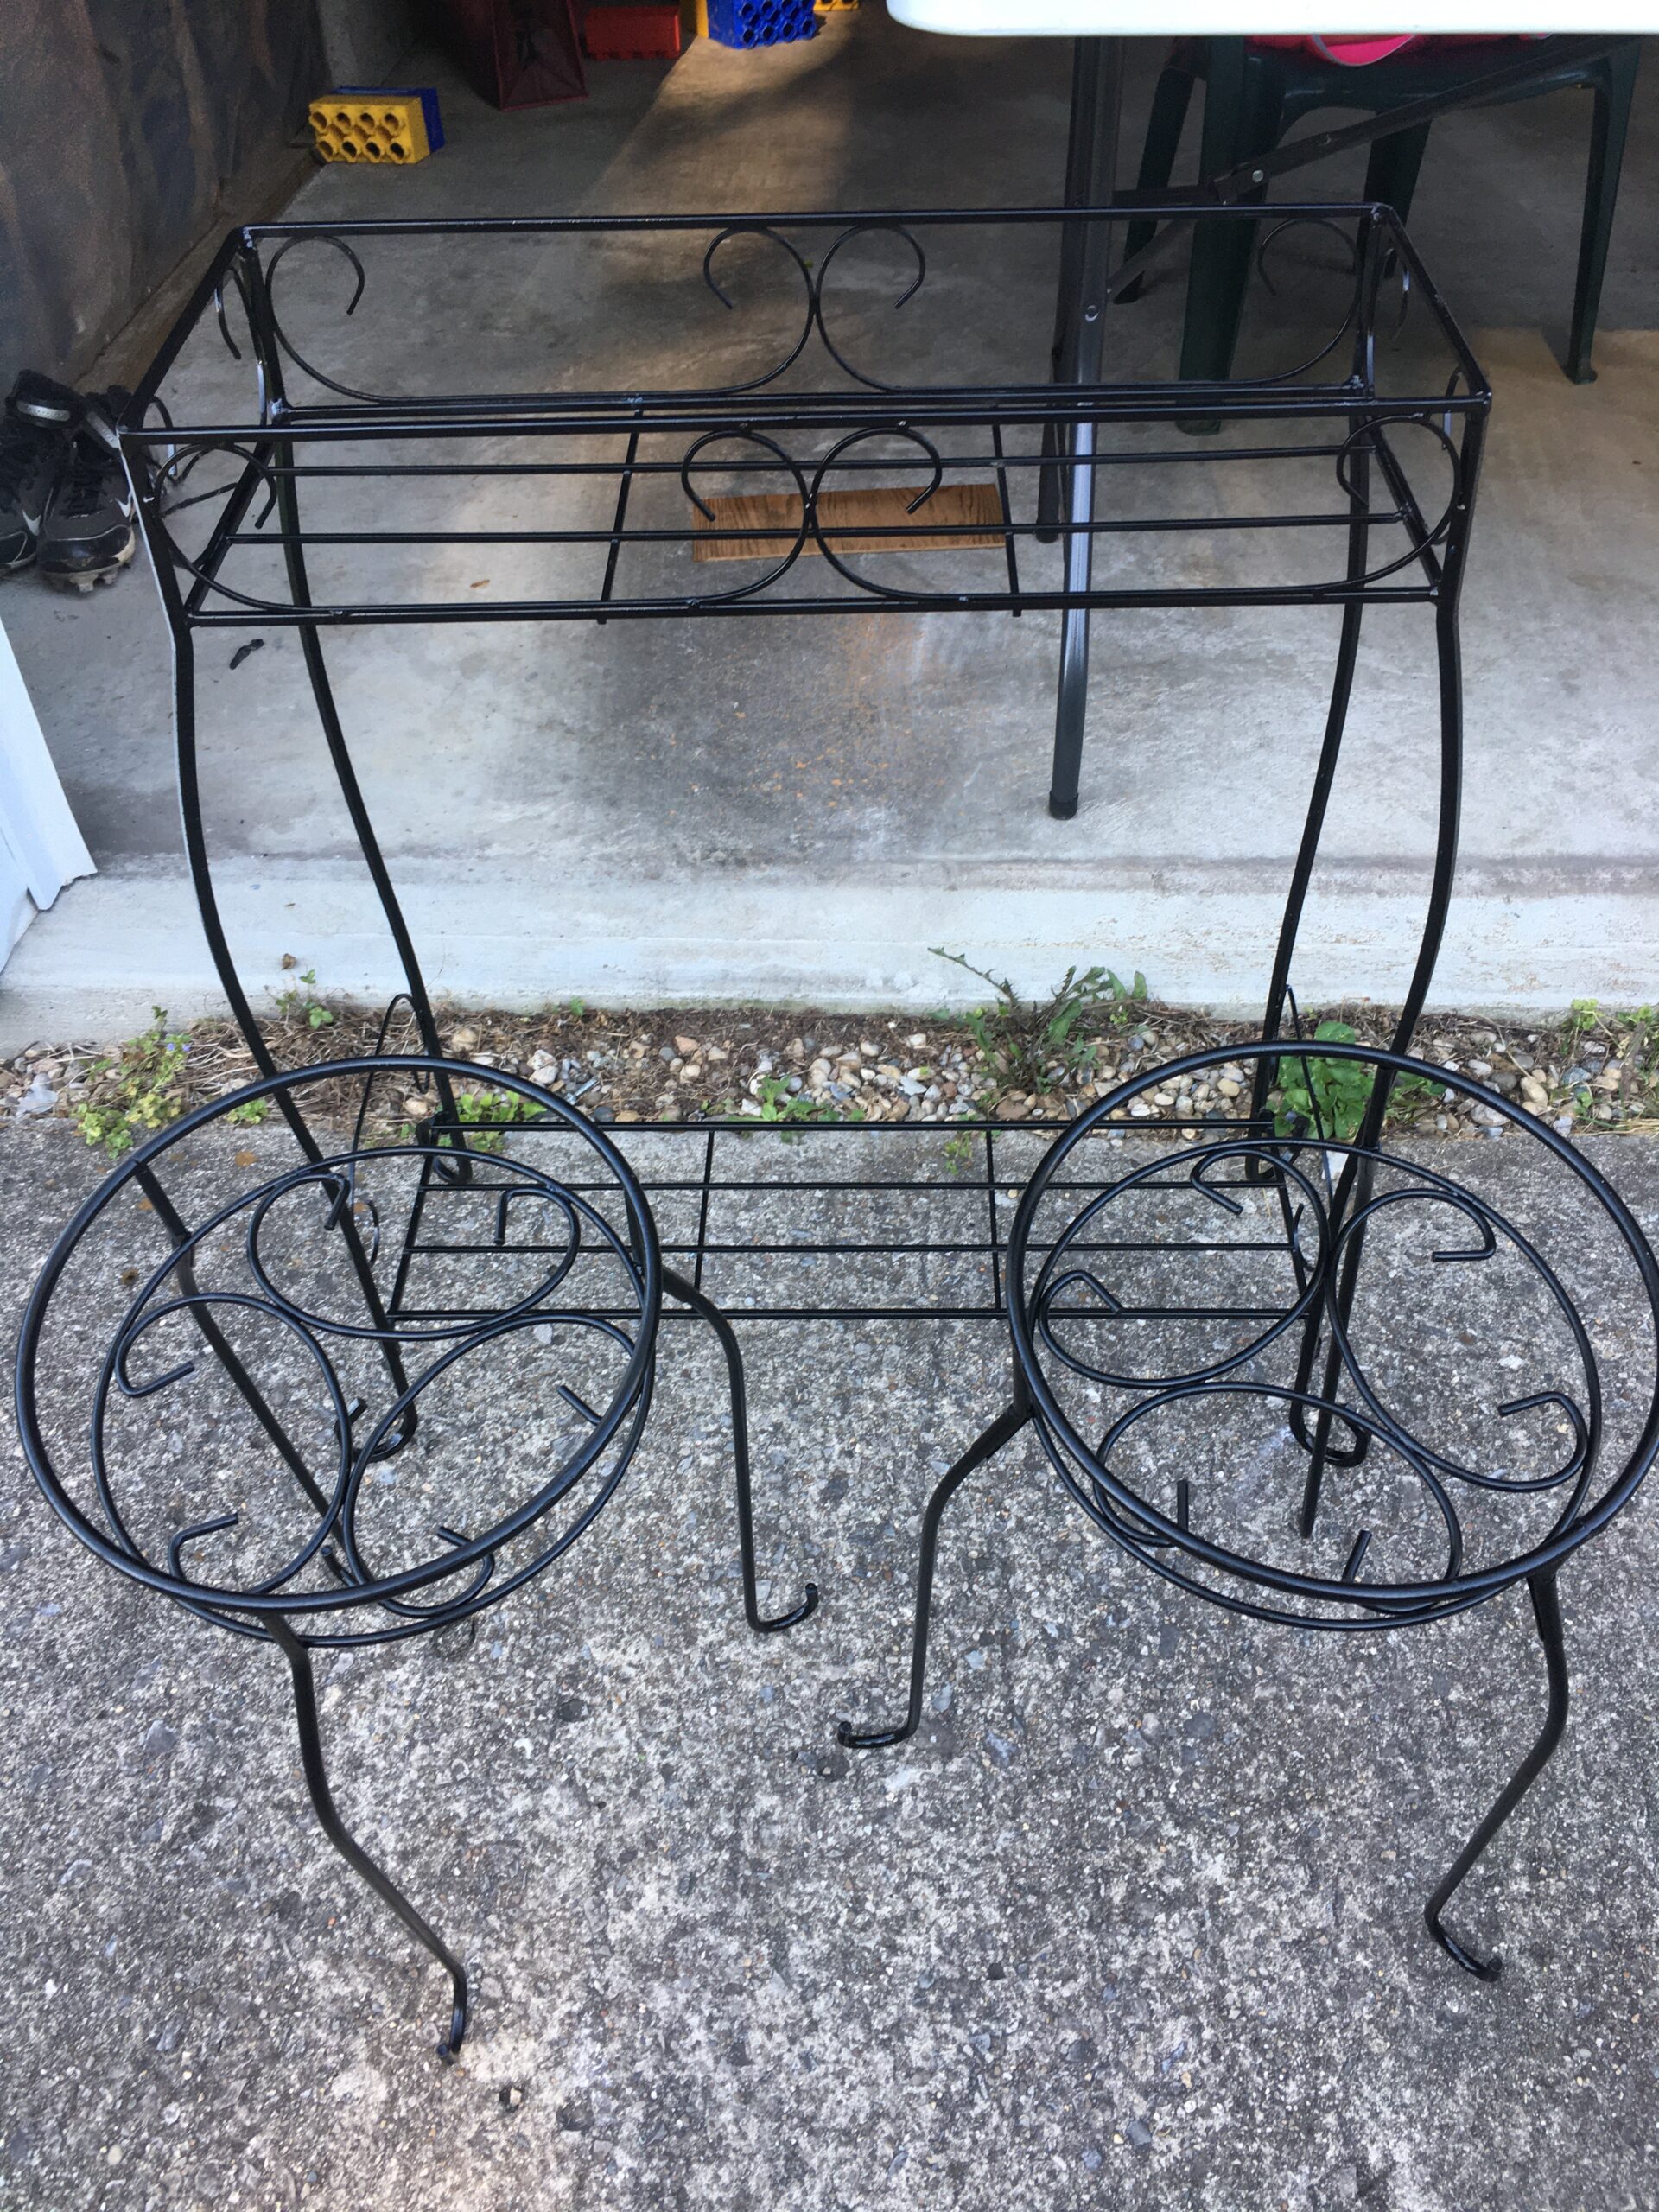
Since I was selling all three together, I decided to paint all of them the same black color. I used the spray paint in the picture above and painted all three. I took my time and made sure to get not just the top but also the bottom. It took a little time and patience but I was able to work around all of the little twists and turns and cover every part of the stands. Once the paint was on the tall metal stand, the rust that started on the stand was completely gone and forgotten about. It would be completely unnoticeable to somebody without the prior knowledge of it being there. I painted all three, waited a day to make sure i did not miss any spots. I did have to touch up a couple of spots and let another day pass to let them dry again. Once all of the painted was done, I painted a top clear coat of polyurethane to help seal and protect the paint. Once that was applied, we were finished and off to try and sell the items. While the three of them came to us from different sources, they look like they belong together. We were able to sell them as a lot and made a decent profit off of them, which was a nice added bonus.
