The picture was done using the Cricut Air 2 and a canvas you can buy at any hobby or crafting store. This is not as detailed as I would like for it be but there will be later projects that will be a little more in depth as to how to properly use the Cricut. My wife is very good at using it and this project was the first time I had ever worked with the Cricut. So between trying to explain to me what I was doing and trying to get things cut out we did not get enough pictures and I did not take good enough notes through the process. Overall it was a fun little project that introduced me to using the Cricut. It was also a refresher for Casey who had not used the Cricut recently due to the amount of furniture projects we were working on at this time.
Cricut
The first two pictures are the Cricut buttons. The picture on the left opens the cricut open so you can load the cutting board with the paper and vinyl into the cricut to be cut. The picture on the right is the power button at the top with the different settings that the Cricut can be put in for the different types of cuts.
As we started we turned the power button on. That is the top button on the right picture. Then we opened the cricut up which is the button on the right picture. Then we adjusted the knob to the vinyl button because we were cutting out the vinyl to make everything on the final canvas.
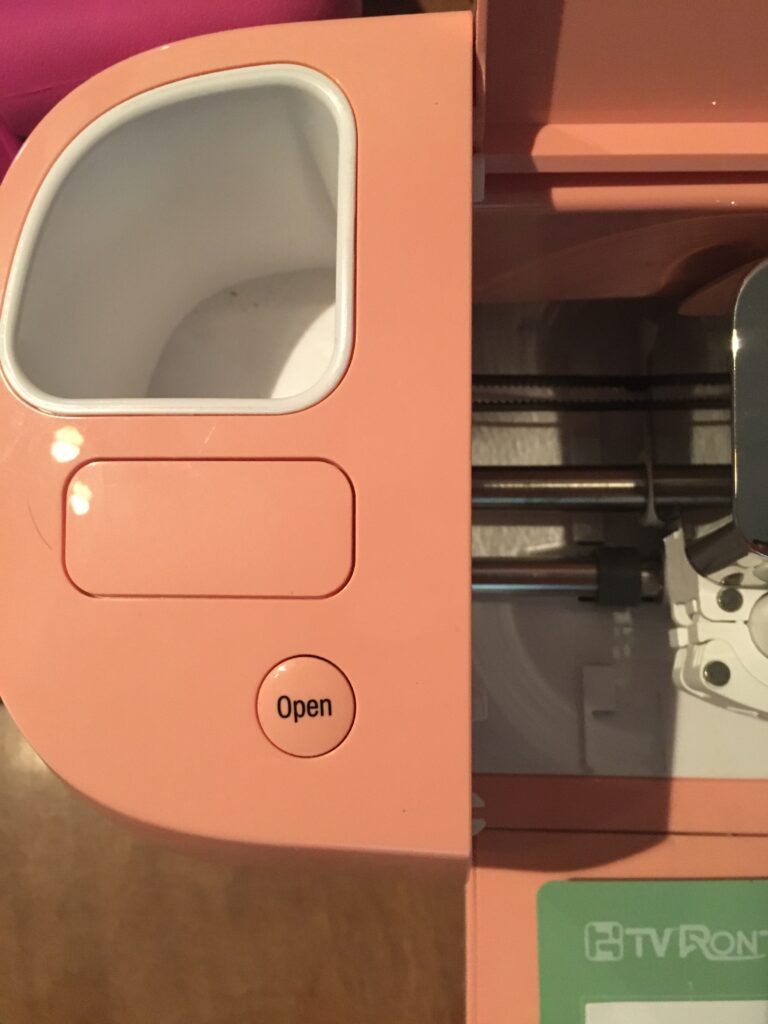
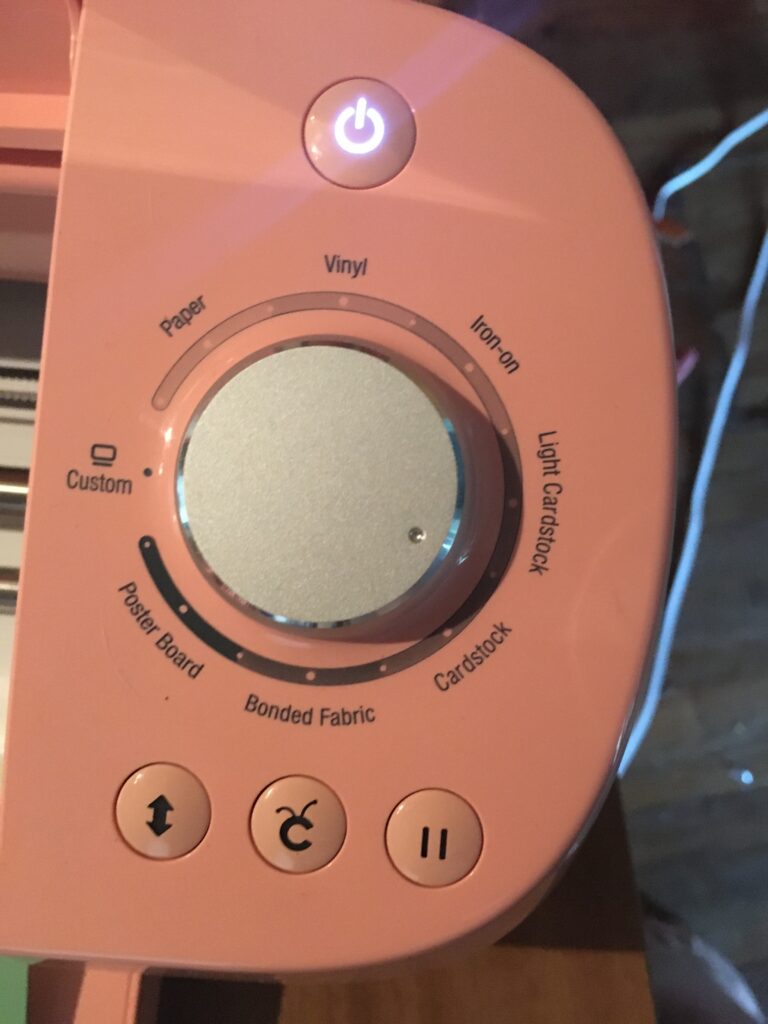
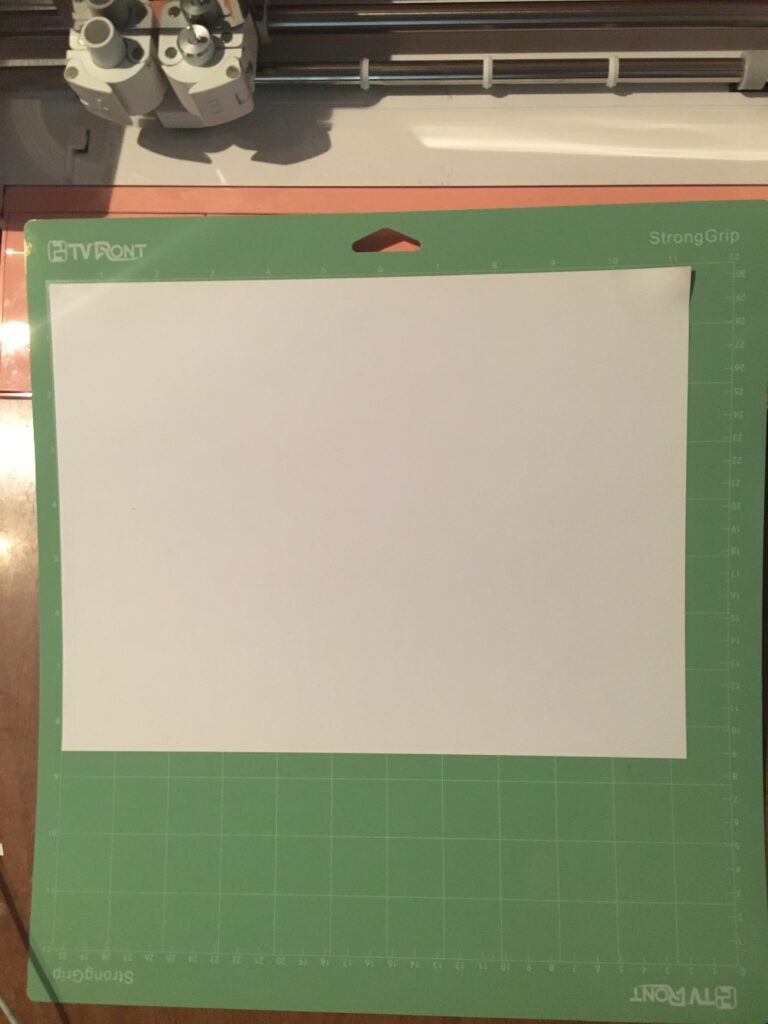
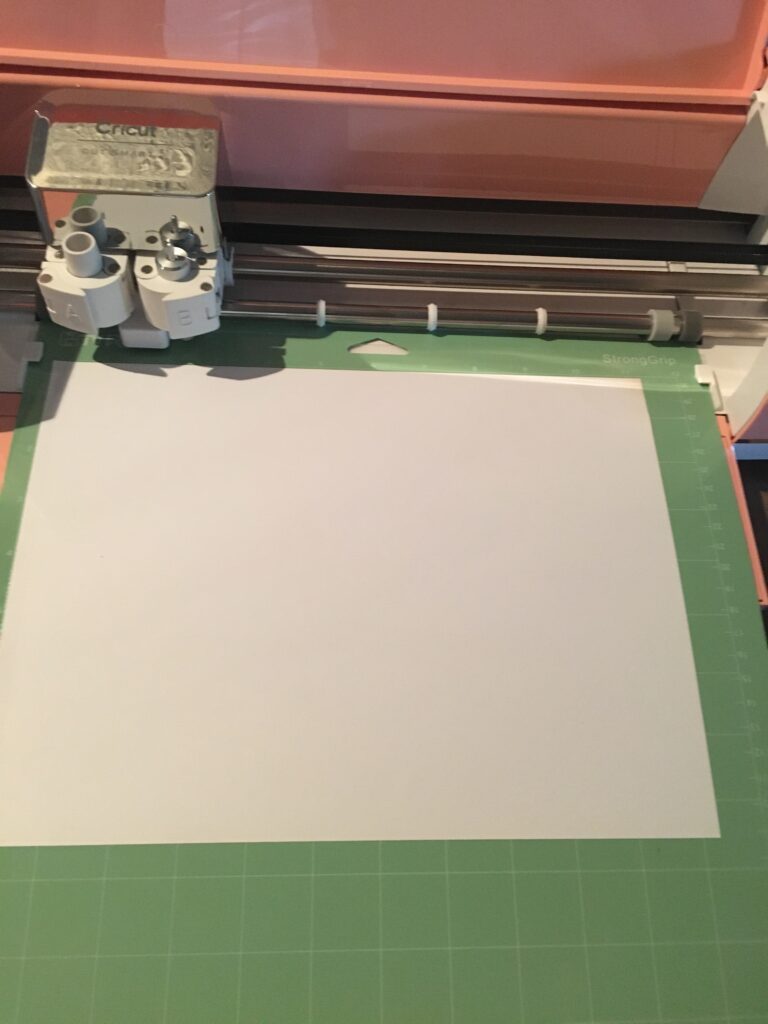
The bottom two pictures is the loading of paper onto the cutting boards and loading the paper and cutting board into the cricut. In order to cut you have to make sure the image fits onto the paper or vinyl you are loading onto the cutting board first. Next you set the cutting board into the cricut. You do not have to push the cutting board pass any resistance. Once you get it placed into the cricut. Then you touch the arrow button in the top left picture at the bottom left. The arrow button will load the board and paper into the right position to cut. Then the cricut will have a button start blinking. Press the blinking button to order the cricut to go ahead and cut out the paper. Once finished cutting press the arrow button to unload the cutting board and paper. The process is simple but it is something that you will do over and over again. Once it is cut by the cricut then you have to peel the cutouts away from the rest of the vinyl. This is the tedious part and one little mistake will cause you to have to restart the cut from the very beginning again. All of the letters, people, and tombstone was done this same way for the entire picture. Once each of those were cut then we peeled them off and placed them onto the canvas.
Again I wish I had more pictures but as we do more projects we will get better with using the cricut and getting everything we need to make a good detailed post about how we made it. So please be patient as we continue to learn as we go.
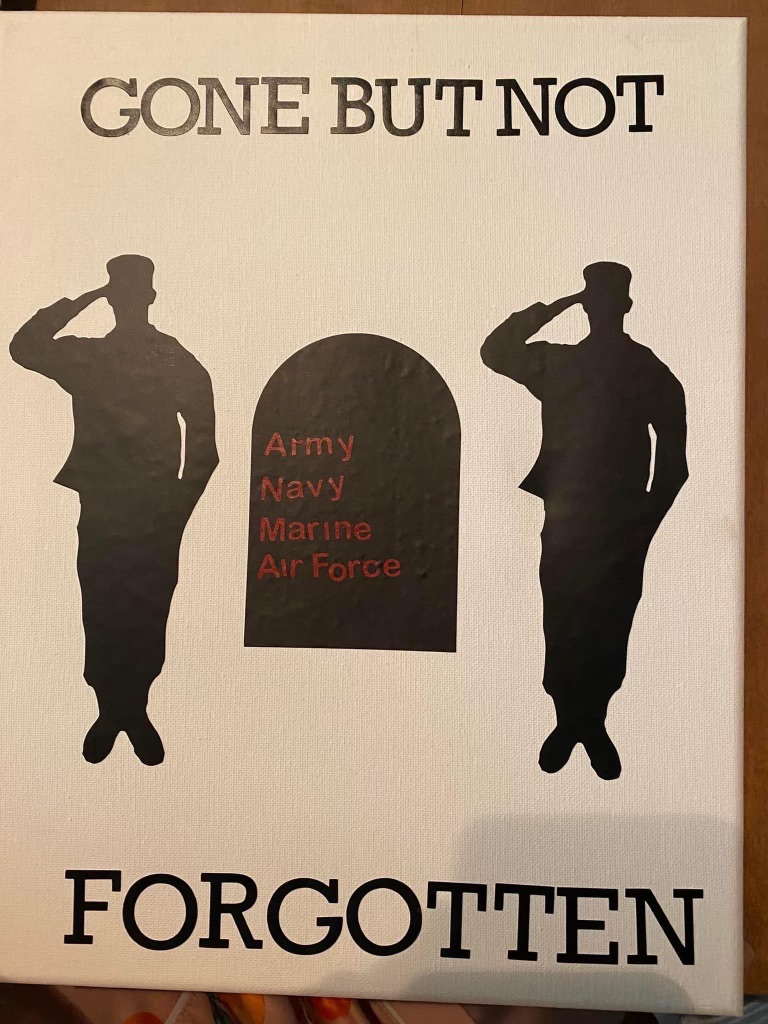
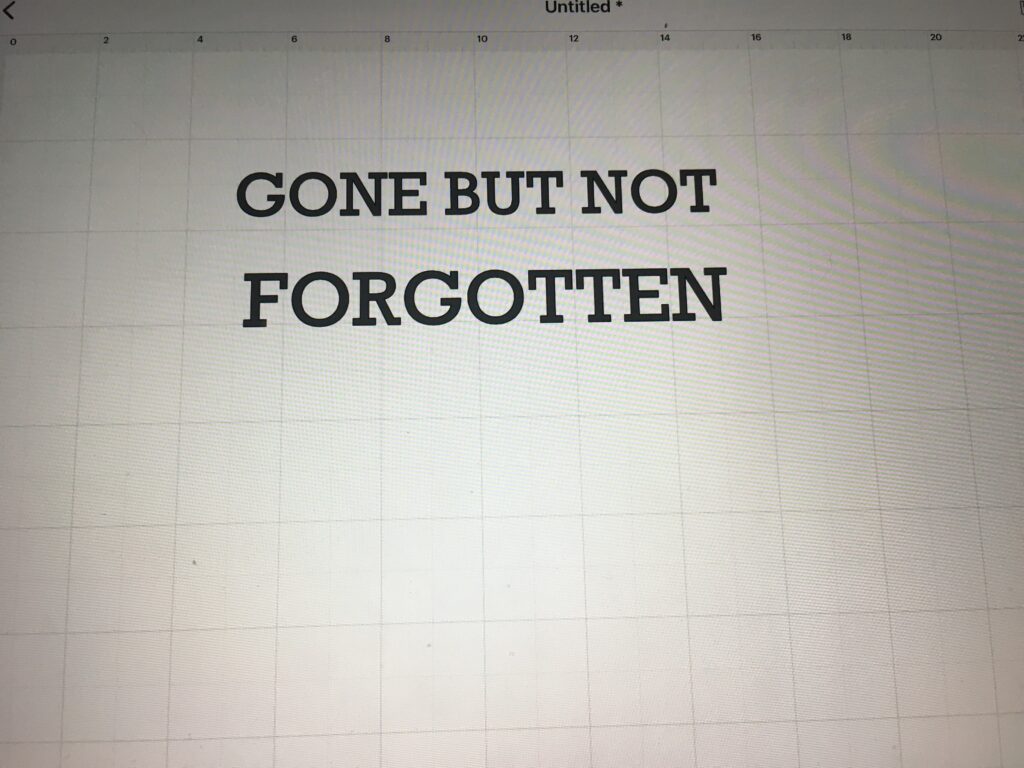
We used a Apple iPad to connect the Cricut App to the Cricut. You will need something to make that connection. The iPad is where you will create the images to be cut out. Once you figure out the images then you will set them onto the app and send it to the Cricut where the loading paper or vinyl will be cut. Above you can see the “Gone but not Forgotten” set up in the iPad. This was the image on the iPad. We then had the Cricut cut those letters out of black vinyl. Once cut we then had to peel the letters off the cutting board and place them onto the canvas. This is a slow and methodical process that took up most of the time of the project. The tombstone was cut after finding a tombstone image through the apps search function. We had to peel and attach the tombstone. Then we repeated the same process with the military branches letters as we did the Gone but not Forgotten letters. As a precautionary tale, the smaller the letters the harder they are to remove from the vinyl. We spent about double the time getting the red letters off the red vinyl and onto the canvas as we did the letters of the black vinyl. The letters in black are much larger which makes them much easier to work with. The two soldiers were found with an image search. We found the images and proceeded to follow the same order to cut them out. However, we had a problem with the silhouette of the soldier and the black vinyl. In order to get them outlined in the vinyl pictures, I had to go into the image settings and change the background color on the iPad. I had to go completely over the entire background to get the Cricut to make the correct cuts to get the perfect silhouette. In order to get the outline right onto the soldier silhouette, I had to enlarge the iPad picture to get close enough to get the proper outline. I went around the entire outline in this enlarge frame to get the soldier looking as they are in the final canvas picture. Once I filled in the background then we cut out the image twice and put in on either side of the tombstone to complete the picture.
Again this will not be the last Cricut project we do and we hope to have some better pictures and more detail on how to use the Cricut. Casey also has some ideas on things she would like to do to show the versatility of the Cricut. Stay tuned for more projects.
