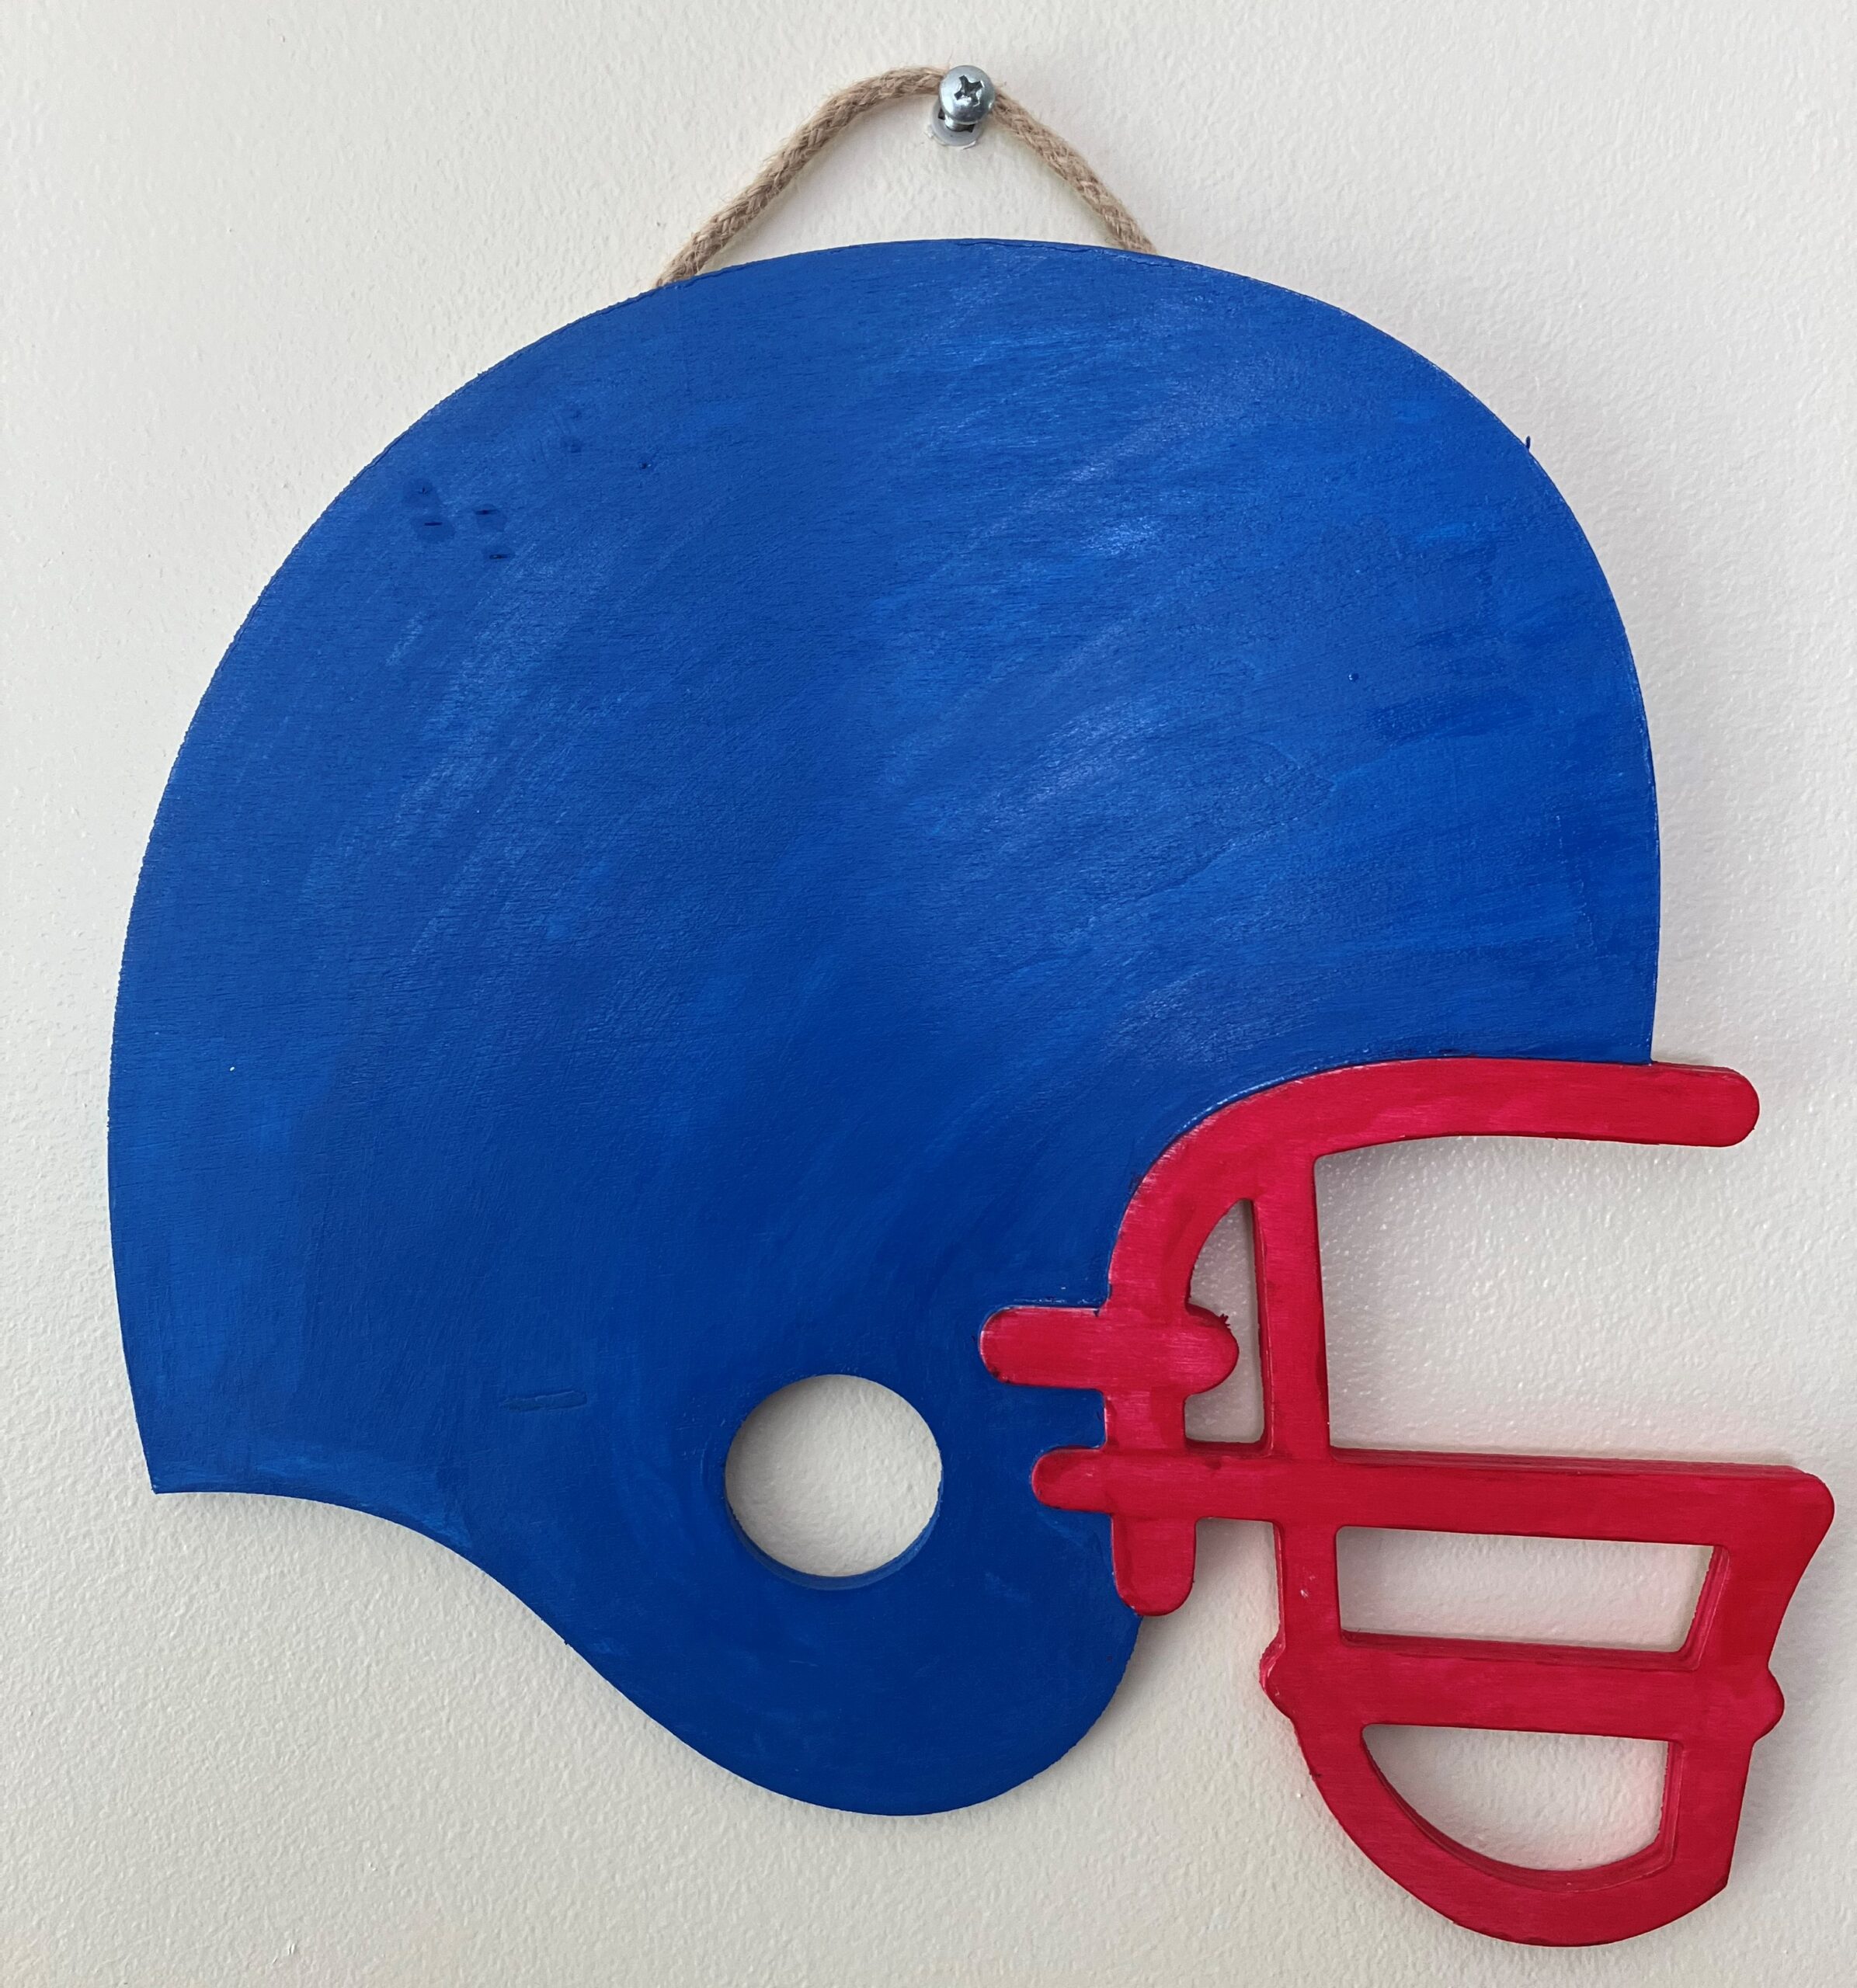
Casey and I are football fans so we were looking for some things to craft football related. I spotted a football helmet in Hobby Lobby of all places. Here it is.
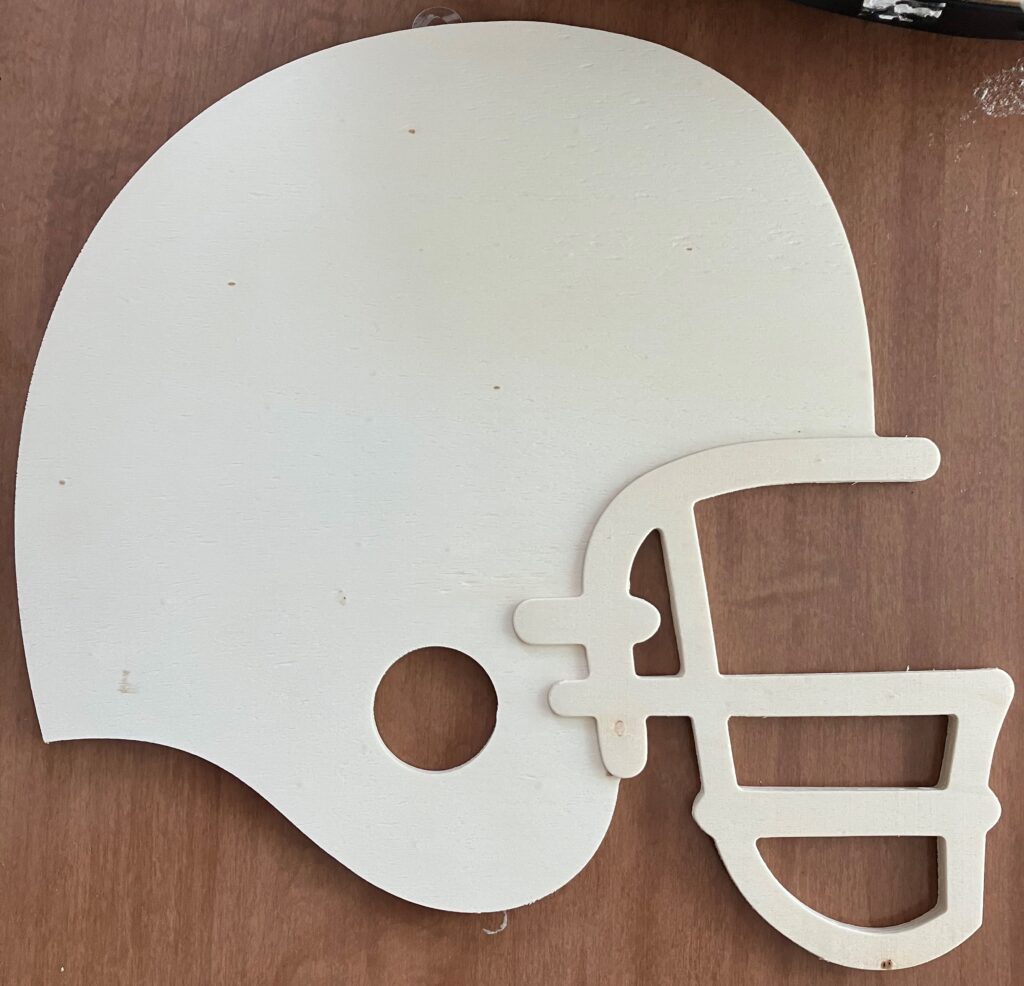
Casey and I had some discussions and thought we could craft it up a little bit. We decided to change it into a hanging wall sign. First we needed to paint it. A couple of the local schools around us are red and blue so we decided to go with a red and blue paint scheme. The red and blue paint was also purchased at Hobby Lobby.
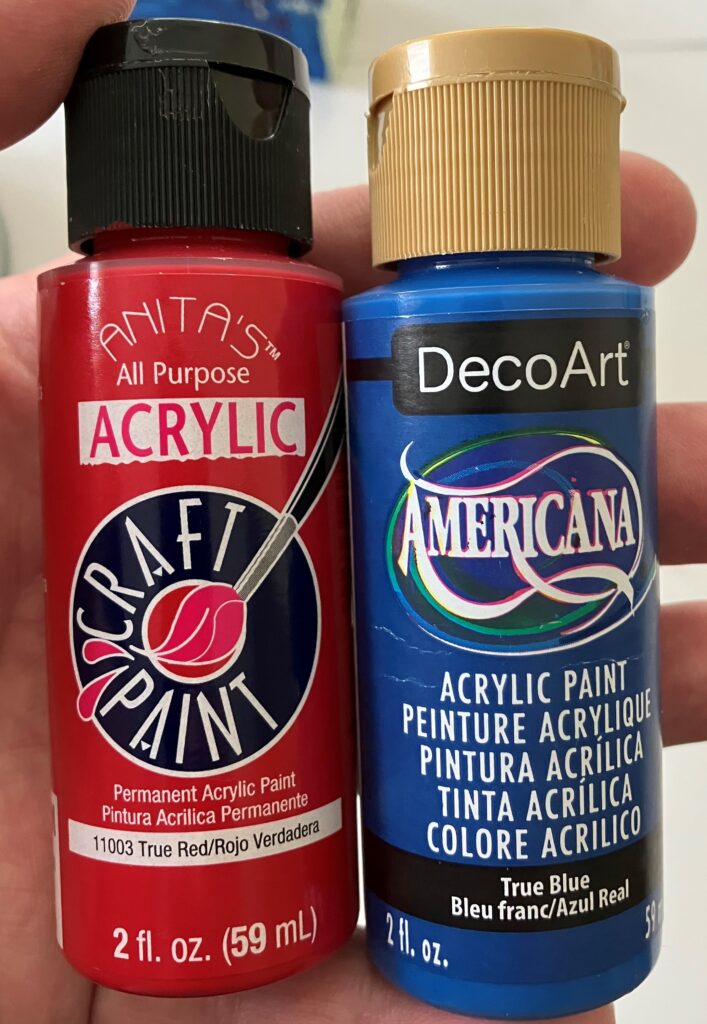
These are nothing fancy. It is just red and blue acrylic paint. We decided to paint the helmet blue and the facemask red. It was nothing really difficult but it was a little tedious to get into all the little spaces like the curves of the facemask. The transition between the blue of the helmet and the red paint of the facemask was a little difficult to keep that line good. We wanted that transition between colors to be as straight and smooth as possible. And here is the helmet after the paint.
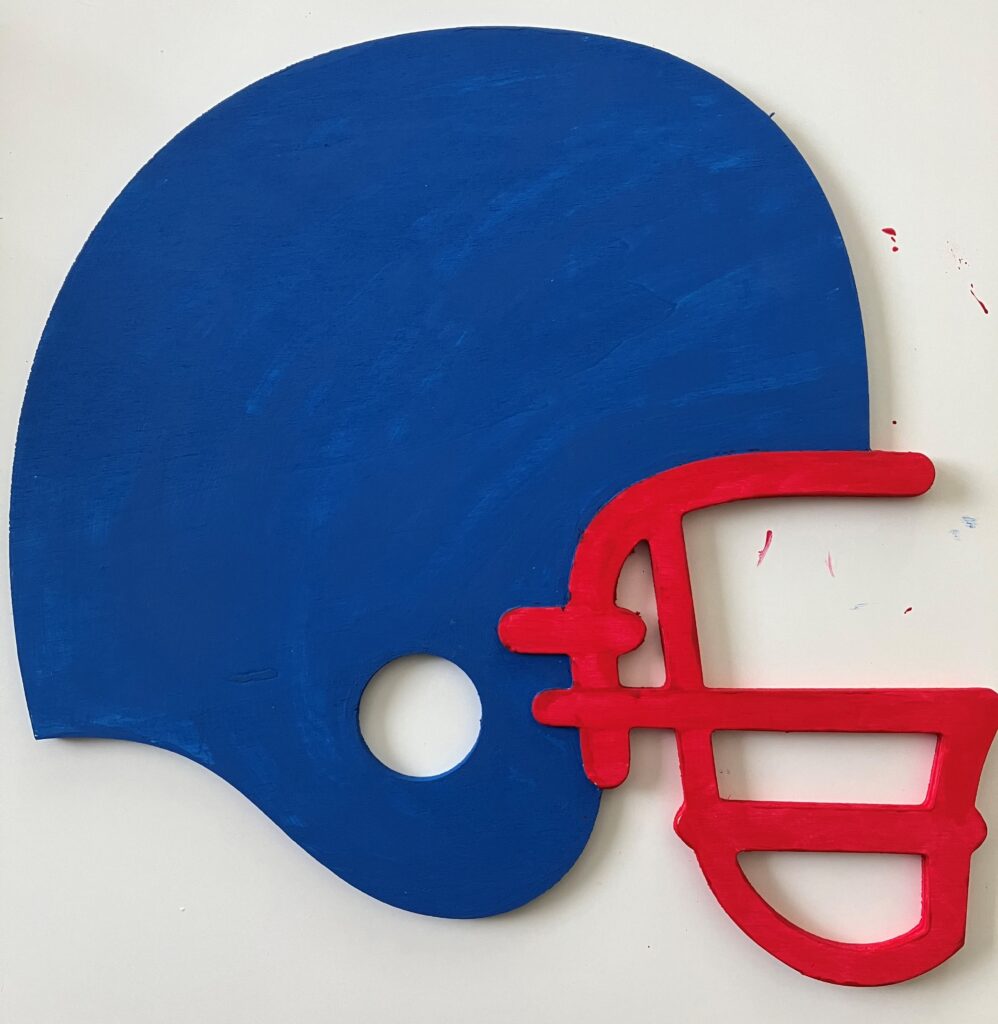
Up close like this, the faults are very noticeable. Looking at it from any distance, those little minor faults are not seen. Looking at across the room reduces those minor details even more so. We are not professionals nor do we claim to be. We understand that it is not going to be machine perfect but I think that is some of the charm of doing homemade crafts like this. After using the red and blue paint, we waited a day and applied a clear coat for protection.
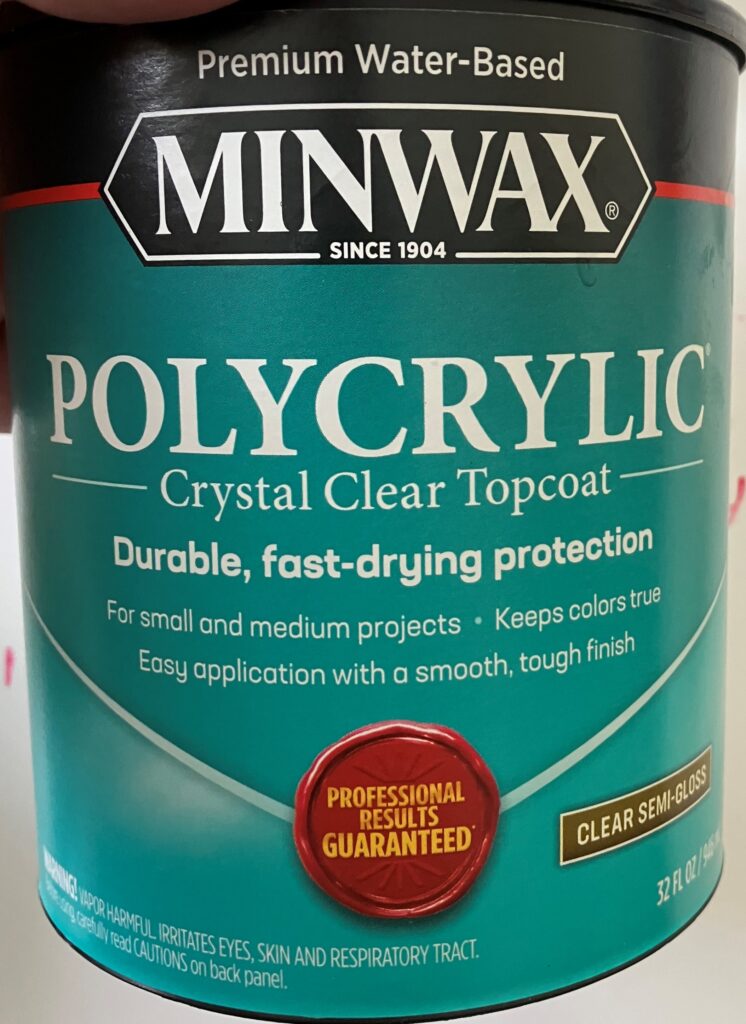
This gives it a protection layer. If somebody wants to hang it on the outside of the door, then the rain is not going to ruin the helmet. Unless you know the clear coat is on there, it is not noticeable.
Finally, we put the last touches onto the helmet to turn it into a wall sign. We are using just some twine, a staple gun and a glue gun. The twine is what will be hung on the nail. The staple gun is attaching the twine to the helmet. The glue gun is also used to attach the twine to the helmet. With the staples and glue, we are thinking the sign will hold up nicely.
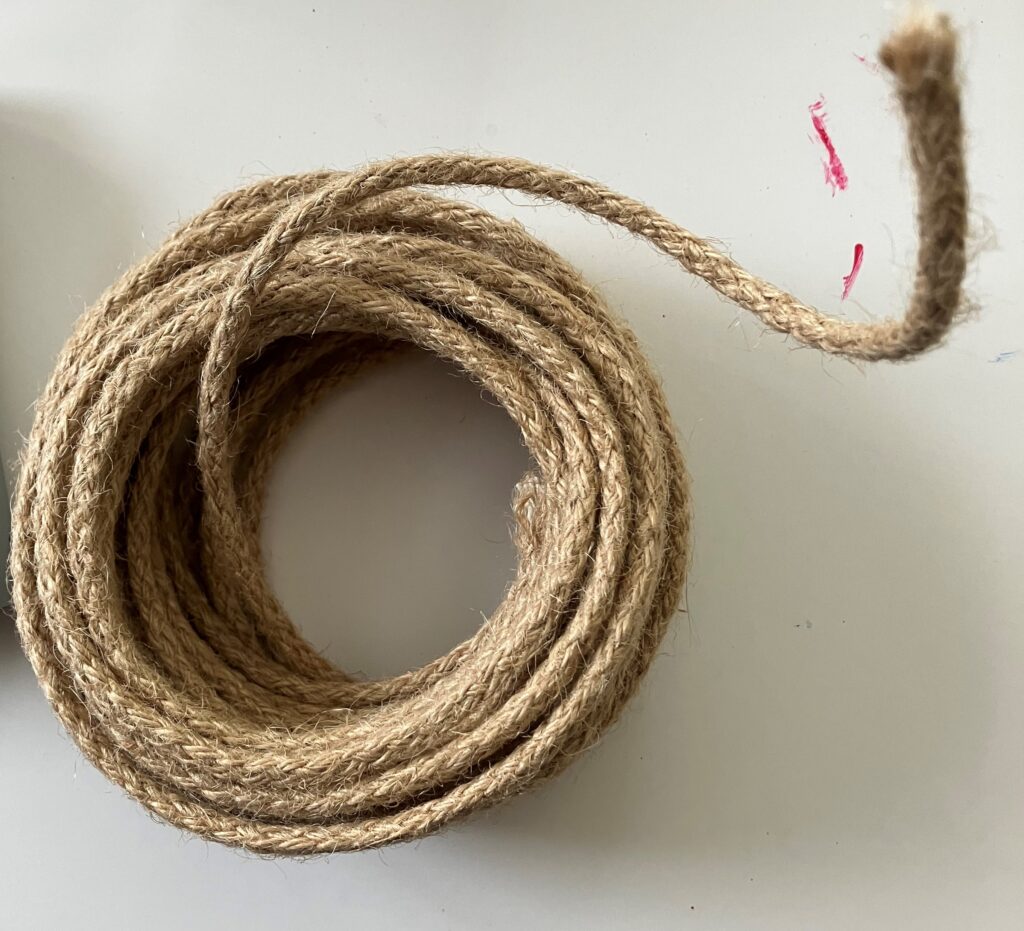
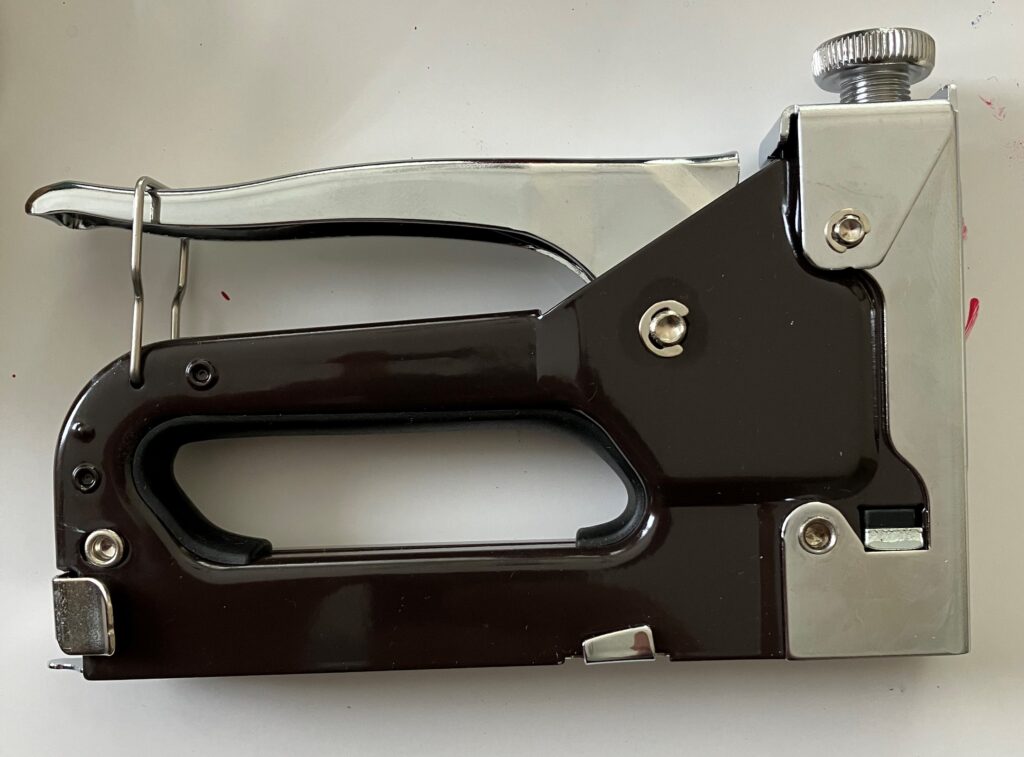
Using the staple gun with the twine and glue gun gives the helmet a nice stable platform to be hung up. By using both the staple gun and glue gun, we are adding more strength to the twine to be hung up. With the two pieces of attachment, the twine should stay on the helmet for a long time to come.
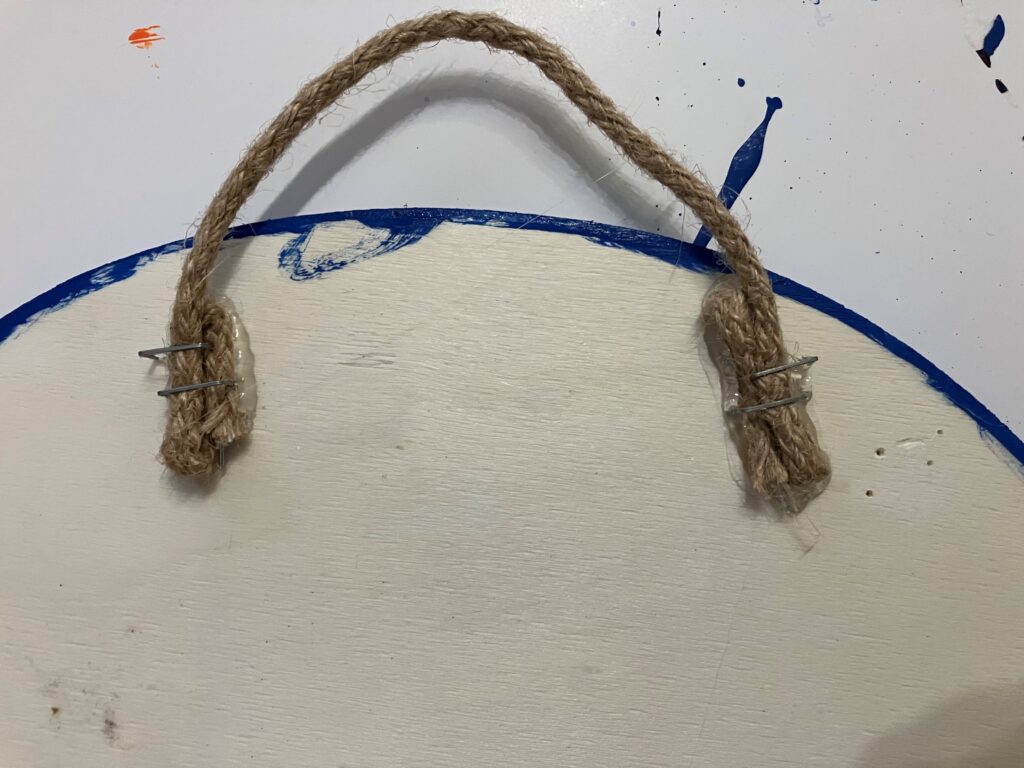
This was our first helmet so as you can see on the right of the picture above, we had to staple twice. The wood helmet is not very thick so the initial staples went right through the wood and pierced the front of the helmet. So I removed the staples and folded the twine into three layers to give the twine some height. Then I stapled the twine a 2nd time into the wood helmet. I double stapled the twine on both sides. Using the folded twine, only 1 point of a staple barely came through to the other side. This is the first piece of wood item we have used so this was an unexpected issue. It was quickly solved and became a learning experience for us moving forward. We will probably fold the twine 4 or 5 times next time to give the staple enough space behind the helmet so it does not pierce the front.
Because the staple poked through the front of the helmet, we touched up those four or five little spots. Up close and knowing where to look, you can see the touch-ups. Looking from afar or not knowing the touch ups are there, they are hard to find.
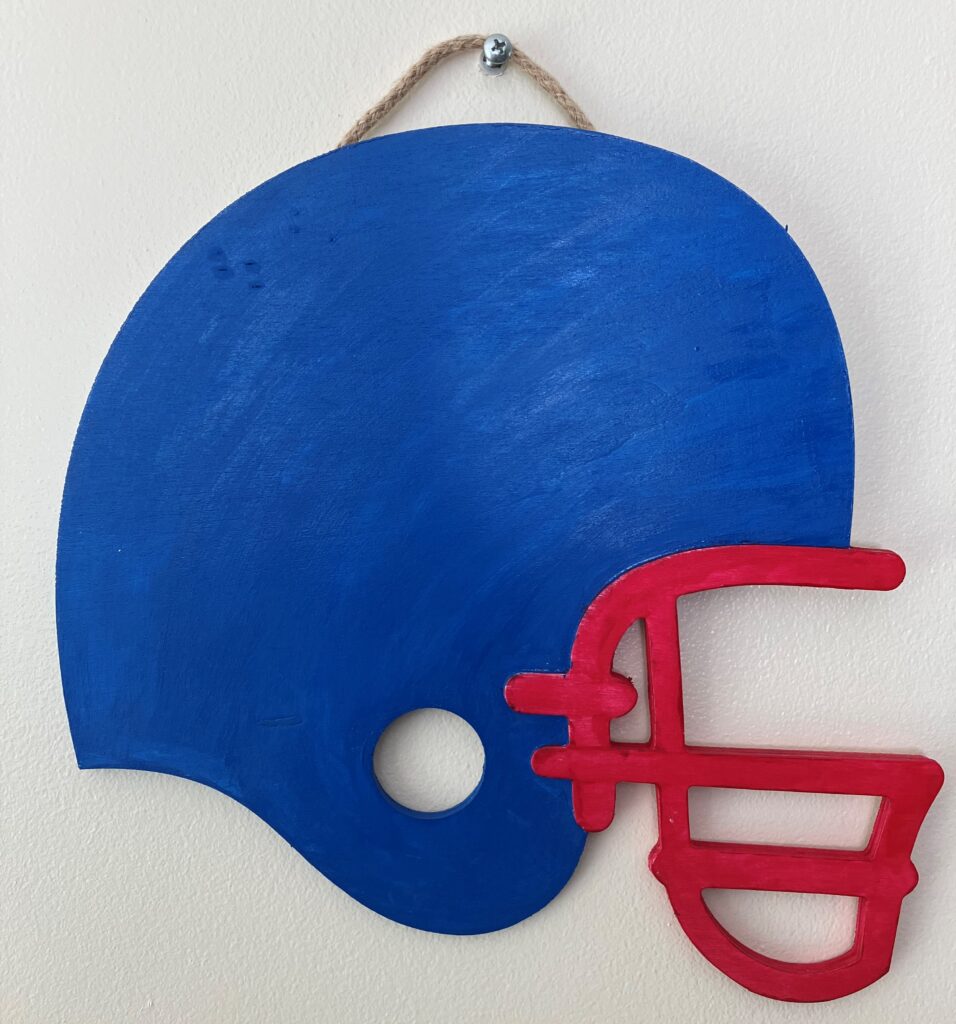
Overall this was a nice little project. It is not very difficult. The only problem areas of the project was painting the edge of the facemask with the round part of the helmet. The edge of the red and blue paint. While this was the most difficult part, it was not hard. Just tedious.
The only other struggle was getting the brush into the small spaces of the facemask to get it all painted red. A nice slanted brush tip made the job much easier. It was difficult to get in there because of the bend needed to get the brush tip into those spaces.
We are planning to add some more details to additional helmets as we continue to do some more. This was a couple hours of work spaced out over about 3 days just to give paint ample enough time for the paint to dry. I think this will be a great project for kids anywhere from 3rd grade to high school. It is something quick and easy and would make a great gift for any parent of a football player or a football player themselves.

