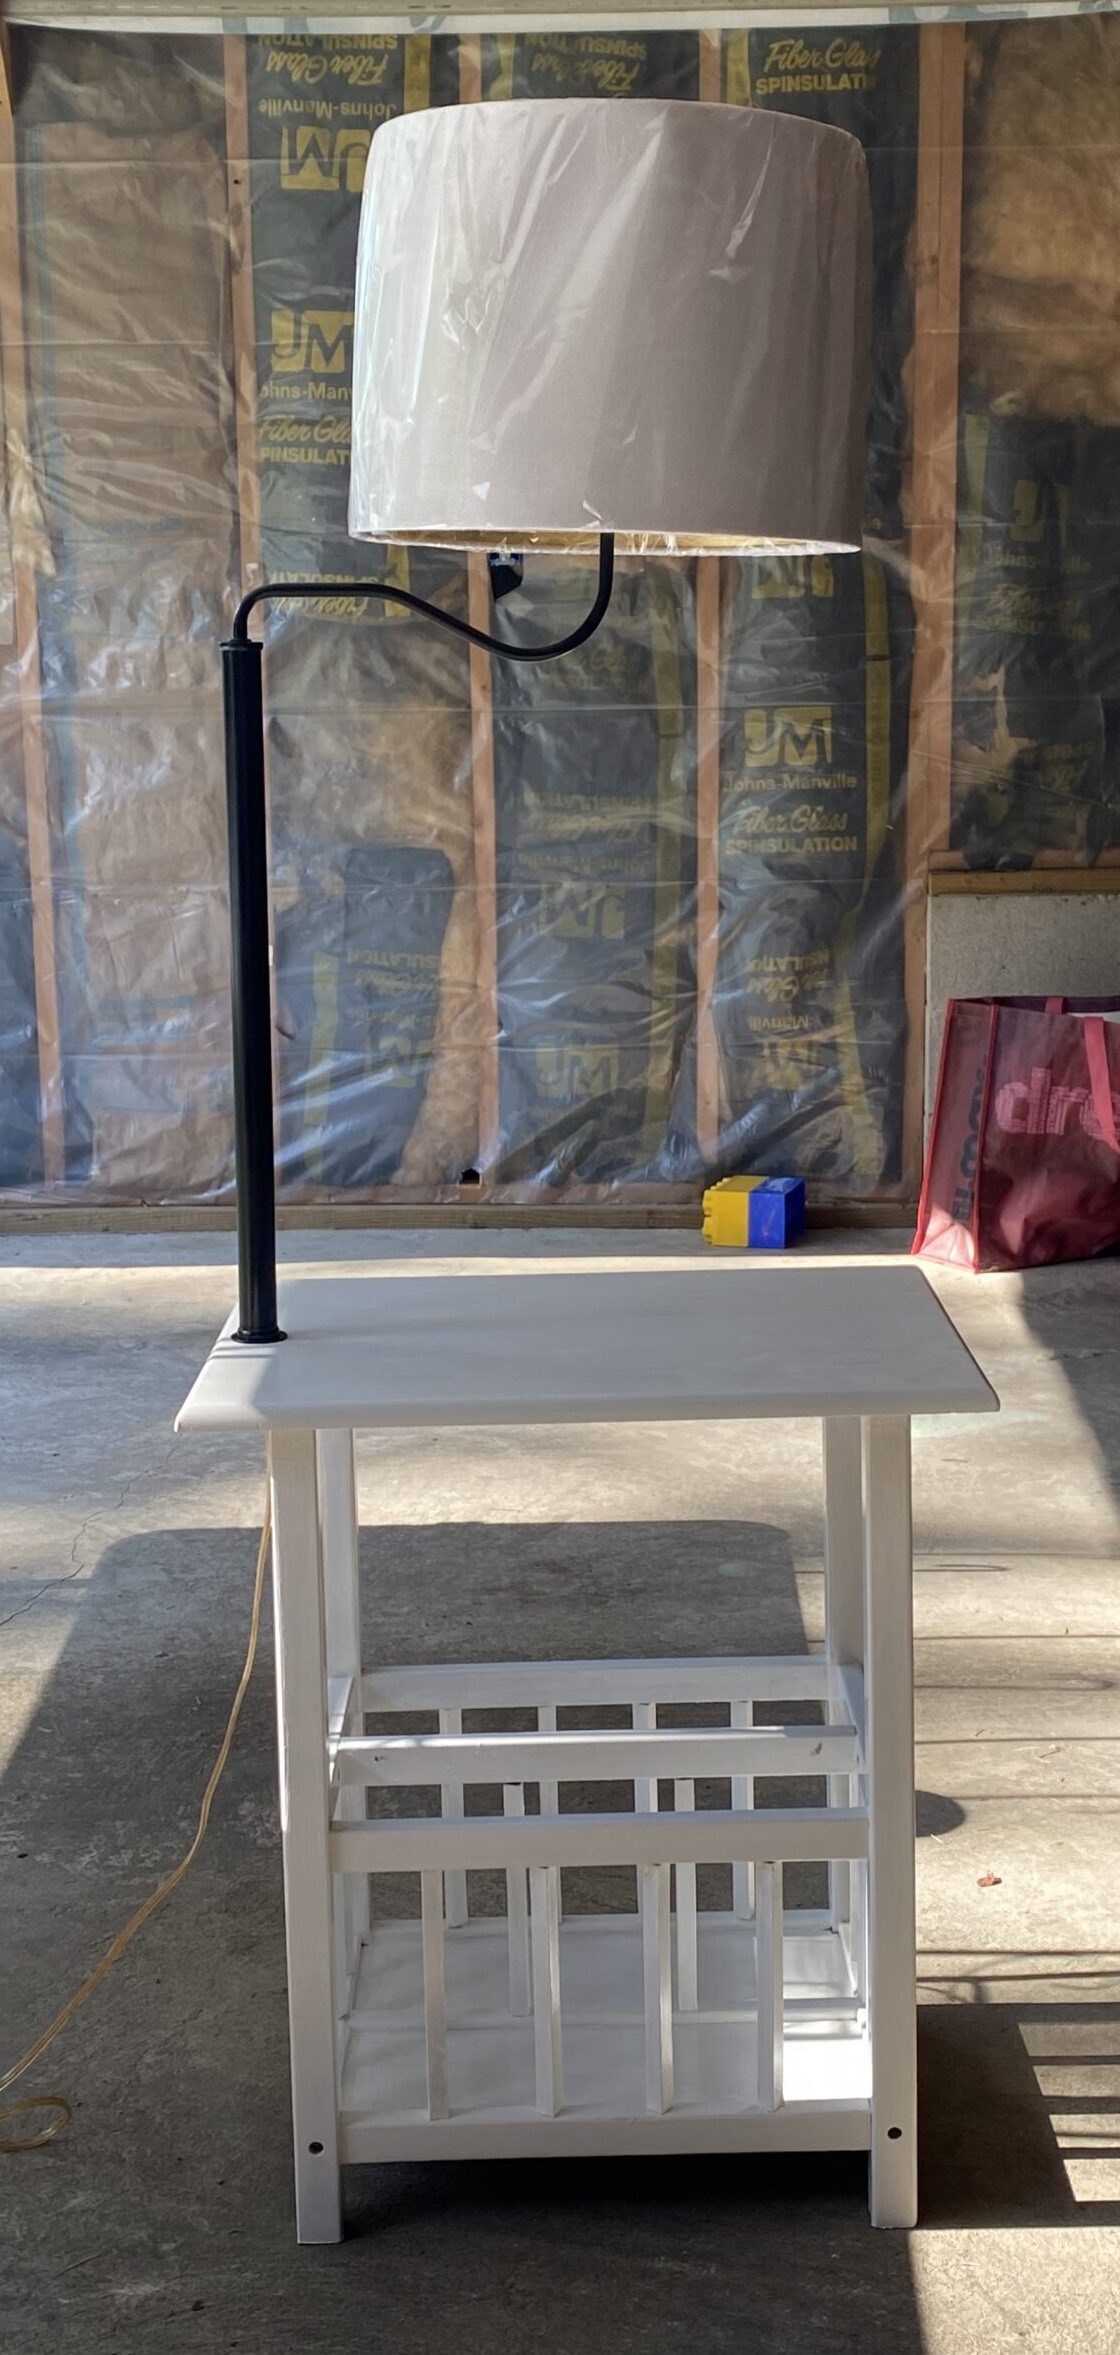
This was a project completed by Casey. She did all the work on it. She wanted a bedside end table with a lamp on it and it just so happened we found one on an online auction. From the very beginning this was also a piece that was going to end up in our bedroom next to our bed. This was never an instance where the end table was going to be sold. This end table had some minor damage but it was not to an extent where we did not think we could fix it up and get it looking fairly new. We were lucky because the first thing we did was plug the lamp in and check to see if the light fixture was working. And to our surprise and joy, it worked. So after checking that we knew we did not have to change the electric chord which made the refurbishment a little easier. So follow along and see the changes we were able to make.
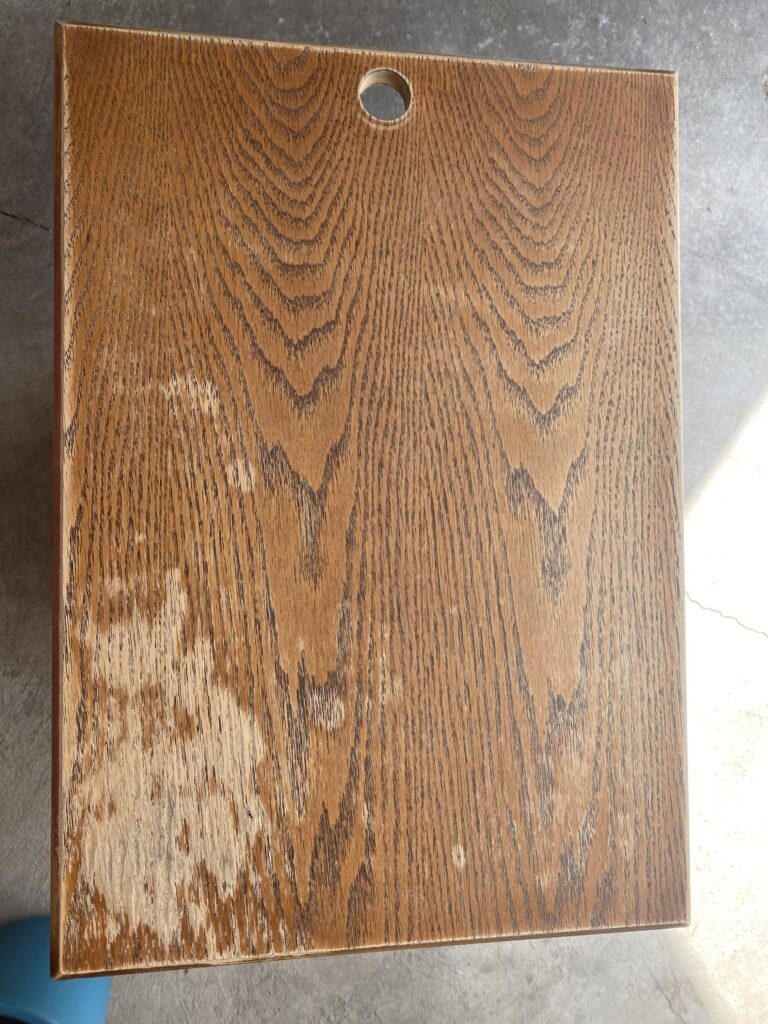
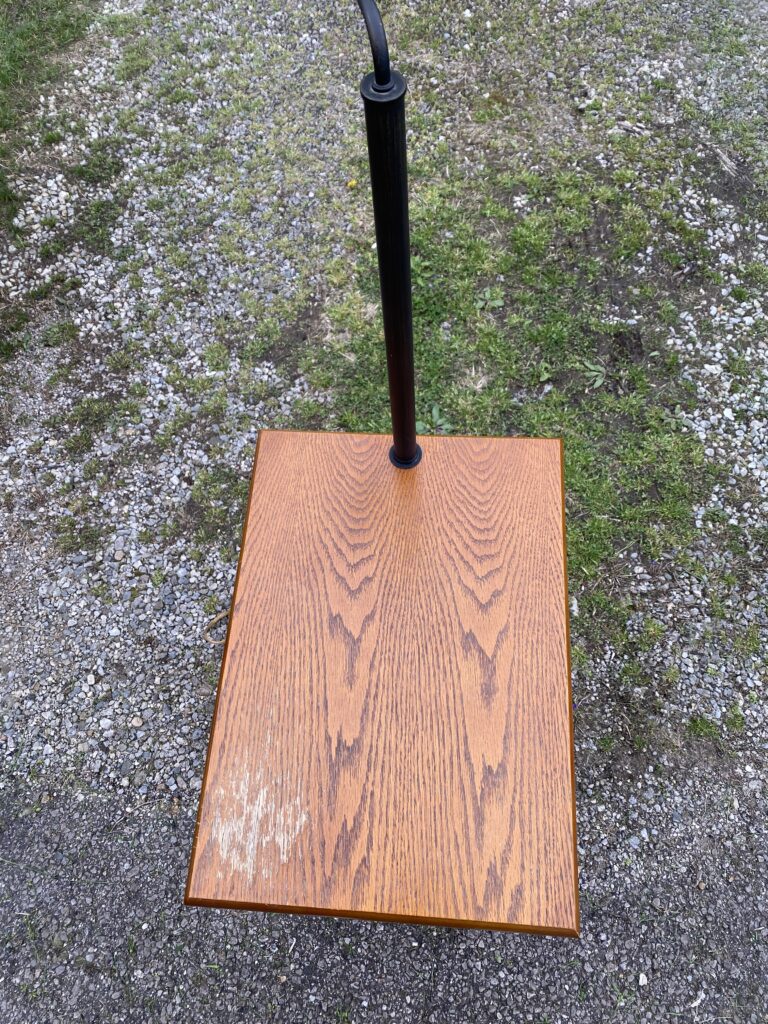
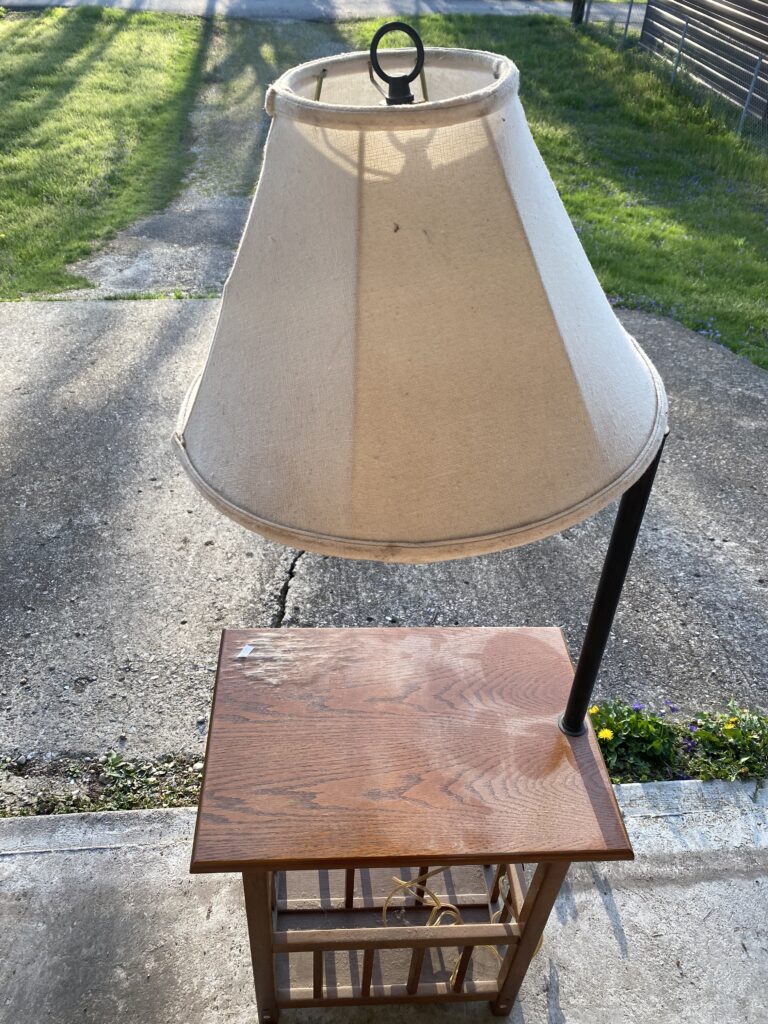
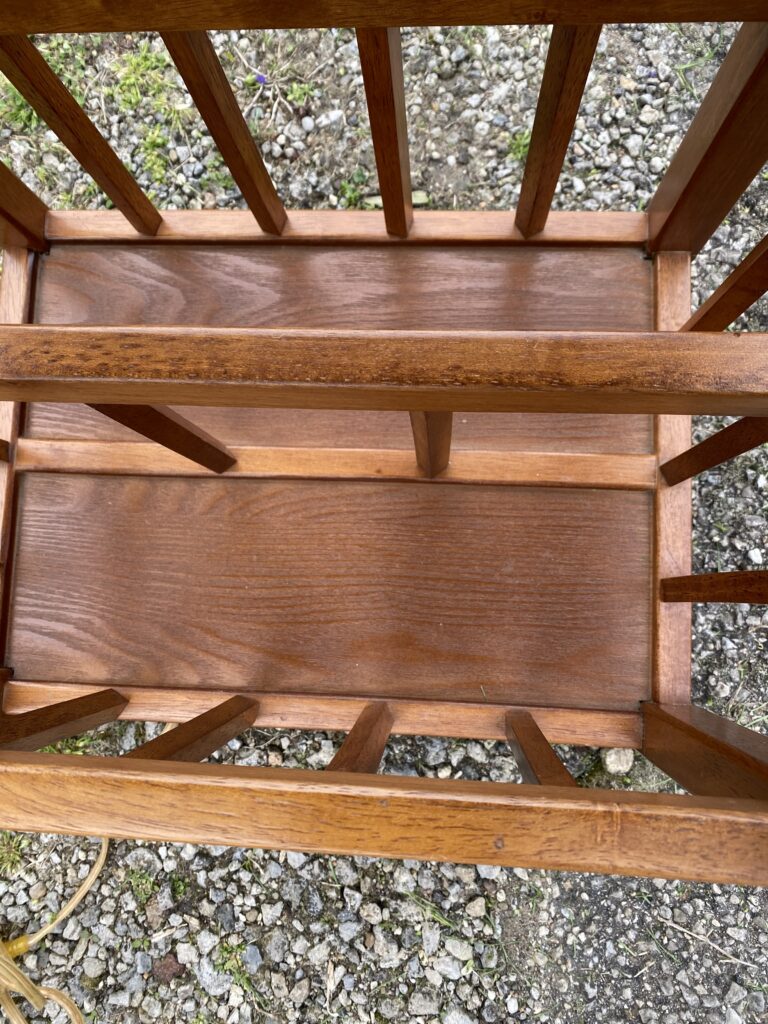
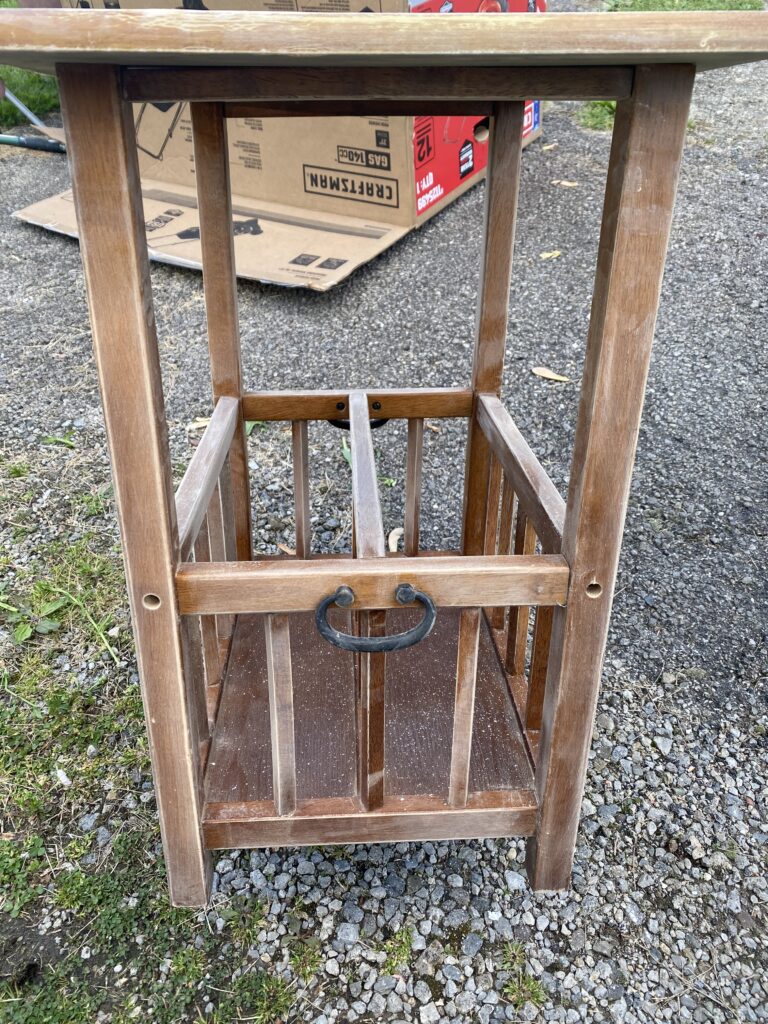
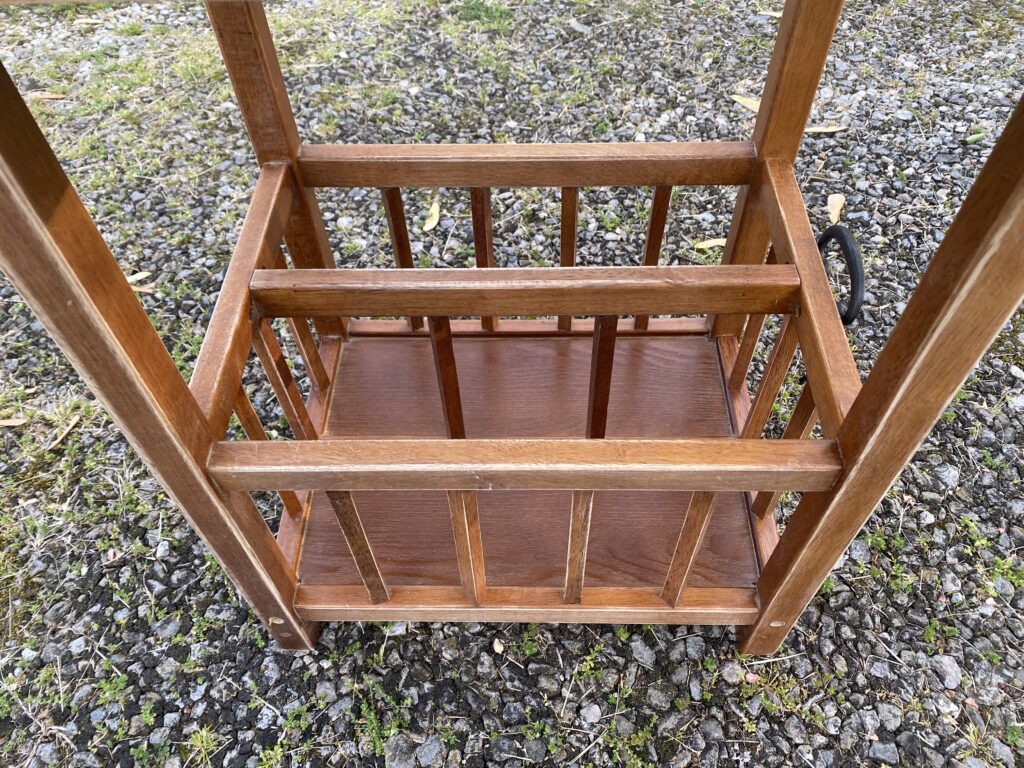
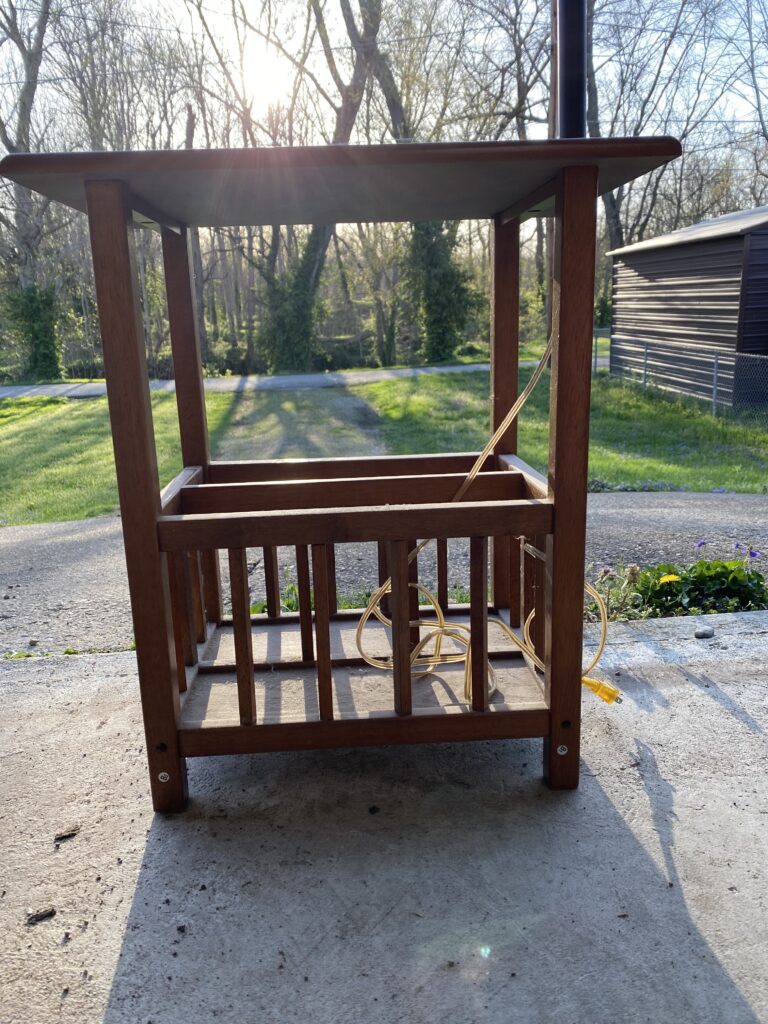
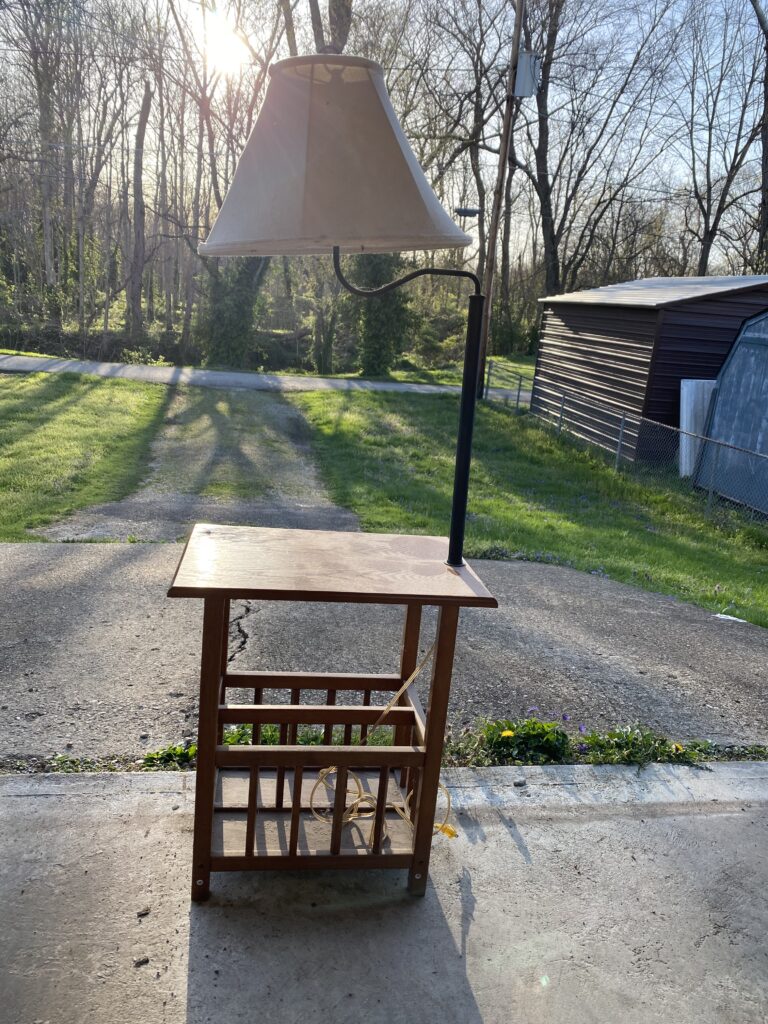
This is what the end table looked like before we starting doing any work on it. The lampshade was old and slightly yellow so that was immediately removed and a new lampshade was going to be put on once finished. The lamp post and handles on the basket were removed and set aside. Once the lamp post and handles were taken off, then the work the end table needed was easy to see. The first thing was the water damage on the top of the table needed to be fixed.
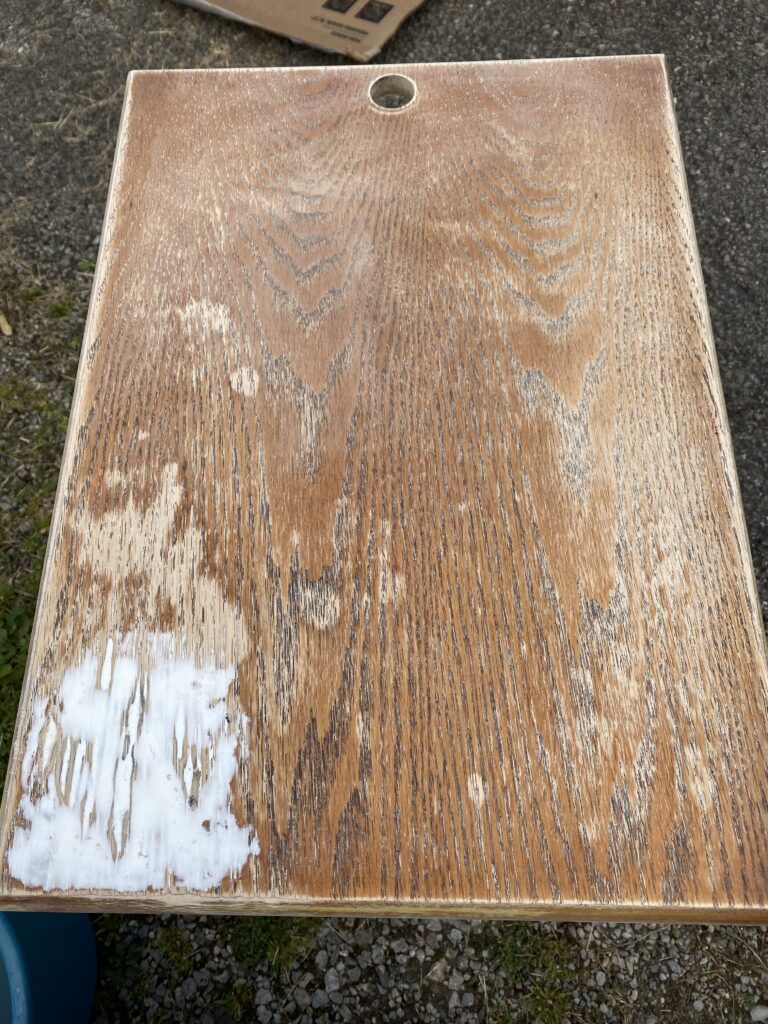
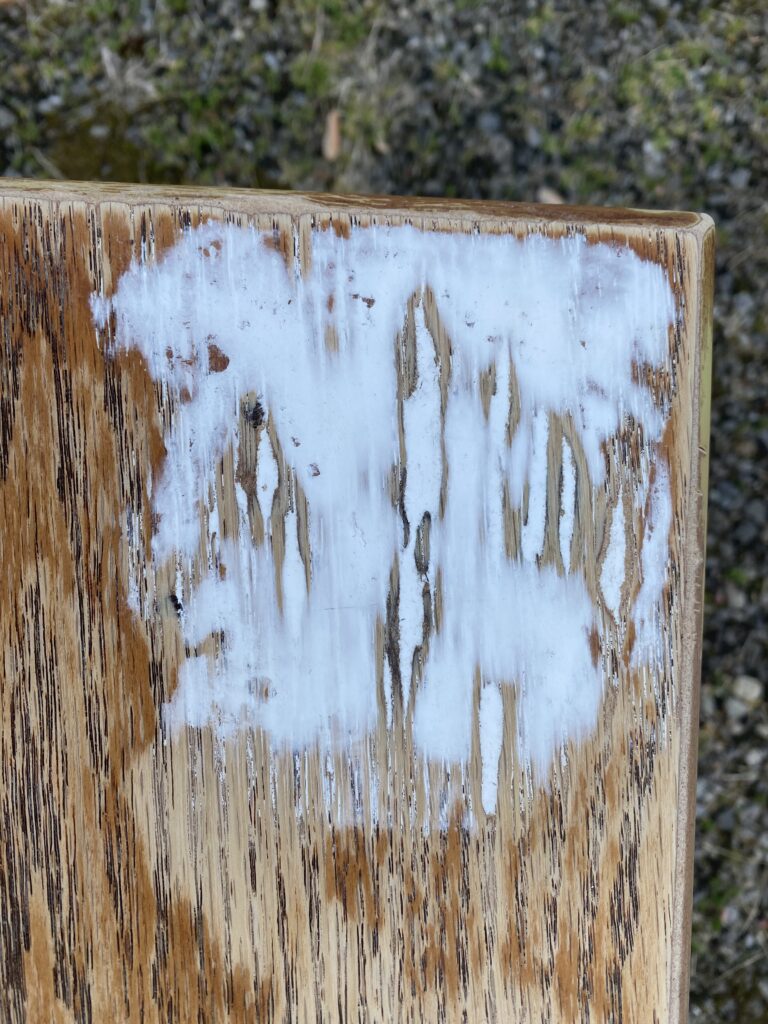
The corner of the end table had water damage. The top layer was starting to split and peel off. Casey filled in the corner with wood filler to smooth out the top of the table. Casey filled it in and let it dry and then came back a second day and re-applied the wood filler in the few spots that did not get smooth out after the first application. As you can see, she had to put quite a bit of the wood filler into the crevices of the table to smooth it out. Once the wood filler had been applied then she was able to sand the entire end table including the damaged corner. She started with a 90 grit sandpaper first. That took off the most damaged parts, then she went up to a 150 grit, and finally a 180 grit paper to smooth the entire surface of the end table. Other then the water damage on the corner she used the wood filler on, everything else was in good condition. After using the sand paper the damaged corner was smooth to the touch and, aside from the visual, it did not feel any different then the rest of the end table.
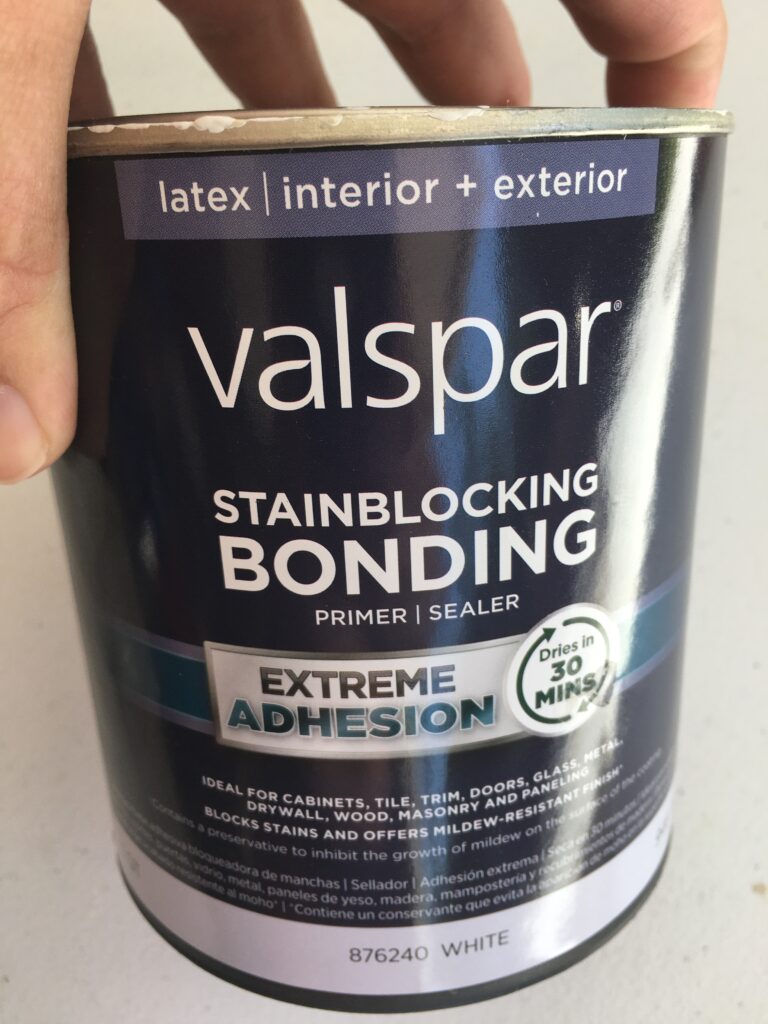
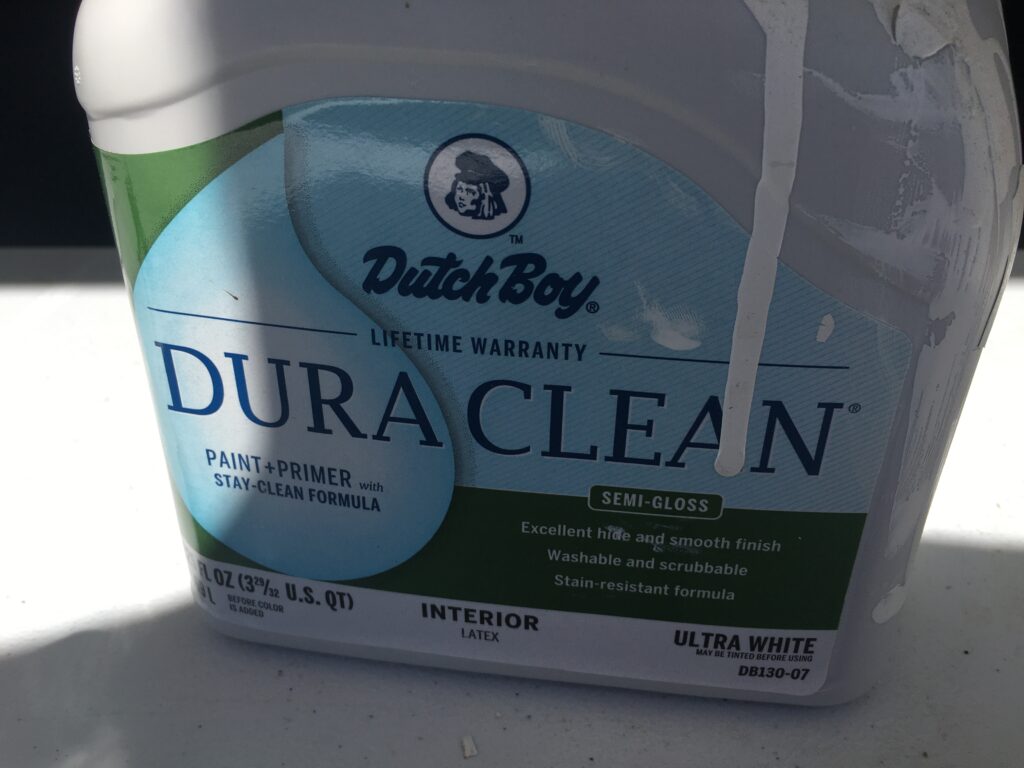
After sanding the end table, Casey painted used the Valspar primer first. This was to help put a layer down to help the white paint stick better. After putting a coat of the primer down, Casey was able to paint 2 more coats of the white paint to completely change the old worn looking wood into a new painted end table.
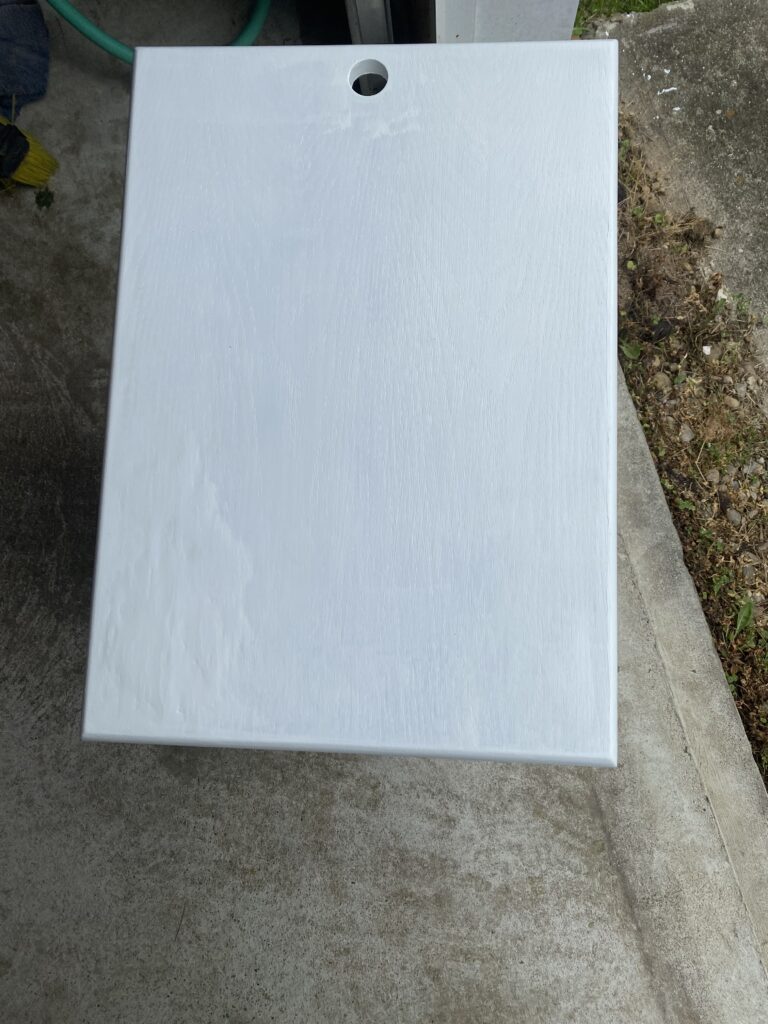
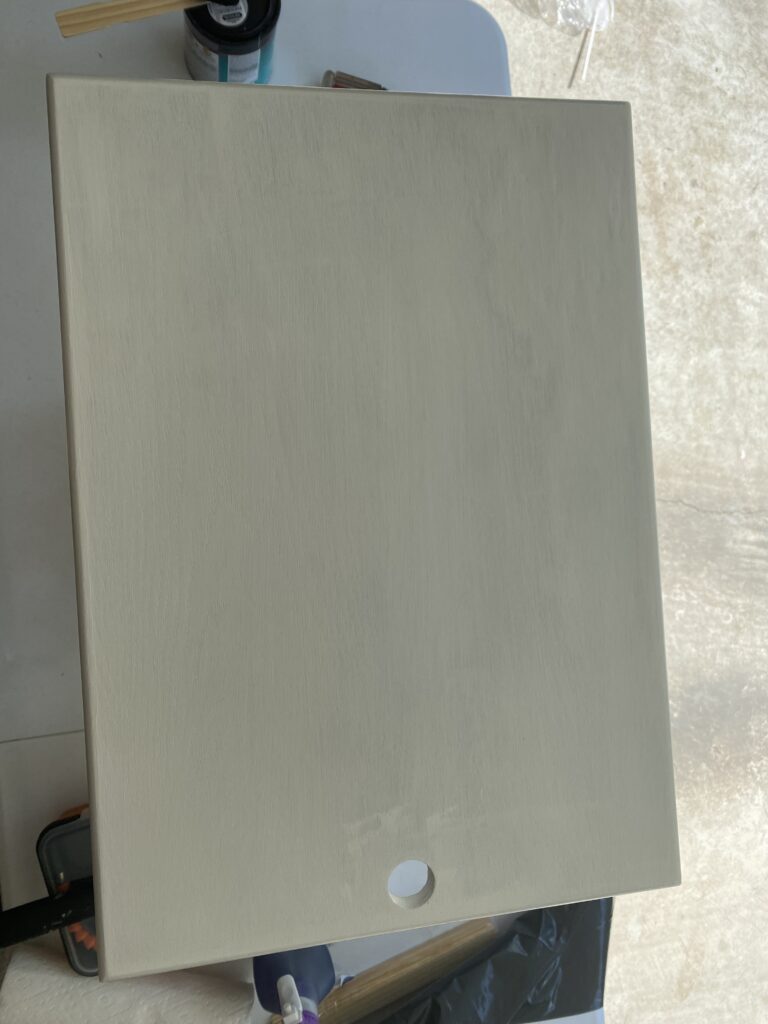
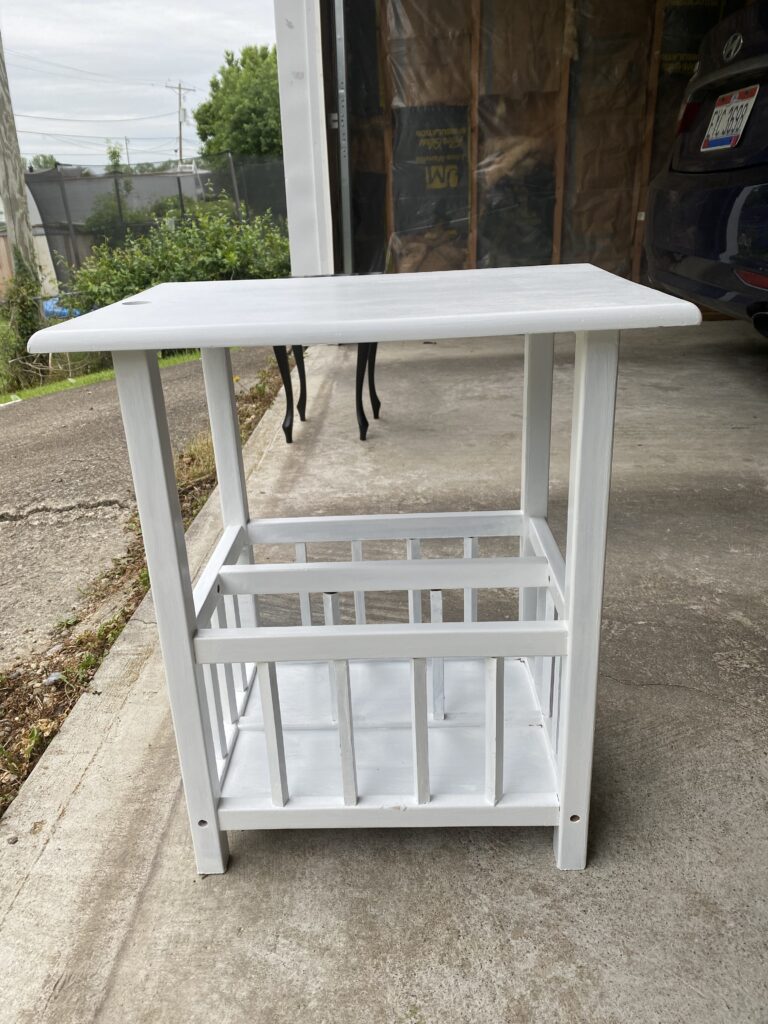
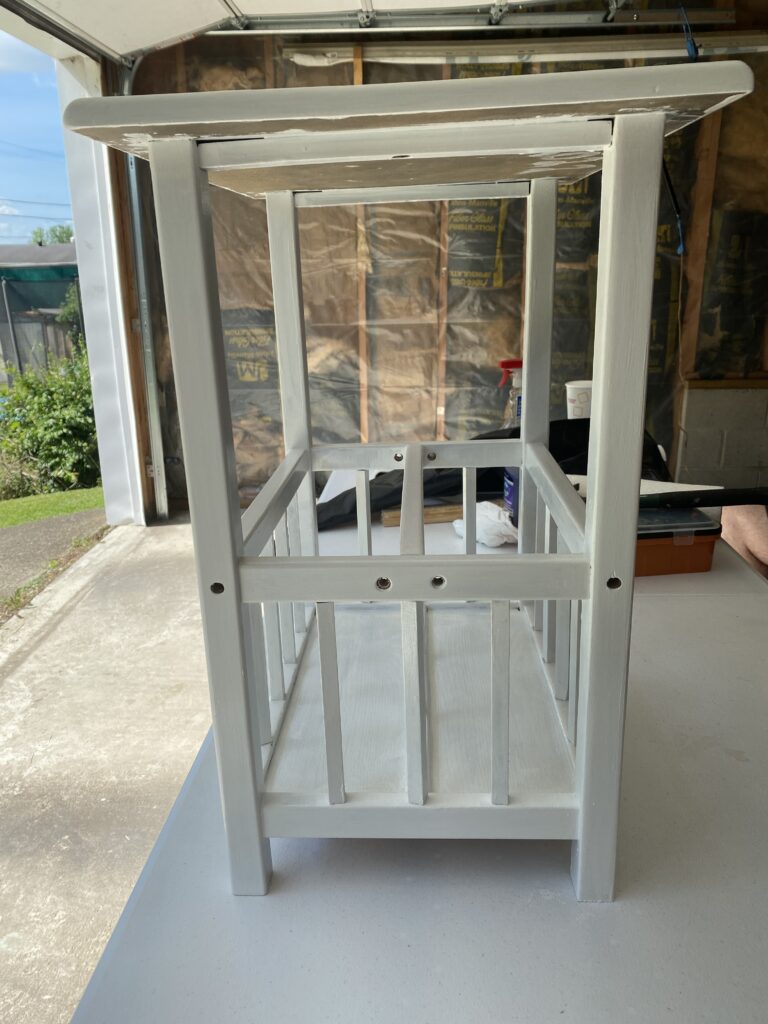
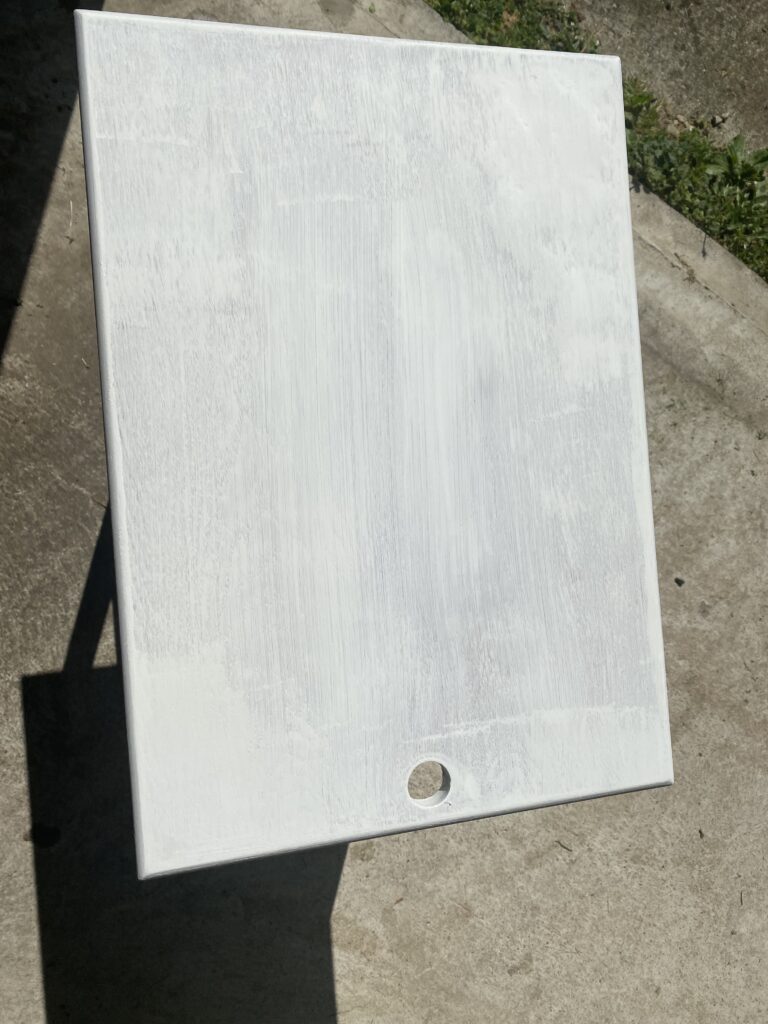
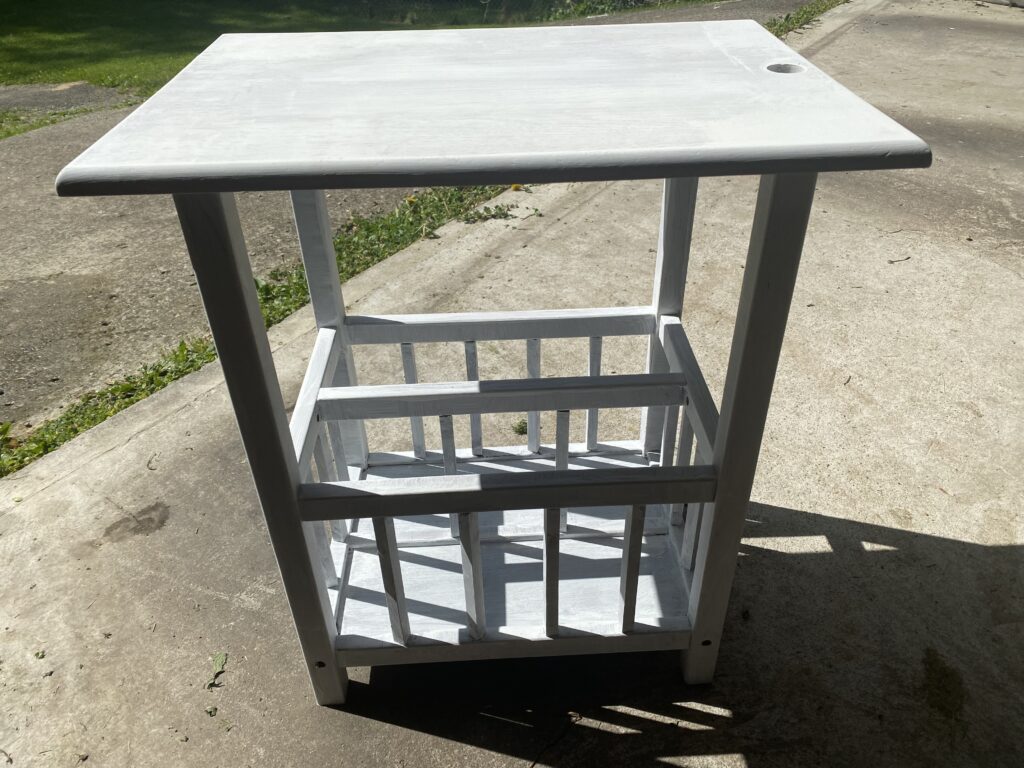
Here is the end table after it was completely primed and painted white. The top left picture, you can see the outline where the wood filler was used. But it is hard to see in the other pictures unless you are really trying to find it. Even though that picture shows the wood filler clearly, it does not show to the eye or touch unless you are really trying to find it. The underneath basket was in good shape right from the beginning of the buy so not much work was done to it. The painted was difficult for the basket because of the space to get into the basket to paint it. The rectangular columns also were hard to paint because they are designed to spin. So once Casey started to put some pressure on each column, it would spin to the inside. This caused some frustration just because of the slowness it took to keep each column from spinning while painted. It did make it nice because each column could spin so once one side was painted then the column could turn and the other sides of the column could be painted without having to reach inside the basket to paint the columns. So the columns made it hard to paint by spinning but also made it easier to paint in other ways. Casey also added a coat of sealer once she finished painting the white to give the end table a layer of protection against possible future water damage. This clear coat should help the end table not warp if it does get some water spilled on it.
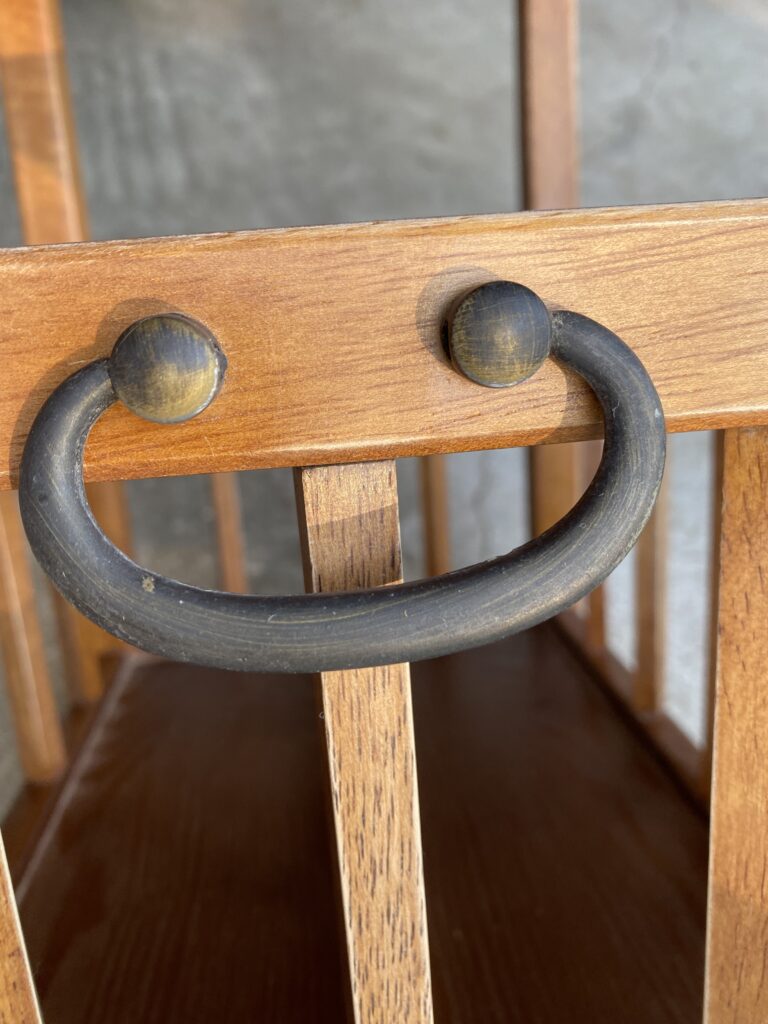
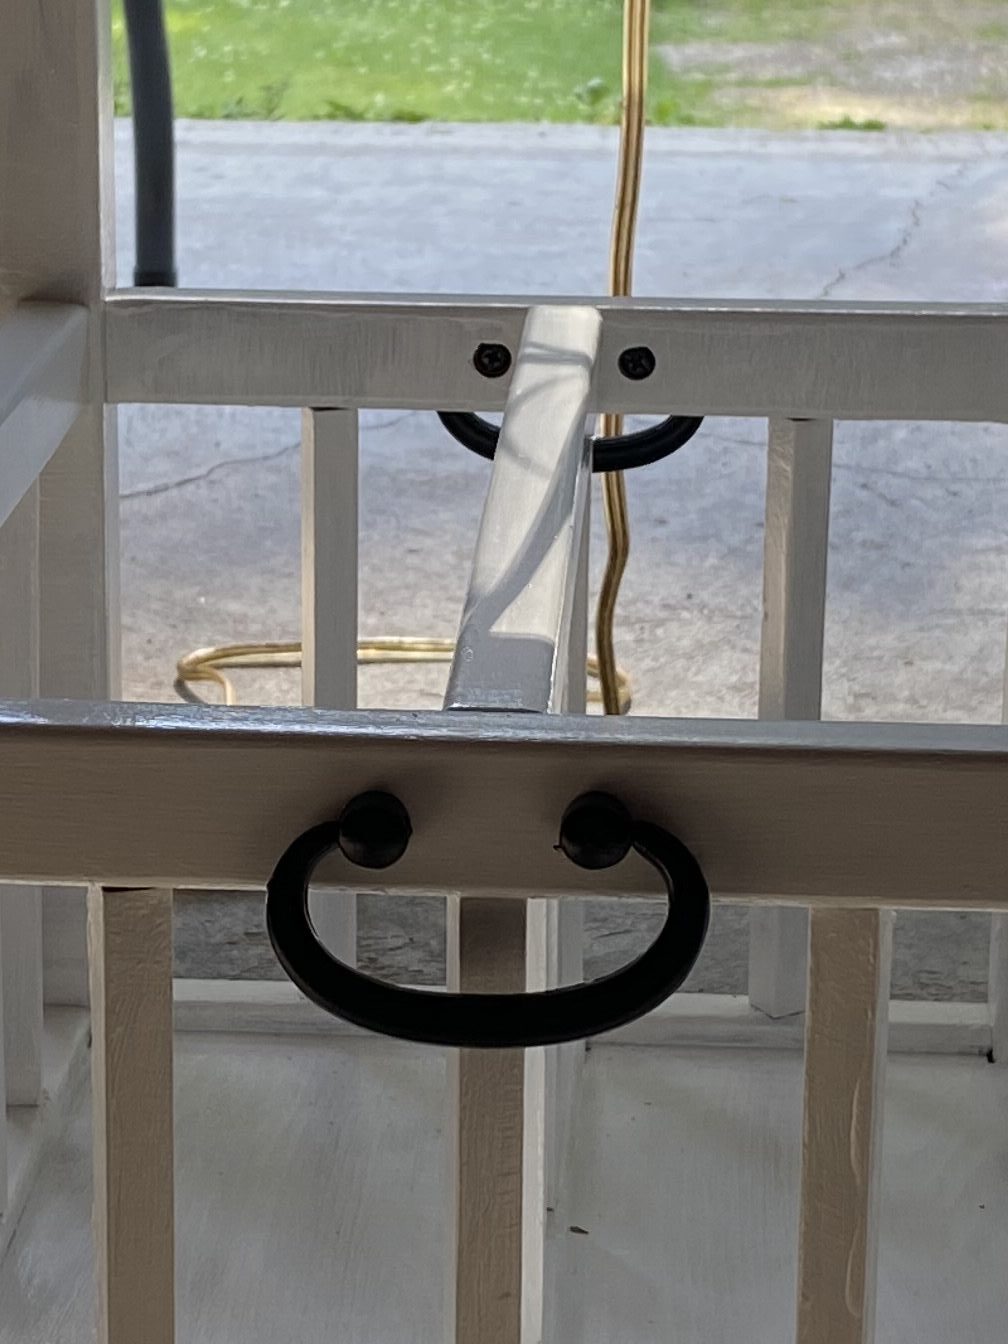
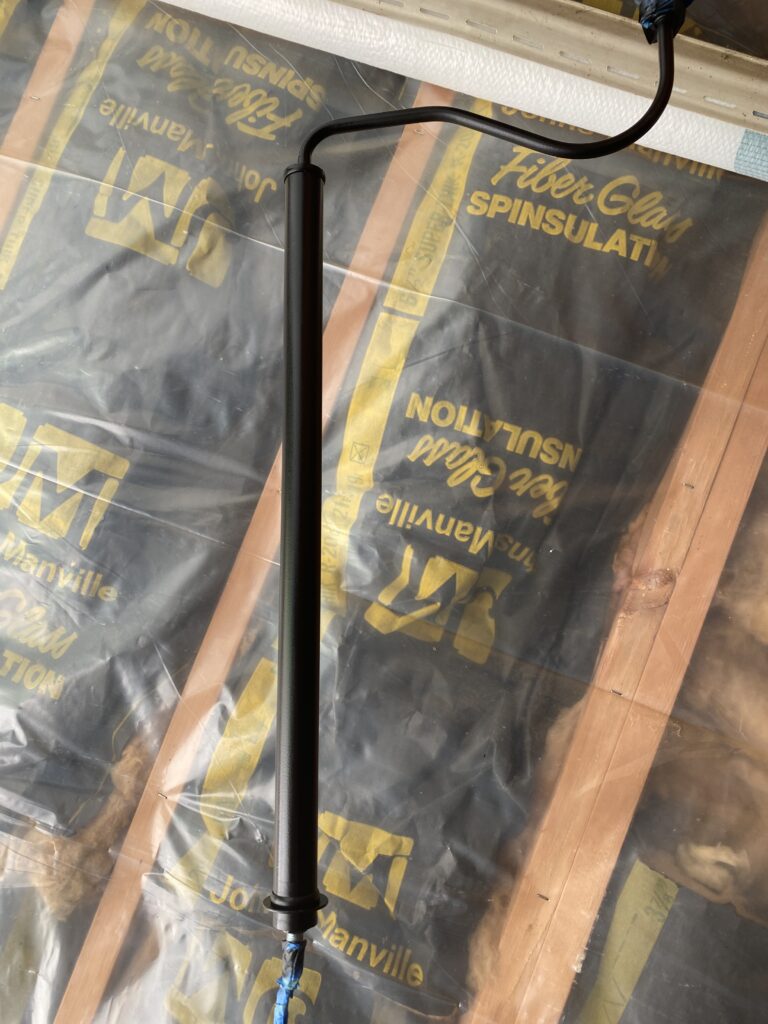
The last bit of work need was to take the two handles on the basket and the lamp post and spray paint those three pieces black to get them new color. As you can see the faded black handles look brand new with the coat of spray paint. The lamp post became much more vibrant with the new color as well. The last thing was the addition of a new lamp shade and the end table would be finished.
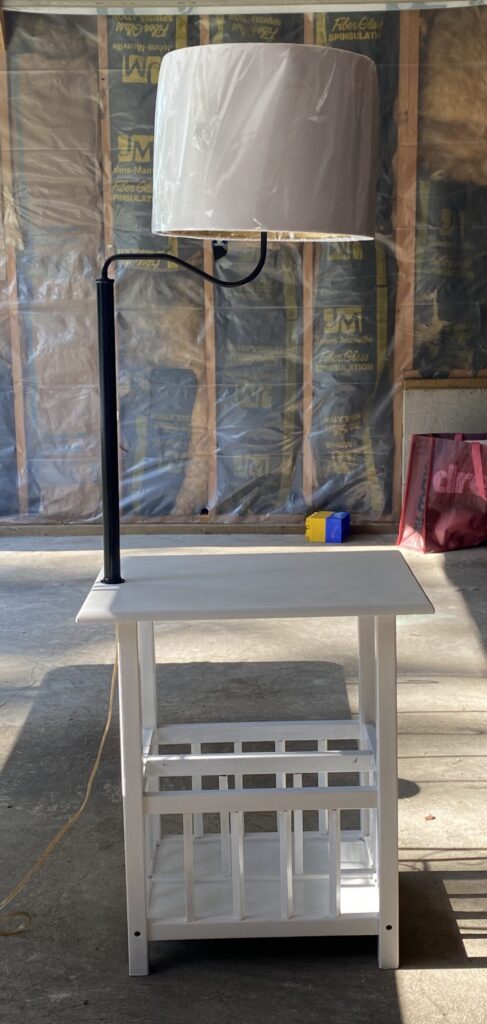
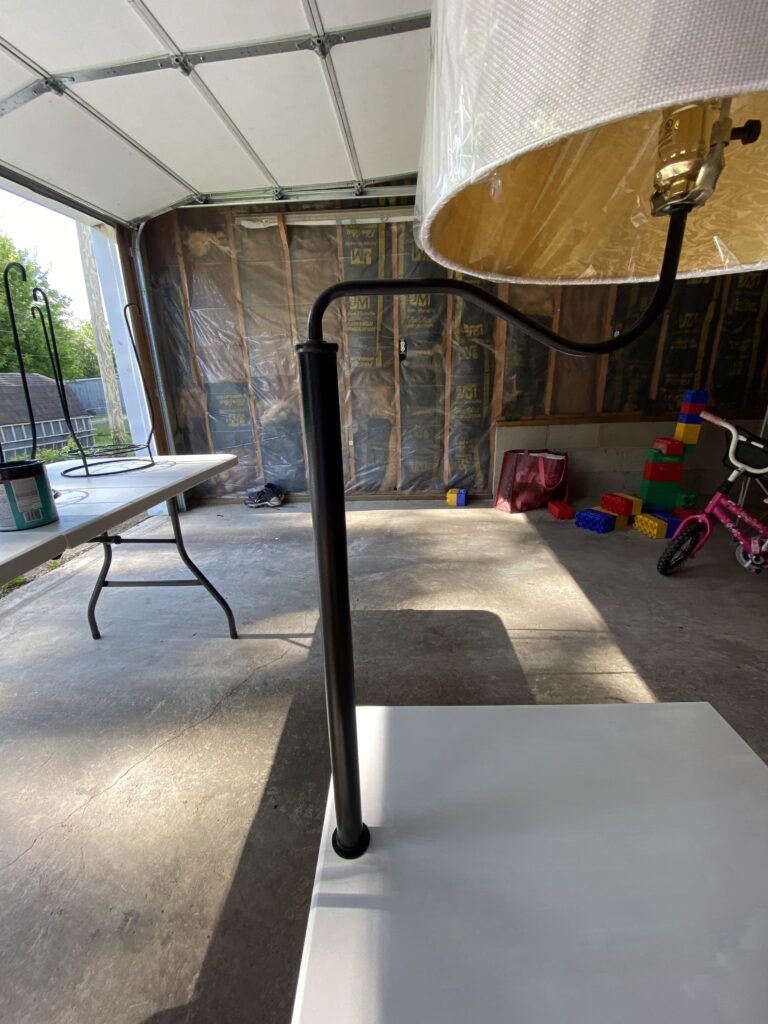
And here is the final refurbished end table. A new lamp shade was added. A new light bulb was put in and everything was put back into place and the end table was ready to go into the bedroom next to the bed. Since this end table was always going to be put into our bedroom, the decision making process was easier because we were able to do what we wanted without thinking about whether our decisions would cause the end table not to sell. It made it nice to not have to second guess our decisions and just do what we wanted.

