Casey decided to decorate an egg for some additional Easter decoration. The original egg was bought at a store and she painted a checkerboard design to create the Easter Egg Decoration. At first the egg looked like this.
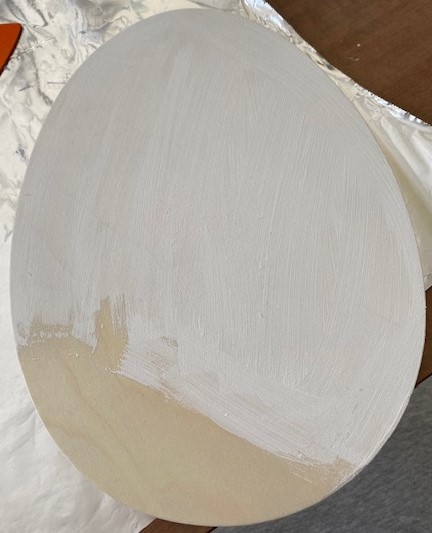
We are still learning to stop and take more pictures as we are working. We tend to get wrapped up in the work and figure to take pictures. So the original egg is the beige color at the bottom. Casey first painted the entire egg white to begin with. After the egg was painted white came the tedious part of getting the checkerboard color on it.
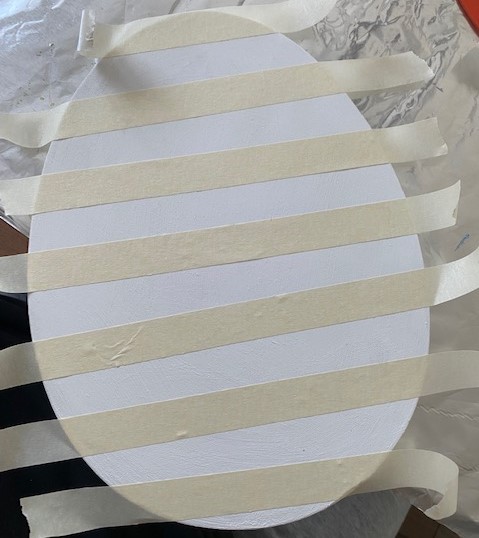
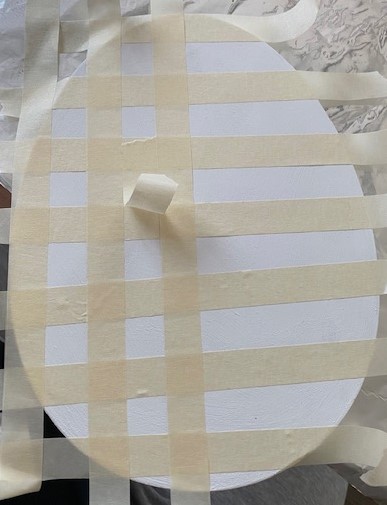
In order to get the checkerboard pattern, Casey added strips of tape both horizontally and vertically to cover the egg outside of the checkerboard left off the tape.
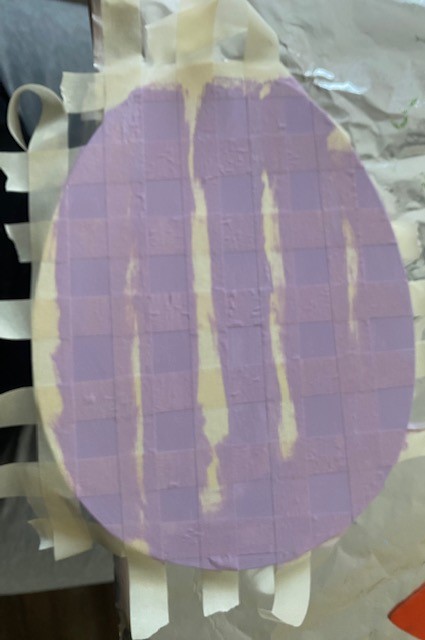
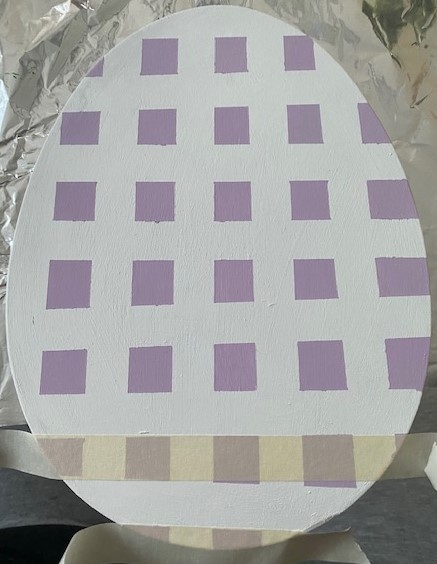
Once all the tape was down, Casey painted the entire egg purple. The tape once pulled brought up most of the purple paint. The purple checkerboard not on the tape was left on the egg. This is the desired effect we were looking for. Once the purple paint dried, taped was laid back down and a coat of pink was painted in the same way. Again, we are learning to take pictures through the entire project. This led to a forgetful moment of not getting any pictures of the 2nd tape being put down and the pink paint being applied.
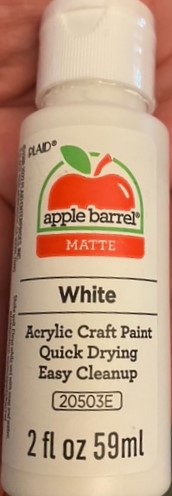

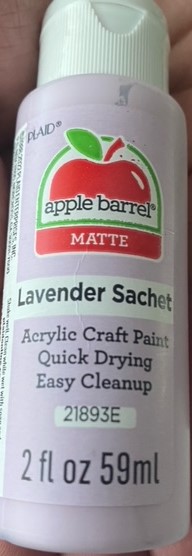
The three colors of white, pink and purple paint was used with the paint shown above. This is the crafting paint Casey used. She bought it from Wal-Mart.
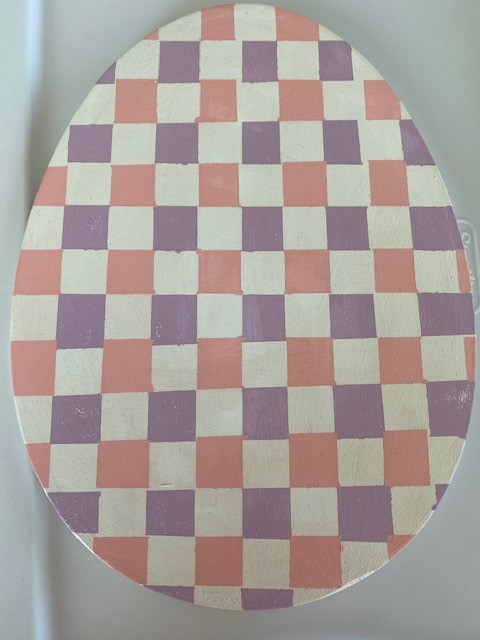
Once the pink paint was added, we were able to have a completed Easter Egg Decoration. This will be a nice little addition to our Easter Weekend. This project took about 2 hours total to complete. The biggest thing was giving the time for the paint to dry before starting the next part of painting.
