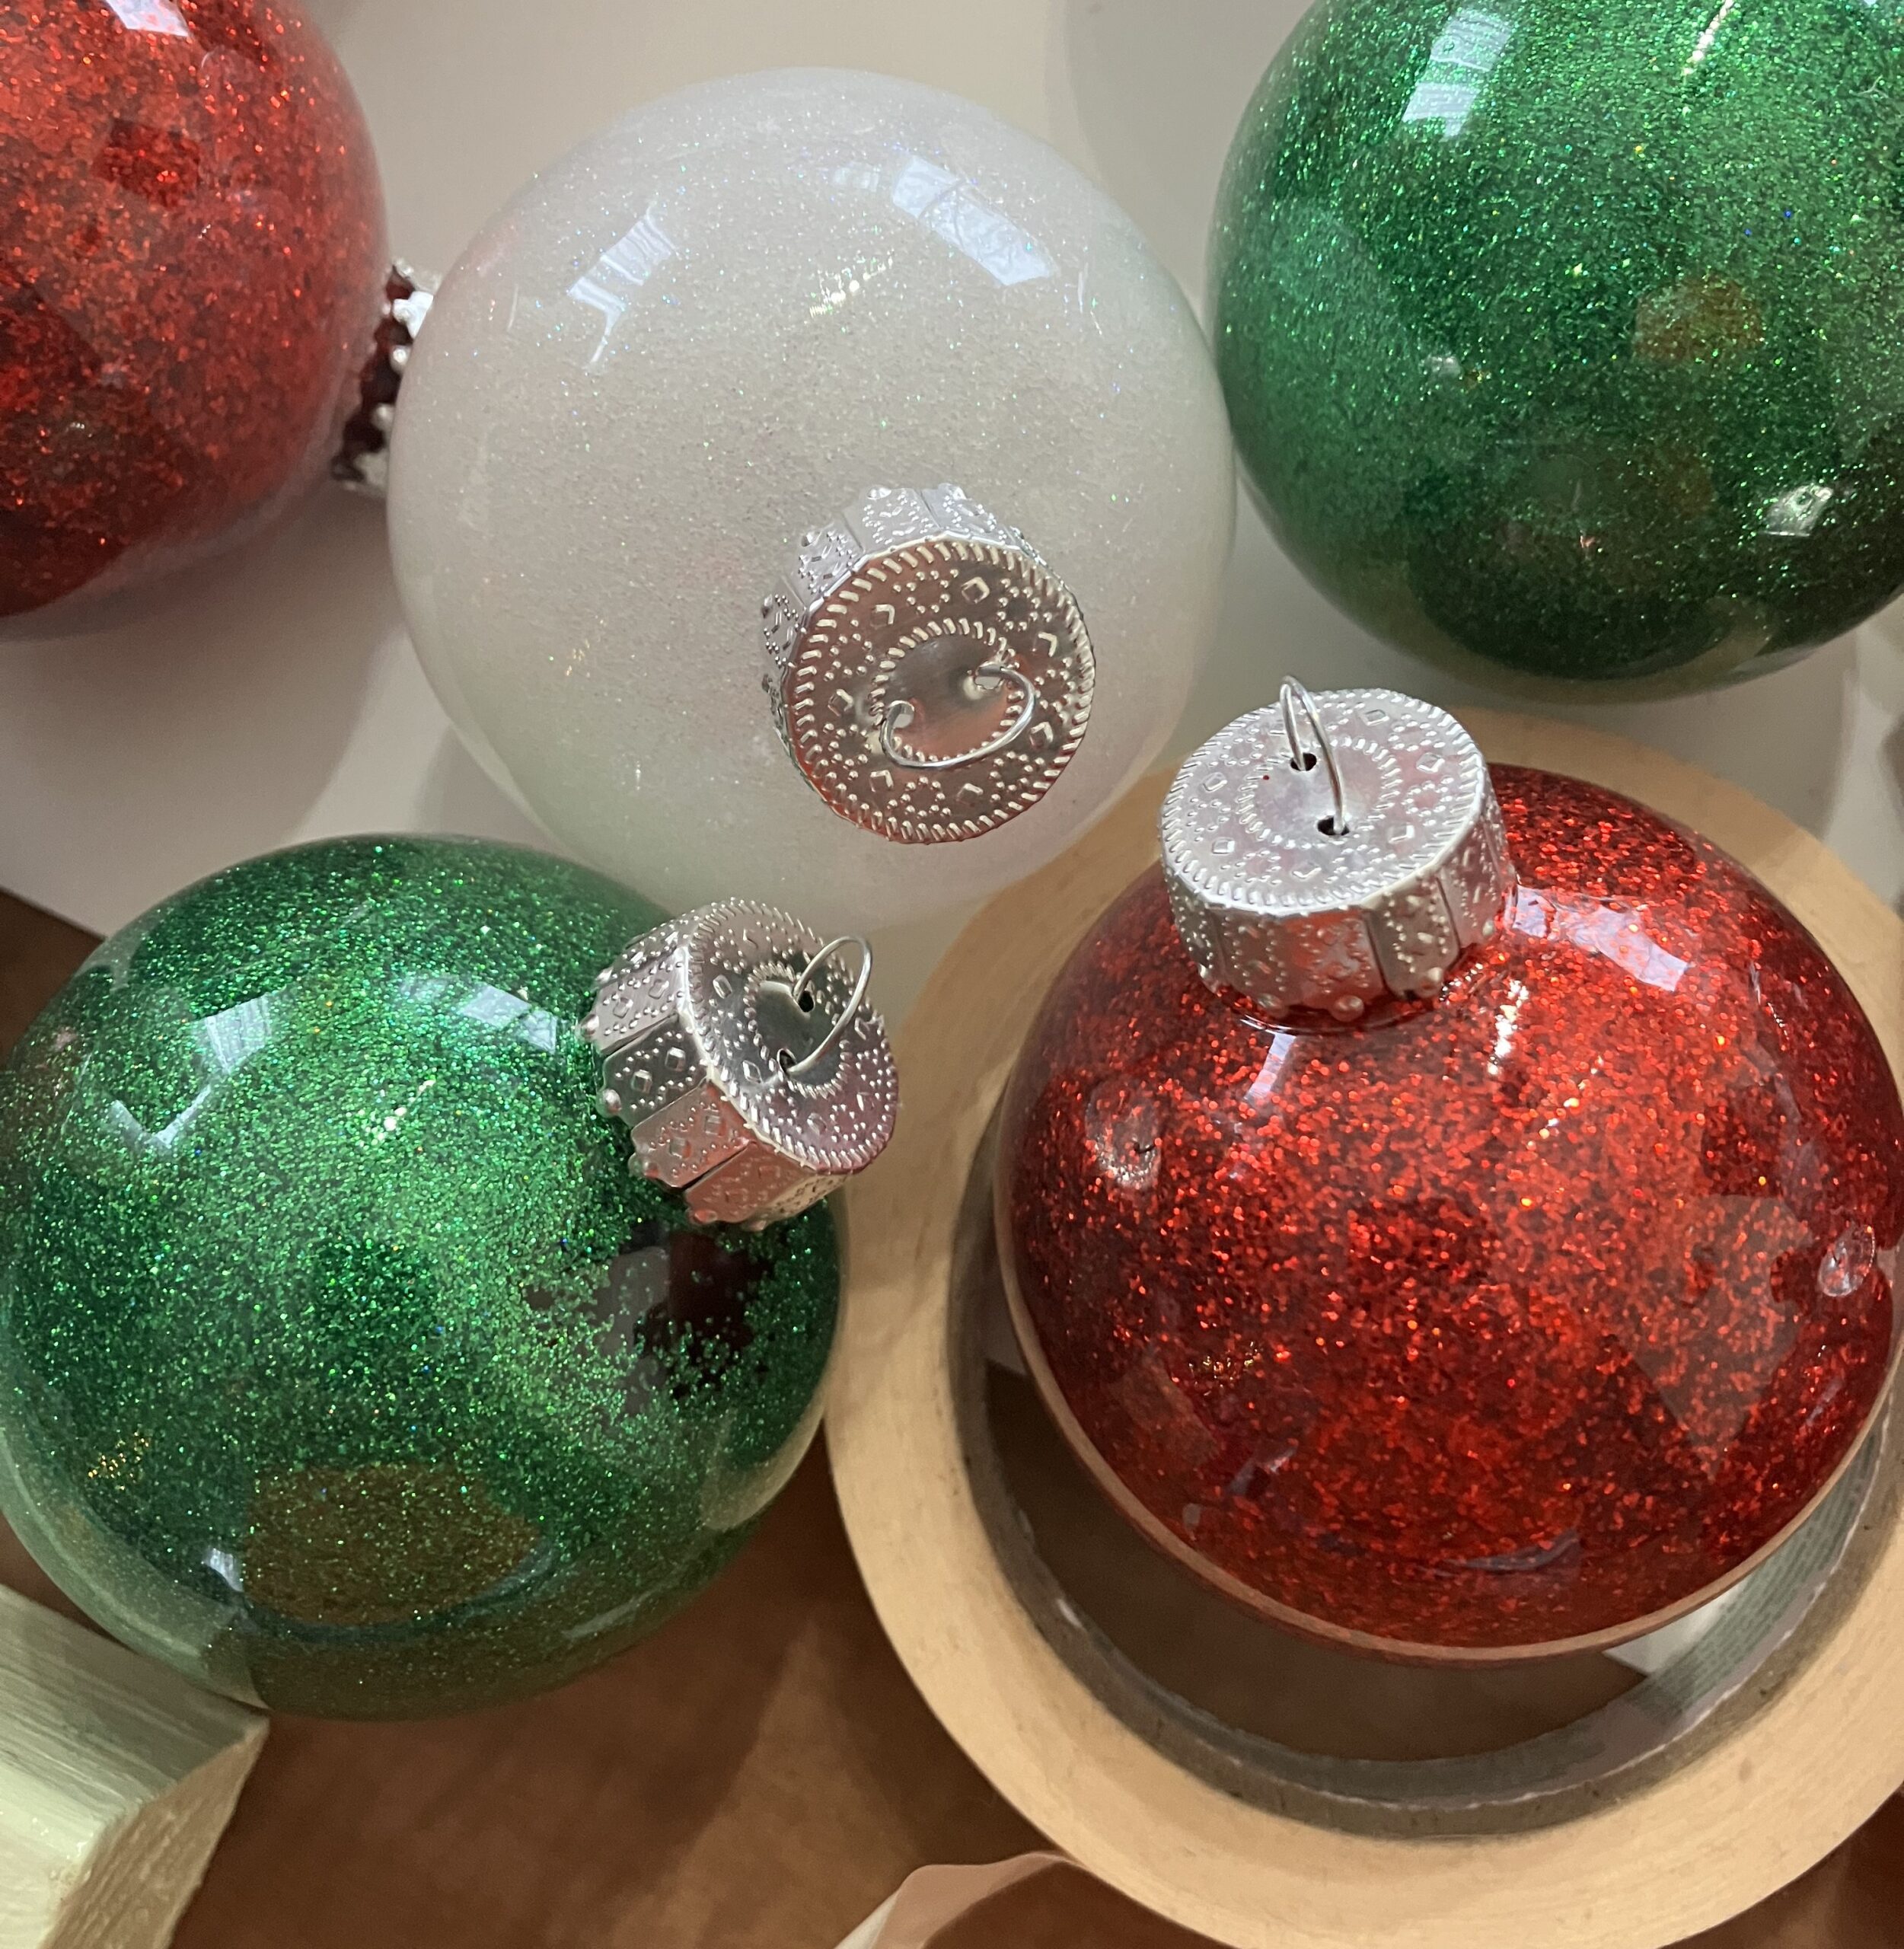
We got a new tree this year and because we used a snowman tree the last couple of years, we did not have many decorations. One of the things we did not need or have prior to this year was ornaments. So, Casey decided to make some to put on our new tree this year. Follow along to see how Casey was able to make these ornaments and you can make your own.
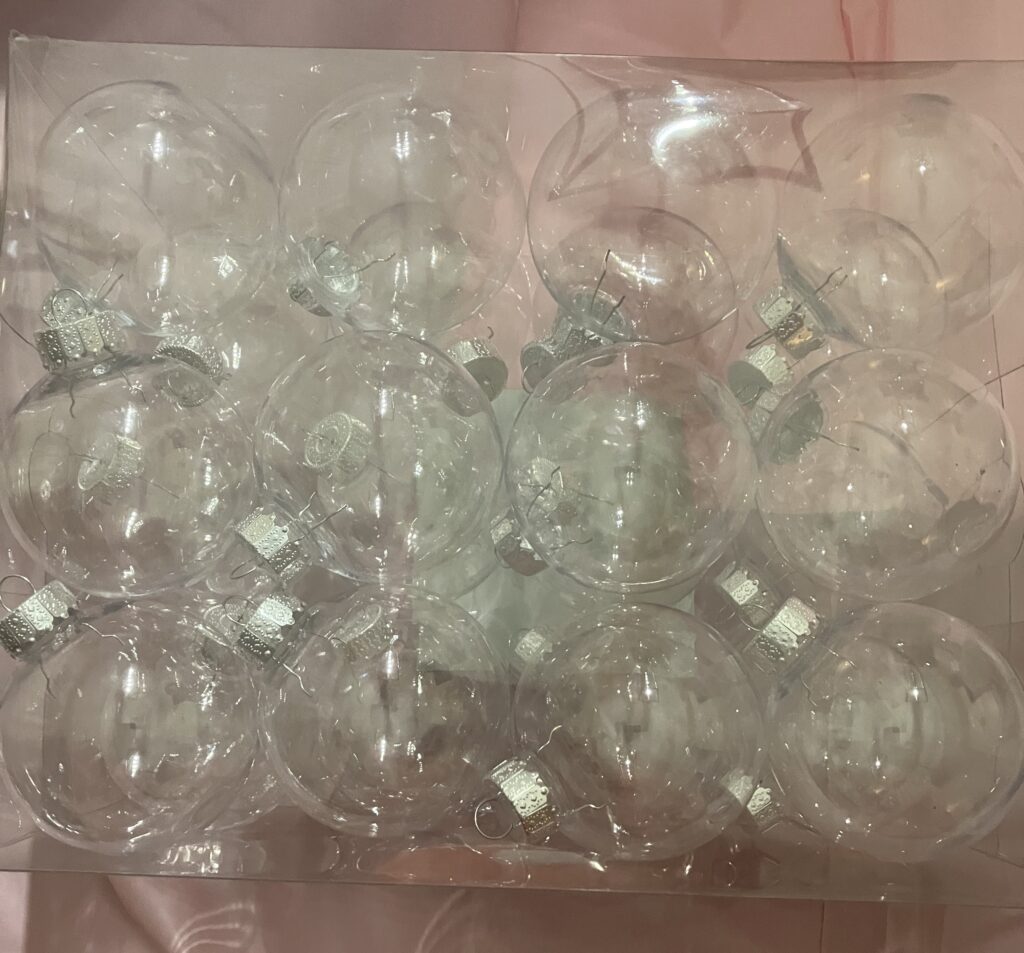
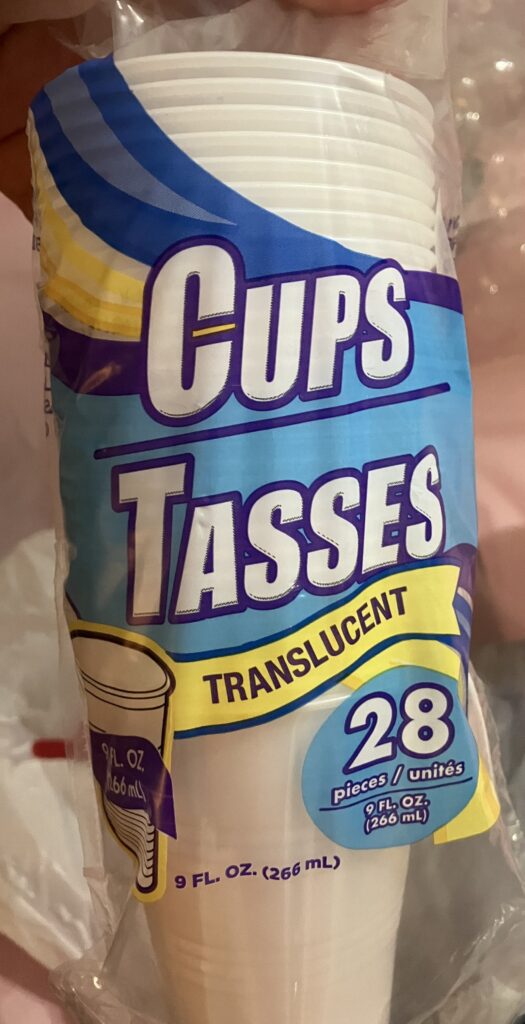
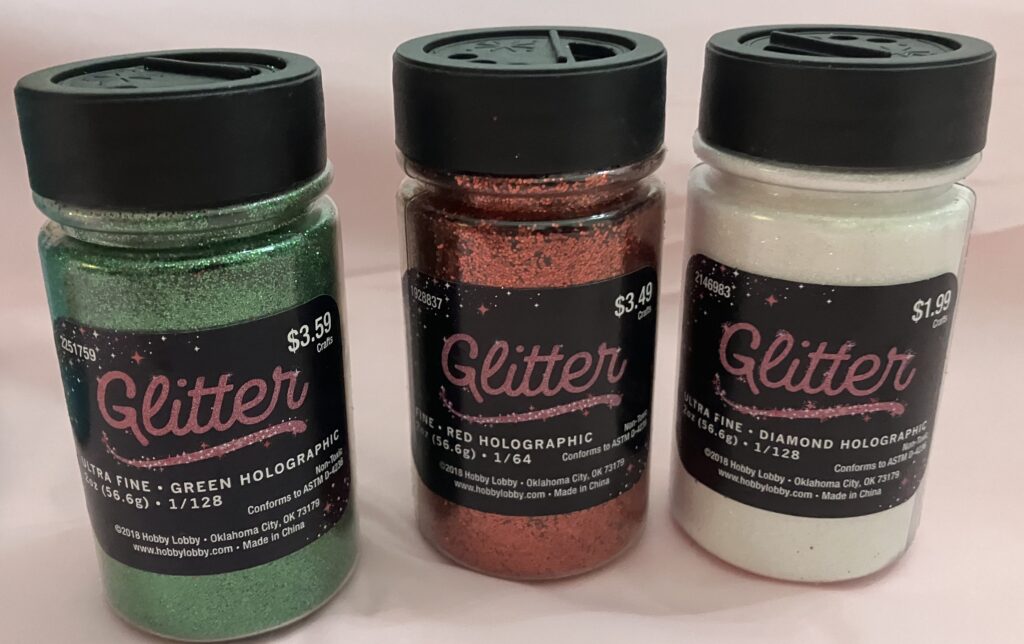
The setup and items needed for the ornaments are shown above. The first item is the plastic Christmas ornaments. Next is some cups. These are for the bulbs to be given time to remove excess clear coat and glitter without making a big mess. Next is the glitter being used. We are using red, green, and white glitter.
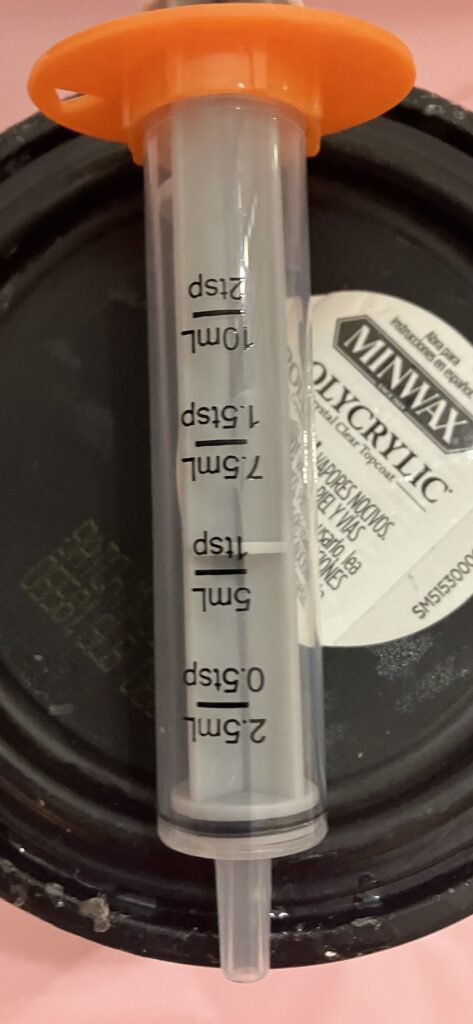
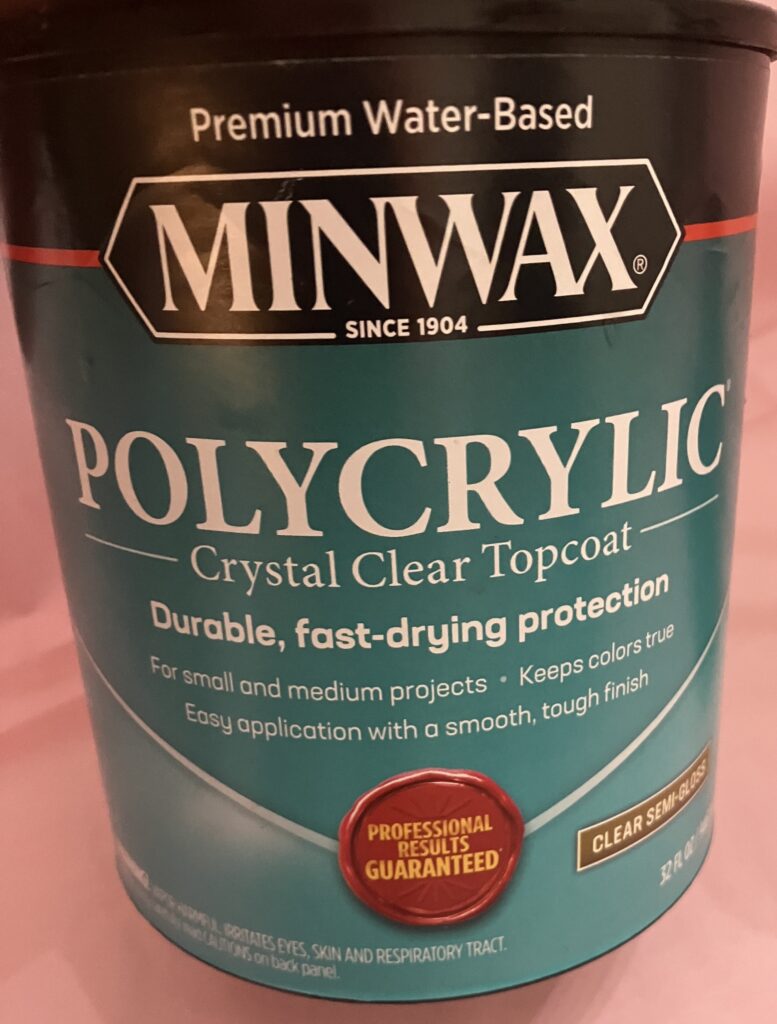
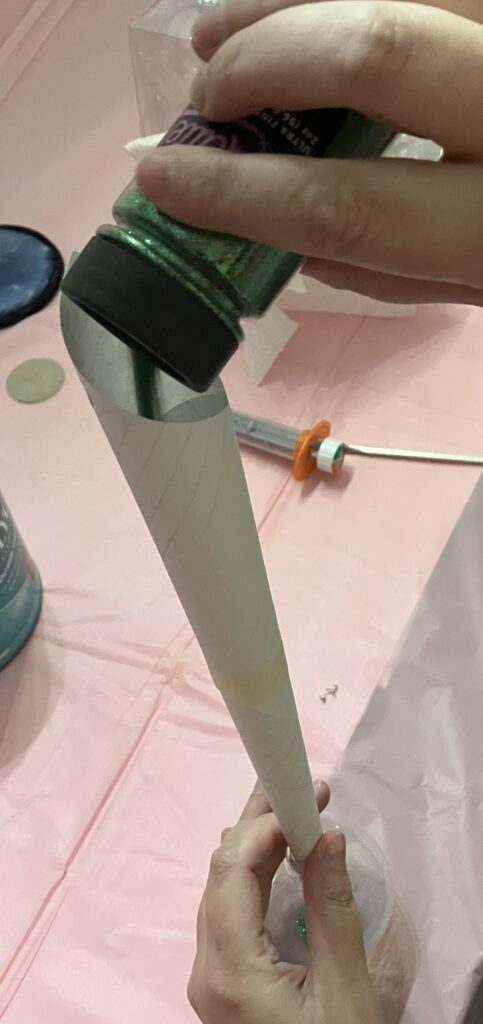
The bottom 3 pictures is a dropper first. The clear coat is second. The dropper will be used with the clear coat to get the clear coat inside each bulb. Lastly is some kind of funnel to get the glitter in the bulbs. We did not think about the funnel until it was time so we made a quick paper funnel to help get the glitter into the bulb.
These are the 6 items we are going to be using to make each ornament. Each item is relatively cheap aside from the clear coat. We use the clear coat when we refurbish furniture so we already had this on hand. The other 5 items were bought at Hobby Lobby.
To start the ornament, the top part is removed so the clear coat and glitter will be able to be put into each bulb.
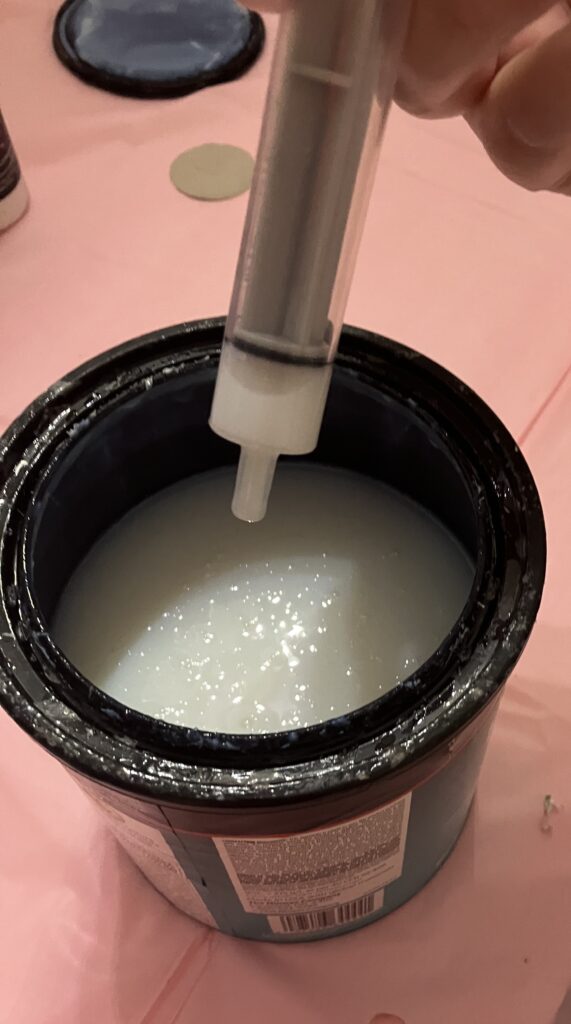
The dropper is used to get the clear coat. It is then put inside the bulb. The bulb is turned until the entire inside part of the bulb is covered in clear coat.

The bulb is then set down into a cup to let any extra clear coat to drip out of the bulb. The cup helps to keep everything clean and not have a huge mess while making the ornaments. It does not take very long for the extra clear coat to drop out of the bulb. This is only going to be about a minute or two. Once the excess clear coat is gone, then it is time for the glitter.

These are the three colors of glitter that we used. We had 24 total bulbs so we made 8 green, 8 red and 8 white bulbs. This gives a good balance once the bulbs are put on the tree.
On a side note if you are following along and doing this yourself, put the white glitter bulbs up against the green tree before deciding to add more glitter. The transparent bulb with the white glitter did not show very well until it was held up against a darker background. It did not look good just holding it up but looked much different when it was placed against the tree.

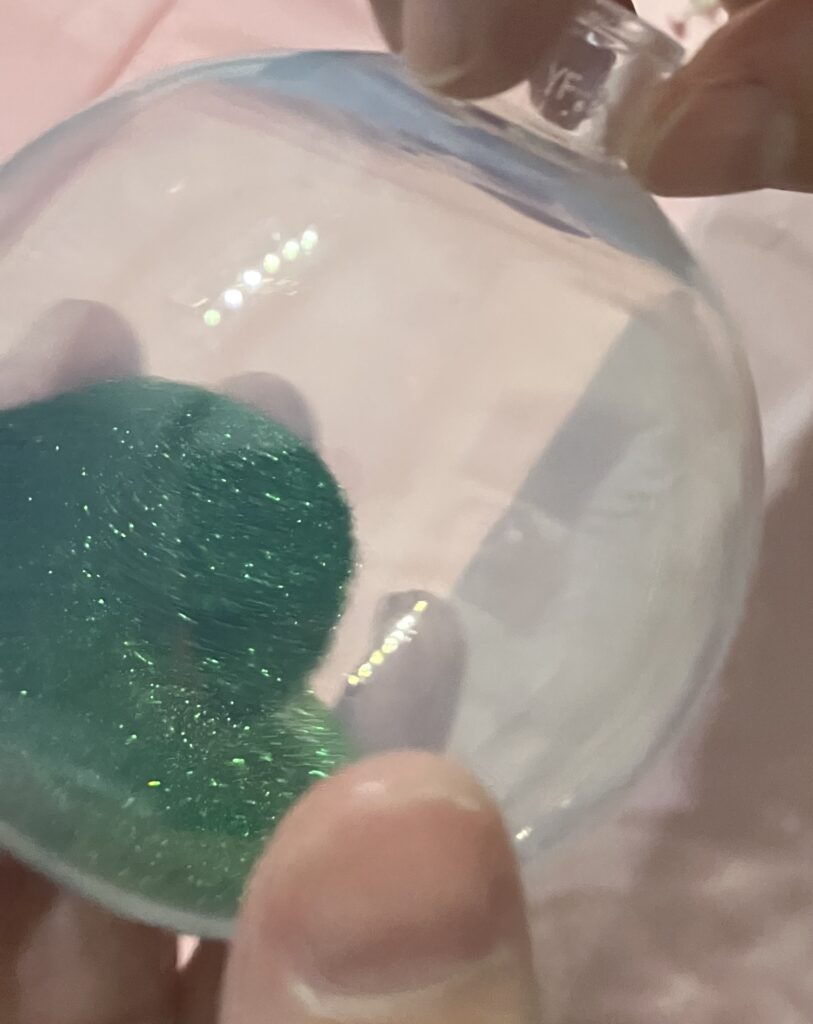
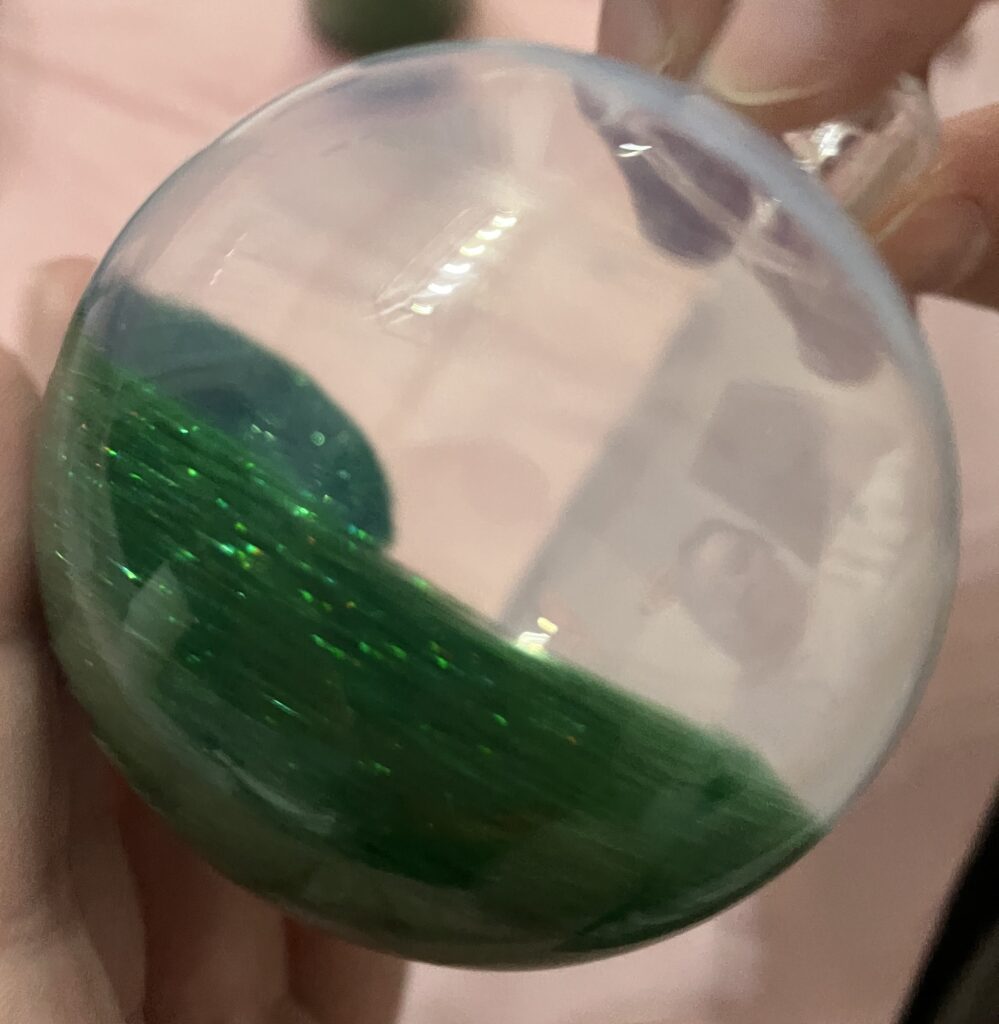
The glitter is poured into each bulb. The bulb is then rotated around until the glitter completely covers the entire surface area of the bulb. The bulb needs to be turned down at an angle to get glitter on the middle and top half of the bulb. The ornament will be turned sideways to get the glitter onto the very top part of the ornament. The bulb can then go back into the cup to get any leftover glitter out of the bulb.
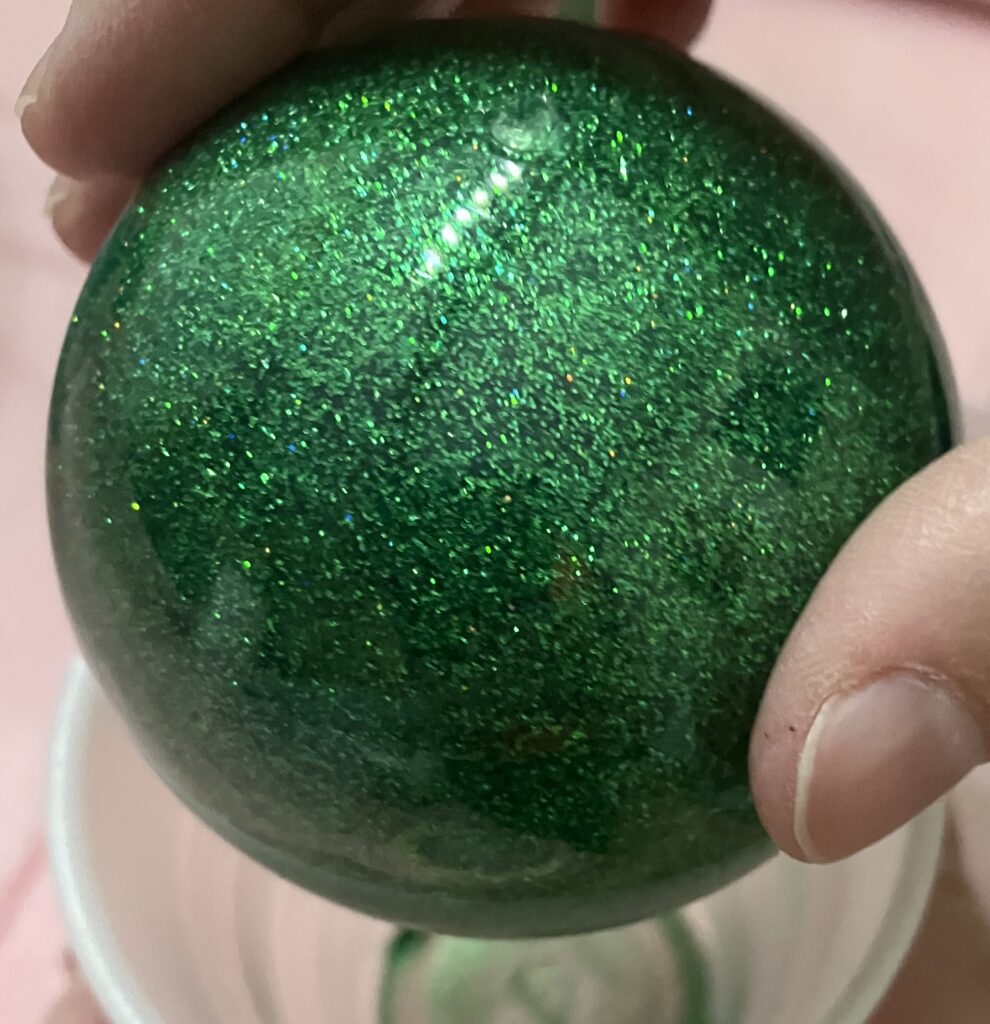
The glitter will be spread over the entire bulb giving each bulb a nice and shiny appearance. The outside will still be plastic so there is no need to worry about them breaking with a younger child or children in the house.
From beginning to end, it took Casey about 2 and 1/2 hours to complete all 24 ornaments. The ornaments were left in the cups upside down overnight to let the clear coat and glitter to dry and settle.
The next day Casey hot glued the top piece of the ornament back on. With a little kid at home we do not have to worry about the ornaments coming apart if they were to get knocked off the tree. This gives us a little piece of mind in that the ornaments will stay together as one piece and not break into multiple pieces if it gets dropped.
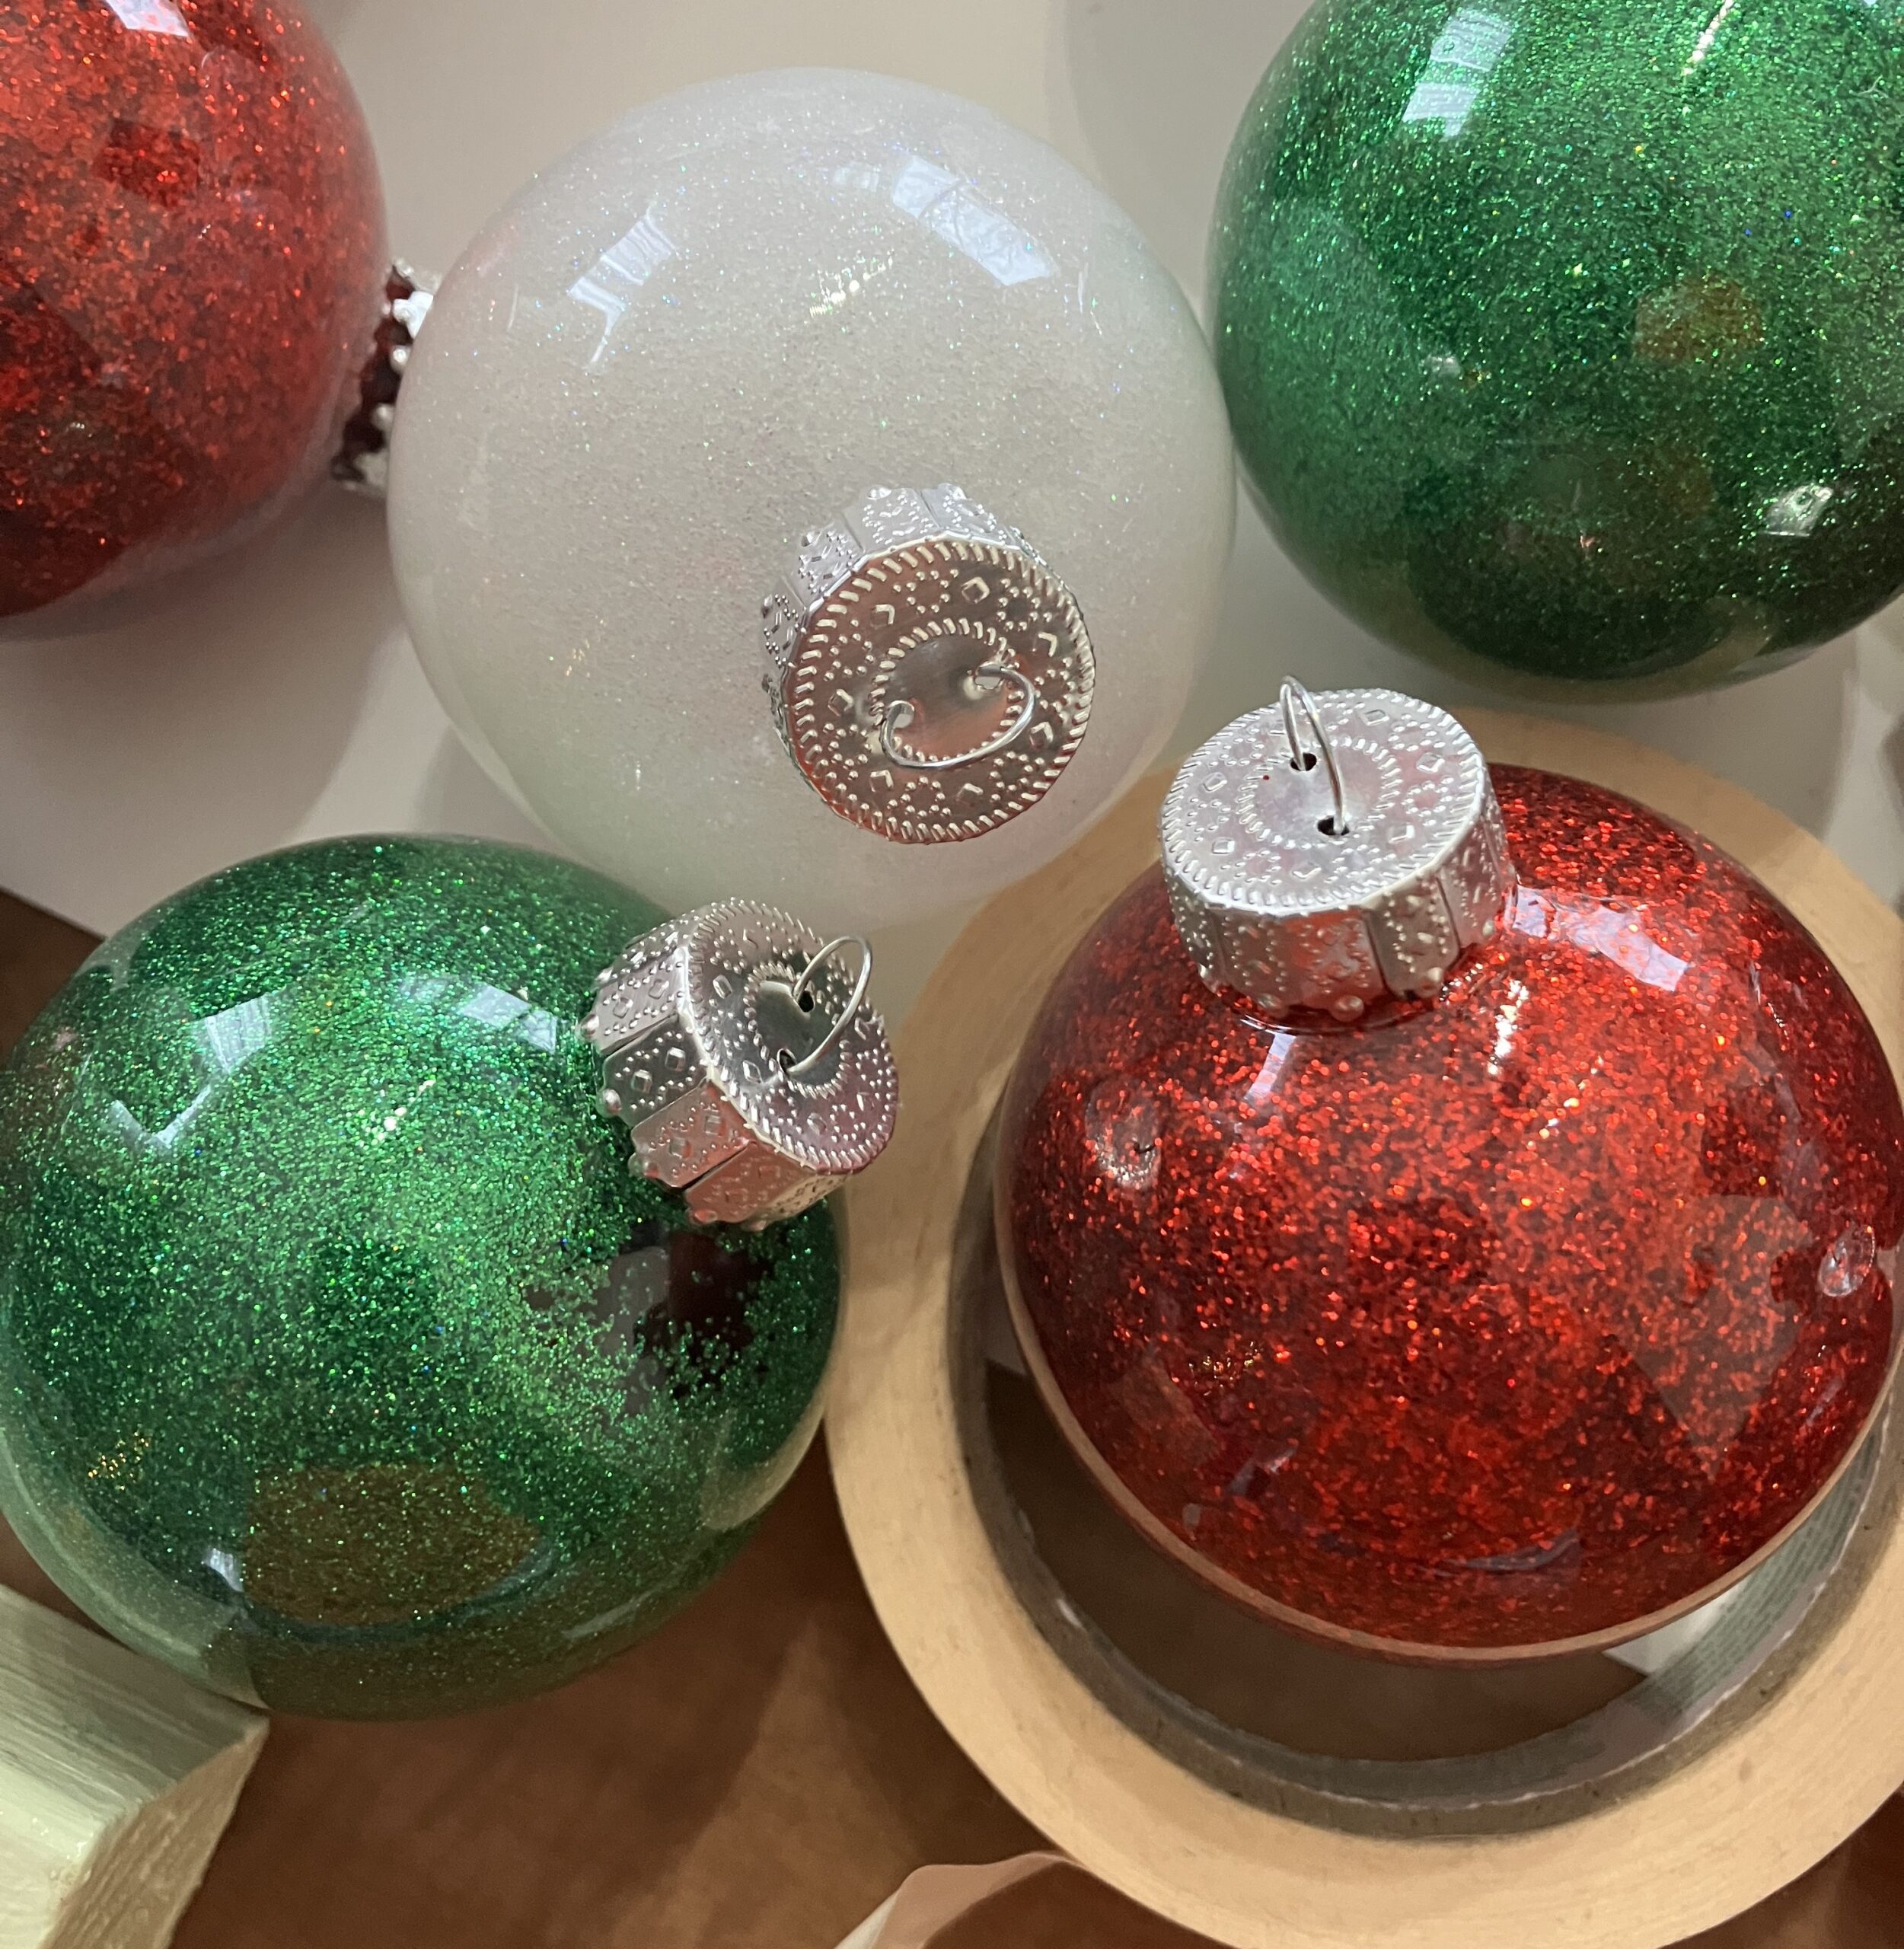
And here it is with all three colors of the bulbs. The tops are glued back on and they are ready to go on the tree. As you can see the white can look a little transparent until you get it up against a nice dark background like a Christmas Tree. Once the tops were all glued back on then it was just a matter of placing them on the tree.
The nice thing about these ornaments is the glitter is all on the inside. I have bought ornaments before with the glitter coating the outside of the bulb and it gets everywhere in the house. These ornaments are plastic so they are not going to break and they are not going to leave glitter all over the house every Christmas.
This is also a nice project to do with elementary age kids to let them not only decorate the tree but make the ornaments that are going to decorate the tree. There are not a lot of items needed. The only part that needs to be careful is putting in enough clear coat and glitter but not putting in too much. The dropper was able to be used to get the right amount of clear coat going into each bulb so we did not have a bunch of clear coat coming out of the ornaments.
With younger kids, adding the glitter might be too much for them unless you want glitter all over the place. We placed a big plastic sheet over the table to catch all of the glitter that didn’t end up in the ornament. This made cleanup simple and easy. We were able to just pick up the plastic sheet and throw it out with all the glitter still inside.
This is a simple and easy project to do. It can get kids excited about the upcoming Christmas season. I hope you all have as good of a time completing this project as we did.

