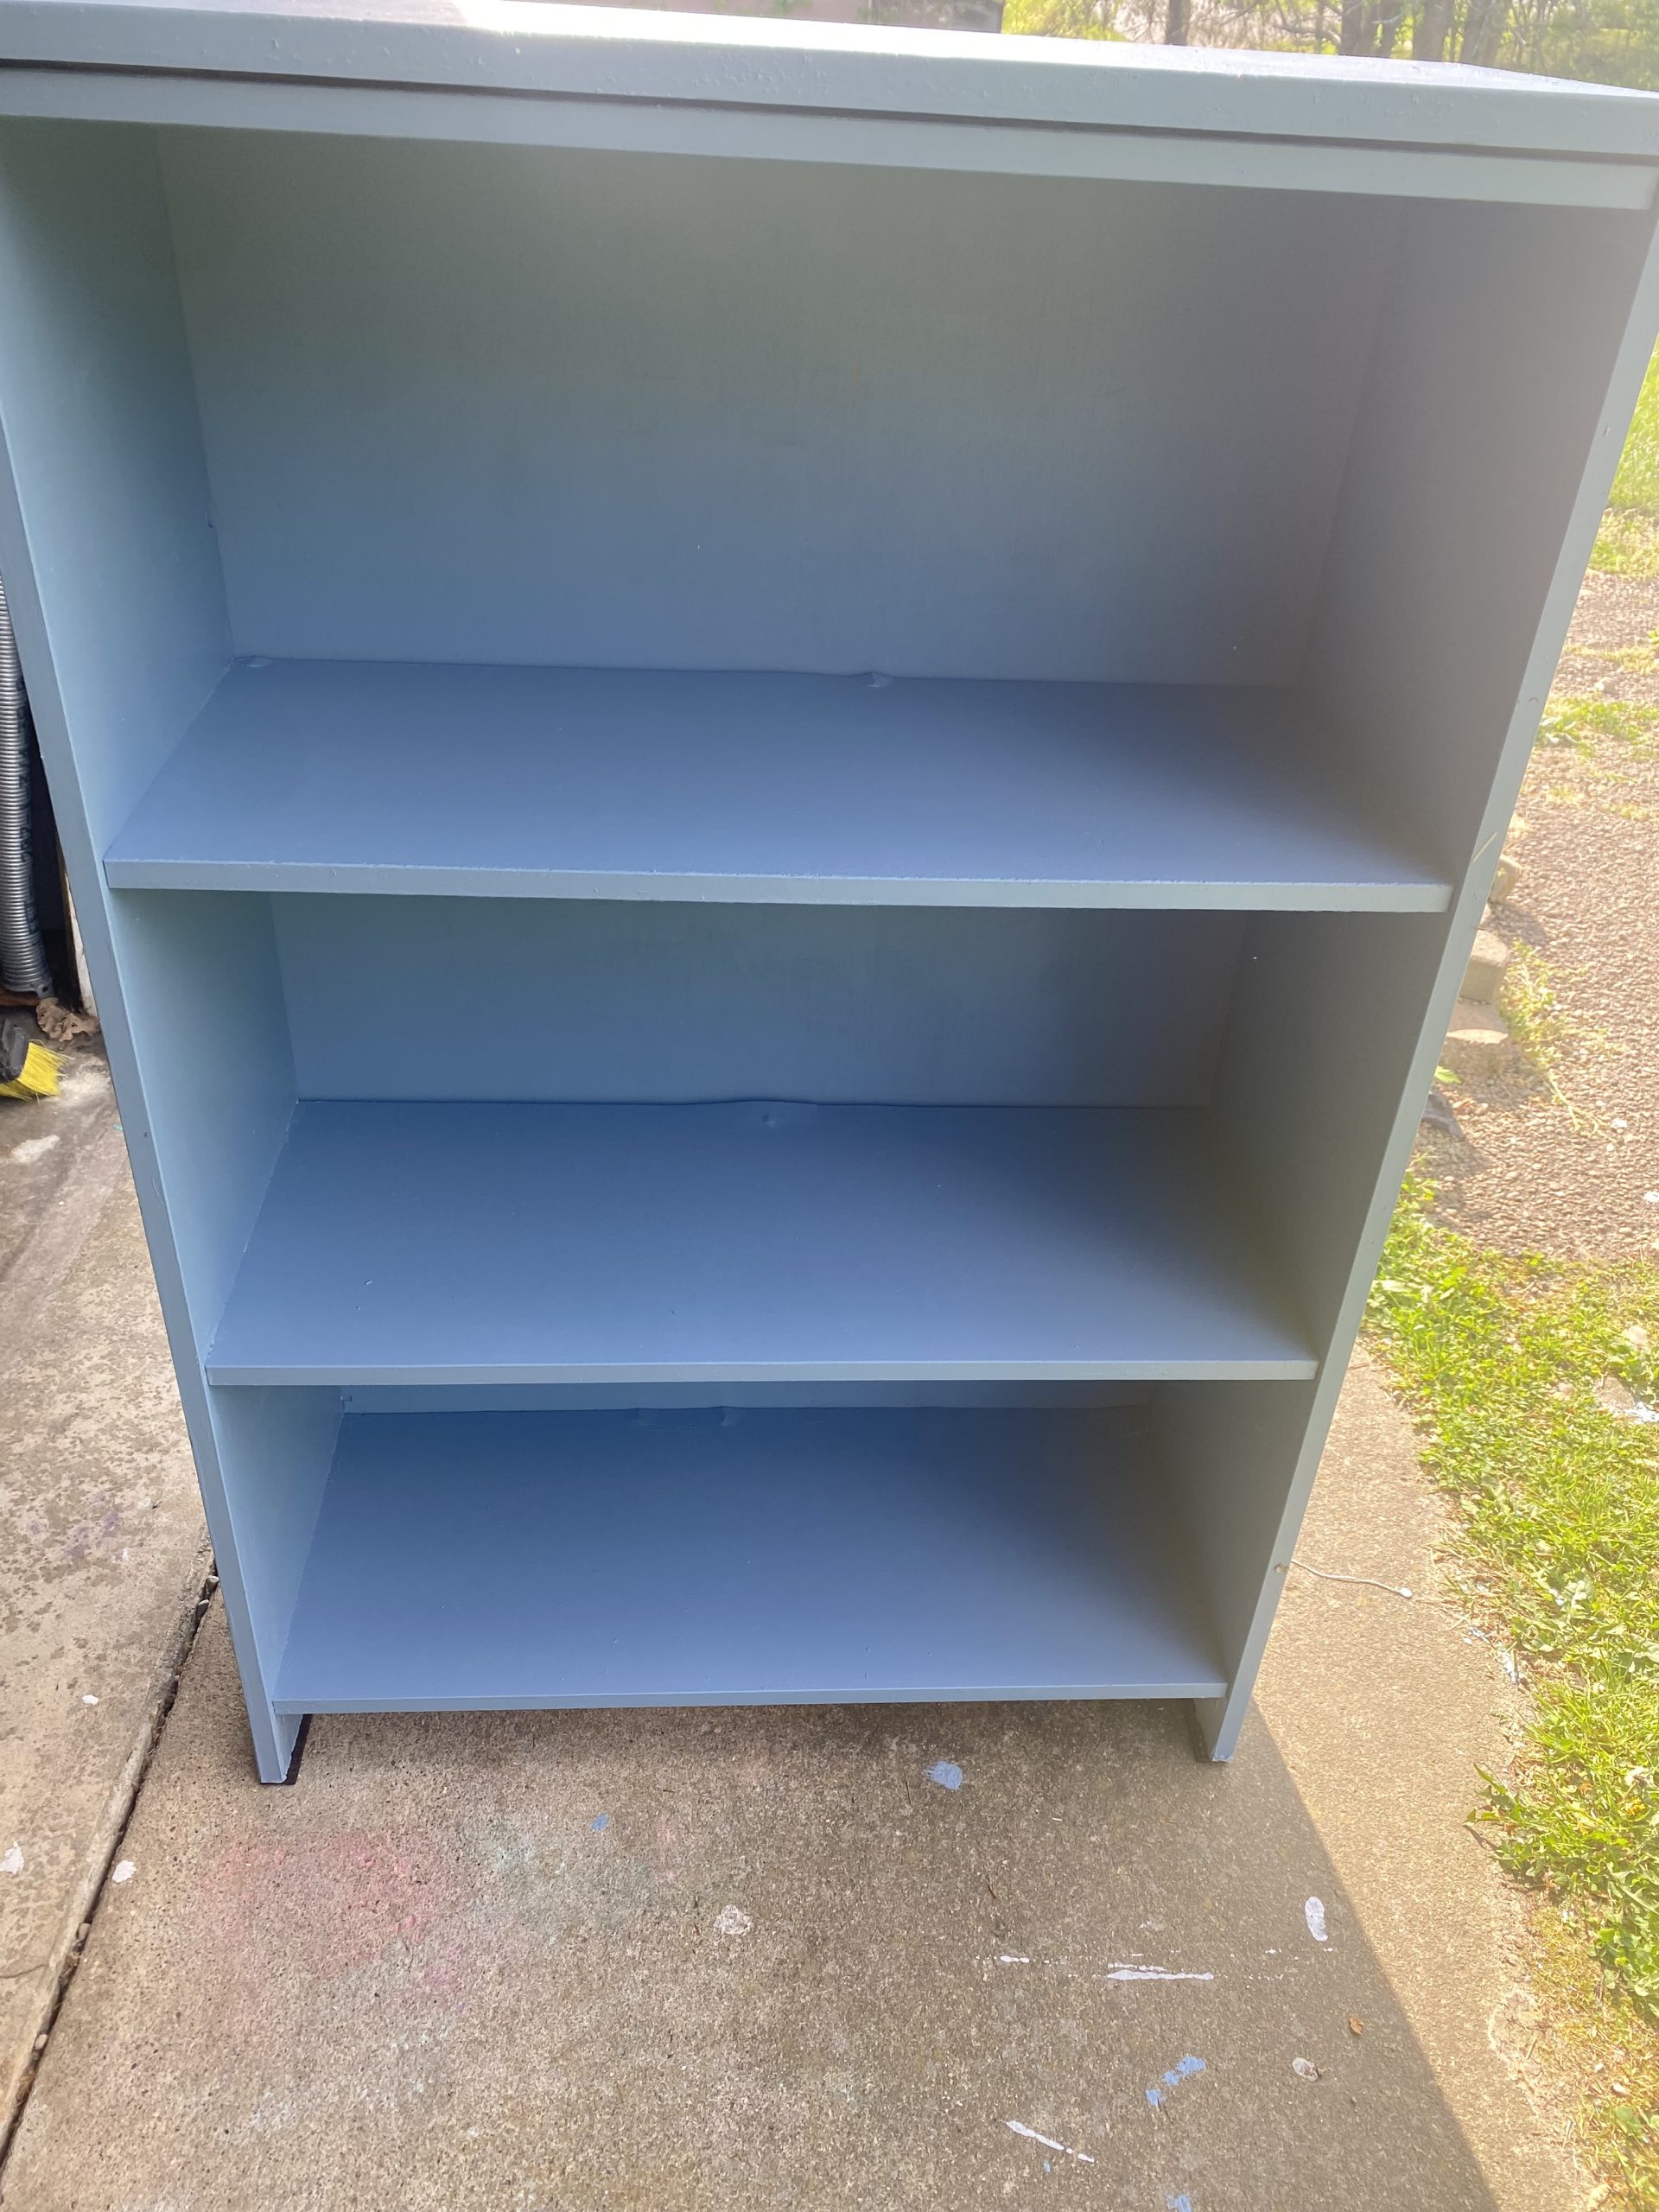
We are always looking to try new things and see what works and what doesn’t. When things do not go as planned, we pivot, change what we are doing, and finish the project not as originally planned. This is what happened to us here. Casey wanted to try paint stripper to remove the paint down to the wood before painting it a new color. As you will see, it did not work as attended.
The big takeaway is figuring out why something did not work and try again later. We think we have an idea on how to make the paint stripping better but that will be for a future project.
We will always be willing to try new things. We do not expect things to turn out well that first time but it is nice when they do. After trying something, we try and figure out what went wrong and try it again but correcting our mistakes the 1st time. We continue to repeat this until we have the ability to do the skill needed. On this bookcase we were a little too ambitious. Next time the paint stripper will be used on a much smaller project until we get better at removing paint.
Outside of the paint, we removed the particle board backing and replaced it with new particle board. The old piece was coming apart so a new backing was needed. All in all, a few coats of paint and a new cut piece of particle board attached to the back and we went from the left picture below to the right.
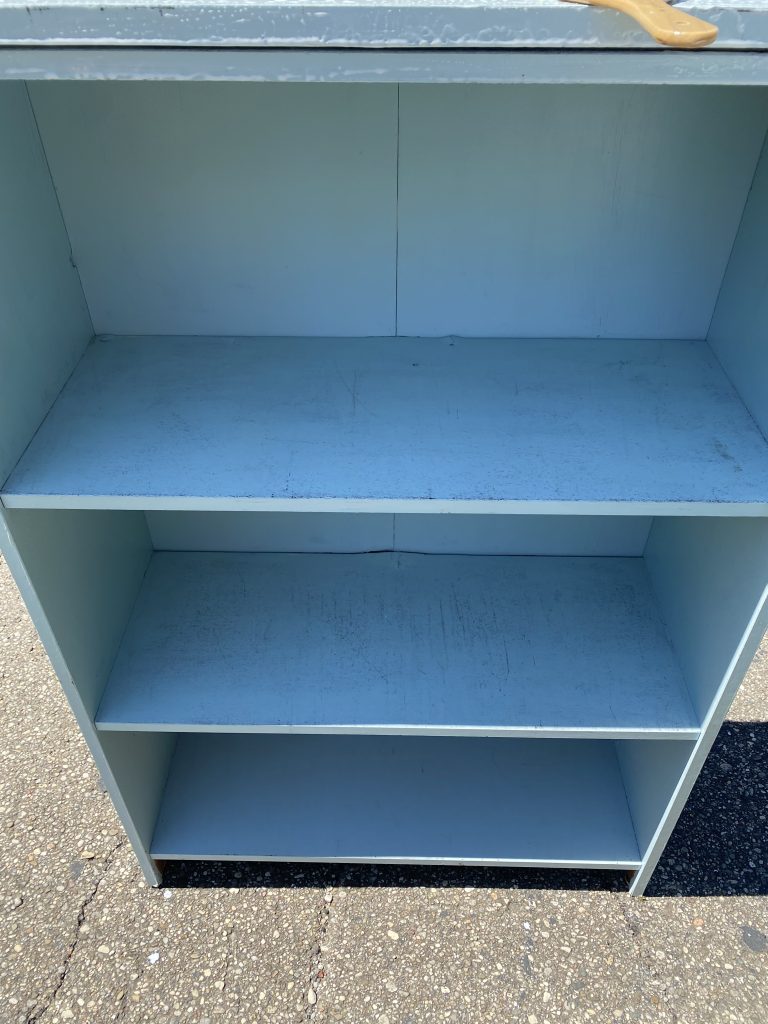
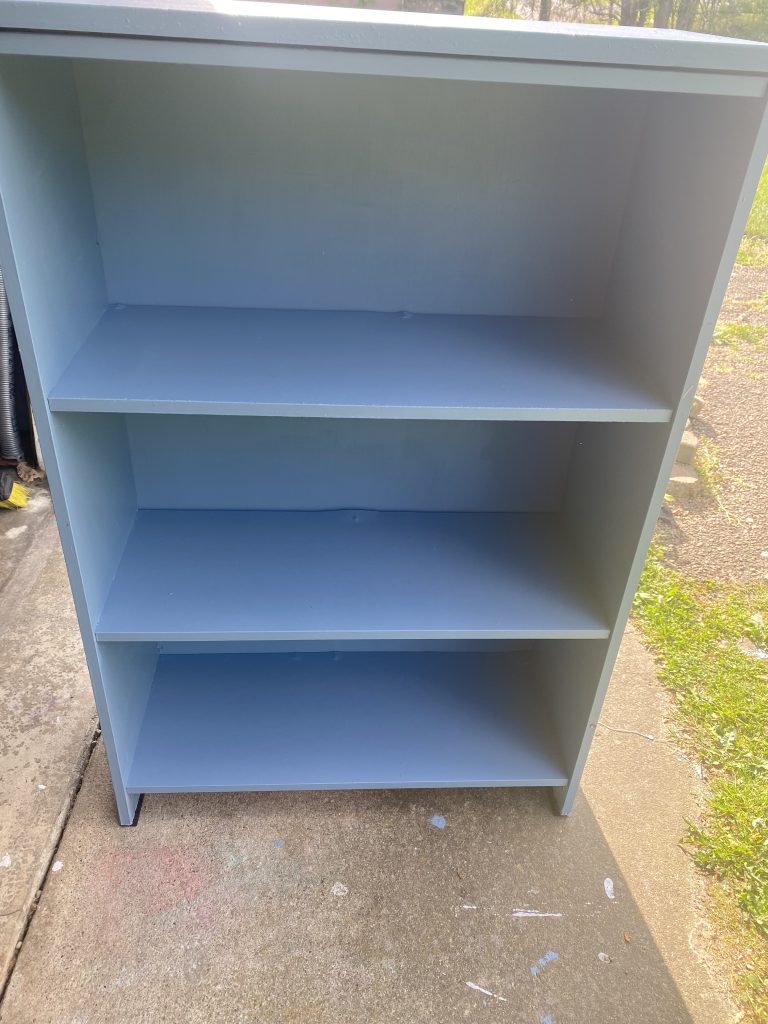
The blue paint was not planned so to speak. The bookcase was already blue but we had some leftover paint given to us from a friend who had just painted their kitchen blue. They had extra paint so we got the leftovers. The cracking of the old paint is gone with the new coat. The seam on the back is gone because of the new back piece. And we have another small touch that is unseen here.
Now let us walk you through everything we did to go from the old bookcase to the fresh newer looking bookcase.

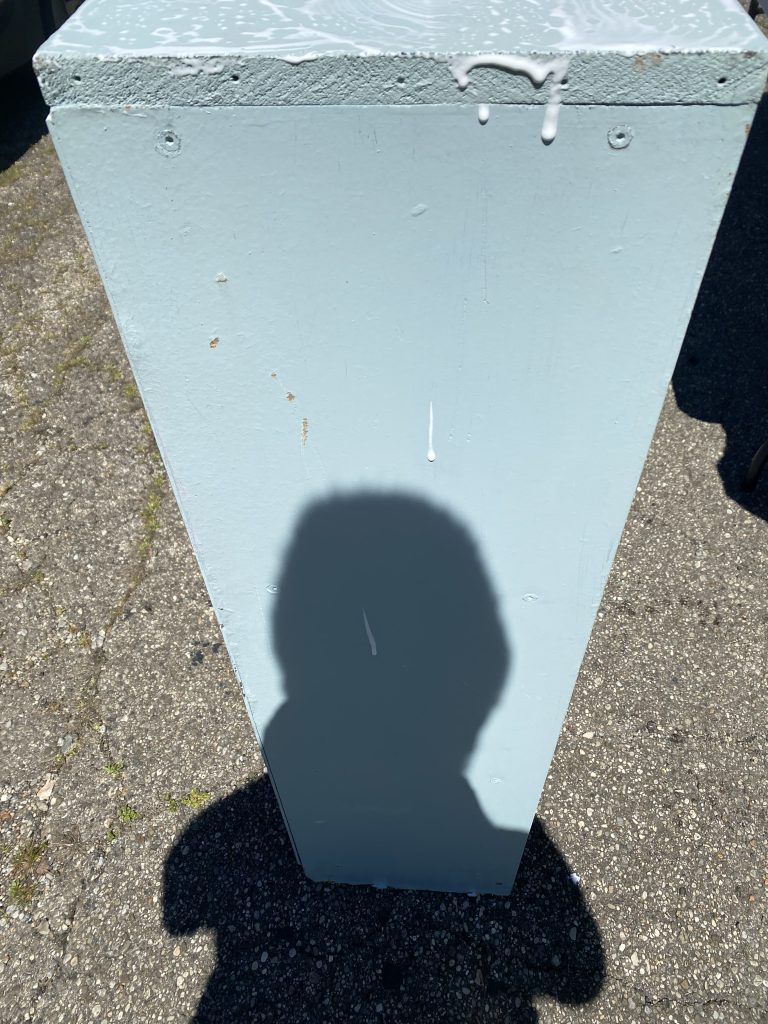
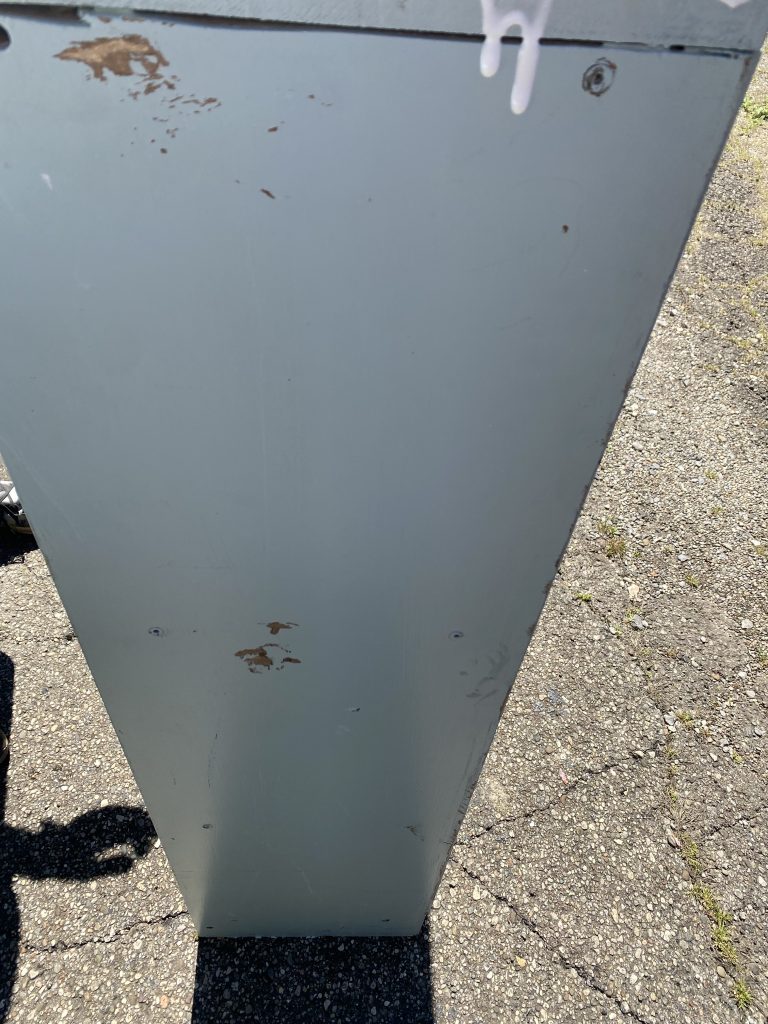
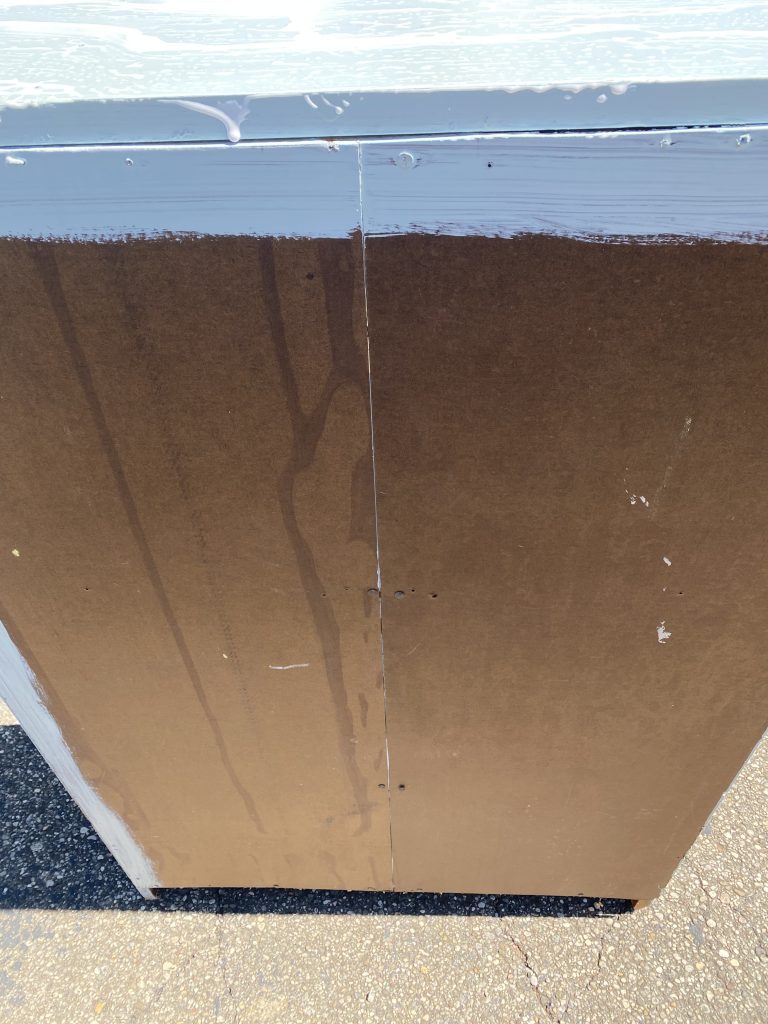
These four pictures are the start of what the bookcase looked like before we started work. It is showing its age but outside of some minor aesthetic defaults, the bookcase is in relatively good shape. The paint is old and has worn off in some spots. There are a couple of cracks on the shelves in the back but nothing that would prevent the bookcase from being used currently.
The back piece of particle board is starting to come off so as you will see shortly, we went ahead and pulled that off. Casey wanted to try and strip the paint off so that is what the white liquid is in a couple of the pictures. The original starting piece is not bad.
The act of trying to strip the paint off was successful to an extent. We were able to get rid of some of the paint but we were not going to get all the paint off without some serious time and effort being put into it. So we started to strip the paint but then stopped.
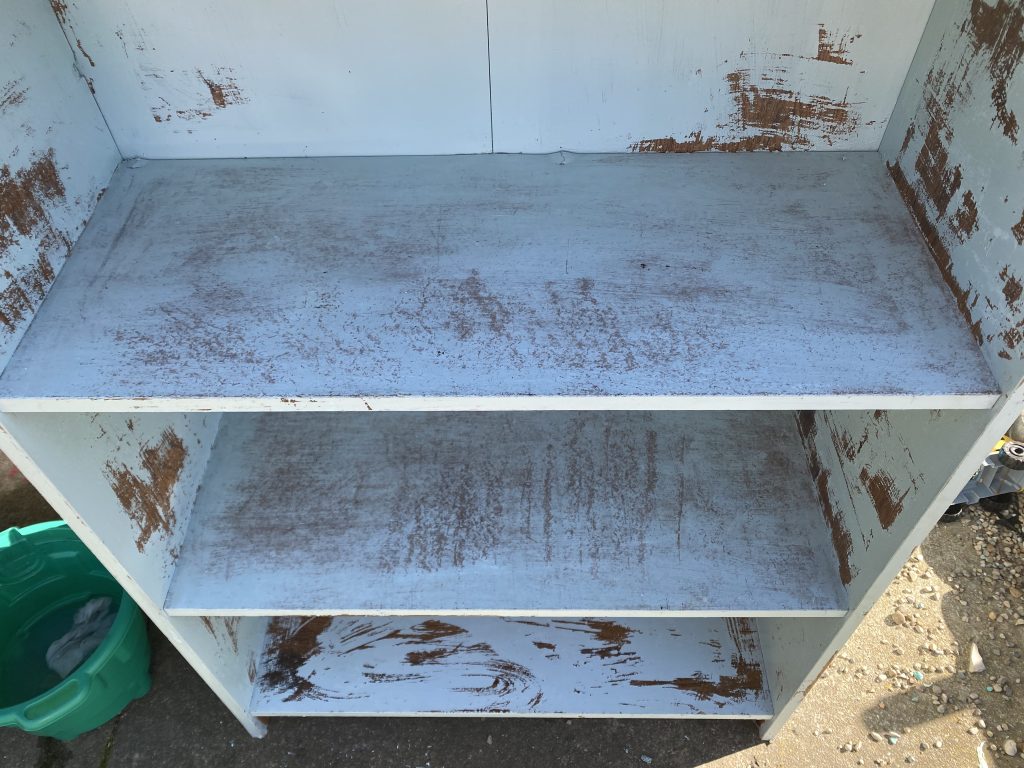
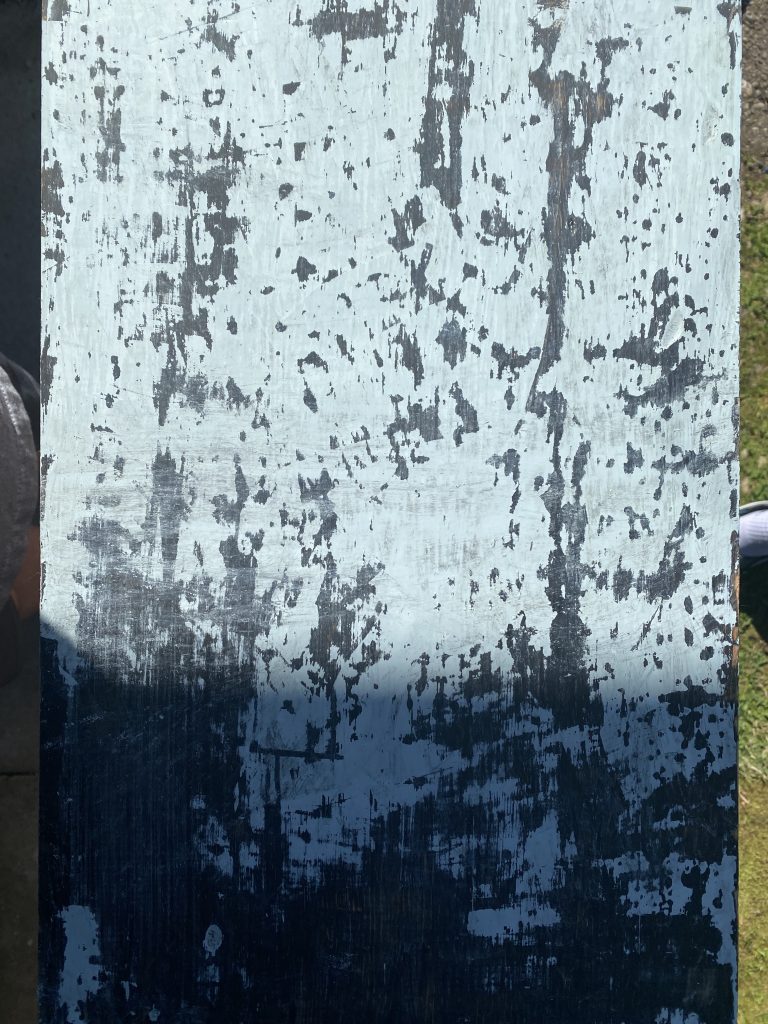
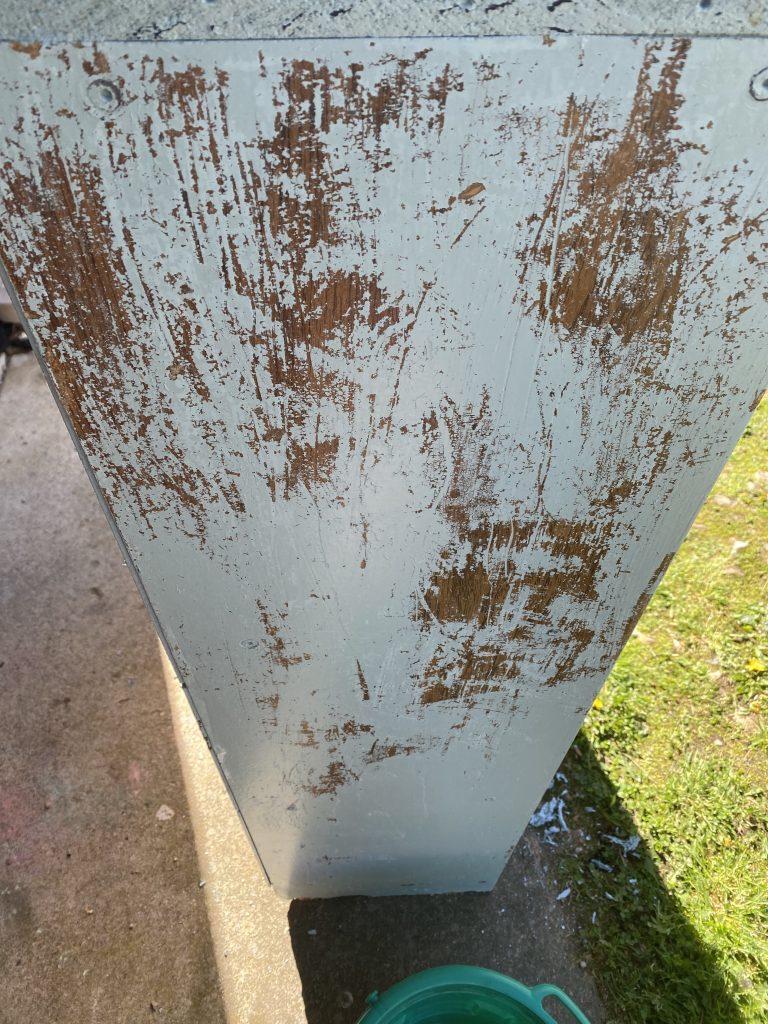
As you can see in the pictures above, we were starting to remove the blue paint but it was not coming off easily. We decided to stop the stripping. We looked at how to do it better and we think we have a possible solution on how to make the process much better. We are going to try and strip paint off of a smaller project later. So stay tuned for another paint stripping project.
Once we decided we were not going to strip the paint completely off, we had to pivot to another option. We decided to put a white primer coat onto the bookcase to give the new blue paint a uniform surface to paint on.
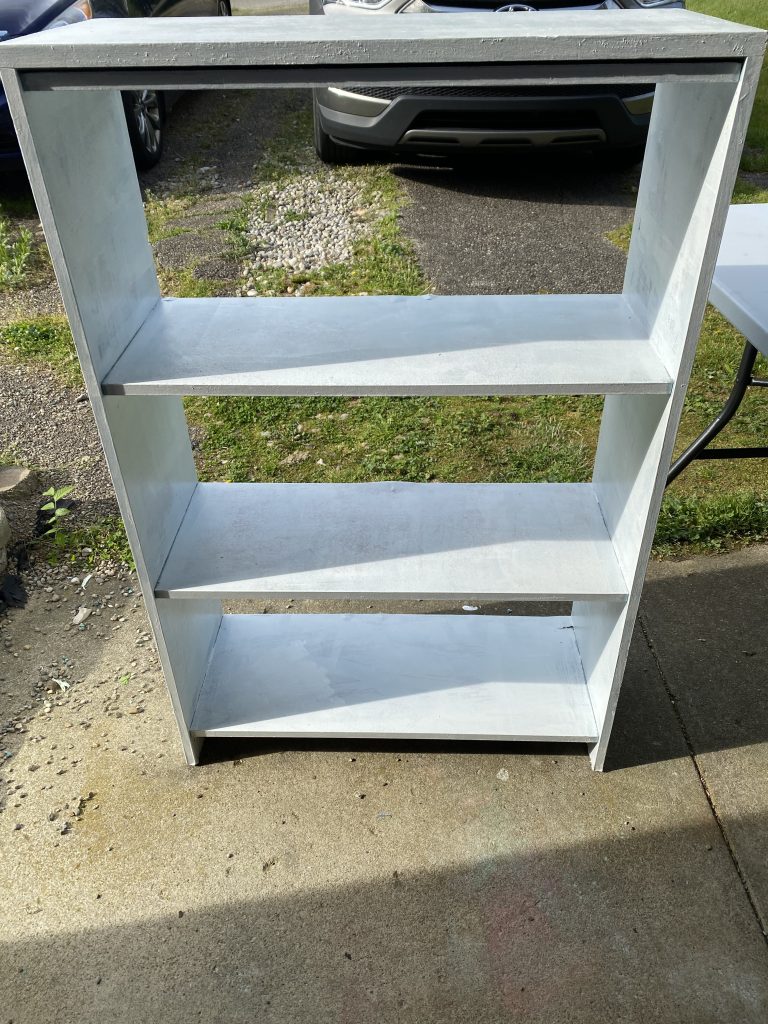
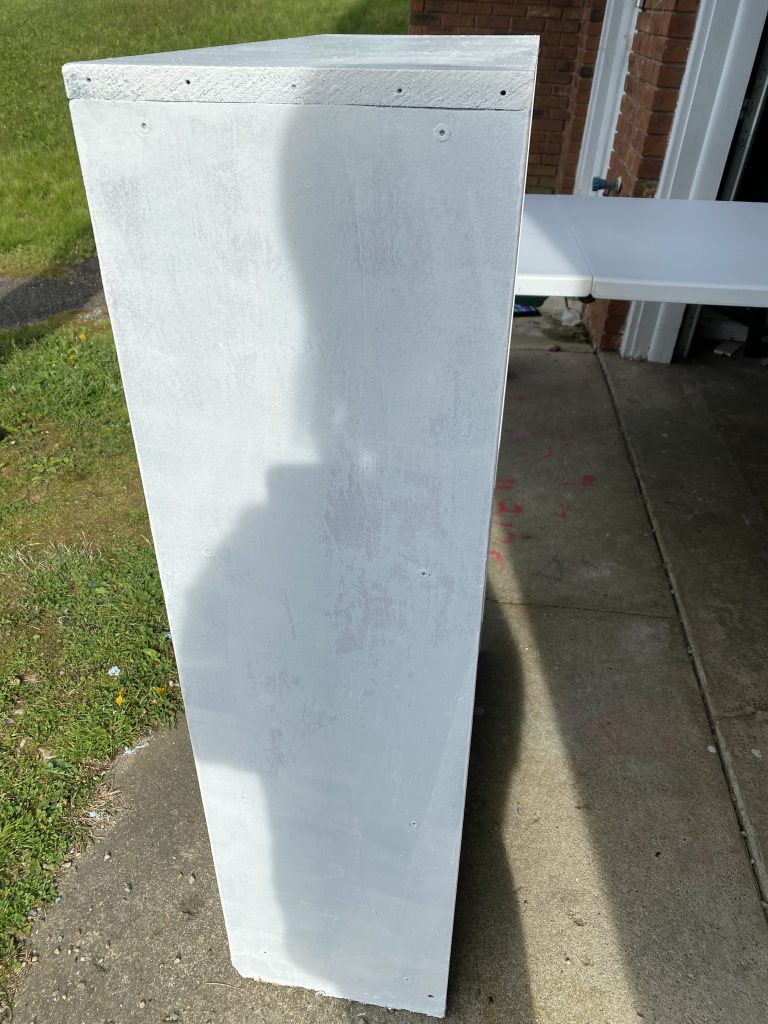
The left picture has the back piece removed. This is after we painted a white primer coat onto the bookcase. This primer coat is to give the bookcase a nice uniform coat for the blue paint to be painted on. By removing the back piece, the painting of the white primer coat was made much easier. After the white paint was on, we let the paint dry by waiting a day before starting with the final touches to get the bookcase looking new.
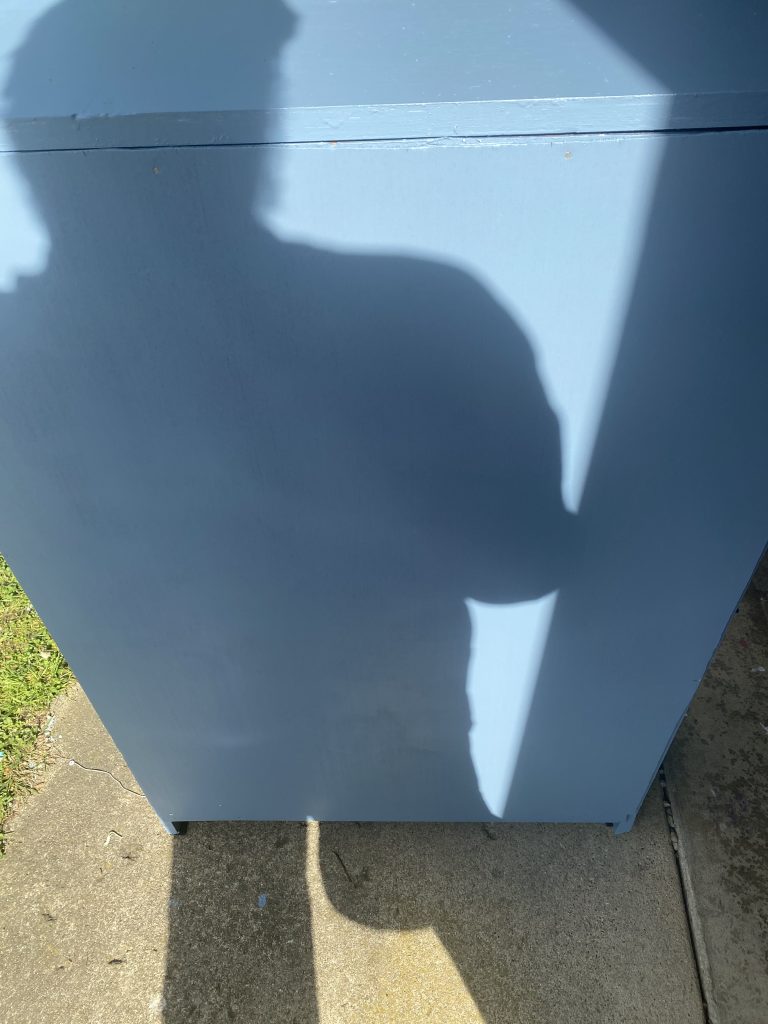
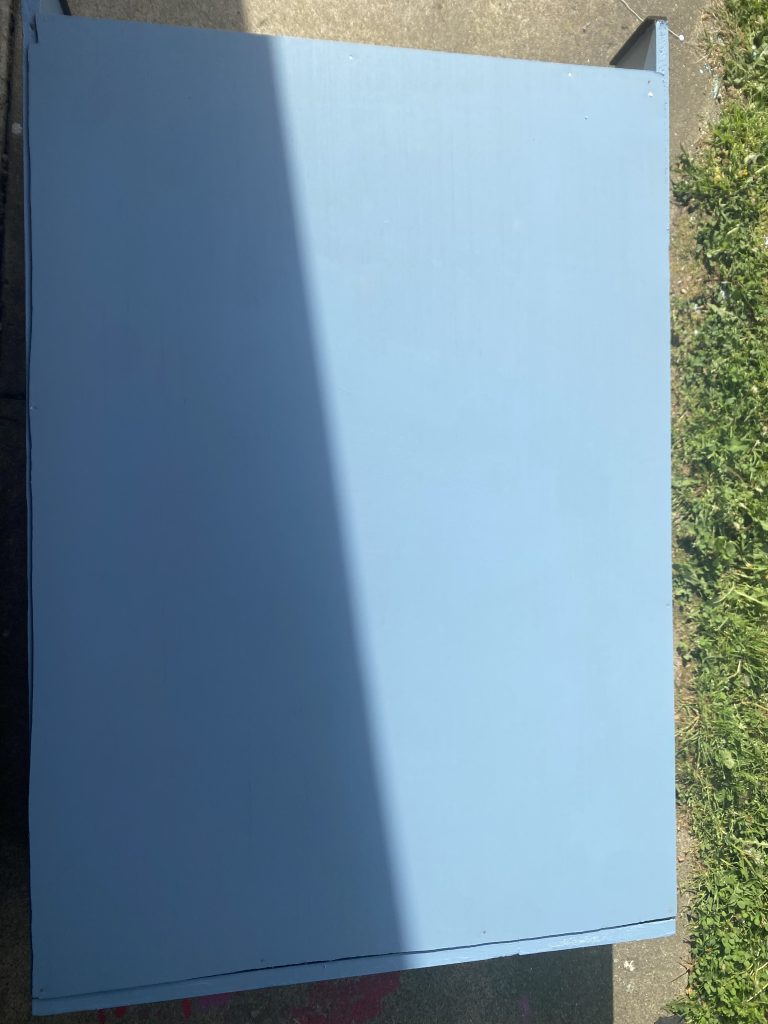
We painted the entire bookcase blue. We painted the new back particle board blue before we nailed it into the bookcase. These are two pictures of the new blue back particle board on the bookcase. The new back is one solid piece so the crease in the original bookcase is gone. We painted the entire bookcase blue before attaching this piece because it made it much easier to paint without having the back piece. Once everything was painted we attached this back piece to almost finish the new looking bookcase.
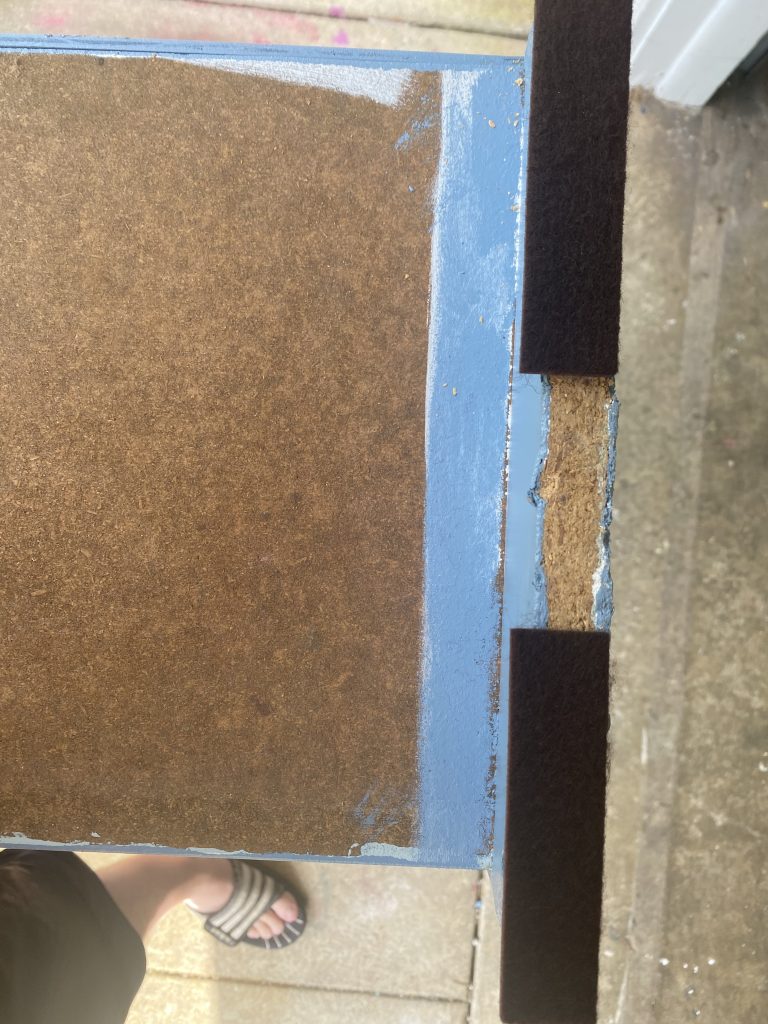
The last thing we did before we were absolutely finished is add a couple of felt furniture pads to each leg of the bookcase. The wood on the legs was starting to show its age and was not in the best condition. By adding these furniture pads, it gives some protection between the floor and bookcase. Without them the legs would be shedding little bits of wood from it wear and tear on the bookcase. These little strips of felt adds some padding on the bottom of the bookcase to help prevent any stretches from occurring.

And this is the final finished bookcase. With the new paint and new back piece, it can be used as a bookcase or some shelving to maybe put pictures in to display. Overall we think it turned out really well. The older paint has been replaced with a nice new coat. The split back piece has been replaced with a new single piece of particle board on the back. The legs has some felt pads for floor protection. Outside of a few blemishes in the wood, it is hard to tell this is not a brand new piece of furniture. These are the types of projects we are looking to do and possibly help somebody else out there do it themselves.
We were very pleased with the work we did to this shelving or bookcase. A little work and some paint can turn old pieces into nice new looking pieces of furniture. I hope you enjoy seeing this and good luck to any of you out there trying to do this on your own. Have fun and keep going. Things are not always going to work out as planned but that does not mean things can not still turn out well.

